![[Image: IPF Ltd ]](https://fabbaloo.com/wp-content/uploads/2020/05/CNCmachining_img_5eb093598d89a.jpg)
There’s no doubt 3D printing has changed the prototyping and manufacturing game for good, and for the better.
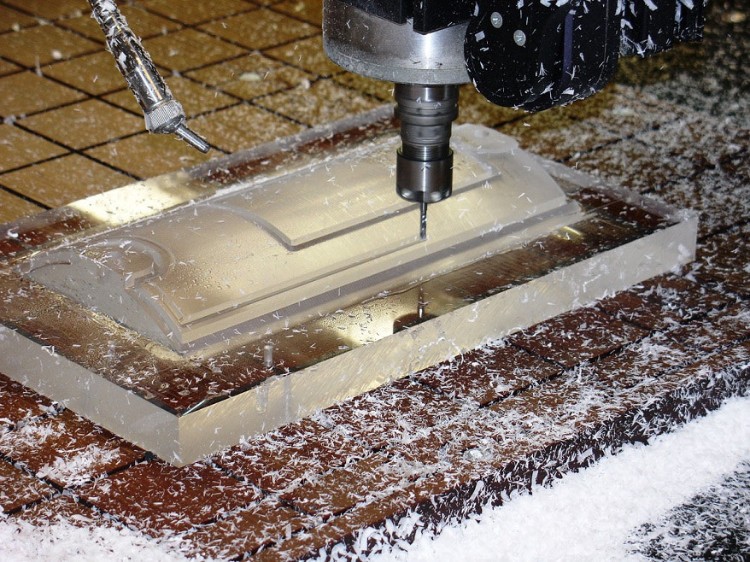
In some applications, it’s impossible to replace CNC machining or injection molding with any other process — and perhaps that’s always going to be the case. But often, it’s worth exploring how to combine CNC machining and 3D printing to satisfy timetable or design requirements.
Here’s a look at when it might be necessary to CNC machine a 3D printed part, plus some tips for machining parts after you’ve created them.
Why Combine CNC Machining and 3D Printing?
Combining these two processes doesn’t require the complex workflow you might be envisioning. Just as importantly, it can deliver several meaningful benefits for your manufacturing company.
Here are a few instances where it makes sense to combine 3D printing with CNC machining, plus some of the benefits of doing so.
1. Because Tolerances Demand It
When people say 3D printing is in its infancy, they’re usually referring to the tolerances of modern 3D printers. These improve with every passing year, but there’s still little doubt many end-use parts have tolerances and other critical requirements only incumbent manufacturing methods can deliver on. CNC machining is more consistent and delivers a more precise product because the equipment isn’t as susceptible to heat as a 3D printer, which can sometimes warp and distort the workpiece and result in inconsistent runs of products.
Combining the two gives you the best of both worlds. It helps you realize the advantages of rapid prototyping using 3D printers, but lets you dial in your tolerance from the 0.1 mm to 0.3 mm you can expect from a DMLS or SLS 3D printer to the roughly 0.025 to 0.125 mm a CNC milling machine can render. The combination also gives you rapid prototypes plus consistent and accurate performance, and lets you perform the fine finish work on a machine that’s less likely to warp the product by generating heat.
2. Because Time Is of the Essence
There are several steps involved with first 3D printing a part and then sending it to another part of the shop floor for CNC machining. But compared with injection molding, this is still a less time-intensive process in many cases. That is because injection molding requires the design and creation of a specialized tool to see each workpiece through the molding process. It’s far easier to make adjustments to the digital files that end up becoming 3D printed prototypes or products than it is to make changes to an existing injection molding machine tool.
3. Because You Have a Large Workpiece
Most of the conversation today is about what happens when you 3D print a structure or a part and then subject it to CNC milling to bring the final tolerances into line or produce the desired fit and finish. But there’s another story emerging about what’s possible when combining these two technologies into one machine.
The result is something like the industrial-scale hybrid milling machines from Multiax, 3D-Hybrid and other companies. We’re talking about $600,000 pieces of equipment, but that price tag gets you a machine with a build volume up to approximately 40 feet in diameter and up to 10 feet tall. These hybrid 3D printing-milling machines can mill the surface of a new 3D print while the operation is still in progress.
Tips for Machining 3D Printed Parts
Industries that need to hit very demanding product specs across runs of many units include the automotive, aerospace, defense and medical device sectors. But customer expectations, greater safety oversight and the pursuit of a competitive advantage require world-class design and manufacturing from every type of company.
If the points above sounded like attractive advantages, remember the following tips for getting the most out of your new combined manufacturing process.
-
Communicate with machinists early and often so they can carry out the work to spec. There are going to be areas on the workpiece with especially tight tolerances, so it’s essential to call these out early in the process to avoid miscommunication about design priorities.
-
If you know some features on your part or product will require milling after printing, remember to design the product in such a way that the milling machine can physically reach the area in question. Most mills are agile, multi-axis wonders — but you can make their job a lot easier and help ensure an ideal final product without any surprise redesigns along the way.
-
Know when to use extra material. Determining this is equal parts science and art, and it’s crucial. A 3D printed part could be 85 or 90% of the way to the fit and tolerance you require, but to get it the rest of the way, the CNC milling process will reduce its mass and dimensions. If you don’t account for this with extra material, you might end up with weak points.
For some machine shops and manufacturers, and for some intended designs or shapes, 3D printing alone can’t deliver the same repeatable tolerances as traditional manufacturing. That’s why, in many cases, the key to top-notch fit and finish lies in combining a newer process with one that’s more familiar.


