
We’ve just completed several weeks of testing of Anycubic’s new Photon Mono X 6K resin 3D printer.
This is part one of a three part series. Please read part two and three.
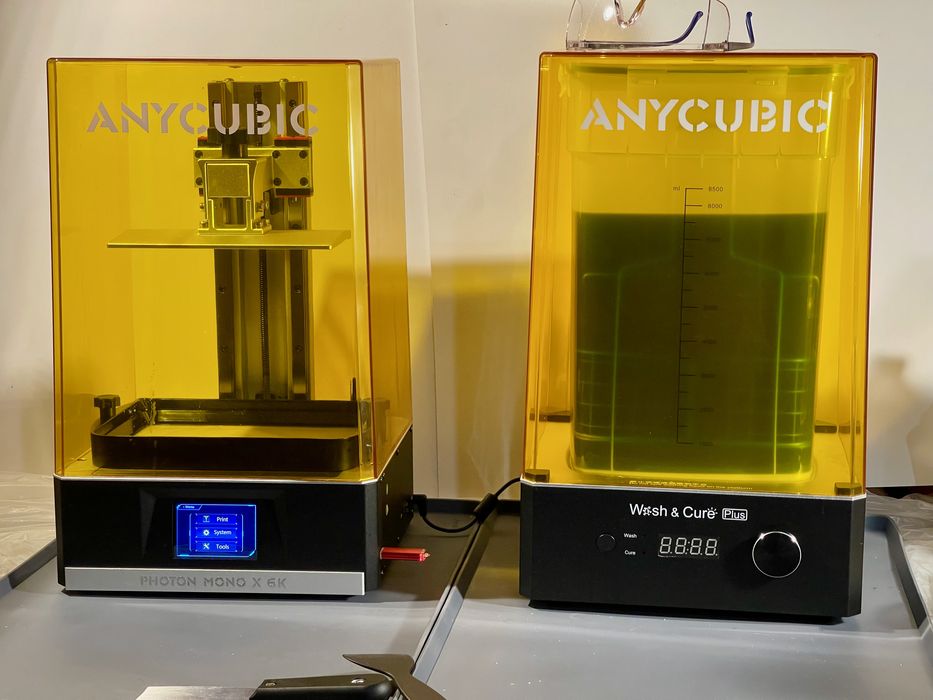
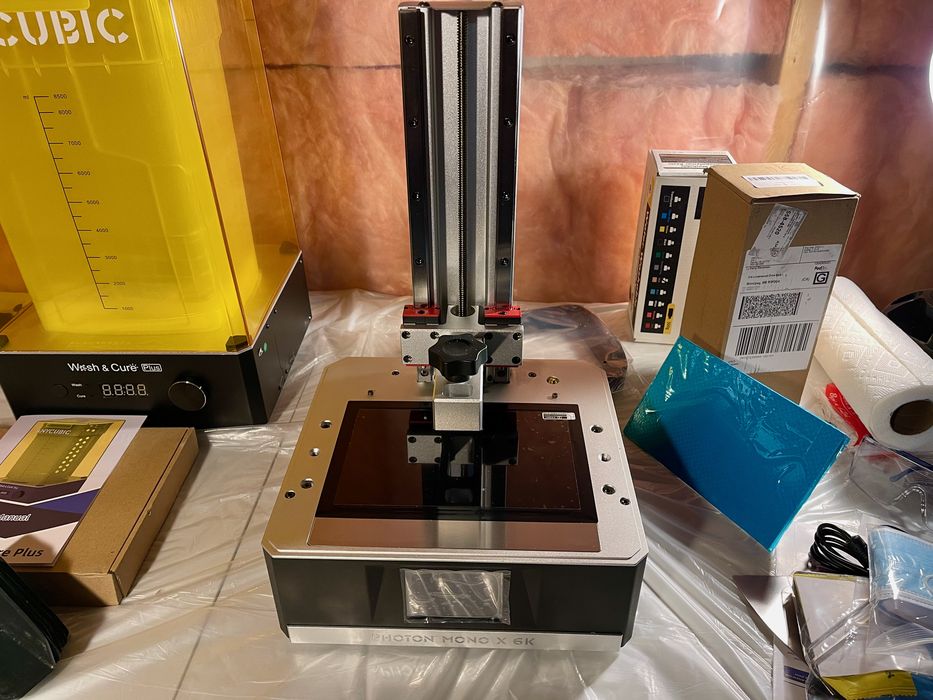
The company provided our lab with a new Photon Mono X 6K 3D printer and the accompanying Wash & Cure Plus Machine, plus some white resin, and we were happy to give this combination a good test, particularly because it hasn’t yet been released.
Photon Mono X 6K Specifications
As you might guess, the main feature of the Photon Mono X 6K is the “6K” LCD panel. It wasn’t that long ago that most desktop resin 3D printers used 2560 pixel panels, but now most offer 4K panels. However, the Photon Mono X 6K is even bigger at 6K. Specifically, this panel has a 5760 x 3600 pixel array.
While this might suggest the resolution could be increased, what’s actually going on here is that the build volume is increased. The extra pixels allow the expansion of the build volume without sacrificing resolution. Thus, you can 3D print larger models with high resolution. The Photon Mono X 6K has a relatively large build volume of 197 x 122 x 245 mm, much bigger than typical desktop resin 3D printers.
There’s another interesting feature, and that’s the mono nature of the LCD panel. Unlike standard color panels that are used for visual displays, the monochrome LCD panel has no RGB filters on the pixels. This means that the full strength of the light can be applied to the resin without being dumbed down by color filters. In other words, you should be able to 3D print faster because more energy gets to the resin in a given time.
The machine has a color front touch panel, WiFi connection and a rigid aluminum structure.
Photon Mono X 6K Unboxing
Both the 3D printer and wash station were packed in an incredibly secure manner. I’ve rarely seen so much packing foam, as basically nothing inside the shipping boxes could wiggle even a few millimeters.
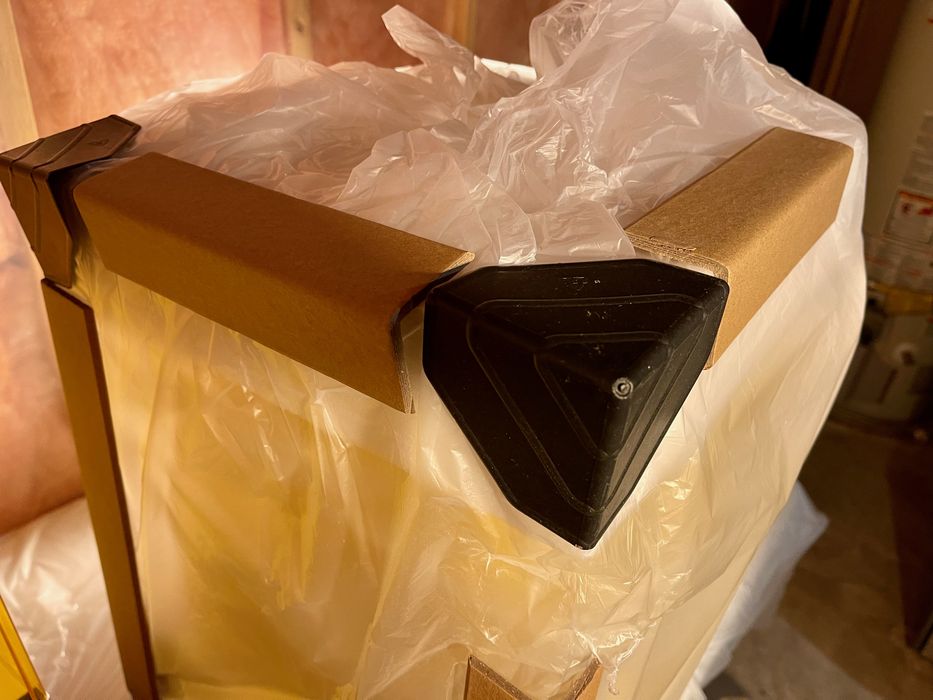
Take a look at this packaging approach: there are rigid beams along the edges, with hard plastic corners holding it all together. There is no way this could be damaged during shipment unless something very catastrophic occurred.
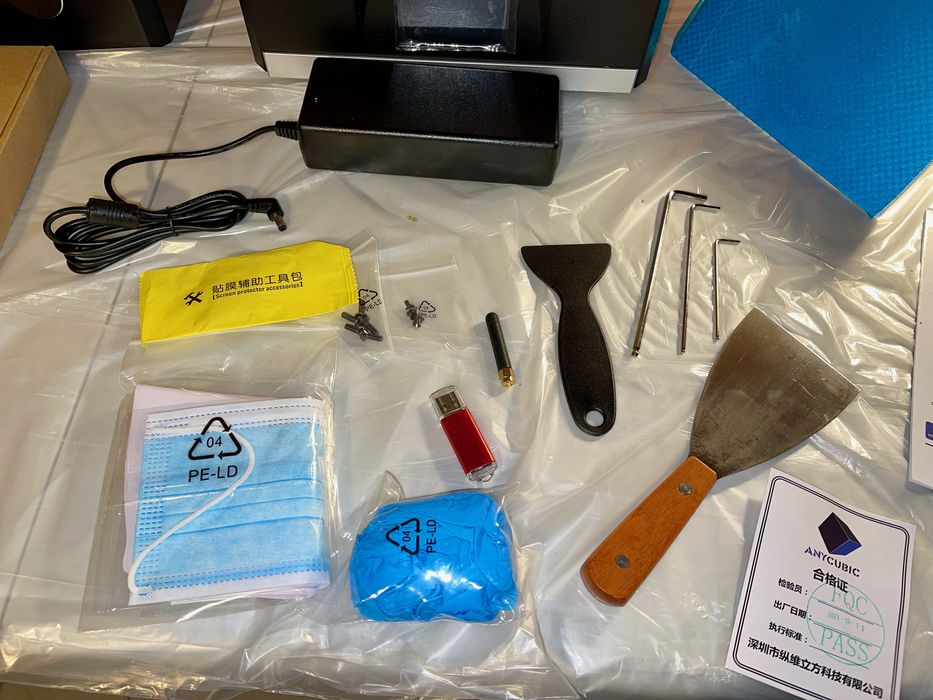
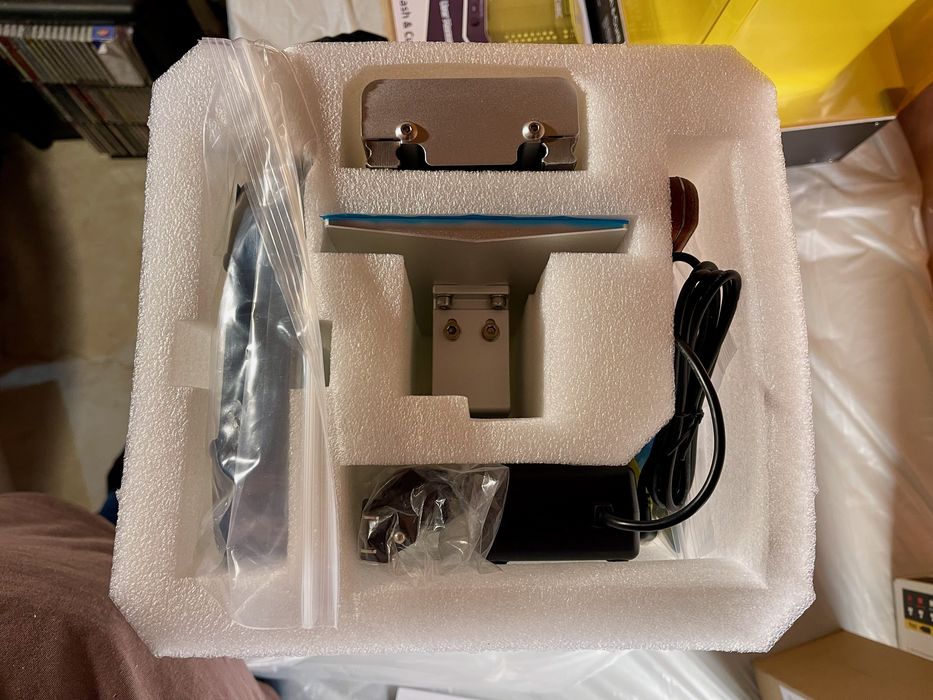
Tools included with the Photon Mono X 6K are few, but you don’t really need many with a resin 3D printer. The main items are the two scrapers, one for dealing with resin, and a larger one for removing prints from the plate. There’s a complete set of Allen keys, as well as some extra bolts, but you don’t really need them. A USB stick holds machine documentation, as well as a single pre-sliced test model.
There are a few pairs of nitrile gloves (large-sized in my shipment), as well as a couple of standard surgical masks. I’m not sure why masks are included, as they don’t protect against VOCs and splashes can get behind them. However, you should always use protective safety glasses, which are not included.
Photon Mono X 6K Setup
Building the Photon Mono X 6K is extremely simple. After removing the ubiquitous foam packing material, you need to install and level the build plate.
This is a very straightforward process that the machine walks you through automatically. You’ll place a card on the LCD panel and then send the build plate down onto it. Tighten the bolts and you’re done. If this is done correctly, you won’t be adjusting it again anytime soon, so this machine is pretty easy to maintain.
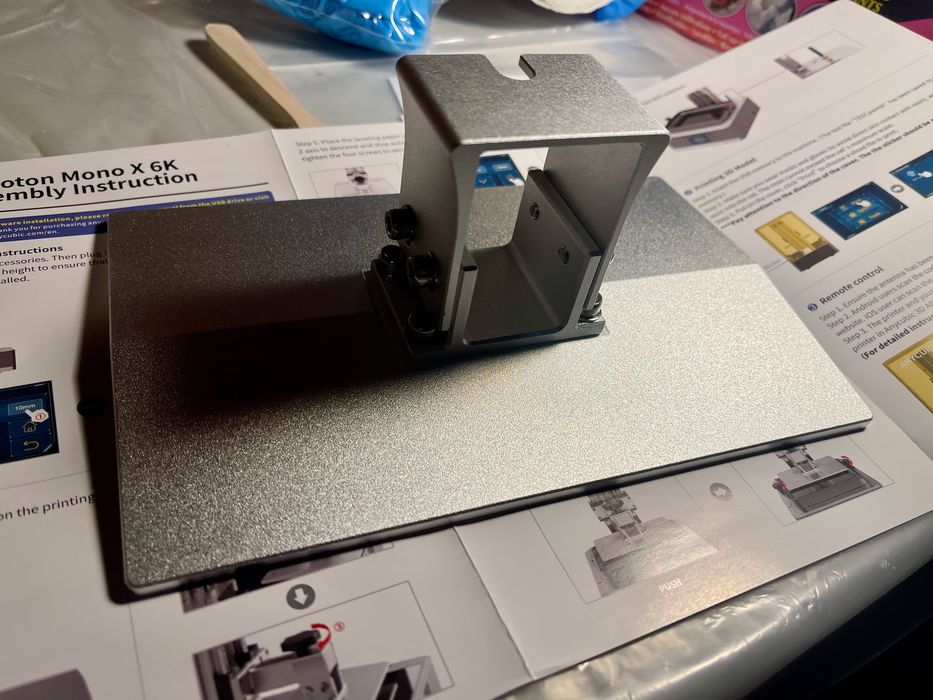
I should point out that I like the print plate’s design. As you can see in this image, the sides are flat and sloped for very easy resin removal after prints complete.
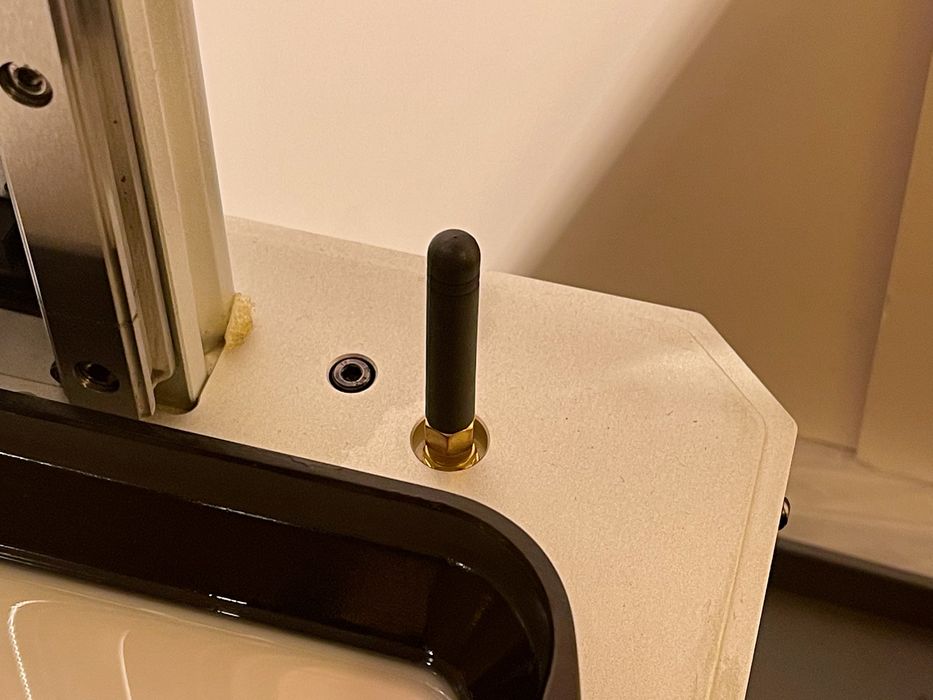
One step that isn’t present in most other resin 3D printer assembly processes is the installation of the WiFi antenna. This stubby antenna must be screwed into a hole towards the back of the machine, but inside the UV cover. I think this is not the best spot for the antenna, as it is vulnerable to resin splashes when processing prints. However, once installed I found the signal strength high, so perhaps Anycubic is on to something here.
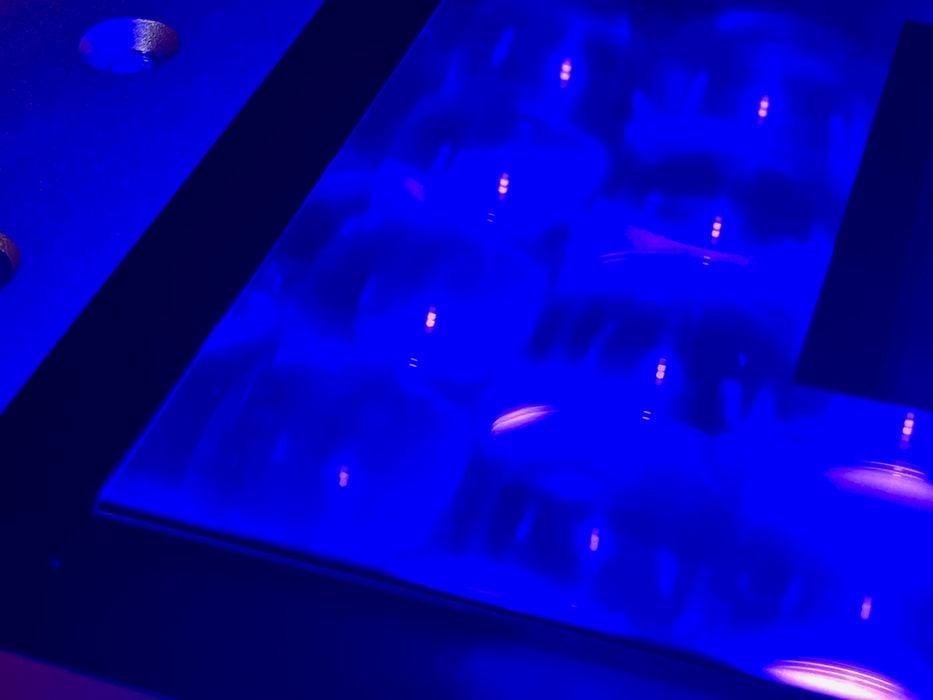
The LCD panel must be tested to ensure it’s operating correctly, and this is done through a front panel command. Basically, the panel lights up and you should see a pattern that matches the documentation.
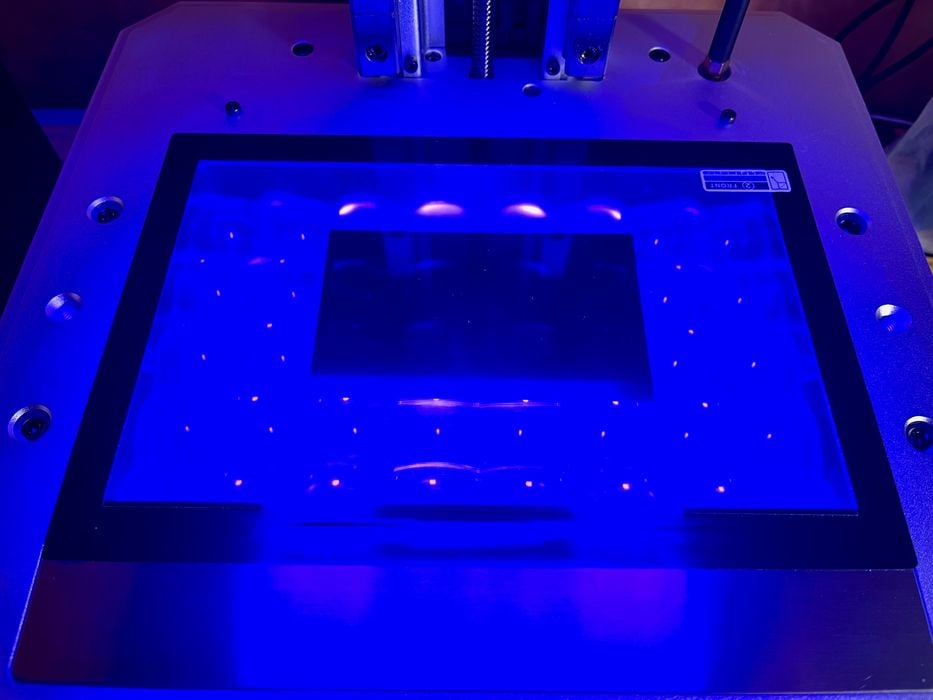
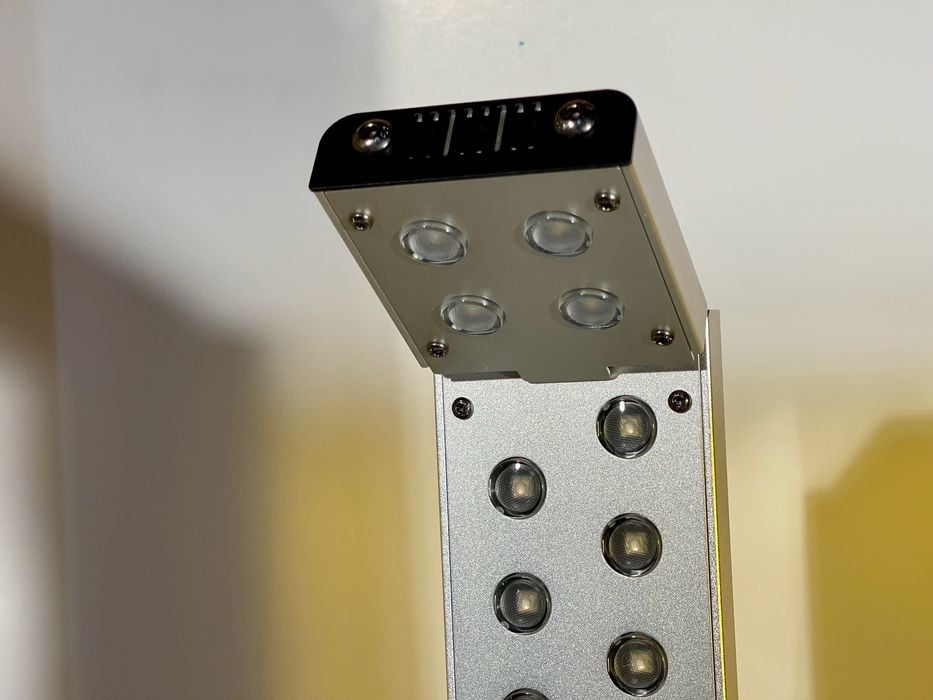
However, it is interesting to see the light engine up close. Here you can see the lens system that sprays the LED light sources evenly across the print area.
Resin 3D printers should always be set up with ventilation, because many 3D printer resins will off gas toxic fumes. I’m sure you’ve smelled them, and it’s an odor I don’t want. In our lab we have an external vent with a four inch flexible tube. The problem was there was no easy way to attach the ventilation system to the Photon Mono X 6K, as its cooling fans suck air in from the rear and blow it out at the bottom all around the machine. In the end I constructed a rudimentary enclosure out of the shipping box to contain the emissions and vent them outside. It would have been better if the Photon Mono X 6K had some kind of vent port to attach piping.
Photon Wash & Cure Machine
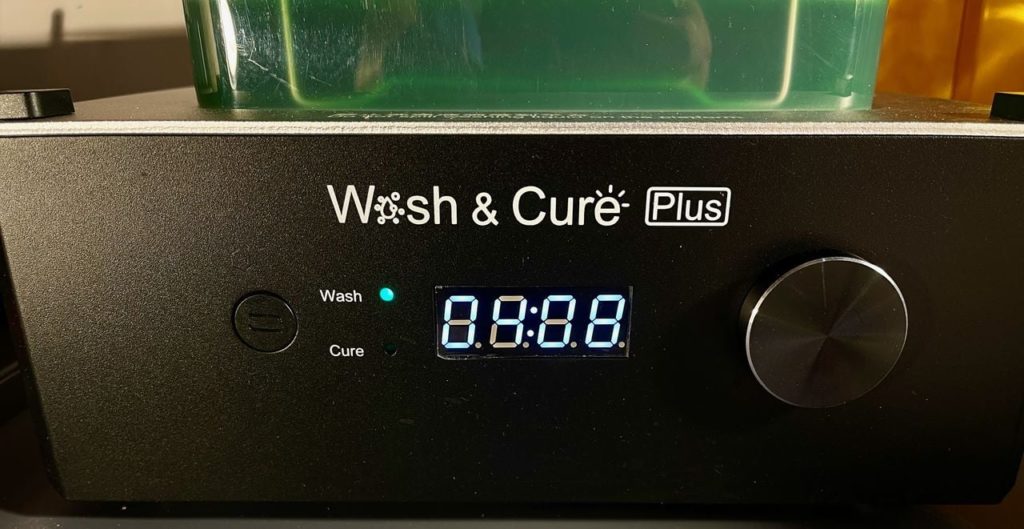
I mentioned the system came with the Wash & Cure Machine, and it’s the “Plus” version. The dual function machine contains a large, removable 7L wash tank and a removable curing tray.
The massive volume of the wash tank is due to the size of prints coming off the printer: they can be quite tall, and the wash system must accommodate them.
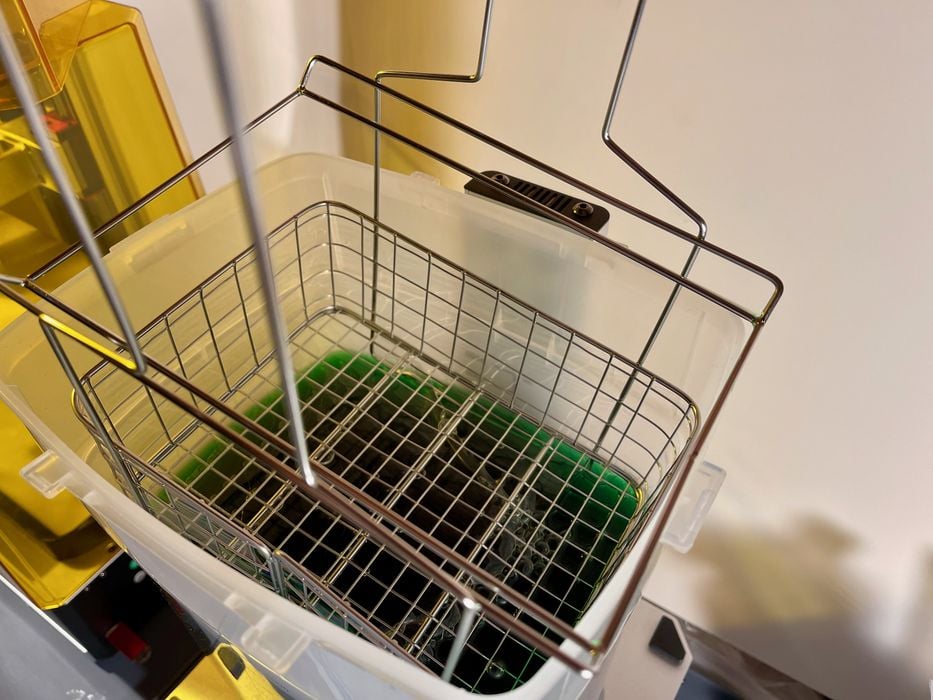
Both use a rotational motor for their function: the wash mode turns a propeller at the bottom of the wash tank, and boy, does it circulate the cleaning solvent (I’m using Simple Green here, by the way):
One of the reasons I chose to wash prints while still attached to the print plate is due to this circulation. Loose prints will fly around in the wash tank and could be damaged otherwise.
Similarly, curing mode uses the same motor system to slowly rotate the try around for full exposure to the curing lights. The curing station is tall enough to handle even the tallest prints possible on the printer. However, most prints will be much shorter, and in order to handle them properly, the UV light stand can tilt, as shown here:
The Wash & Cure Machine is impressive in that it is designed to hold the entire build plate, and that’s how I’ve been using it most successfully. The wash tank includes a metal frame with net to hold loose objects, but more importantly has a ledge that fits the build plate perfectly. For the tallest models there is an alternate metal frame that sits higher up in the tank.
This is part one of a three part series. Please read part two and three.
Via Anycubic