
Our testing of the Anycubic Photon Mono X 6K 3D printer continues with a review of operations and post processing.
This is part two of a three part series. Please read part one and three.
Photon Mono X 6K Operation
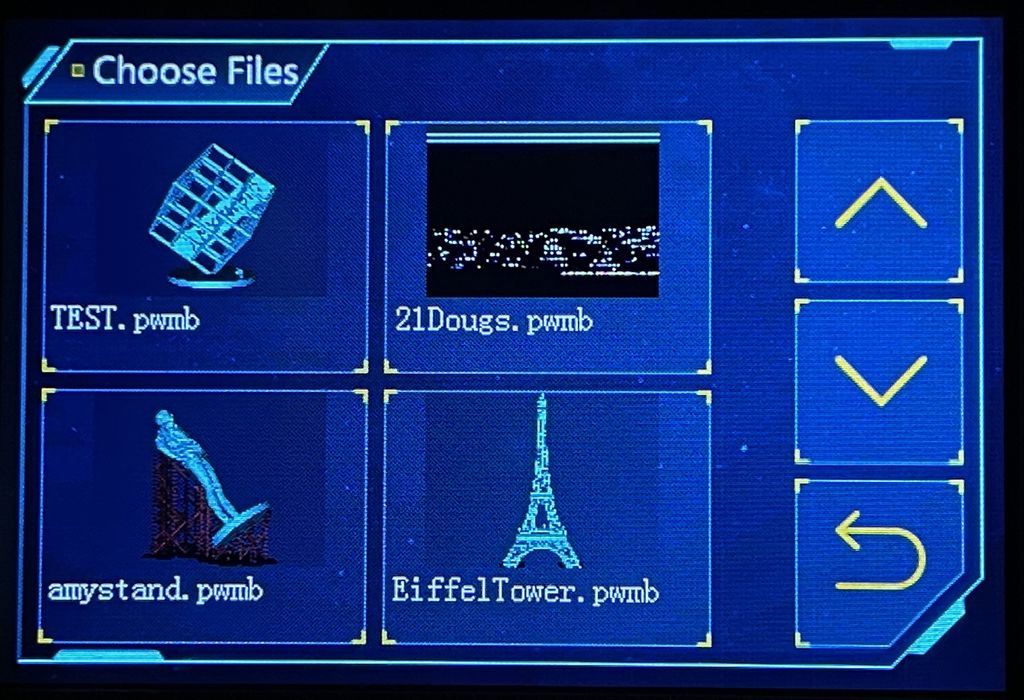
Operating the Photon Mono X 6K is quite straightforward: scroll through the 3D models stored on the USB stick and touch the desired item. Then hit print and the action starts.
The front panel shows a small 3D view of each stored print job, so you can see what you’re printing. However, the display is a bit small and similar models might appear very similar.
The USB stick unfortunately contains only a single test job, an Anycubic “Cube”. While that’s a very good test piece, it would have been nice if Anycubic had put a few more different test jobs of varying difficulty on the USB stick.
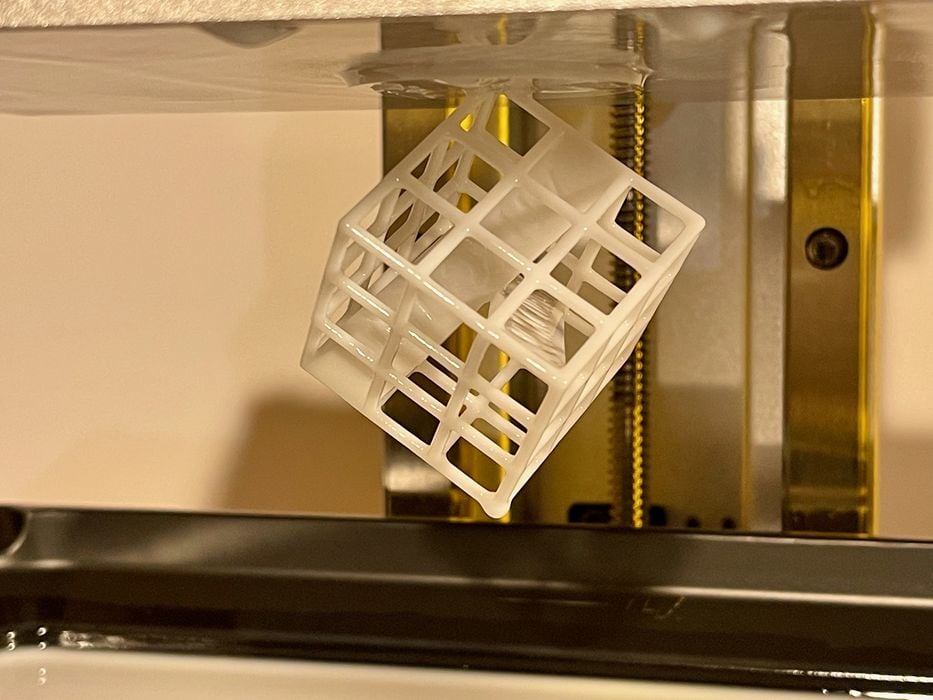
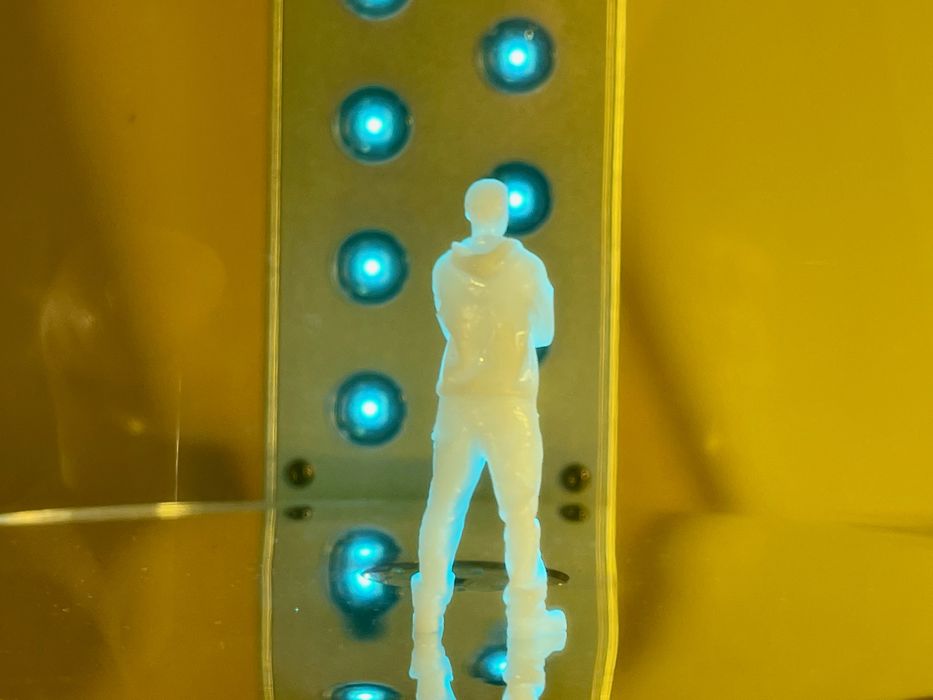
My first print was the Anycubic Cube, and as expected it came out perfectly.
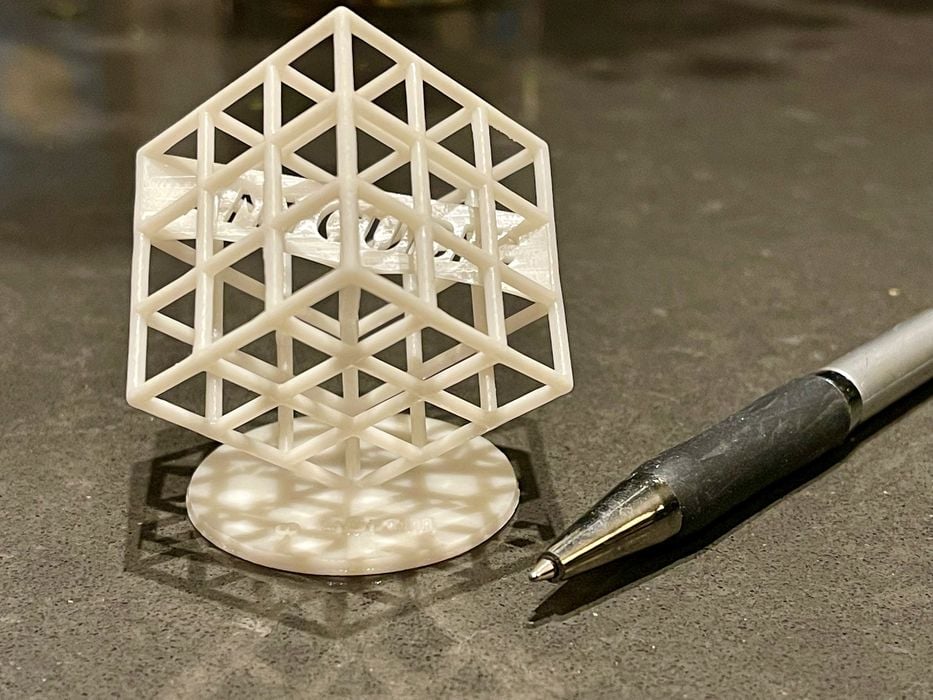
After curing, the cube showed the possible geometries of this device, along with the resolution.
But that gets you only so far, and you will very soon be preparing your own 3D prints using Anycubic’s Photon Workshop software. I’ll describe this software a bit later, but let’s continue looking at machine operation.
The first step in any resin 3D print sequence is to tune the machine for the resin provided. This is done by repeatedly 3D printing a small calibration chip and varying the main exposure time. You’ll soon see which is the correct exposure for that resin, and that’s what you’ll go with for the remainder of that bottle.
For my bottle of standard Anycubic white resin, the optimal layer exposure time ended up to be a mere 1.7 seconds. This is quite a bit lower than on other systems, due to the power of the monochrome light engine. While the exposure time is fast, each layer still requires time to peel off the layer and reset for the next. Nevertheless, I found the print speed to be quite impressive, with many prints taking only a few hours. My largest print, the Eiffel Tower, took around 20 hours.
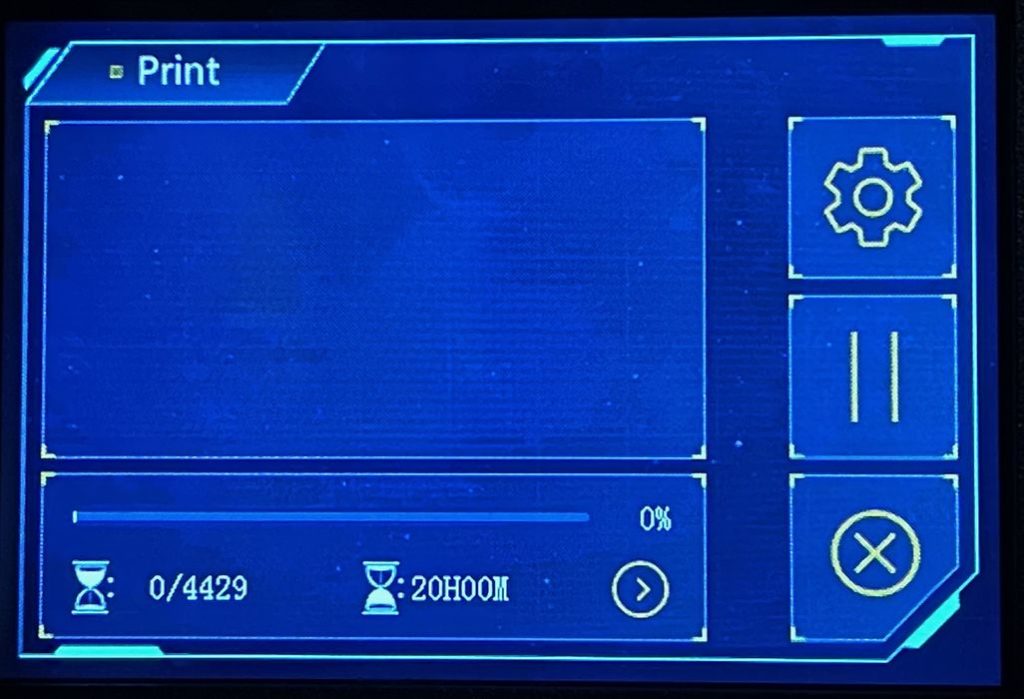
I should note that the estimated job completion time on the Photon Mono X 6K’s front panel is quite accurate, even hours ahead of time.
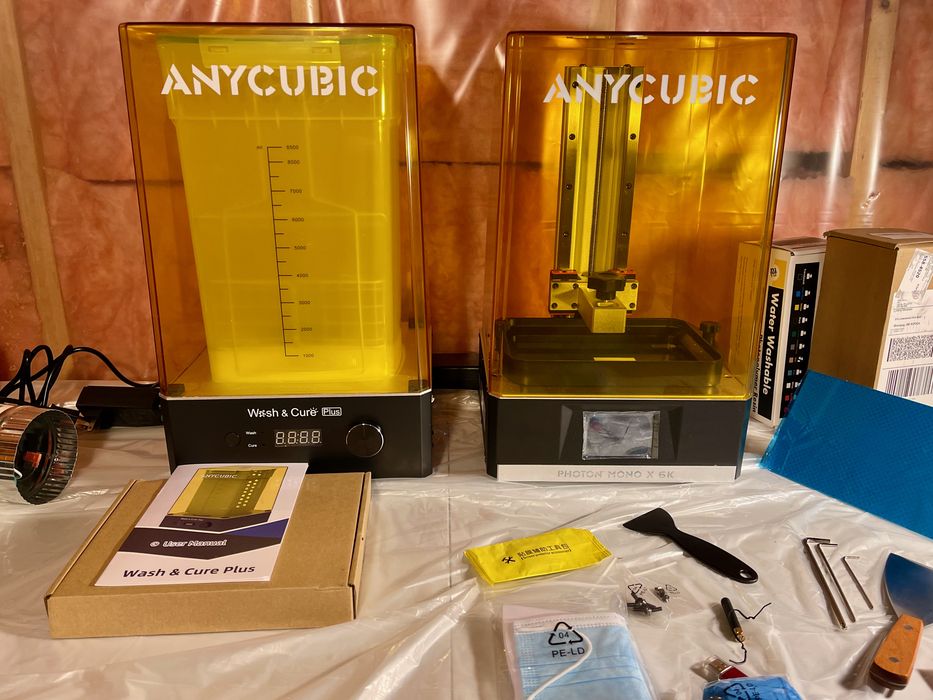
If there’s one hardware aspect that Anycubic might improve, it’s lids. I found the UV cover of the Photon Mono X 6K to require bigger corner knobs to hold it secure. It’s easy to misalign it when placing down, but this does not in any way affect the performance of the machine. I believe the lid could be designed in a way that fits more securely on the top of the machine.
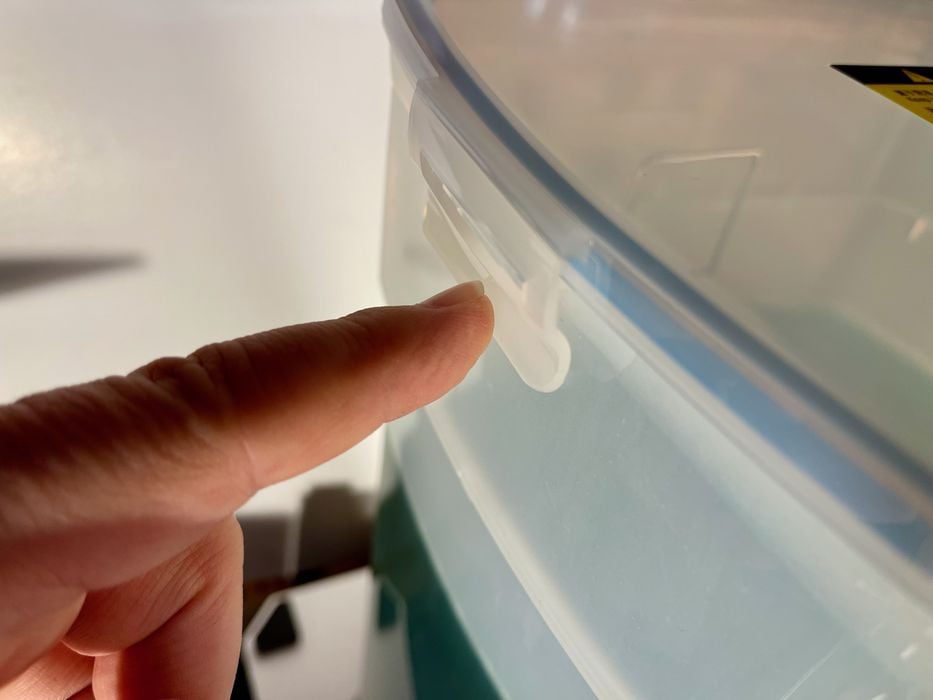
Similarly, the Wash and Cure Plus Machine’s wash tank lid was a bit frustrating. The snaps holding the wash tank lid on always cause problems. Maybe it’s just me, but I can never get all four to connect. You must have the lid placed perfectly, and then snap them down fully, one by one. It sounds simple, but the lid tends to shift when the first snap goes down, making it harder to get them all connected.
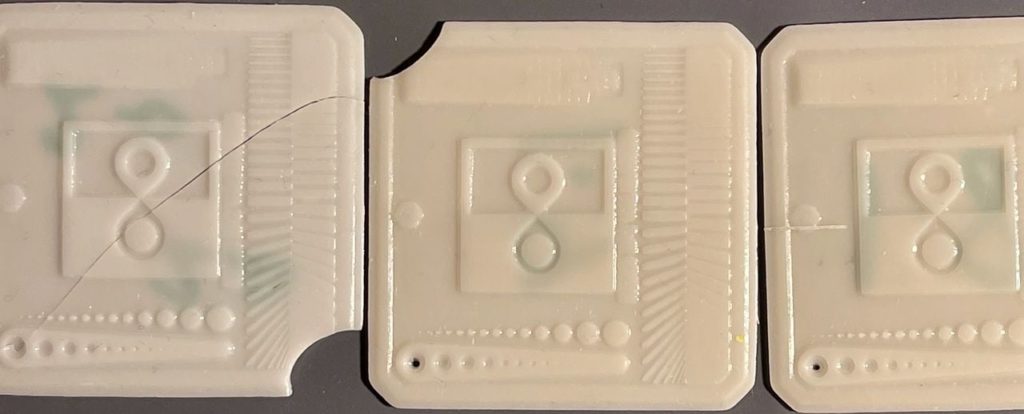
One print parameter I ended up changing significantly was the initial layer exposure time. This is typically quite a bit longer than the standard layer exposure time because the system wants to ensure the print stick properly to the plate.
I think the default initial layer exposure time is far too long. Sure, it makes certain the print sticks, but it makes it very difficult to remove the print when complete (see pics of shattered tuning chips above). Instead, I’ve had excellent results by lowering the initial exposure time to only twelve seconds, and it could possibly be even lower. This definitely sticks the standard resin securely, but also allows for easy print release.
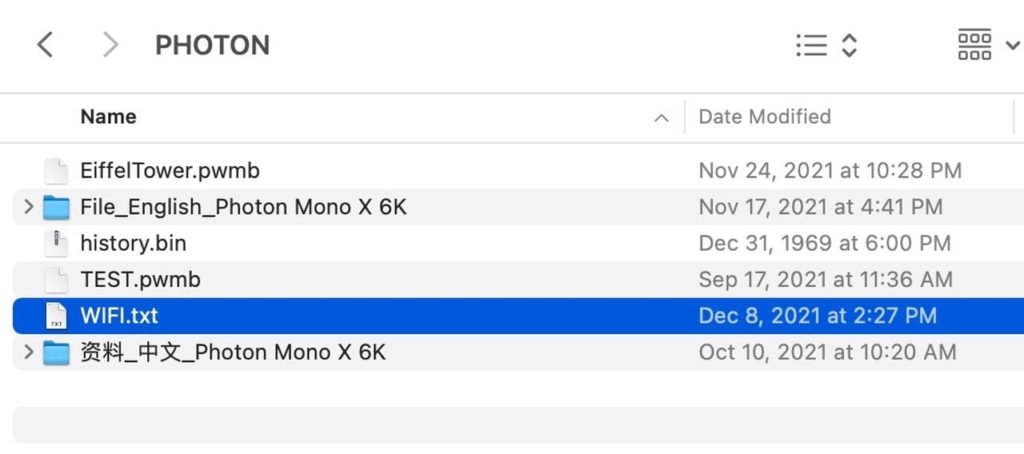
Wifi networking, a key feature of the device, was a bit tricky to set up. Unlike many devices where you simply type in the WiFi credentials, the Photon Mono X 6K requires you to put them into a text file on the USB stick in a very specific format. In fact, there are some syntactical constraints that might conflict with your specific WiFi setup.
Once you’ve put these credentials on the USB stick, I assumed the machine would read them automatically and connect. However, after multiple attempts it did not. Only then did I realize you must “Print” the WIFI.txt file in order to have it read the credentials. This is a very odd way to invoke this function, and I’m hoping Anycubic will make this a bit more automatic in future firmware releases.
That aside, it’s tremendously easy to operate the Photon Mono X 6K via the mobile app. The app correctly found the printer on the local WiFi network, and you’re able to read the USB files, any of which can be 3D printed, should the printer be physically ready to print. During printing you’ll be able to monitor the progress through the app:
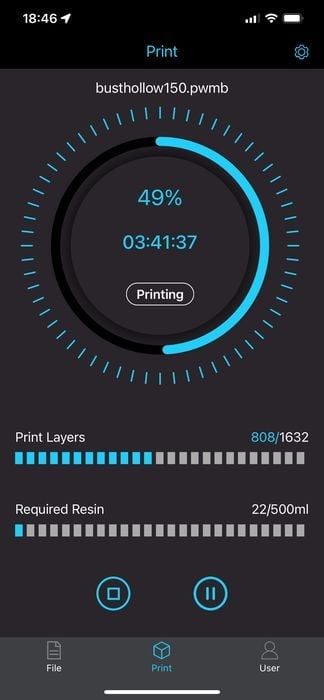
Since there’s no camera on the Photon Mono X 6K, there really isn’t much you can do from the app aside from monitor progress: you’ll never know if the print has screwed up unless you physically look at the device. Nevertheless, I did find it quite useful to monitor progress, although you must be on the same local network to do so.
Photon Mono X 6K Post Processing
Operation of the Wash & Cure Machine is very straightforward — there are only two buttons on it, but the devil is in the procedure you take when using the machine.
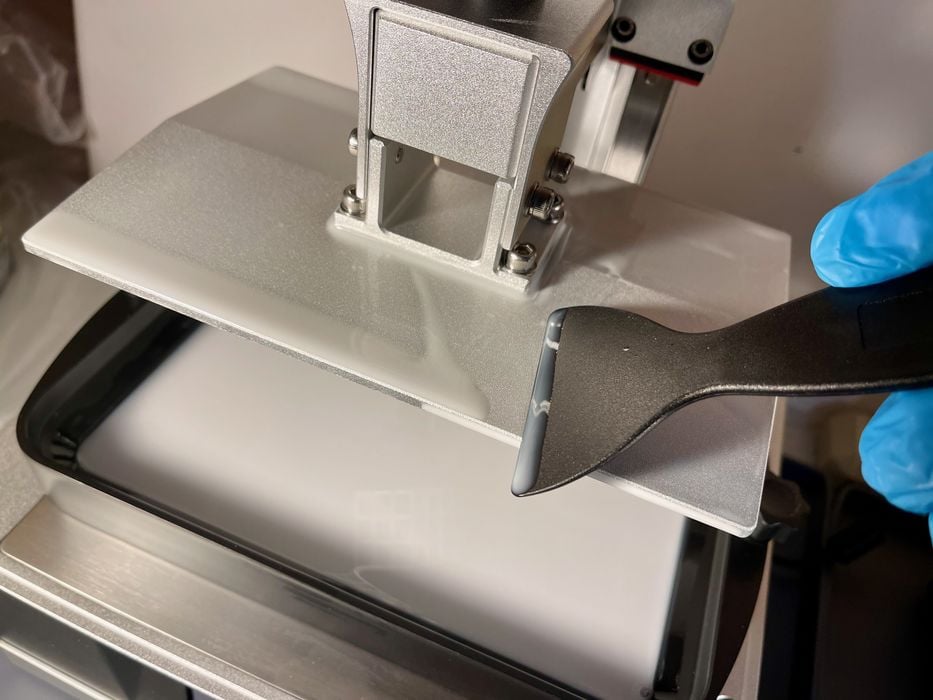
But before you start up the Wash & Cure Machine, you have to get the print from the printer to the wash tank. I chose to do this using the entire build platform, which cleans not only the print itself, but also the platform. Of course, you must scrape off loose resin and drip it back into the printer’s resin tank before you do so — otherwise you’ll lose some valuable material.
Fortunately, that step is really easy on the Photon Mono X 6K because the build platform is properly sloped and has flat sides. This makes it trivially easy to push off the resin.
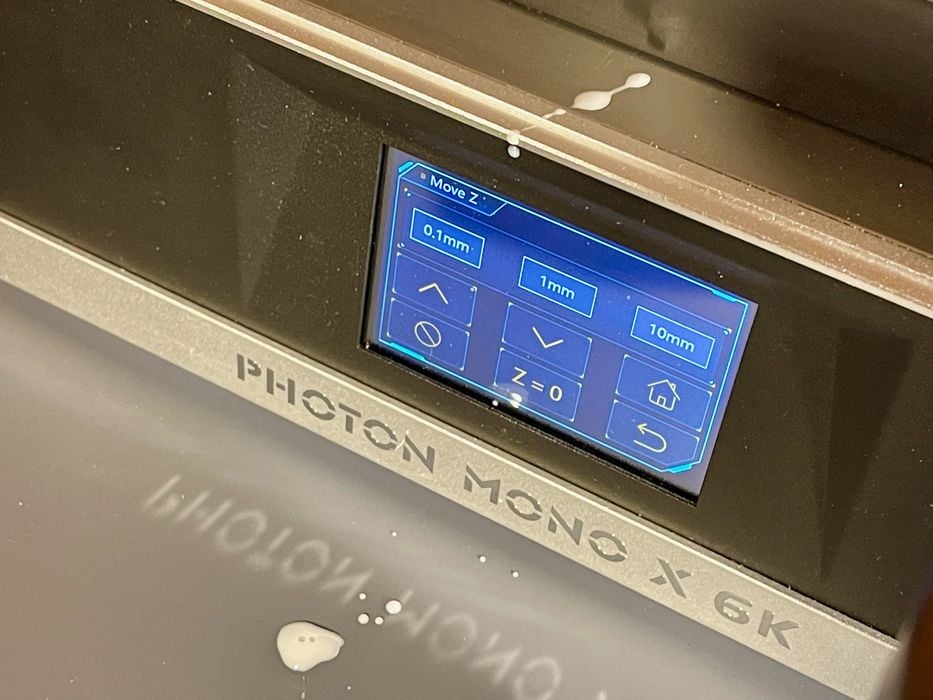
However, when you’re scraping resin off the bottom of the platform, I recommend first raising the platform up high so you’ll have room to twist around the build plate above the resin tank.
The Wash & Cure Machine’s circulatory force is so strong I found it took only ten minutes to typically clean a print of any resin. However, I often found a dribble of resin residue on the build plate that required special attention.
After cleaning, the next step is to remove the prints from the plate, and I found this to be extremely easy by lowering the initial exposure time and also ensuring the rafts used in slicing had the angled edge.
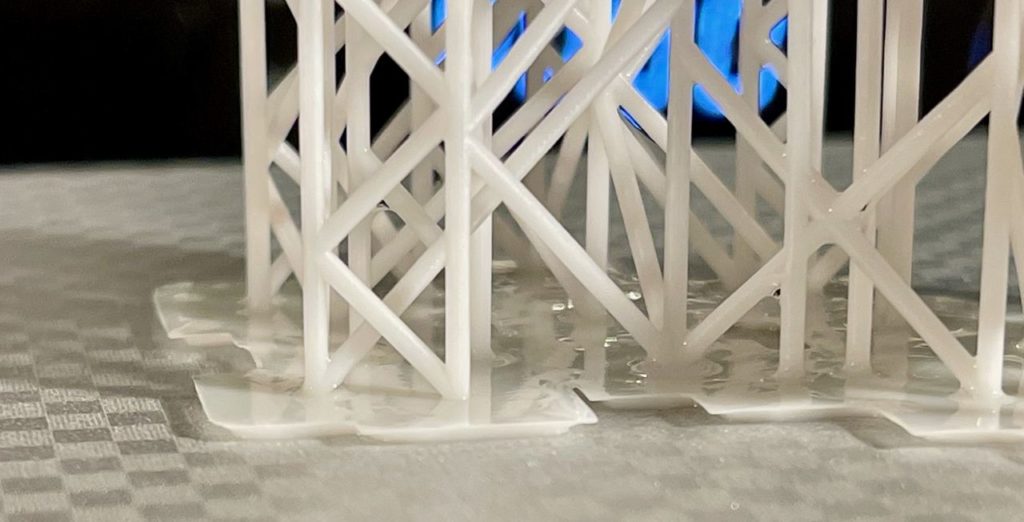
This edge makes it very easy for the chisel to grab the print. Many times I was able to simply slide the chisel down the entire build plate and remove everything in a single swipe.
Curing is pretty straightforward: replace the wash tank with the curing tray and push the button to switch into curing mode. Then replace the UV cover, twirl the dial to select a time and push it in to start. For most of my prints I would use only 2-5 minutes of UV exposure to finish the job.
This is part two of a three part series. Please read part one and three.
Via Anycubic