

We extensively tested the Anycubic Photon Mono X 6K 3D printer and the matching Wash and Cure Plus Machine. Here we discuss software and wrap up.
This is part three of a three part series. Please read part one and two.
Photon Mono X 6K Software
Job preparation for the Photon Mono X 6K is done with the Photon workshop software. This is a custom-built package made by Anycubic for use with their resin 3D printers. As you might expect, you have to select the 6K model before proceeding.
The software includes all the usual functions to import STL files and place them on the build plate, and even organize groups of parts properly.
However, I found it tricky to understand how to do some functions as the software didn’t really lend itself to intuitive understanding. Somehow I mentally reversed the support overhang angle polarity, and that caused me much fiddling to figure out what was going on. However, when I understood how it is set up, it worked just fine.
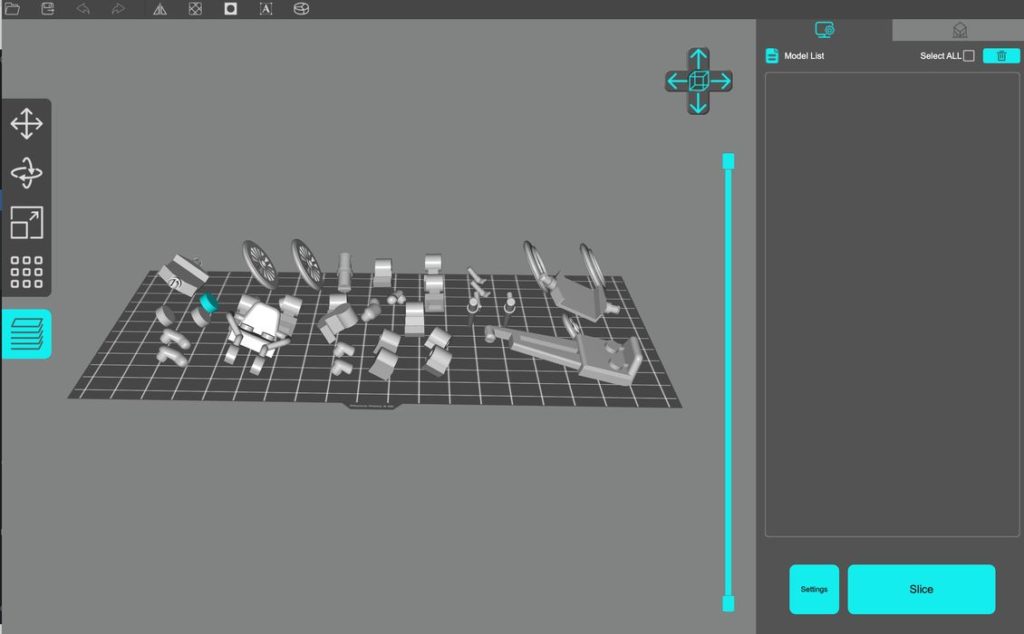
Similarly, I was confused by the management of multiple objects. For example, if you import a bunch of STL files they will all be overlapping in the middle of the plate, something you cannot print. You can manually separate them, but that’s extraordinarily tedious.
Eventually I discovered the layout tool, but I found it pretty confusing. Here you can see the layout panel:
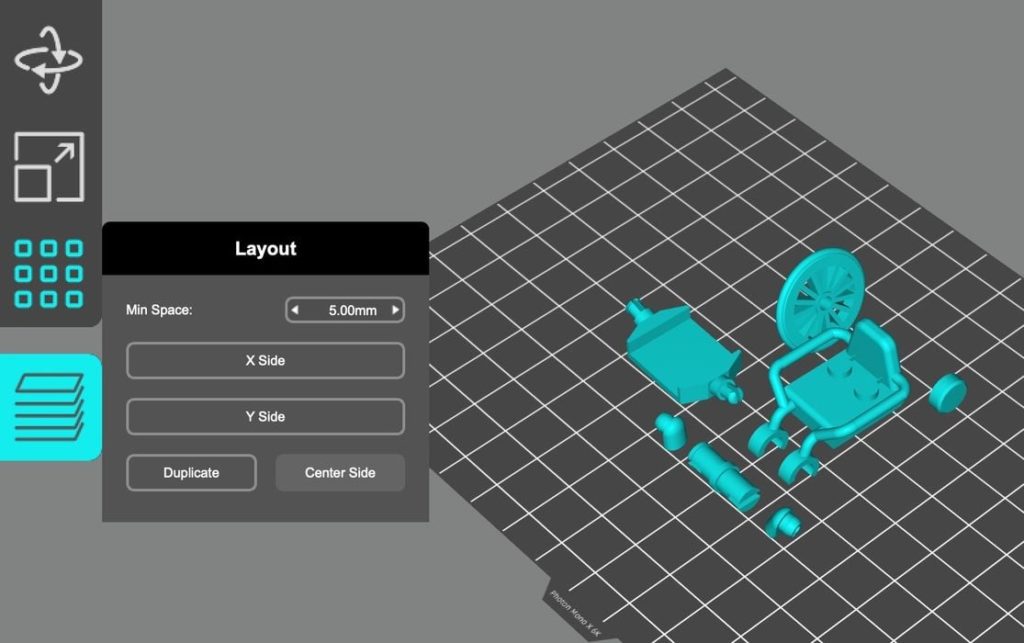
“X Side”, “Y Side” seem important, but “Center Side”? What does that mean? How are these related? The X, Y and Center buttons are not identical in size nor aligned, so do they do different functions? I honestly could not guess their meaning until I spent time experimenting. Eventually, I learned this:
| Anycubic Command | Actually Means | |
| “X Side” | Place and space selected parts from front | |
| “Y Side” | Place and space selected parts from left | |
| “Center Side” | Place and space selected parts around center |
The layout function seems to make a reasonable guess at a good orientation for each part, but as always, you must manually inspect each to ensure it’s what you want.
Similarly, you should always manually inspect the generated support structures to ensure they are correct for the specific parts involved.
Most 3D printer manufacturers end up with a very cluttered and overly detailed user interface, and that’s the case with the Anycubic Photon Mono X 6K. Here is an example of the design styles and default font usage you’ll expect to see when operating the device:
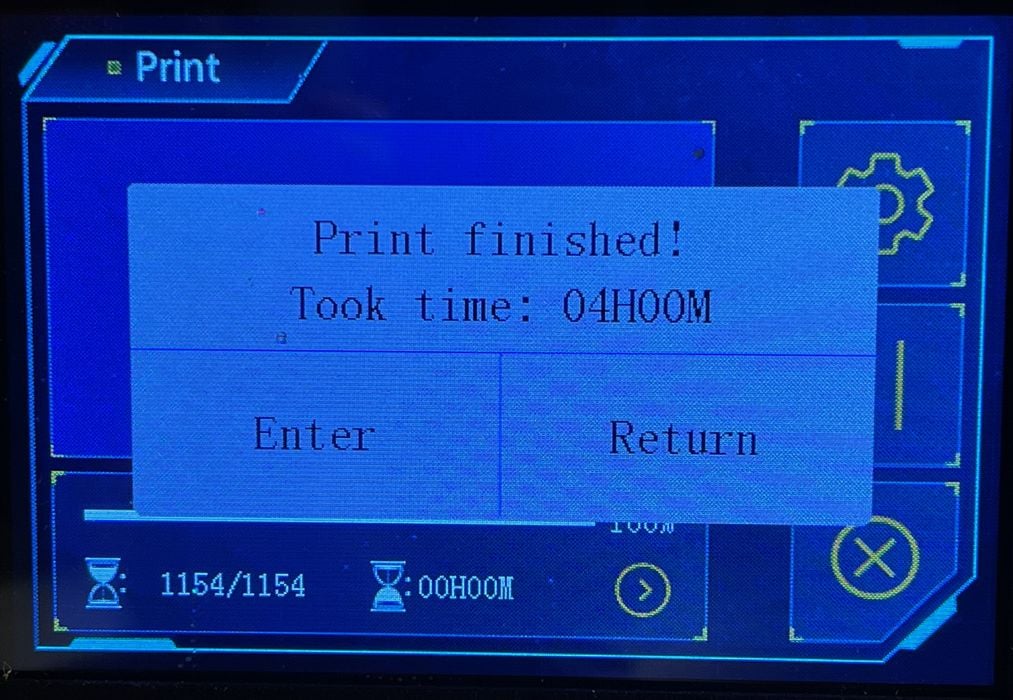
While the hardware is good, a refreshed, clean and tidy interface might make the machine easier to use, particularly for new users unfamiliar with 3D printer operation.
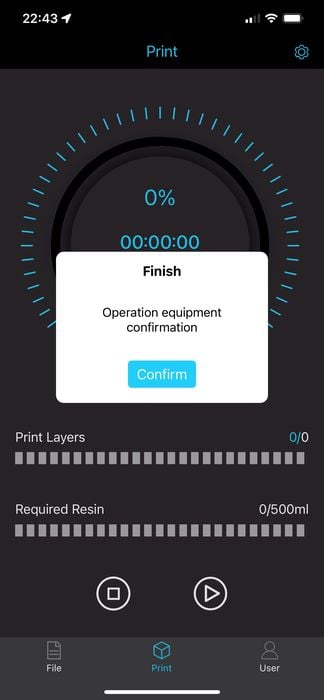
Often there is odd wording used in the software. Here’s what you see on the app when a job completes. The wording is strange, “Finish – Operation Equipment Confirmation – Confirm”, but you get the message.
After quite a bit of frustration with Photon Workshop, I eventually learned that it actually does everything you need. The functions are not intuitively organized or labeled, and I strongly recommend you spend some time experimenting with each command to understand exactly how they work. The two areas of particular concern are the automatic support generator and ways to organize multiple parts.
Photon Mono X 6K Print Results
Print results were outstanding, once print parameters were tuned and support generation was optimized, so there is no reason to doubt this machine’s capability.
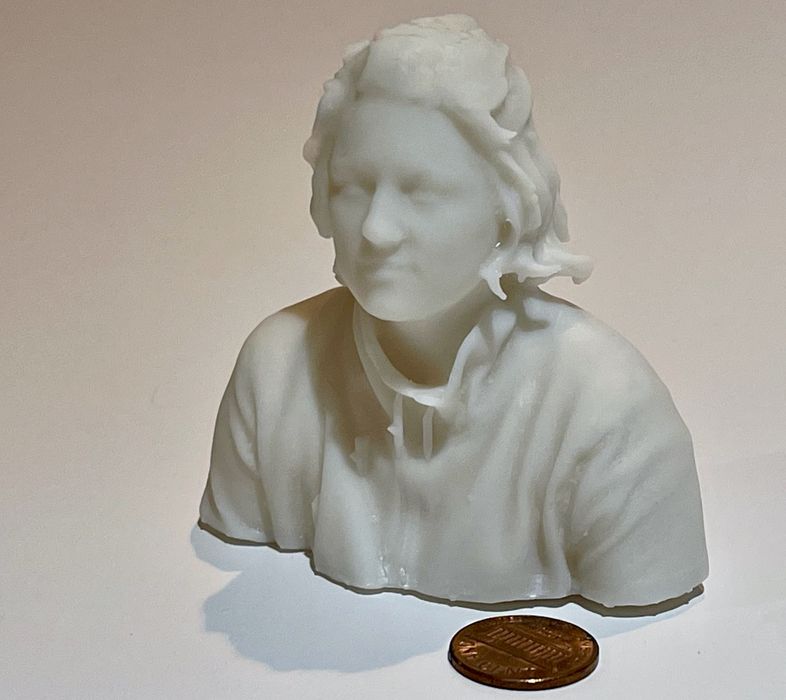
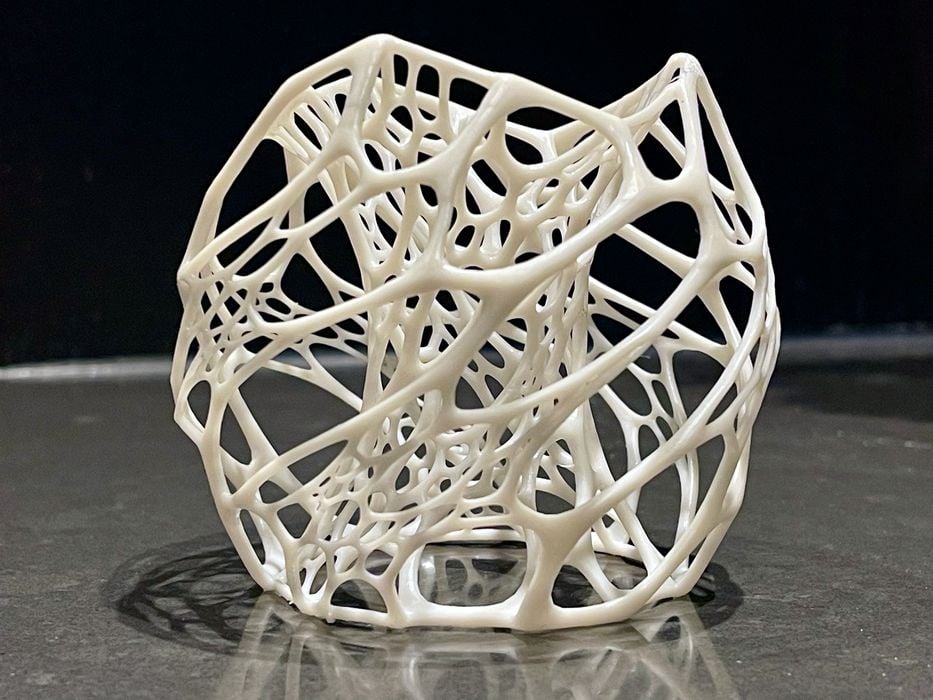
Here you can see a 3D scan print that came out quite well:
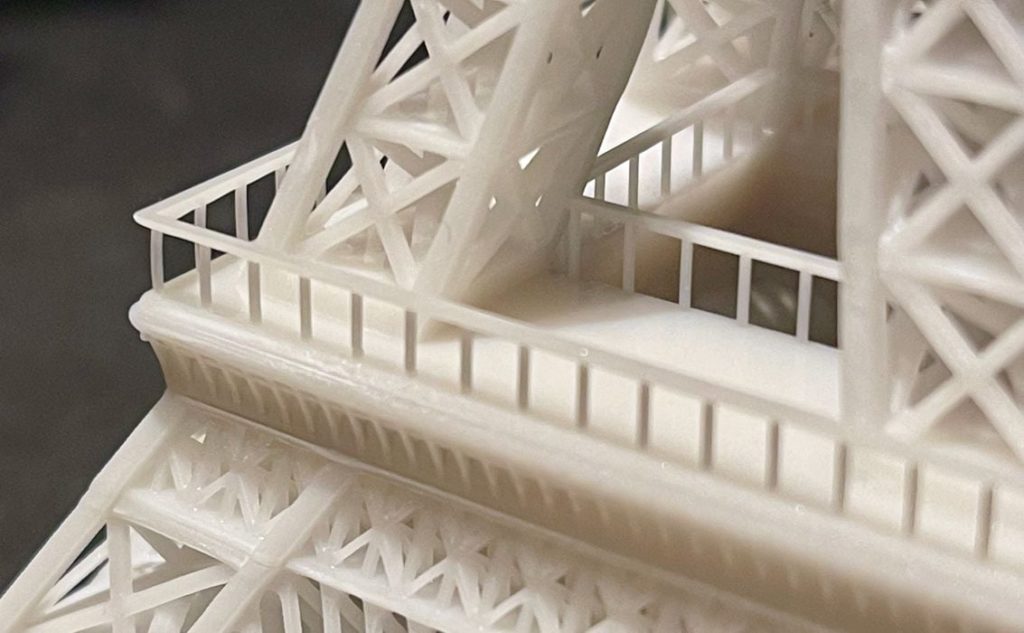
The tall model I attempted was the Eiffel Tower 3D model, and it came out as best I’ve ever seen this print.
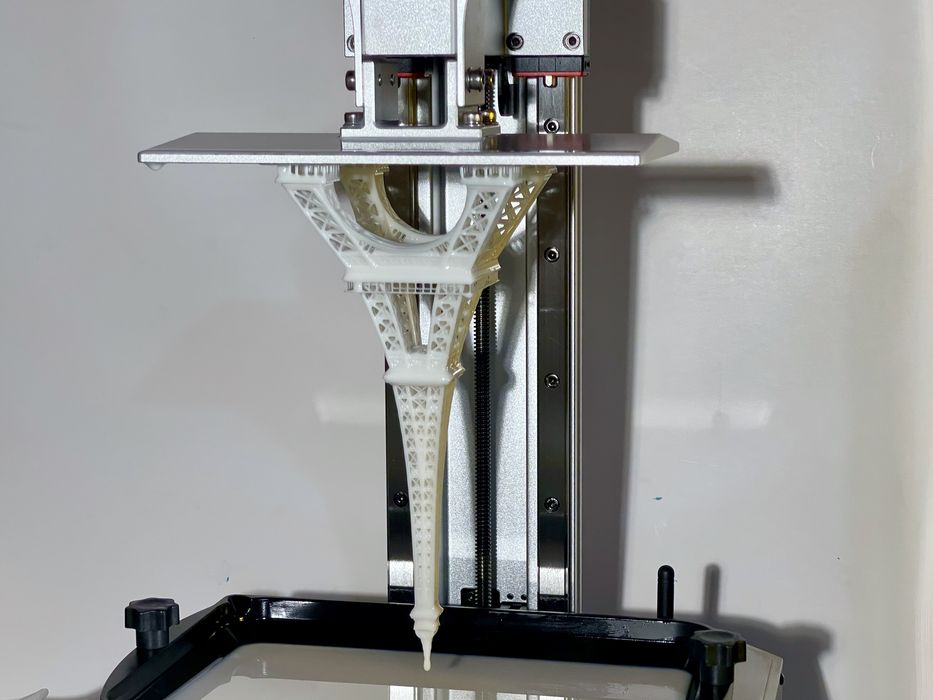
Note the extreme and precise detail in this print.
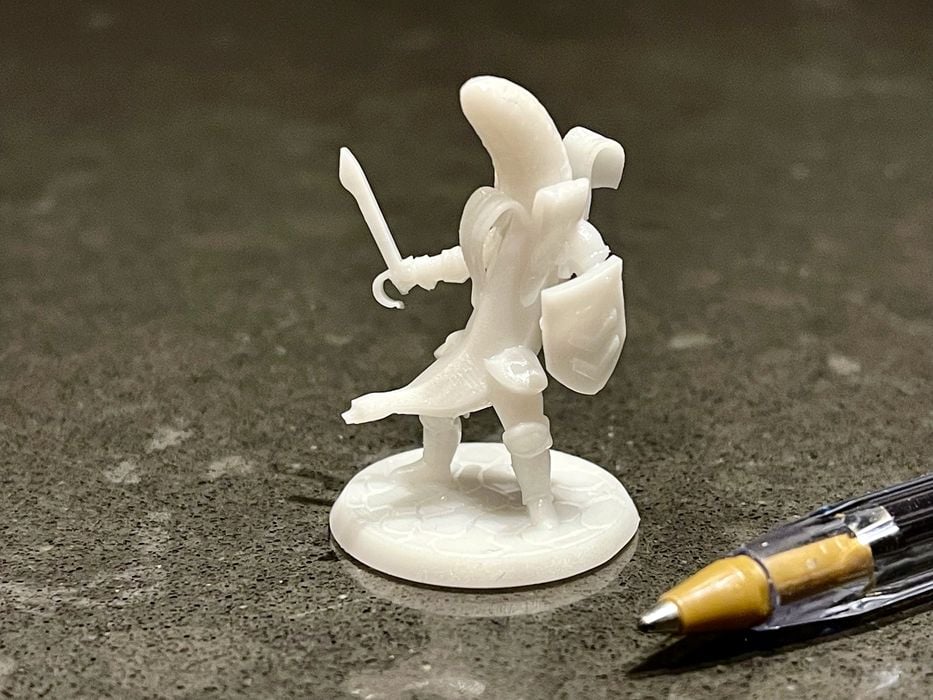
One of the several benchmarks I tested on the Photon Mono X 6K was the Ameralab sample. This tiny object is quick to print and contains a massive amount of fine detail. As you can see, it came out near perfect:
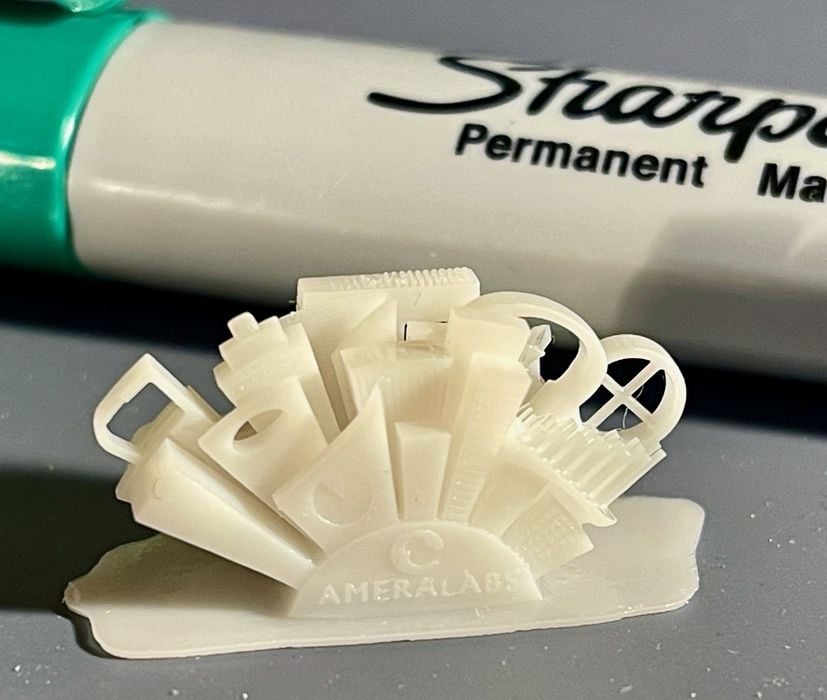
I wasn’t satisfied, and tried to use a microscope to see more detail. While the image capture wasn’t optimal on the microscope I used, you can definitely see there is much detail that isn’t even visible to the human eye.
Clearly, this 3D printer can certainly reproduce details very well when properly tuned.
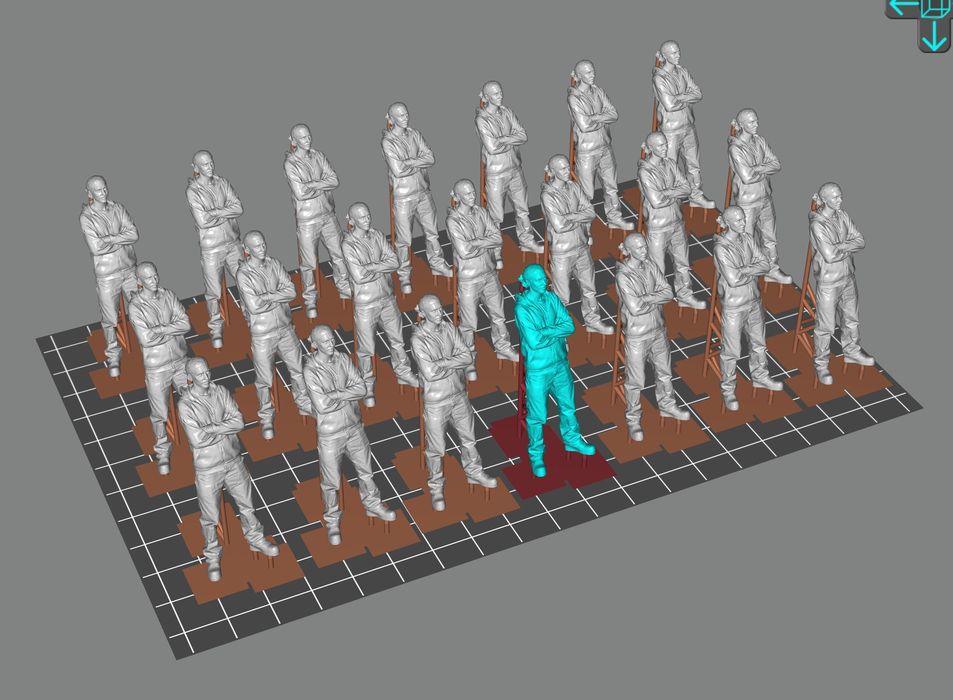
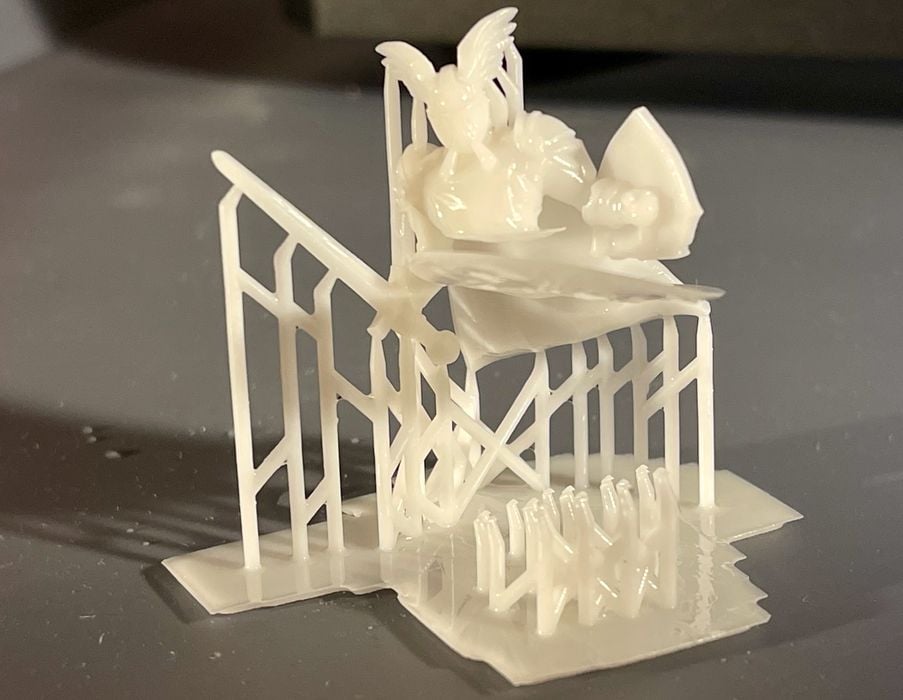
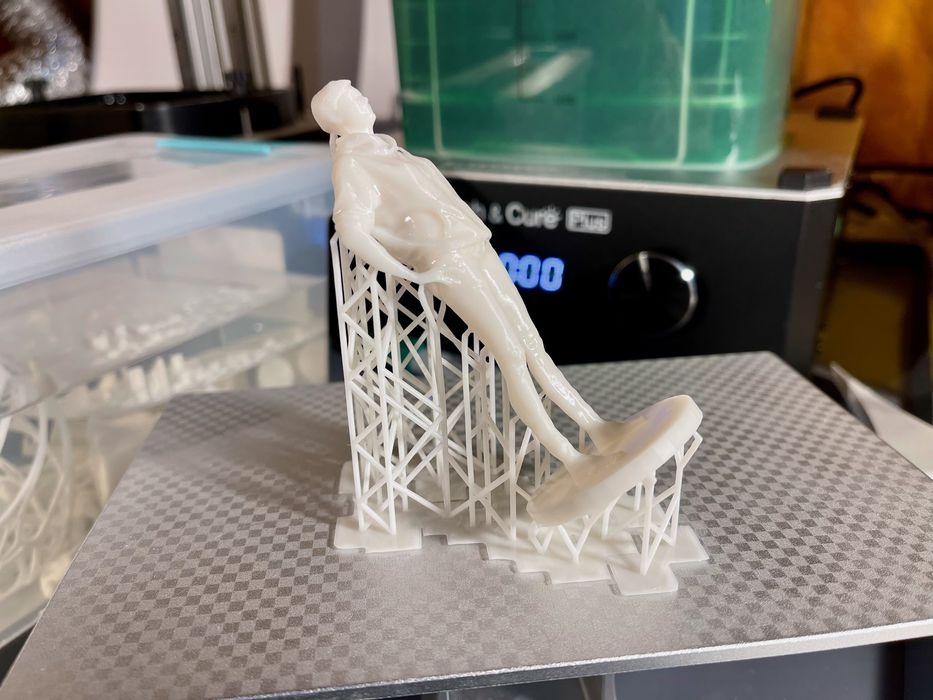
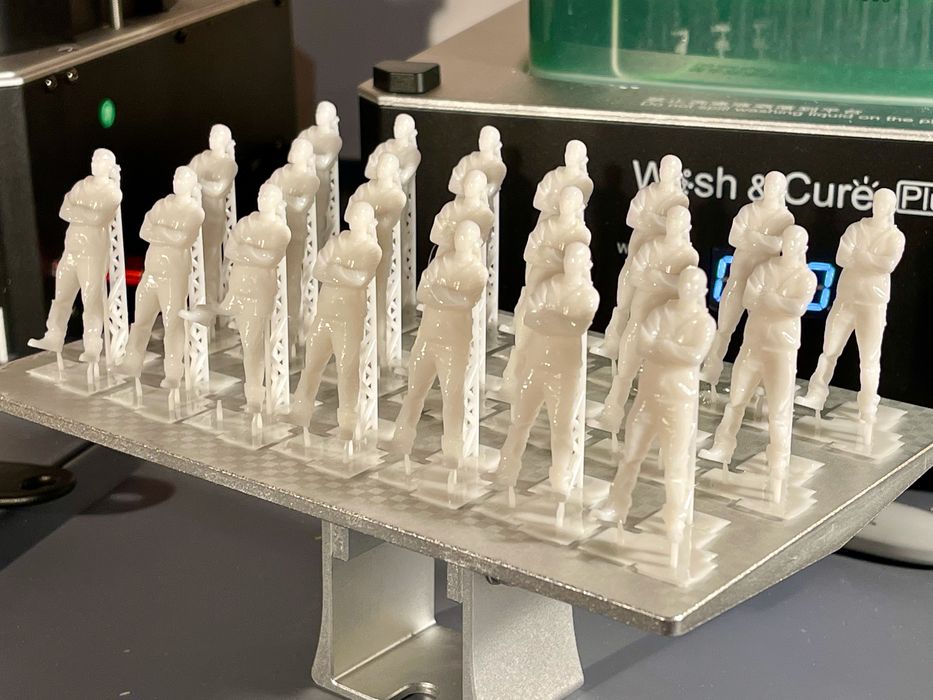
The large print plate size offered the possibility to 3D print a larger number of objects, so I gave that a try. Here I attempted to 3D print 21 copies of my friend Doug, and it almost worked perfectly — one Doug in the front row had a bad leg, but that is probably due to poor support structure configuration.
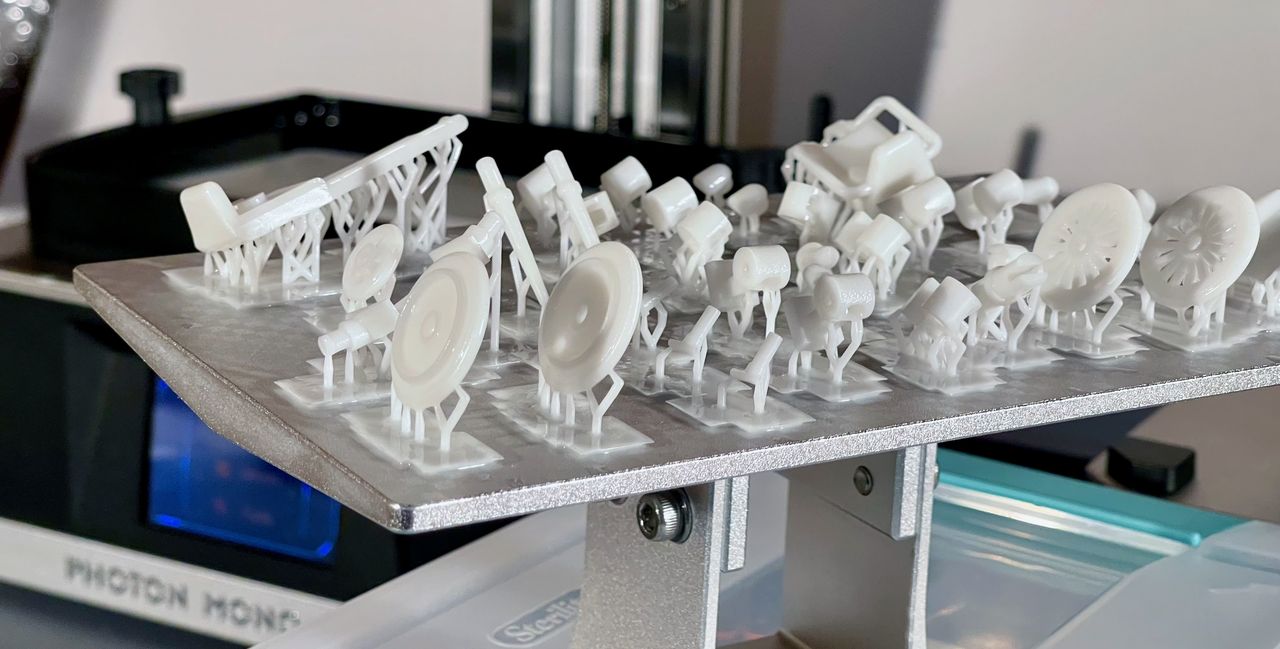
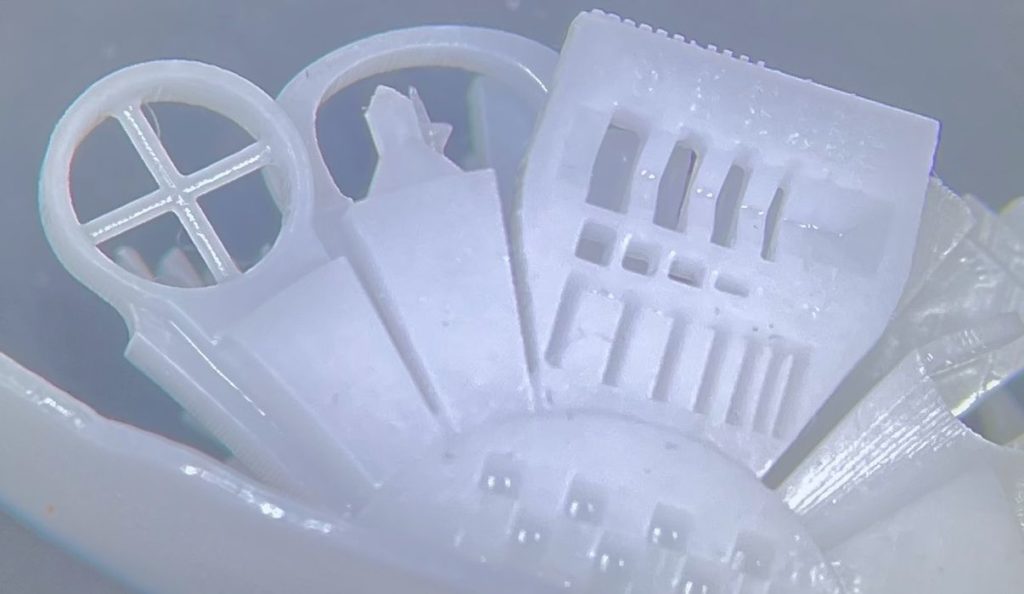
In another example I was able to print a full plate of LEGO parts, shown at top. These plates are relatively short in the Z-axis, making them very quick to print. The LEGO parts printed in only two hours, so I ran the job several times and made a ton of parts easily.
Photon Mono X 6K Conclusion
The two things to know about the Photon Mono X 6K are that the hardware is excellent. It’s well-built and easy to use. The second is that the software requires a learning curve to operate properly.
But once you’ve got the software under control, the machine is able to 3D print all kinds of precision objects with great reliability and quality. I recommend this combination, the Photon Mono X 6K and its companion, the Wash & Cure Plus Machine.
The Photon Mono X 6K is available for pre-order at a discounted price of US$599 from a regular price of US$659, while the Wash & Cure Plus Machine is discounted to US$209 from US$249.
This is part three of a three part series. Please read part one and two.
Via Anycubic