
Our lab has been quite busy lately, and this time we’re reviewing the Voxelab Aquila S2 desktop 3D printer.
This is part one of a two part series. Part two is here.
Aquila S2 3D Printer Specifications
The Aquila S2 is an improved version of the original Aquila 3D printer, which we examined recently. We found that device to be quite capable and with high quality parts, but also with minor frustrations.
It’s a desktop FFF 3D printer, and carries forward the company’s learnings from it’s many previous models. If you don’t know, Voxelab is a brand name for the more familiar Flashforge brand, which has been around for quite a few years. Although you may not have heard of Voxelab 3D printers previously, they are made by a long-established manufacturer.
This is a single material 3D printer, accepting 1.75mm filament and extruding it through a standard 0.4mm nozzle. The device has a healthy 220 x 220 x 240 mm build volume, capable of handling most 3D print jobs. The layers can be as small as 0.1mm, and the X-Y resolution is 0.2mm. Normal print speeds are 30-60mm per second.
Those specifications are pretty standard for a 3D printer, but what makes the Aquila S2 different?
It’s the hot end assembly. This unit is capable of hitting temperatures up to 300C, far higher than the 250-260C most commonly seen on desktop devices.
This enables the Aquila S2 to successfully 3D print more types of materials. Specifications indicate they’ve certified many materials, including: PLA, ABS, PLA-CF, PETG,PETG-CF, PET-CF, PA12-CF, PA, PC, TPU, some of which we’ve tested ourselves. However, there was one issue with the hot end temperature, as you’ll see shortly.
That was the most attractive feature in our minds, as temperatures of this magnitude are rarely seen on a device in this price range.
Aquila S2 Unboxing and Assembly
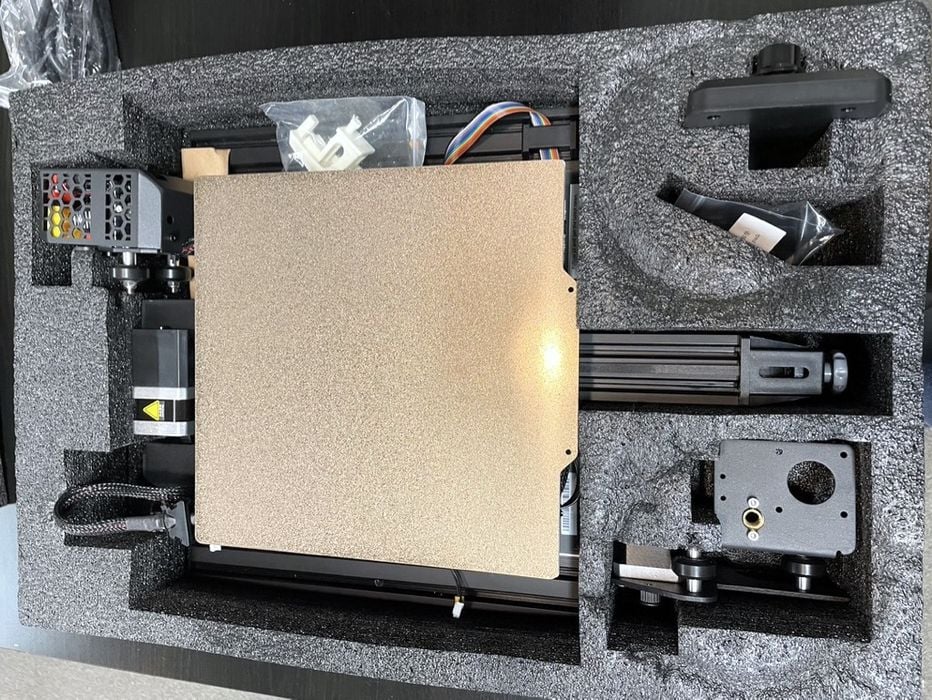
The packaging of the Voxelab unit was quite tight, and it’s hard to see how this machine could be damaged during shipment, aside from some catastrophic event. Our unit had no difficulties in this regard.
Unlike many inexpensive 3D printers, the Aquila S2 requires a bit more effort to assemble. Many machines simply erect the gantry on the platform and you’re done, but the Aquila has a lot more bits and pieces to put together. It’s not difficult, but will take you more time.
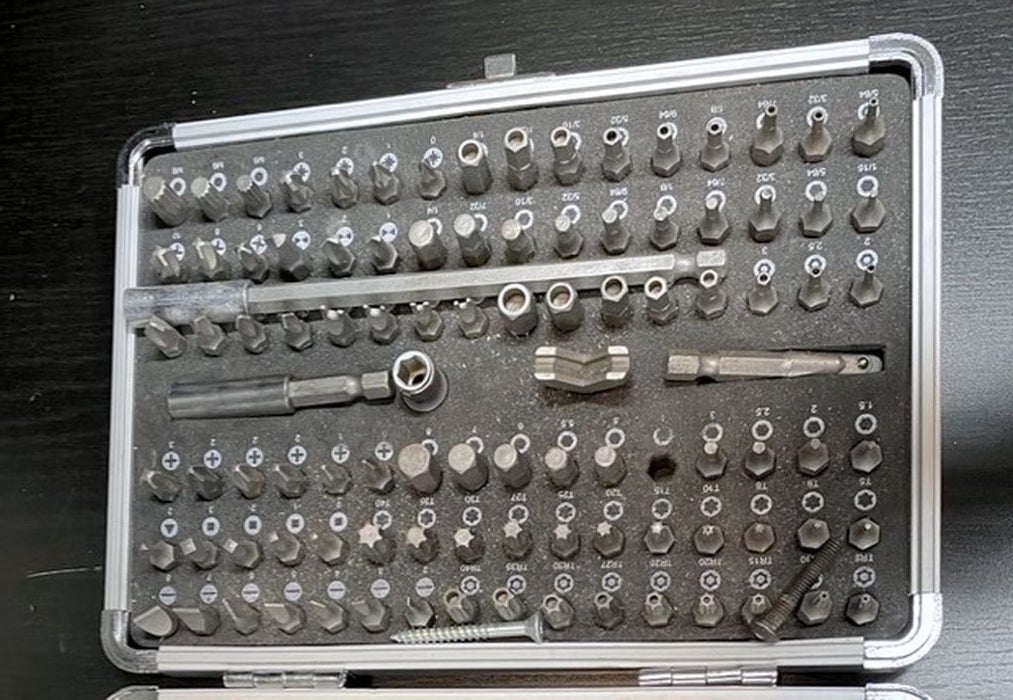
During our previous Aquila build we encountered small challenges with the bolts provided, as they were not labeled. Assembling this Aquila printer continues to be a little difficult as none of the screws packages are labeled. Even experienced builders found it not easy to determine which ones to use. But in the end, we figured it out.
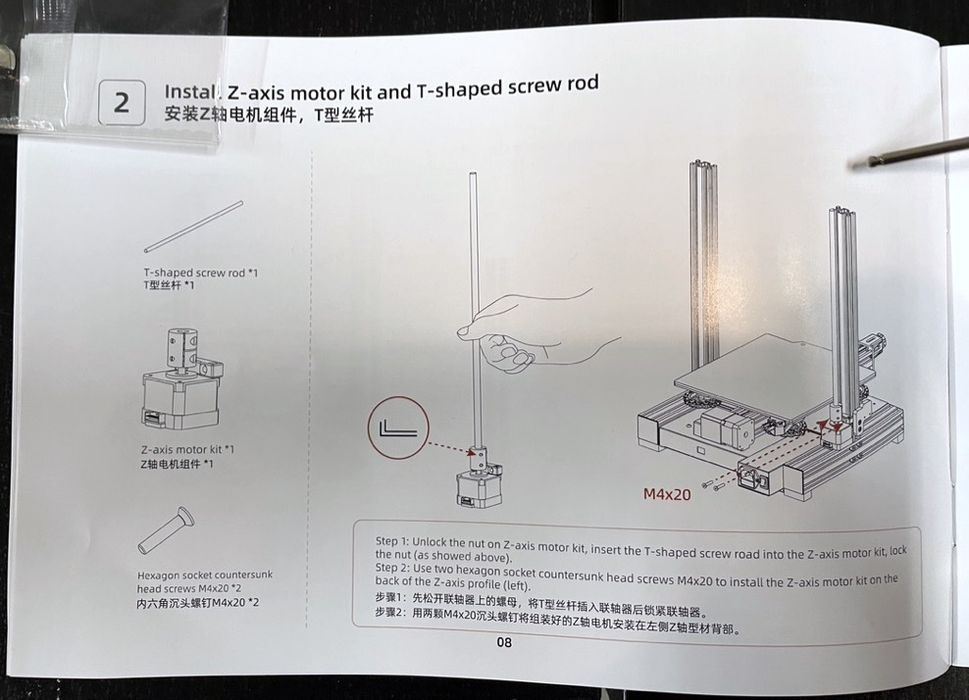
There are detailed instructions, but there were times when we got confused during the assembly. For example, we wondered why the straight screw rod is called a T-shaped screw rod. It is also a bit of a guess for how to tighten the screw rod to be centered.
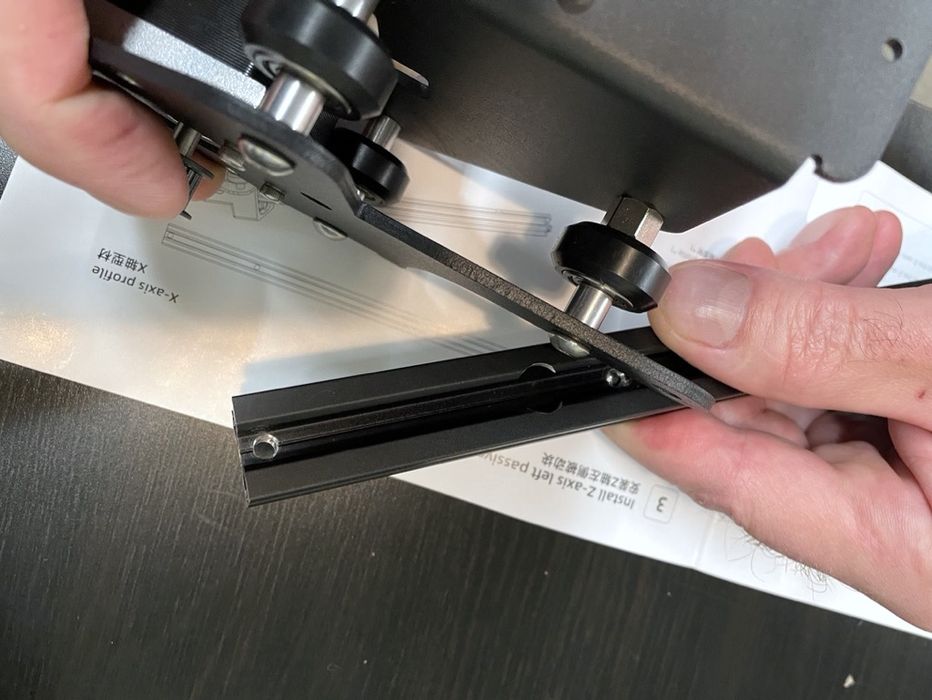
Installing z-axis left passive block is also again a bit of a guess as to which side of the X-Axis profile to screw the passive block to. A clearer photo showing the side with the notches to install the block to would help.
A recommendation to Voxelab is to pre-assemble steps 3-5. This would speed up the assembly process and make for a more correct installation. That step is where I got it wrong because of explanation in the user guide.
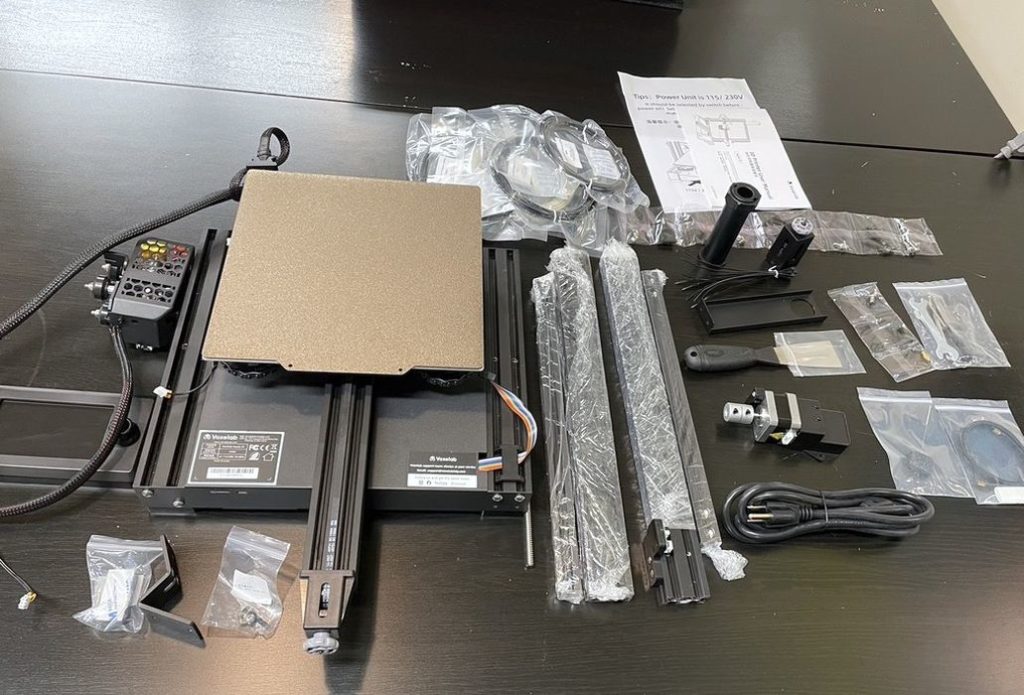
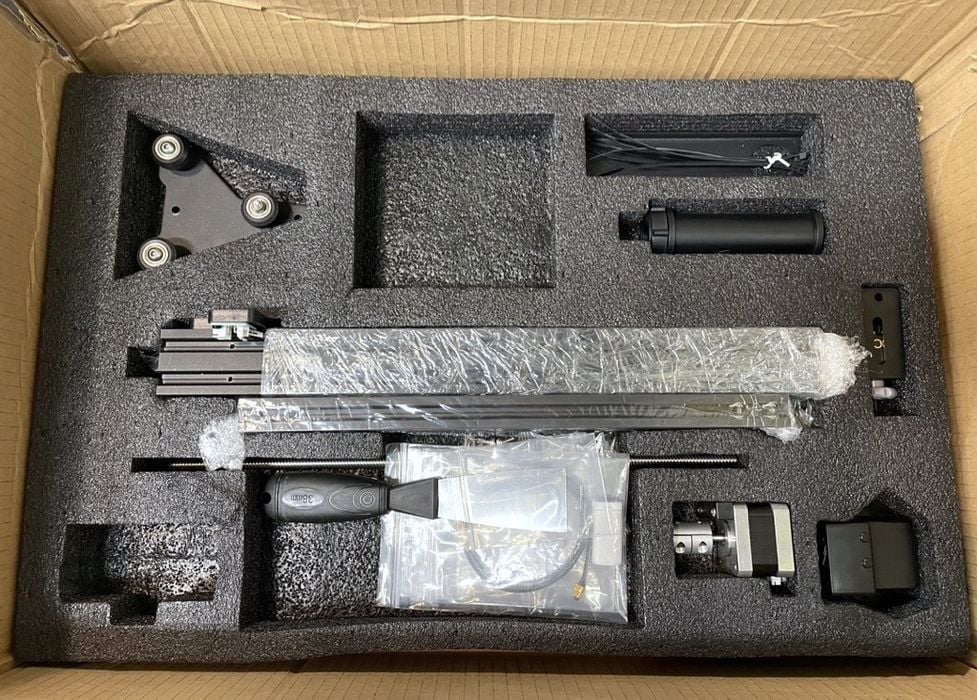
There are quite a few parts in the Aquila S2 package, so don’t get discouraged when you lay them all out on a work table.
One thing you’ll immediately notice in the package is that there are several coils of sample filament. These small 50g batches are actually different types of materials, and in our package we found coils of PLA-CF, PETG-CF and PAHT.
One of the last things to do to get the machine ready for printing is to load in some material. We chose the PLA-CF as our first material, and set it up on the simple spool mount. However, we’d advise not doing this as the sample filament coils need to be placed on an empty spool otherwise they can fall off.
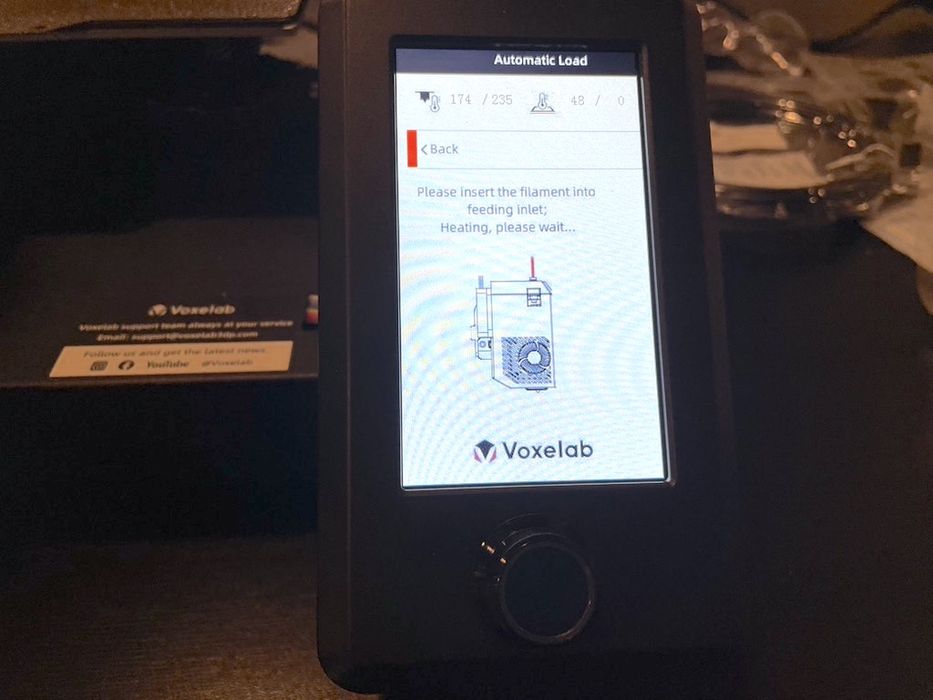
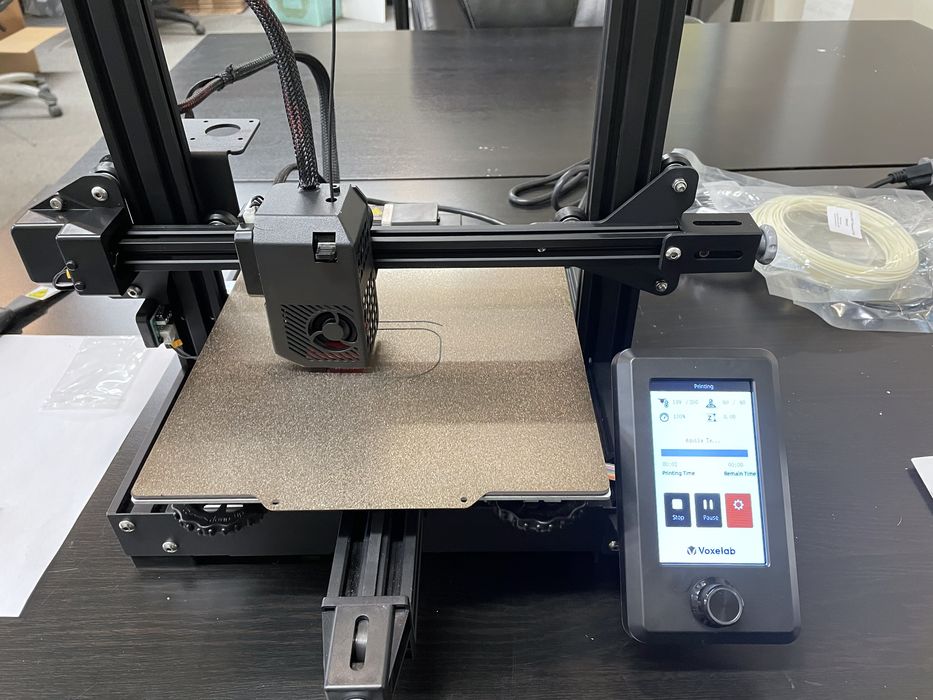
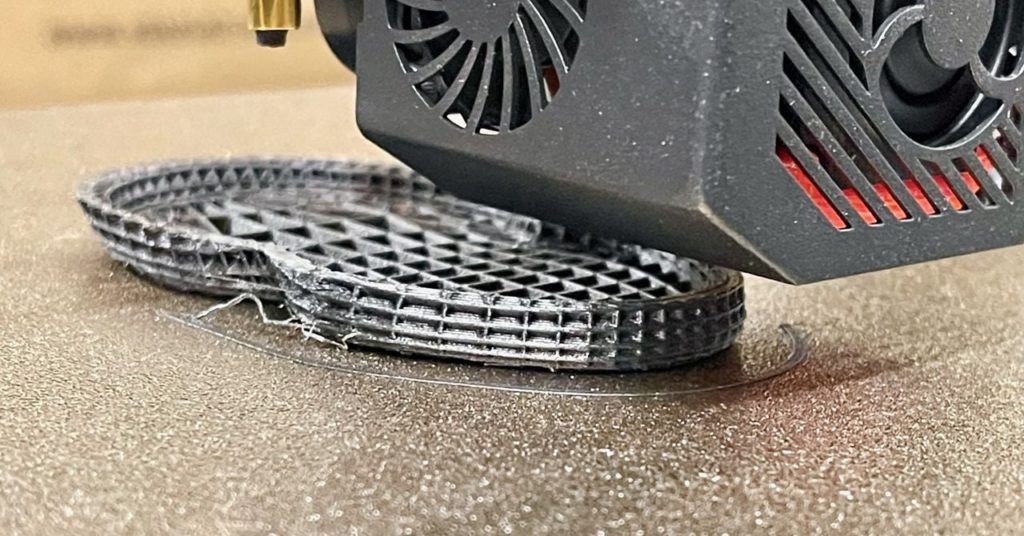
Loading the filament is very straightforward; the hot end preheats and the filament is inserted, where it is instantly grabbed by the extruder. This pushes it through the hot nozzle where it runs out.

Unfortunately, I am also not used to loading filament without an automated cut-off timer, so it can load continuously if not watching, as you can see here.
The assembly is a bit more than you might expect for this type of machine, but it’s quite possible for almost anyone to do so, if the instructions are followed and steps are considered carefully before committing. In the end, it took us only two hours to get the machine ready for setup.
This is part one of a two part series. Part two is here.
Next up: Machine setup and calibration, print results and our conclusions.
Via Voxelab and Flashforge