

Our lab test of the Kingroon KP5L continues with a look at setup, calibration and operations.
This is part two of a three part series, please read parts one and three.
With the printer now fully assembled, we moved on to getting the printer ready to use.
Kingroon KP5L 3D Printer Setup and Calibration
The KP5L powered up right away without issue, and that’s always a good sign.
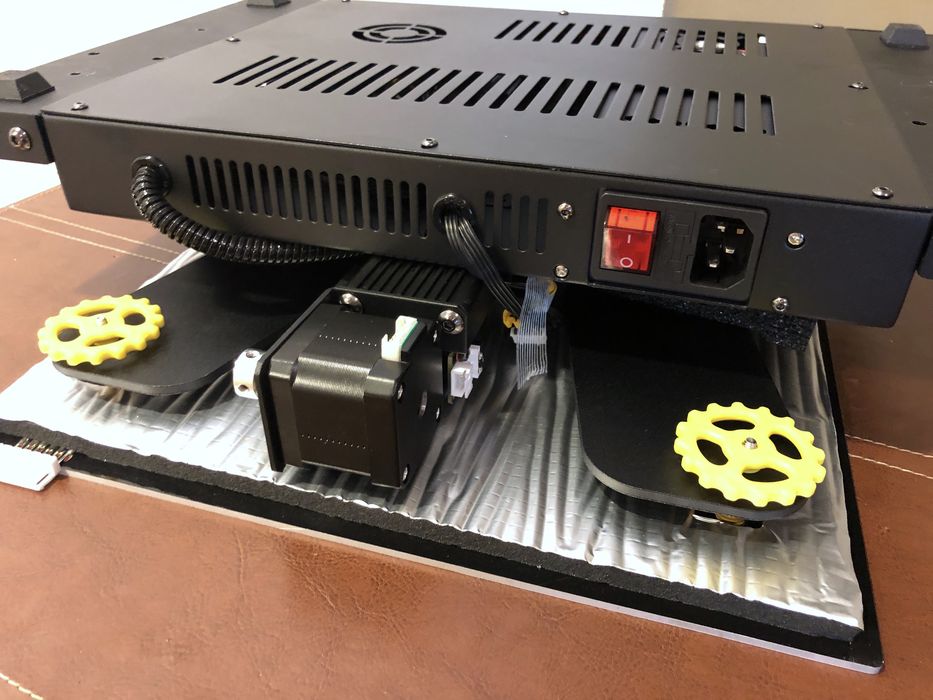
Bed leveling was the first calibration step and Kingroon uses the typical 4-point manual thumb screw type. Fortunately, the wheels are big and easy to turn.
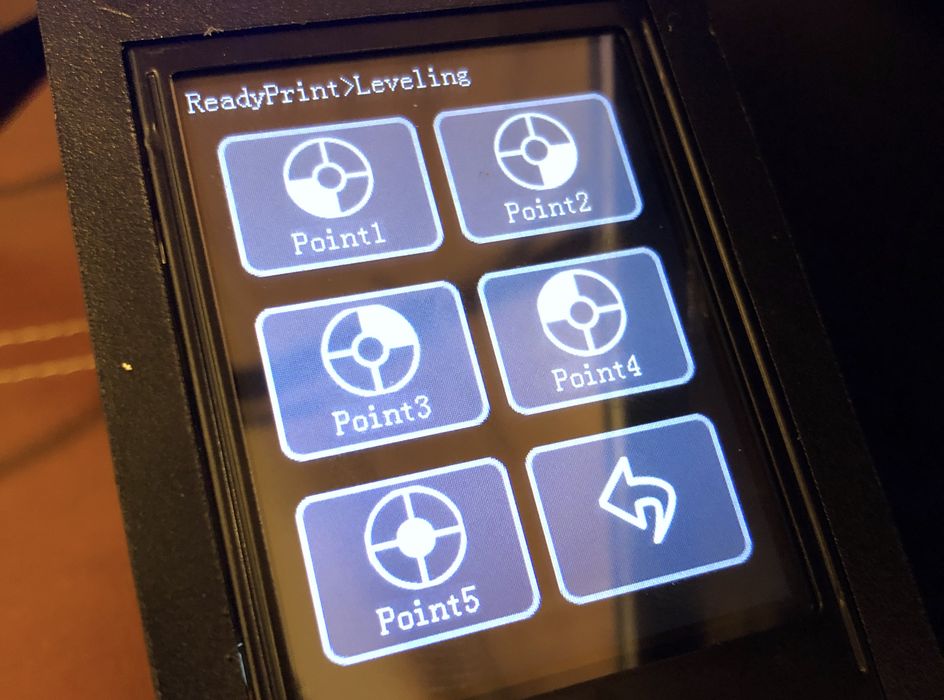
We preheated the bed & nozzle and attempted the leveling routine, which was comprised of five points in total.
We set up a normal Z-offset using a piece of paper between nozzle and build plate and adjusting the leveling wheels one by one.
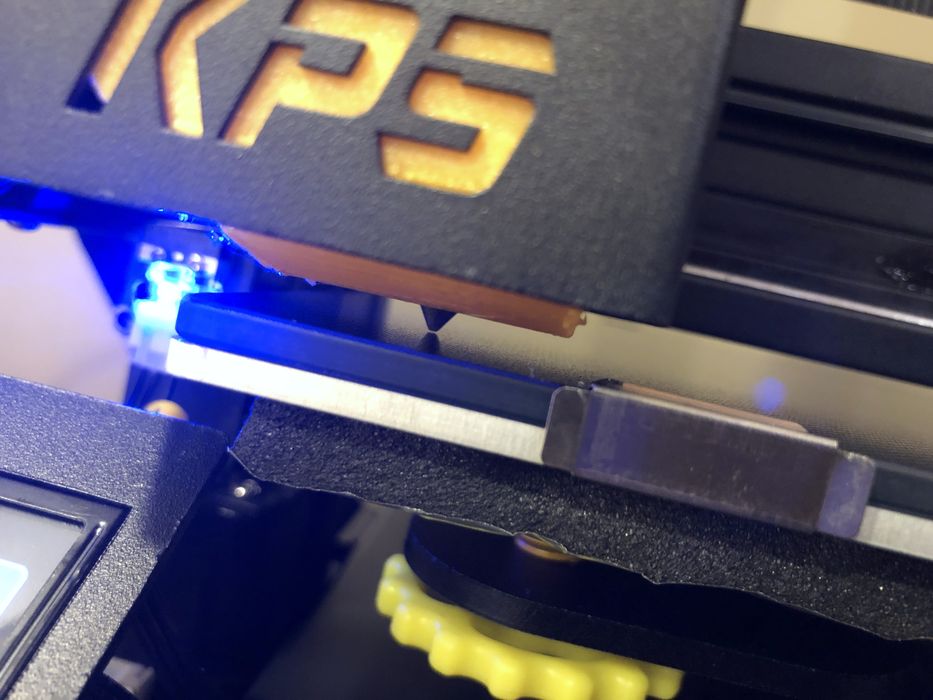
When we got to fifth calibration point in the centre of the bed, we ran into a problem where the nozzle was now pressed against the glass plate and tore the paper when we pulled it out. The aluminum plate and/or glass bed must be warped!
We contacted the friendly Kingroon support folks and they advised how to determine if the problem was the glass build plate or aluminum bed. We found the problem to be the aluminum bed and Kingroon promptly advised that that they would be shipping a replacement bed.
Given how the problem was really just with the center of the print area, we decided that we would keep moving forward with the review and simply work around the issue by calibrating for the center and not printing on the sides so much.
We backed off all four screws until the center point no longer rested on the glass bed. This would be our temp fix to avoid having the nozzle grind into the centre of the glass bed during printing first layer.
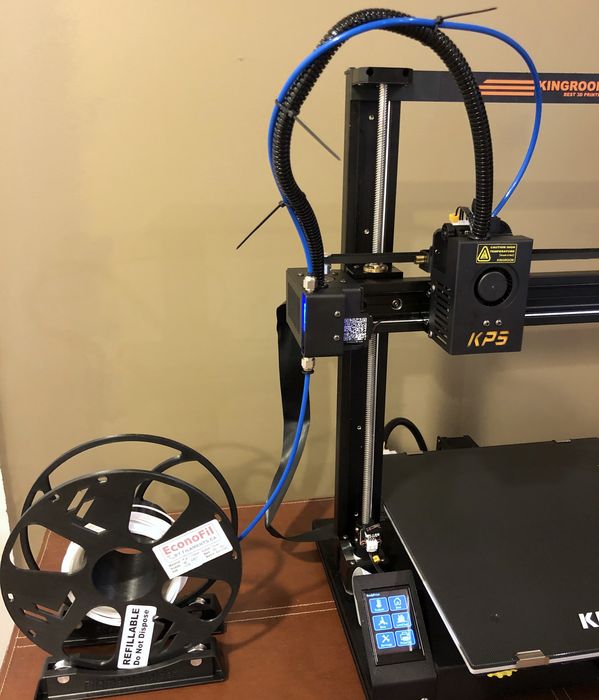
We completed assembly of the printer by installing the blue PTFE filament tubing prior to loading the filament. The tubing appeared to be too long, so we assumed it was meant to be cut and used in both in-feed and out-feed of the filament sensor and then zip tied onto the extruder harness.
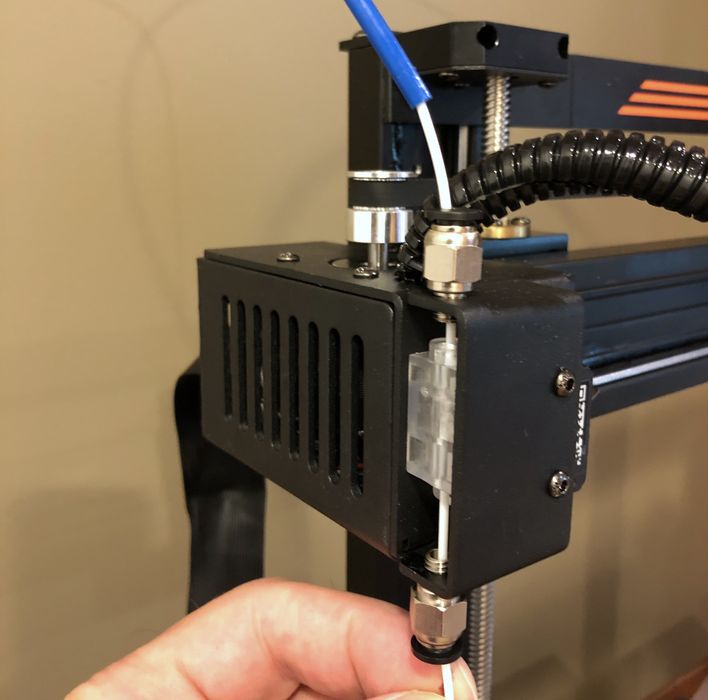
We found loading filament to be quite tedious. The filament sensor was sandwiched between two tubing fixtures and threading the filament through everything was a bit tricky for PLA and frustrating for TPU.
As you can see in the image above, the filament needed to be passed through the short length of blue tubing and then a gap, then through the filament sensor, then another gap and finally the long length of blue tubing. Once that was done, the filament was inserted into the top of the extruder While simultaneously pulling back the tensioner and then rotating the pickup gear to drag the filament into the extruder before we pressed the end of the blue tubing into place in the top of the extruder assembly.
Loading filament is more difficult than it needs to be.
Loading filament to the nozzle was accomplished by preheating and manually setting a temperature that matched our filament.
There were no obvious load/unload routines on the control panel and no mention in the instructions of how to load filament. When the correct temp was reached, we just pulled back the extruders tensioner again and forced the filament down the extruder until it started to extrude out the nozzle.
Later we discovered that filament could be loaded or unloaded by going into the Move menu on the main touch screen menu and activating the extruder with increments of 1, 5 or 10mm.
With the machine calibrated and loaded with filament finally, we were ready to do some test prints.
Kingroon KP5L 3D Printer Operations
We copied the contents of the SD card onto our computer so that we could launch one of the pre-sliced GCODE sample prints on the SD card, while we installed and set up the slicing software on our computer.
Supplied pre-sliced GCODE prints are generally highly tweaked prints that showcase how good the printer’s hardware can be. The KP5L files had a few to chose from and chose a #3DBenchy, which we paired with the small supplied white PLA coil, after winding it onto an empty spool.
We usually find these token filament samples aren’t the best quality but decided to give it a whirl anyway, as any new user most likely would do.
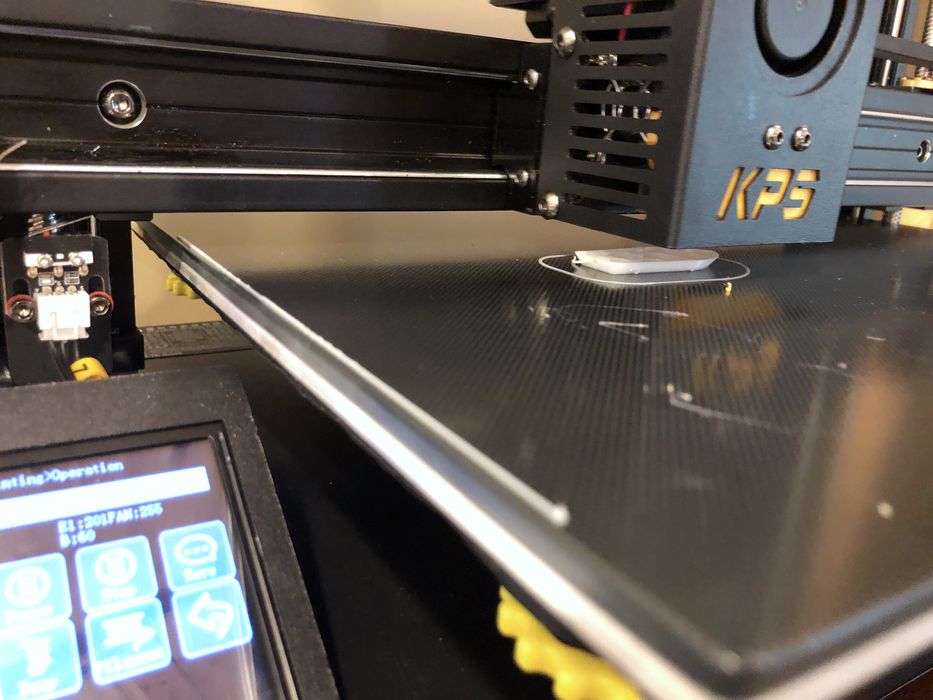
Our first layer went down well and we were off to a good start! While our print was cruising along, we noticed a curious “Options” button on the LCD.
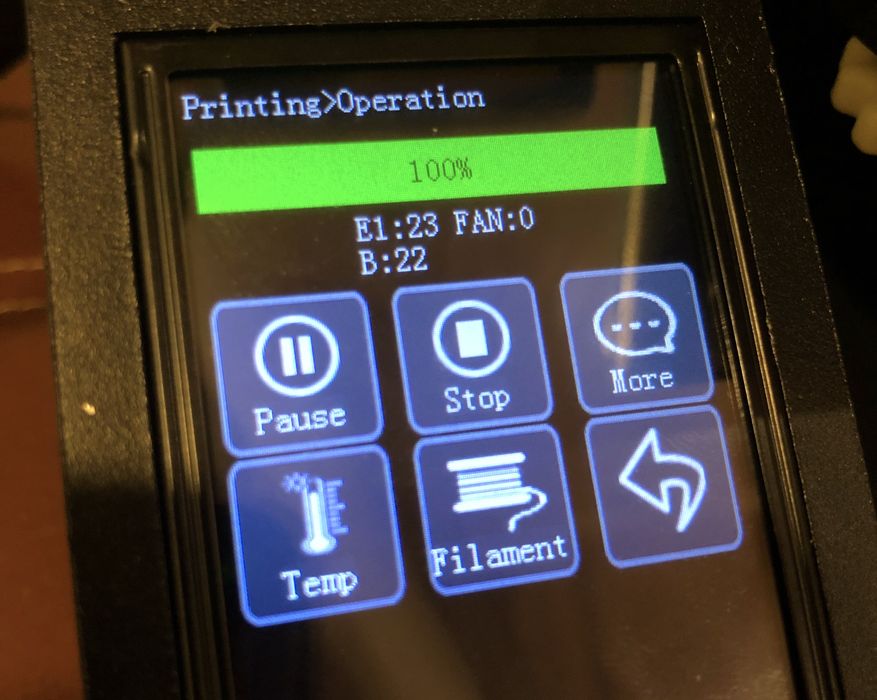
When we pressed it, we found the ability to pause & stop the print, make temperature adjustments and a “filament” option that appeared to allow for filament changes mid print.
It would have been handy if such a feature had been included on the main menu screen as well.
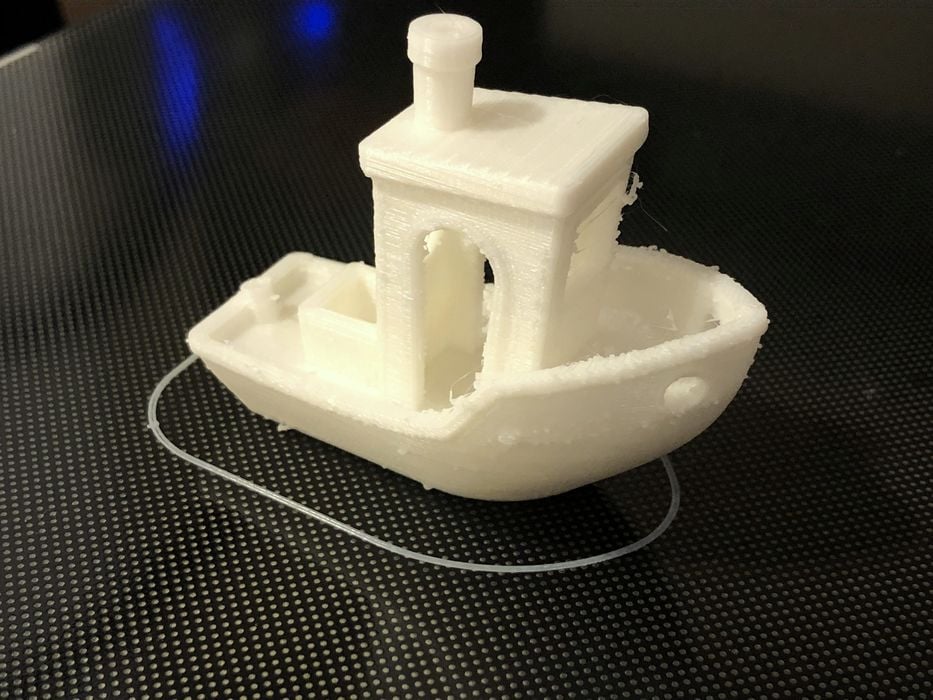
The completed #3DBenchy print was less than stellar. Instead of showing off how well the printer could perform, it did quite the opposite and we ended up with a very blobby #3DBenchy.
We decided that the PLA filament sample was most likely the culprit and that we would try a #3DBenchy of our own with better quality PLA later in the review, after we sliced a few calibration prints.
This is part two of a three part series, please read parts one and three.
Via Kingroon