
Our testing of the CR-Scan Lizard 3D scanning system from Creality continues with turntable and handheld modes and software.
This is part two of a three part series. Please read parts one and three.
CR-Scan Lizard Turntable Mode
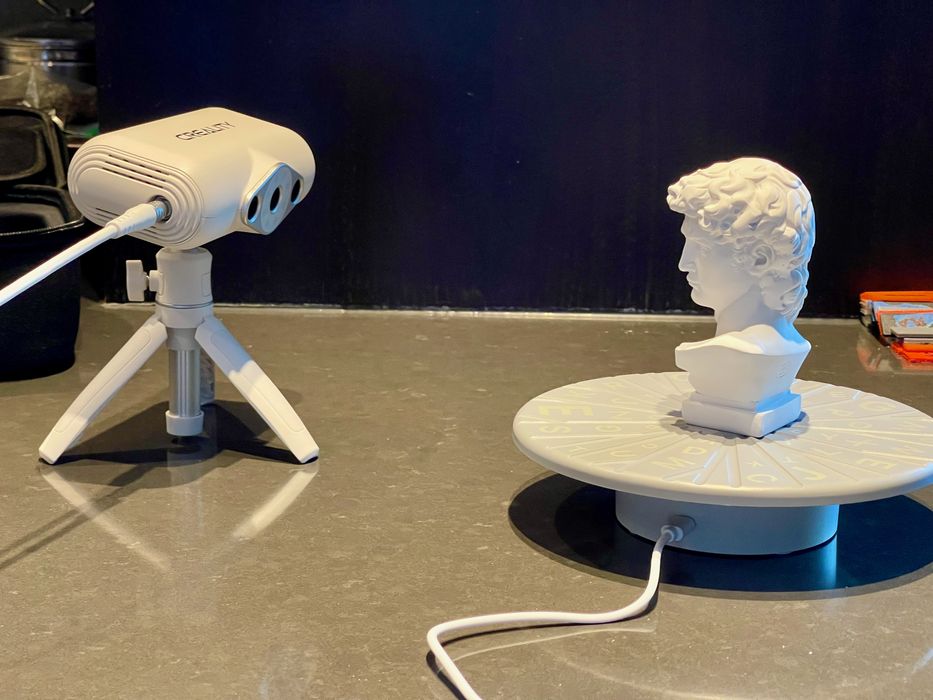
For many people the most likely use of the CR-Scan Lizard will be turntable mode. Here you place the subject on a small turntable and leave the scanner stationary on its small tripod.
I found this mode of scanning to be a bit easier than handheld, likely because the stationary nature of the configuration removes most of the risk of tracking loss. However, the size of the objects to be scanned is rather small if you intend on one-scan jobs.
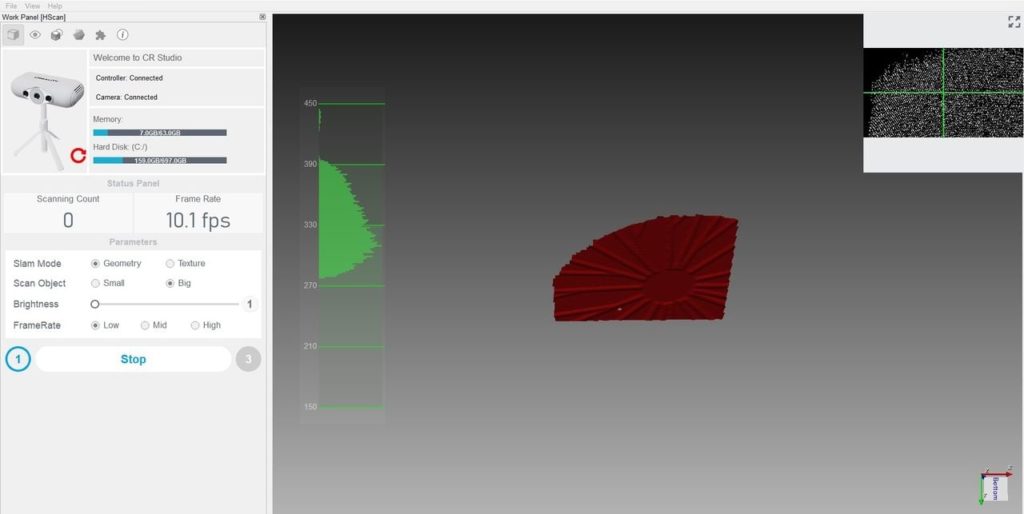
Here you can see the view during the scan of a 200mm object. I could not get the entire sculpture into view. If you pull the scanner away to gain more field of view, you will quickly go out of scanning range.
The best way to think about this scanner is that there is an imaginary 100 x 100 mm cube about 300mm in front of the scanner. Your job is to sweep that cube over every surface of the object.
Turntable mode is entirely controlled by software. Once you have it set up, you hit the scan button and it all happens automatically. The turntable will rotate throughout (remember it’s not very smart), but the software will capture about one rotation’s worth of data and then stop.
CR-Scan Lizard Handheld Mode
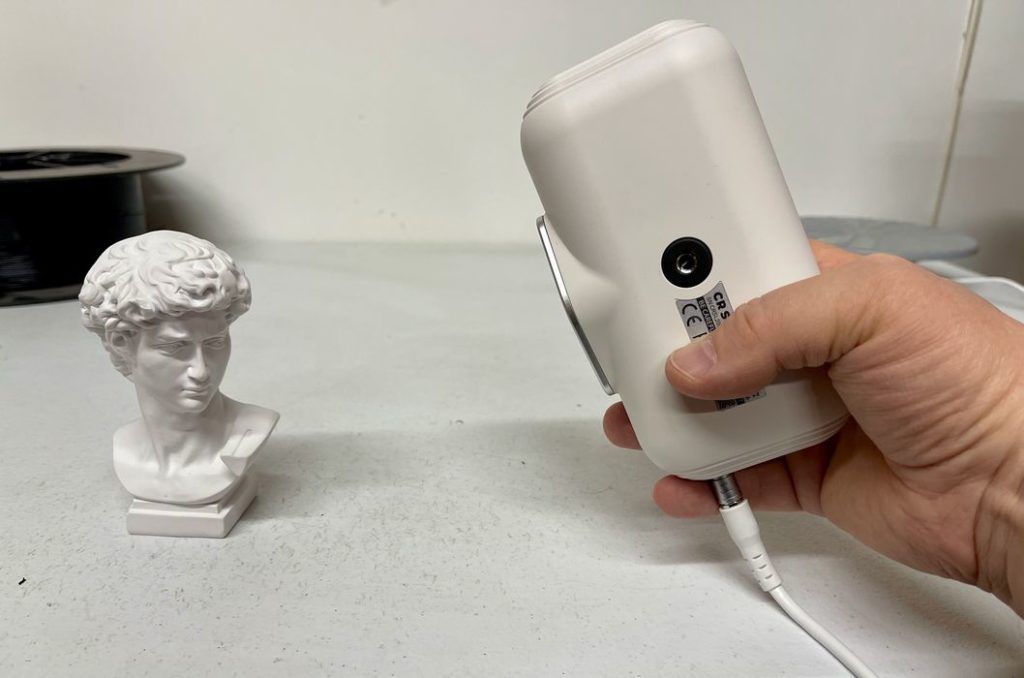
Along with turntable mode is handheld mode. In this mode you literally hold the scanner in your hand and gently sweep it over the surface of the scanning subject.
This mode allows you to more easily capture objects larger than 100mm, since turntable mode is really scanning only a 100mm view of an object at one time. Handheld allows the possibility of building a model far larger.
In handheld mode you must hold the CR-Scan Lizard vertically, whereas it is oriented horizontally when in turntable mode. You’ll notice this immediately if you hold it horizontally during handheld mode because the realtime display of the scan will be rotated 90 degrees and you will be very confused.
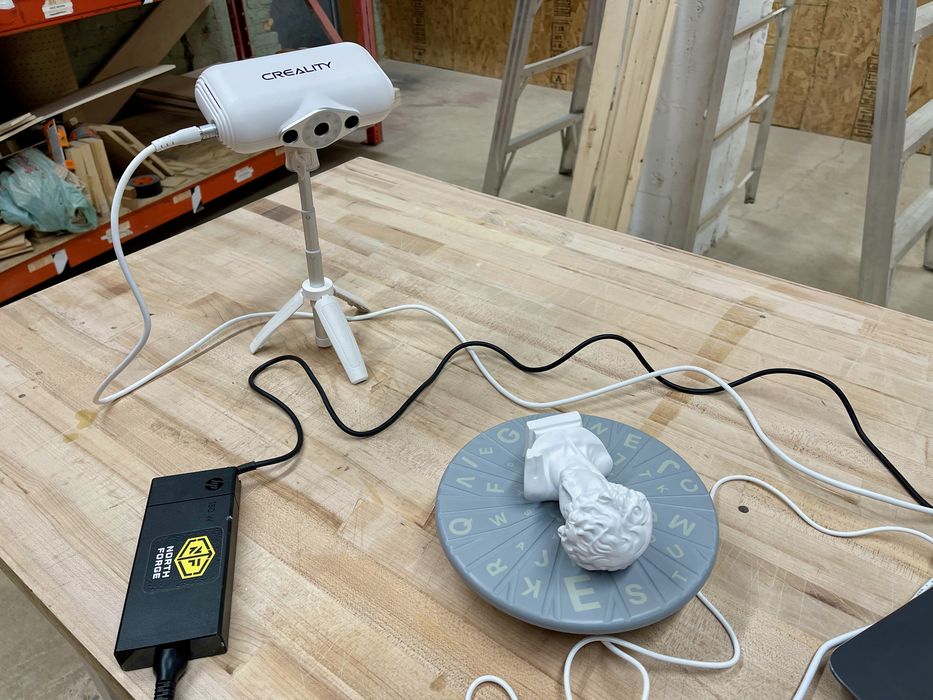
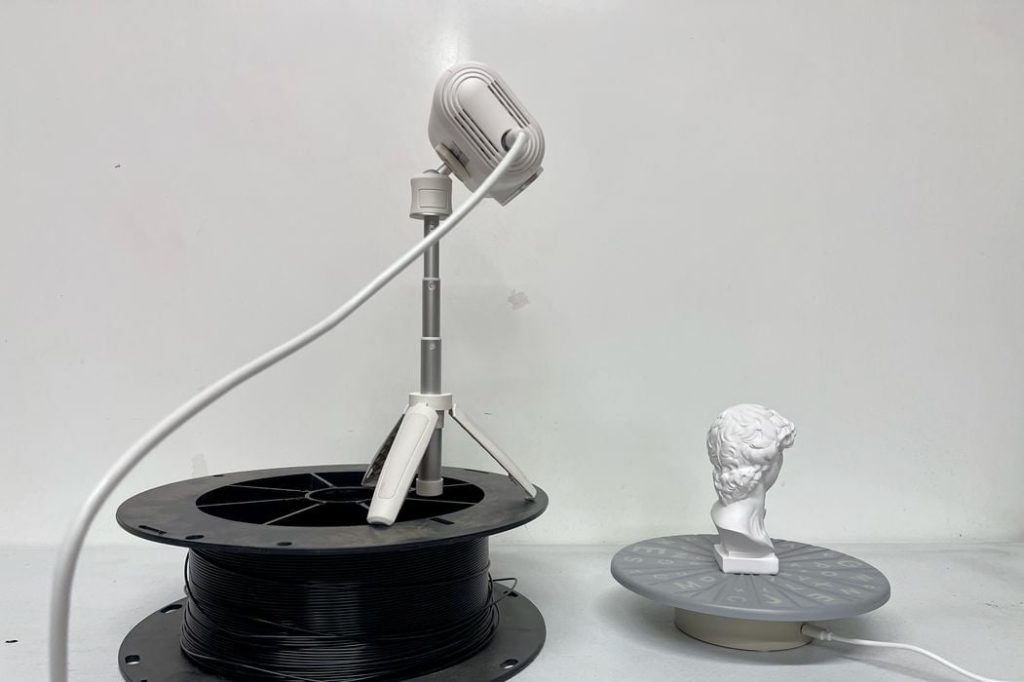
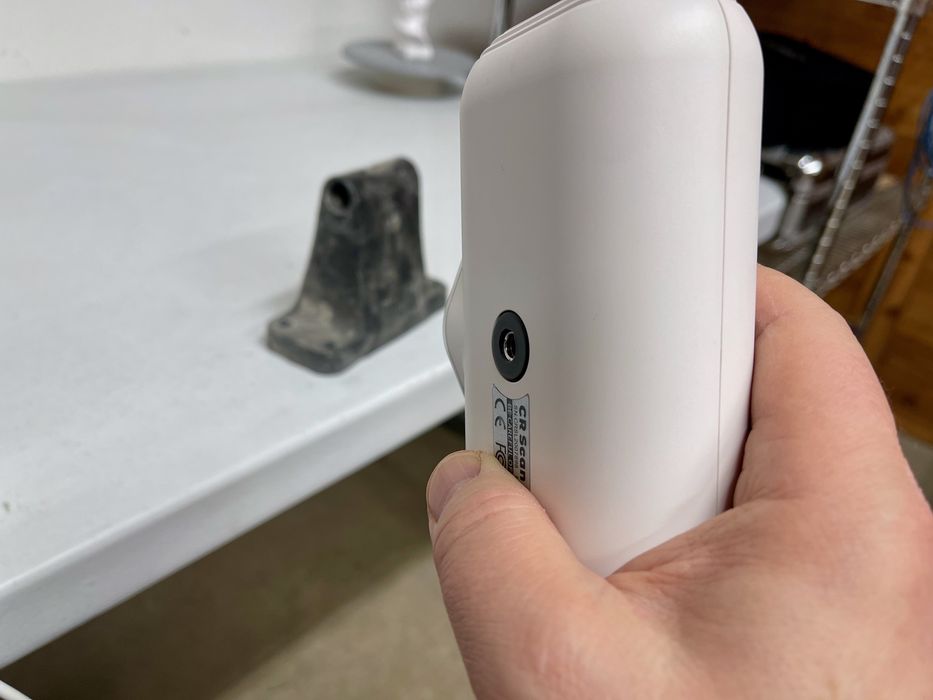
One physical limitation is important. Because you’re holding the scanner vertically, the cable emerges from the bottom. I found that in many cases when I attempted to scan “from below” to capture overhangs I could not lower the scanner sufficiently to do so because the cable would hit the table. The solution is to always place your subject on a raised platform where you can properly angle the scanner.
I had plenty of challenges when using handheld mode, mostly due to tracking. In theory the realtime display of the scan on the PC shows what’s happening, but in repeated attempts I frequently found that the software would not recognize that I was rotating around the subject. In one case I physically moved the scanner around a symmetrical object, only to find the software thought I had done only one side — twice.
I believe this is because it attempts to re-acquire its position dynamically if it temporarily loses track of its position in 3D space, which can happen if you’re off track or move the scanner too quickly. In other words, you will need a lot of practice to move the scanner smoothly enough for the software to keep up.
CR-Scan Lizard Software
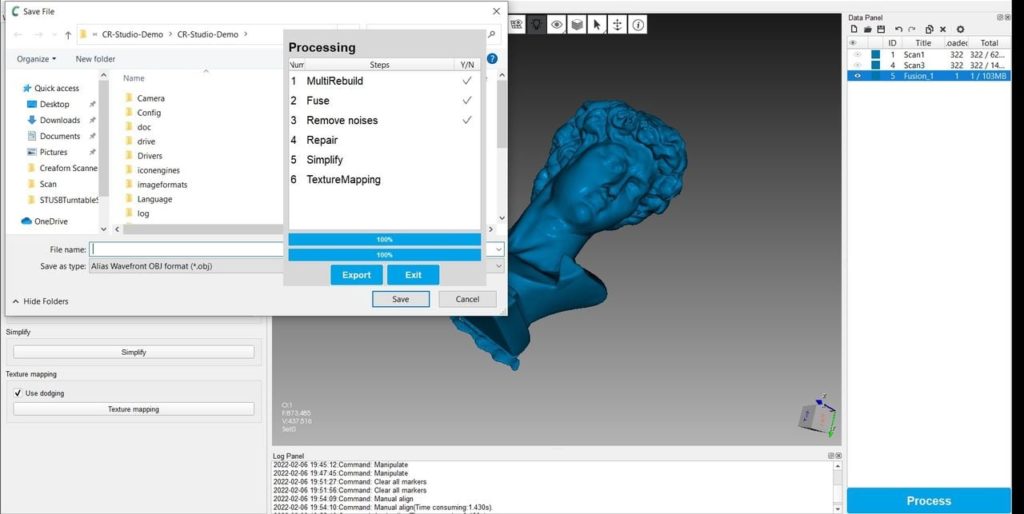
As mentioned, the CR-Scan Lizard requires attachment to a properly configured PC with graphics card. There you must run the CR Studio scanning software, which both drives scan operations and provides the ability to process the raw results.
Functions provided:
- Realtime scanning management, both handheld and turntable mode
- Editing of captured point clouds
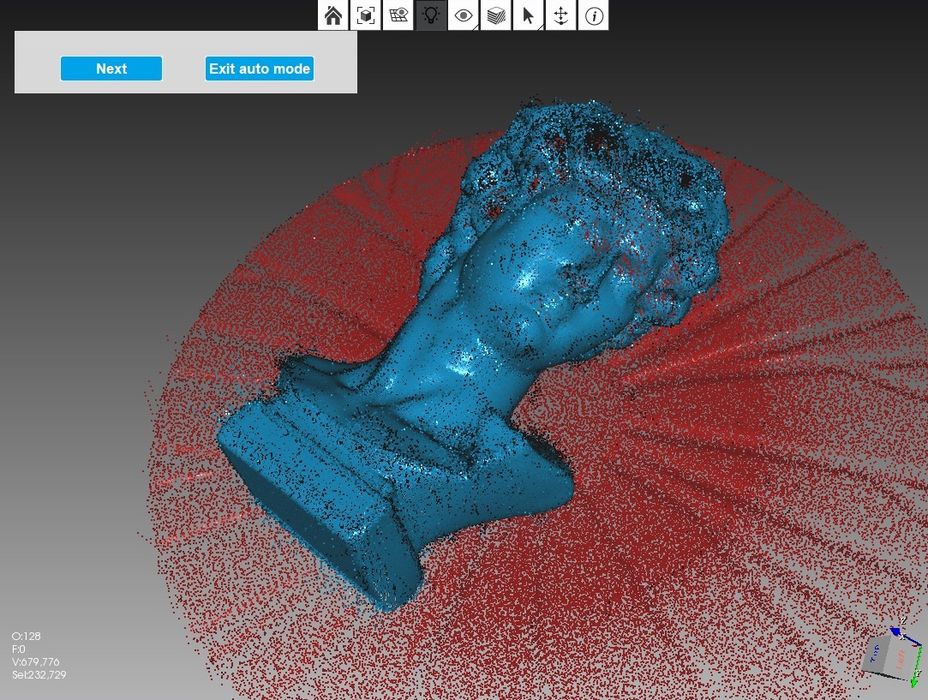
- Fusion of multiple captures into a single model
- Conversion from point cloud to 3D model
- Texturing of surface if required
- Export of resulting 3D model
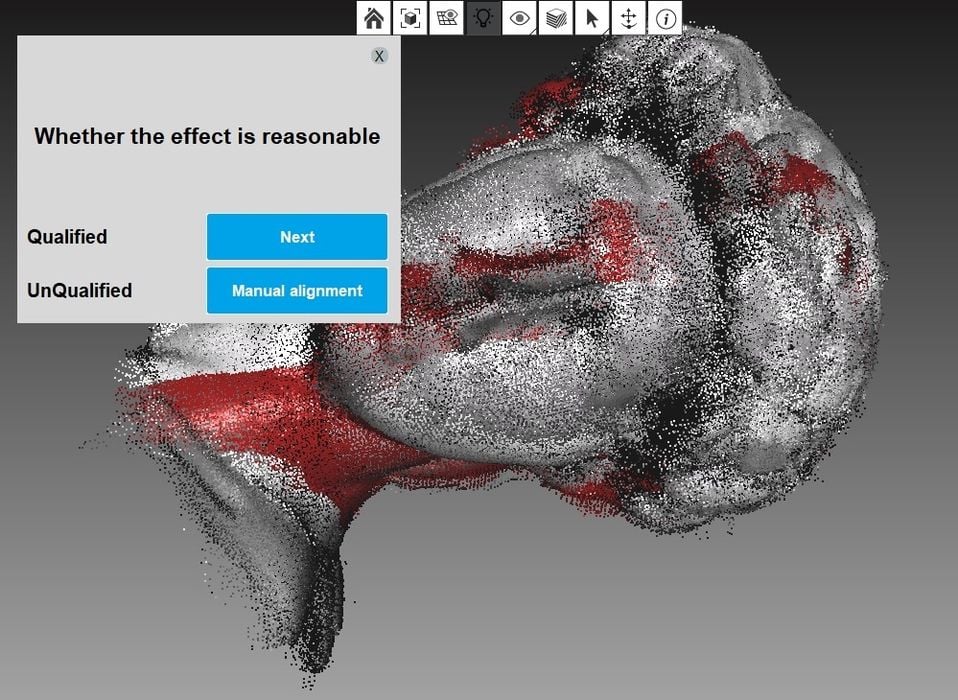
While CR Studio is quite powerful and includes all necessary functionality and then some, I honestly found it very frustrating to operate. Even with experience using multiple other scanning software tools, I frequently found the interface to Creality’s software baffling.
Many times the purpose and sequence of operations is not obvious and you have to guess. There is no proper explanation of the software and you’re basically on your own. In some cases standard user interface protocols are not used, causing further confusion.
One example of this is the main control buttons. In turntable mode you’re presented with a “Preview” button. That seems to make sense; you can use this to set up your scanner to ensure it is pointing correctly.
But what next? You have to stop the “preview”, and then you’re presented with a button called “Initial”.
What does this mean? I had no idea. I still have no certainty, but eventually it seemed that this step is used to identify where the turntable base is located on the scan. Here’s what you have to do: after preview temporarily REMOVE your subject from the turntable, and then let the “Initial” step do its thing. Then stop “Initial”, replace the subject — hopefully in exactly the same spot — and begin the actual scan.
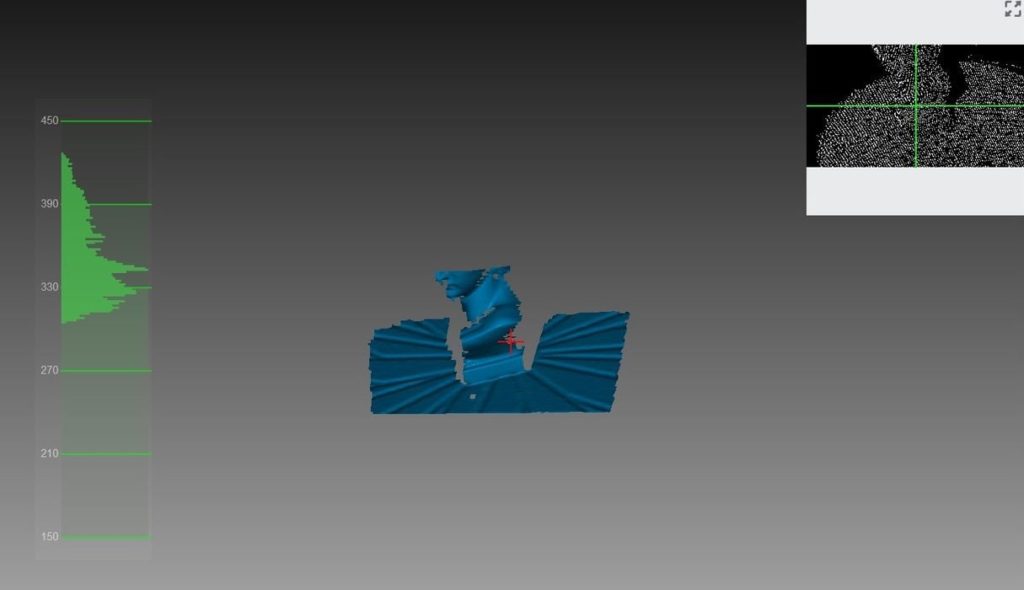
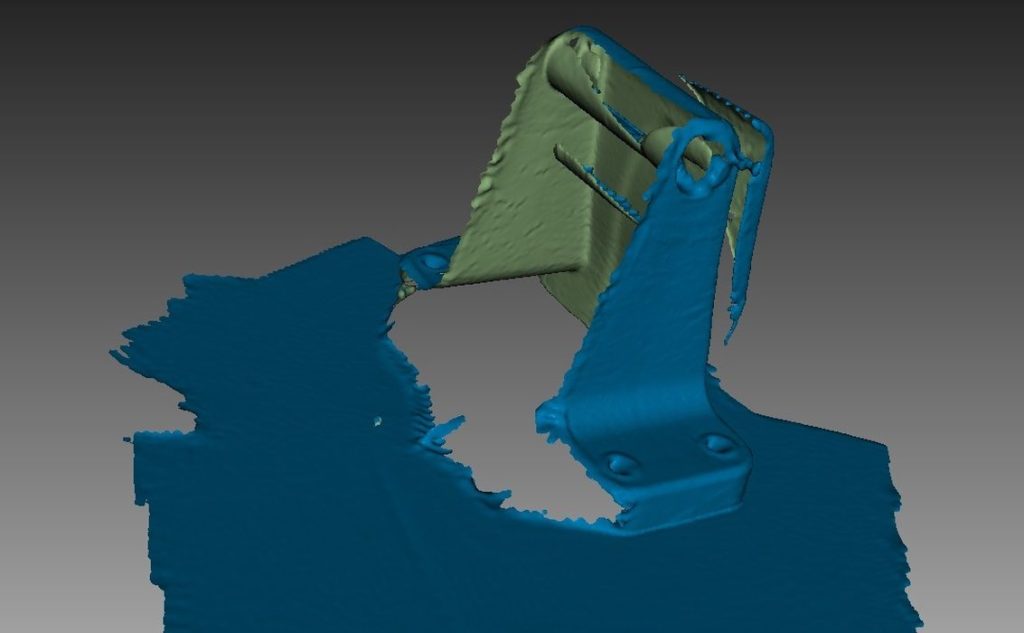
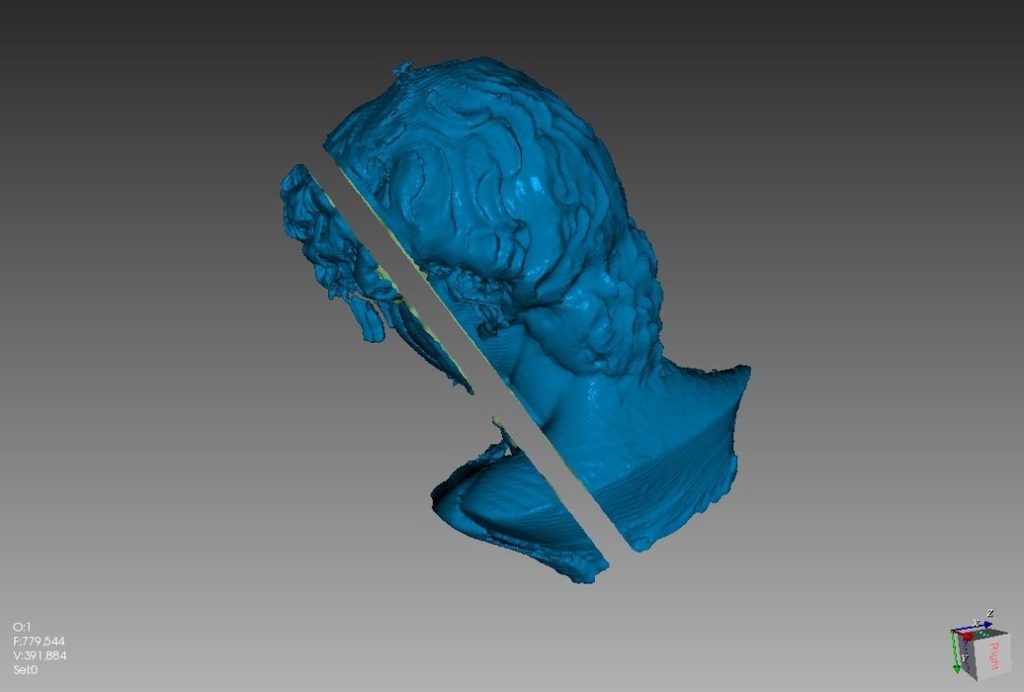
Note: if you don’t do the “Initial” step properly, the system will guess where the table is located and inevitably chop a huge slice out of the 3D model, as seen here. Also, what happens when you want to scan the top of the subject and the table is not visible in the scan view?
Then there’s the “Append” function, which is a variation of the scanning sequence. None of the scanning lifecycle sequence is explained at all by Creality, and the confusing button interface does not help at all.
I have no idea how anyone could possibly figure this out without someone explaining it, and Creality does not do so, as far as I can tell.
There are many similar confusing situations to encounter when using the software, and in the end I became very frustrated as there were several functions I simply could not figure out no matter what I tried. Creality really needs to step up their software interface and documentation games significantly here.
This is part two of a three part series. Please read parts one and three.
Via Kickstarter
Hi, I have received my scan lizard and I am using the latest (v2.2) version of cr-studio. I make 2 or 3 scans of an object but when trying to manually align them I can’t “Drag” them apart no matter which keys I hold down or which buttons I press. Do you know how to grab hold of just one scan and drag it away from the second scan so I can add the alignment points? There are several videos showing this but creality really do not like speaking on their videos so it doesn’t explain how they do it. Really frustrating without even the most basic instructions.