
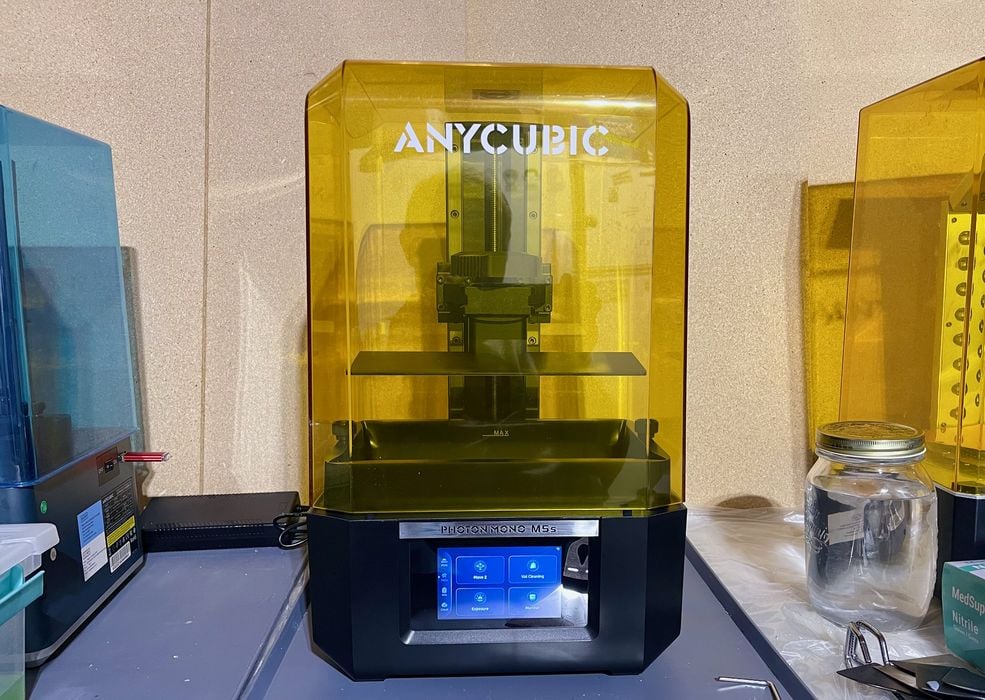
Our review of the Anycubic Photon Mono M5s MSLA 3D printer continues with a look at operations and failure modes.
This is part two of a three part series, please read parts one and three.
Anycubic Photon M5s 3D Printer Operations
At that point we’re mostly ready for actual print testing.
The resin being used during this review was Anycubic’s new High Speed Resin. This gray liquid is said to enable very fast curing, and that’s exactly what we found, as you will see.
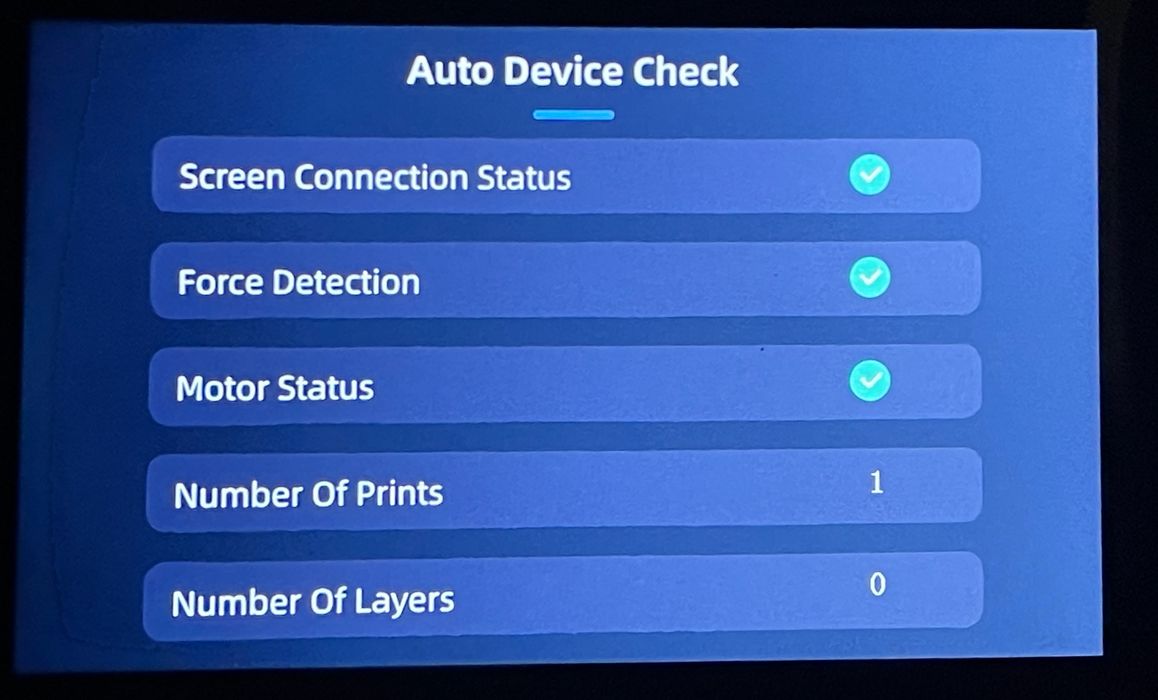
When you power on the M5s it performs a self check process. As it proceeds, you can see it ticking off item after item on the main display panel.
By the way, the 4.3” color touchscreen is quite good. It is very responsive and easy to read. Anycubic has clearly spent some time engineering a relatively easy to follow interface here.
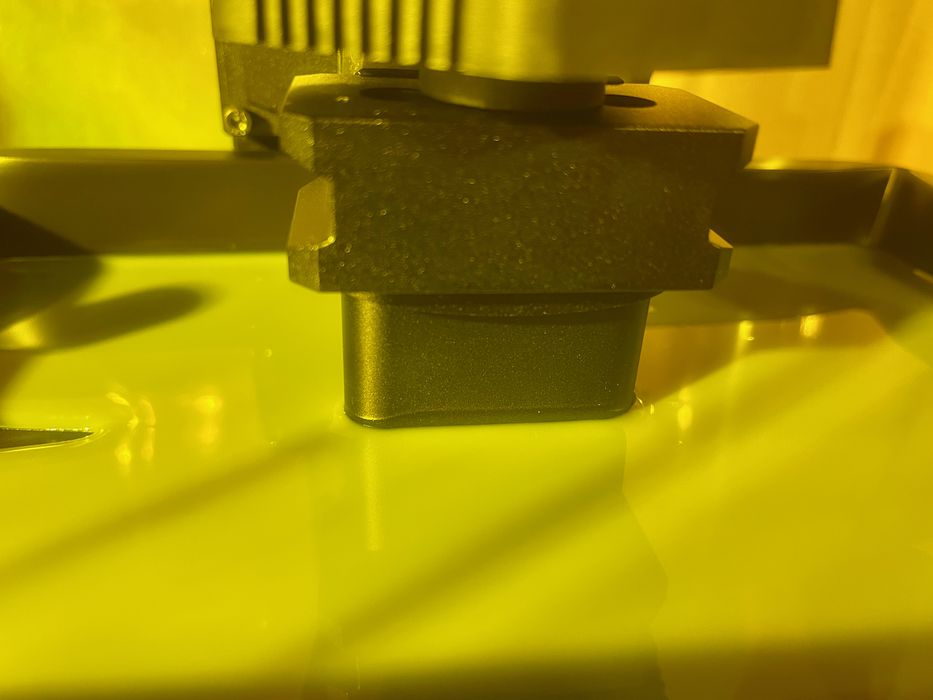
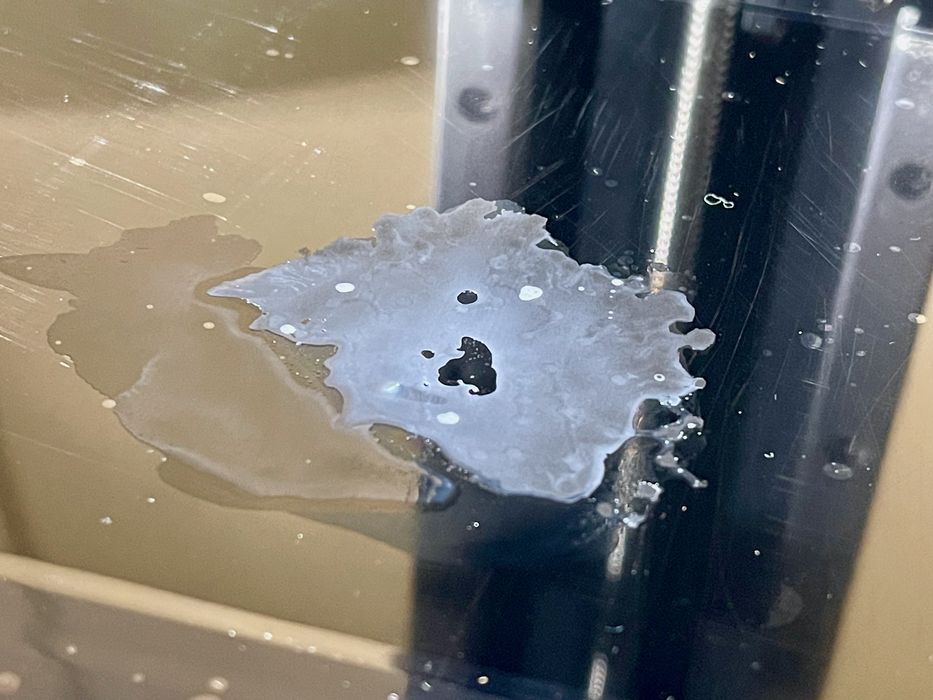
My suspicion about the plate and drips was true, as you can see in this image. The only wet parts are the main angled section and a small portion of the tower.
If left after printing, all of the resin on the top of the plate will drip off. On the bottom, that’s another story. But still, this is a huge improvement.
My first print was the standard Matrix calibration object. It is quick to print and tells you if you’re in the ballpark for the exposure settings. However, for final calibration you should always use the “Cones of Calibration” from Tableflip Foundry.
If you don’t want to use those calibrations, you can also use Anycubic’s fabulous built-in calibration system. You specify a starting exposure time and the system generates a series of objects each with incrementing exposure times. You then inspect them afterwards and pick the best quality print as your standard exposure setting. You can read more about Anycubic’s R_E_R_F process here.
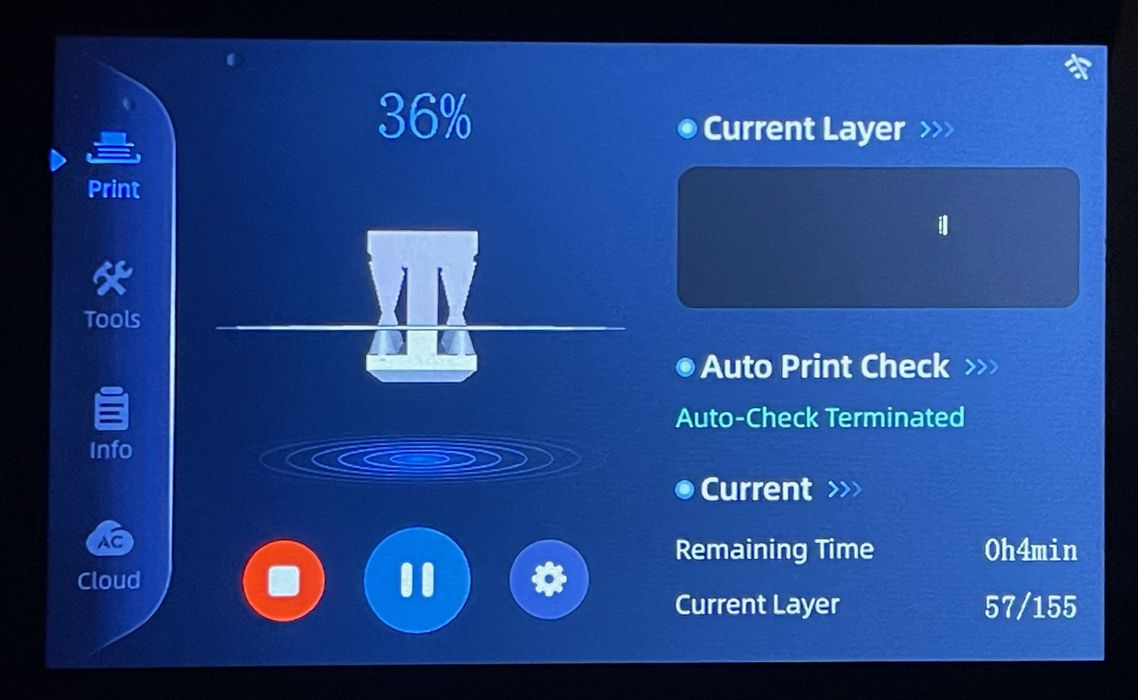
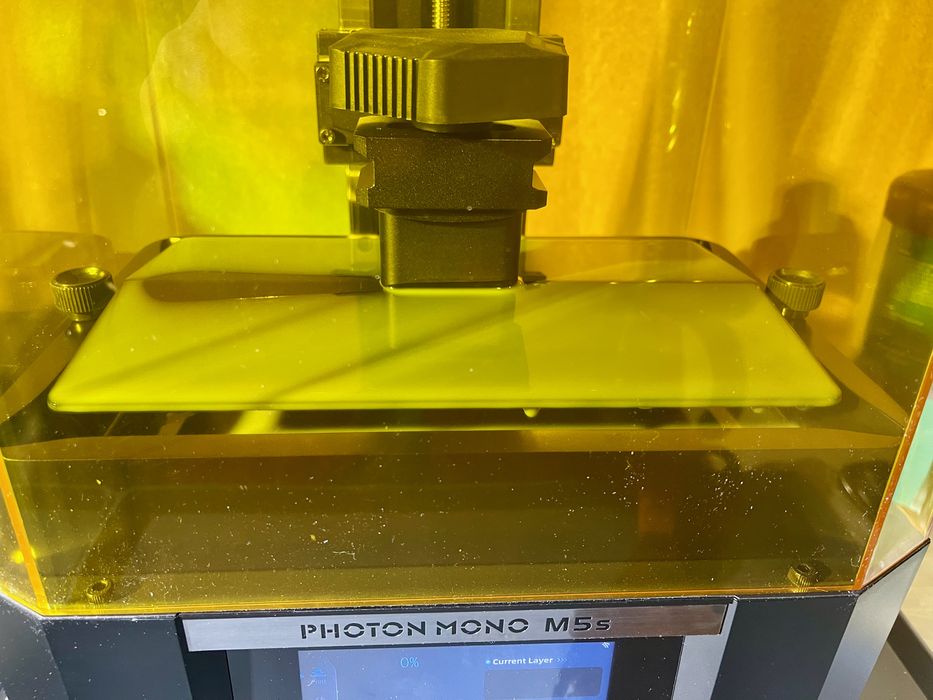
The M5s has a new display during active printing. You can see the usual remaining time and other statistics, but you can also see a sideview of the 3D model with a horizontal line showing the current amount of progress. I found this quite useful for quick checks during long prints.
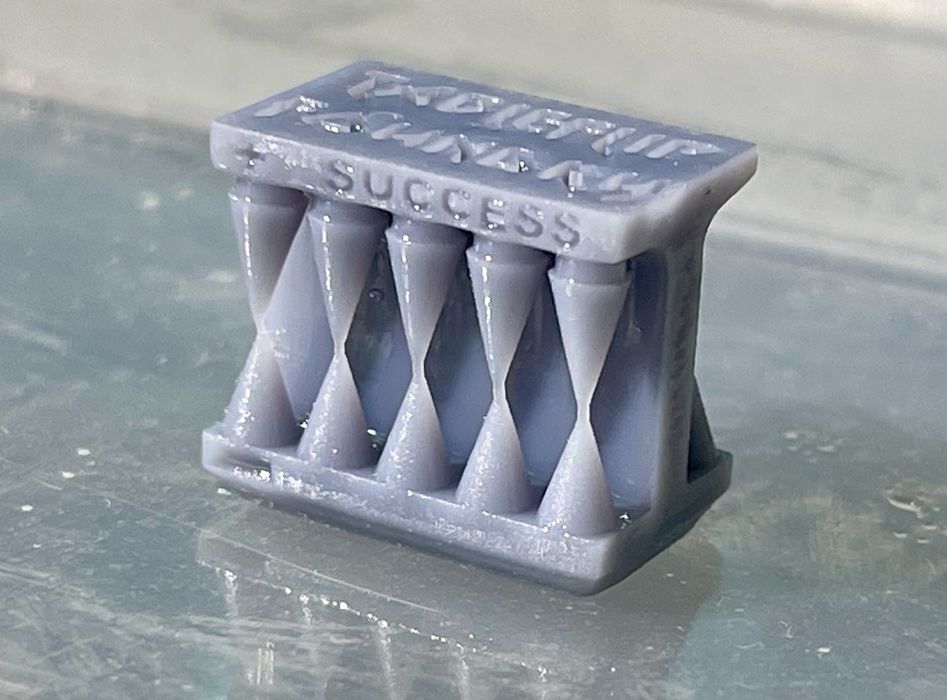
Here I’ve printed the Cones of Calibration successfully, but there’s something interesting: this was the very first and only cones print I did. I simply used the default settings in Anycubic PhotonWorkshop for the High Speed Resin and the calibration was perfect. This is very interesting, as often the default settings can be off when used in real life. Here Anycubic has provided perfect calibrations directly into their slicing software.
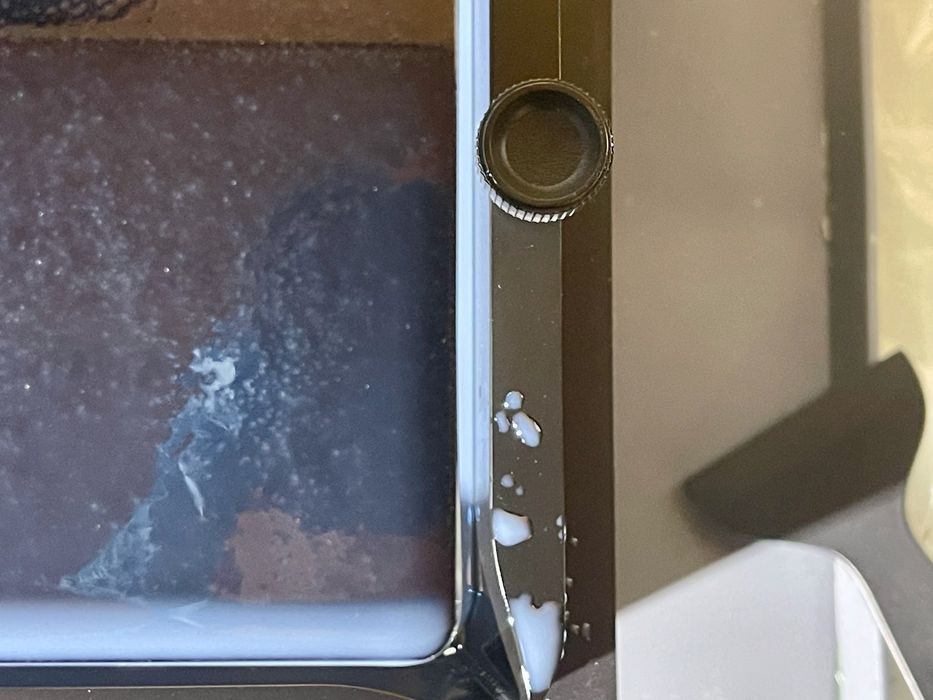
I was still curious about drips, but found there were still some accidents happening. Here we see some drips on the side of the tank, which probably occurred while tipping the build plate after a print. It takes a bit of skill to remove a plate without drips, and Anycubic hasn’t solved that problem yet.
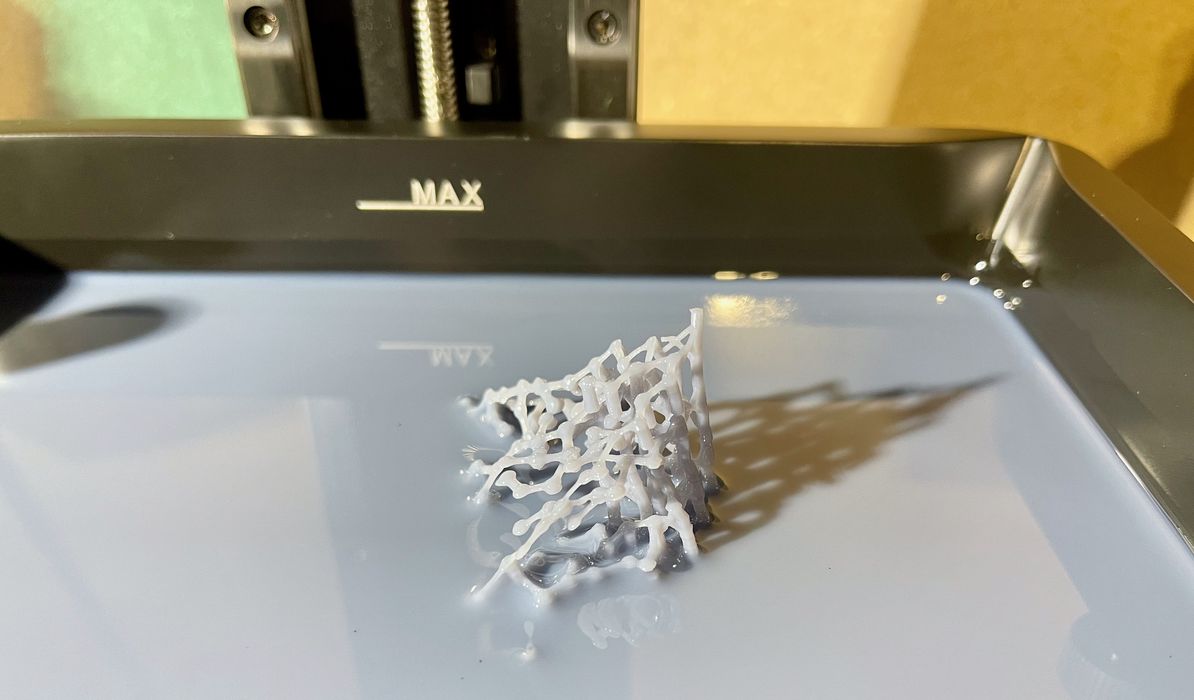
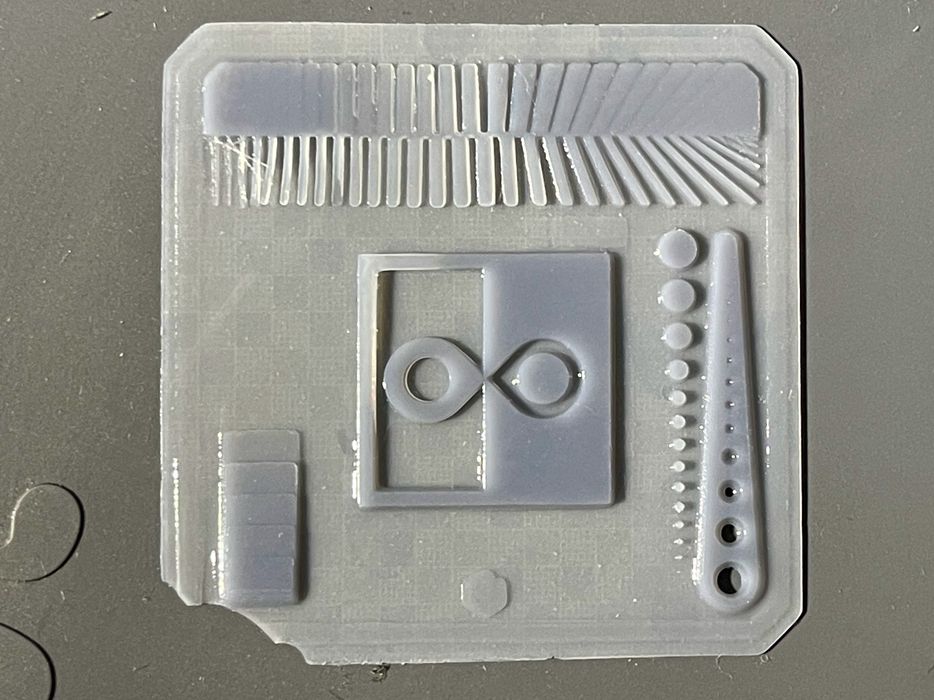
I then attempted to print a larger 3D model, but it failed! Here you can see the wreckage in the tank, which evidently detached from the plate during printing. Perhaps the support structures weren’t sufficiently strong?
Above the wreckage was the raft, still sticking to the plate, so adhesion was not the issue. I did figure out exactly what happened, but first let’s go through how to recover from a failure like this.
The M5s prompts you for a “success” or “failure” after each print, which is something I’ve previously seen only on more expensive 3D printers. When I pressed “failure”, the M5s immediately asked if I wanted to clean the tank!
Tank cleaning is a pretty important step when failures occur. The idea is that a failure might have left small loose bits somewhere in the liquid resin that would no doubt mess up the next print or even damage the FEP if pressed into it.
To recover, a cleaning operation involves a long exposure of the full build area. Basically the light engine goes full-on and solidifies a 1mm thick layer on the bottom of the tank. This captures any loose bits, which by gravity would fall into the lower level of the tank.
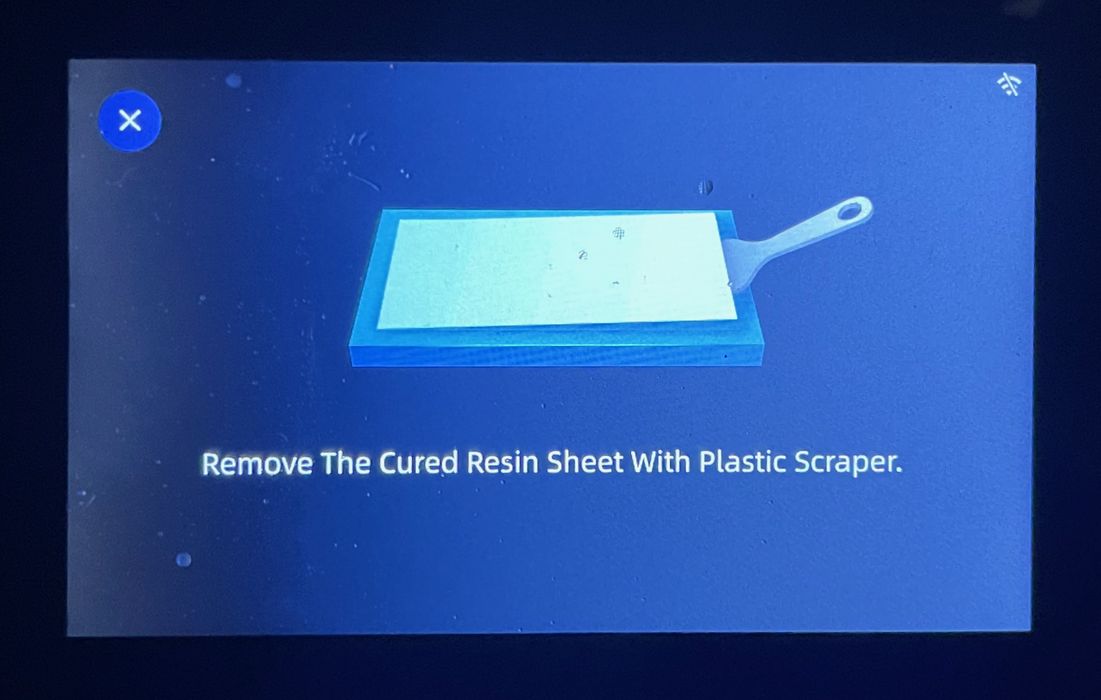
When the special cleaning exposure completes, the M5s asks you to remove it.
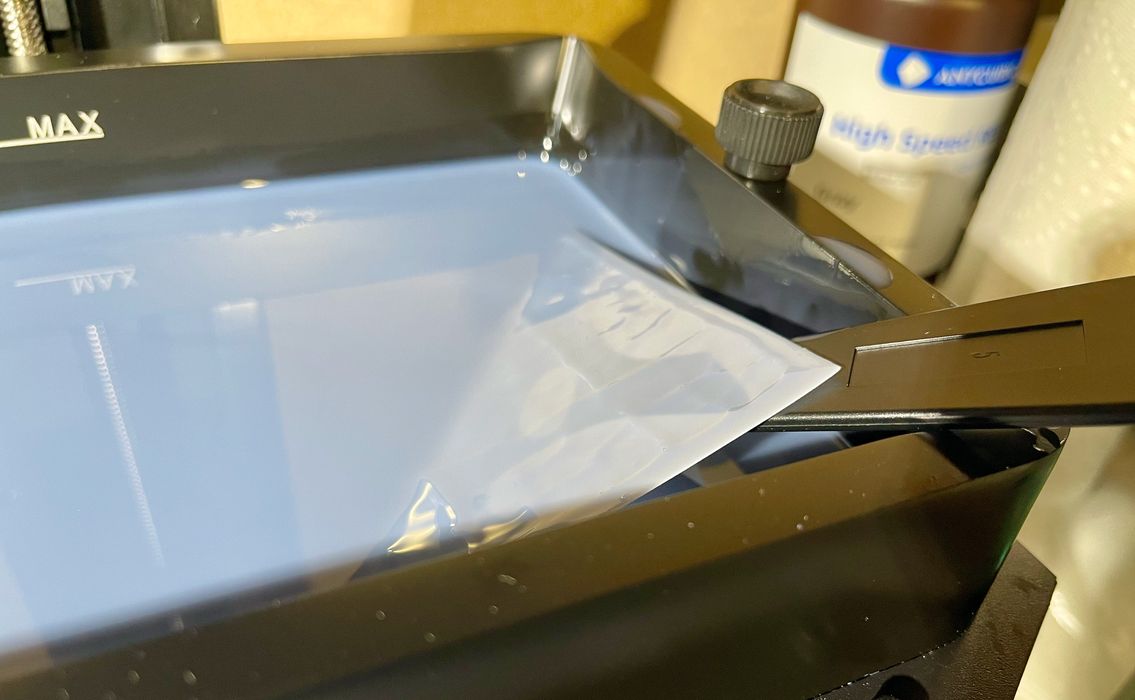
And there it is, the cleaning layer is removed. Be absolutely certain to use only the plastic scraper for this, not the metal scraper.
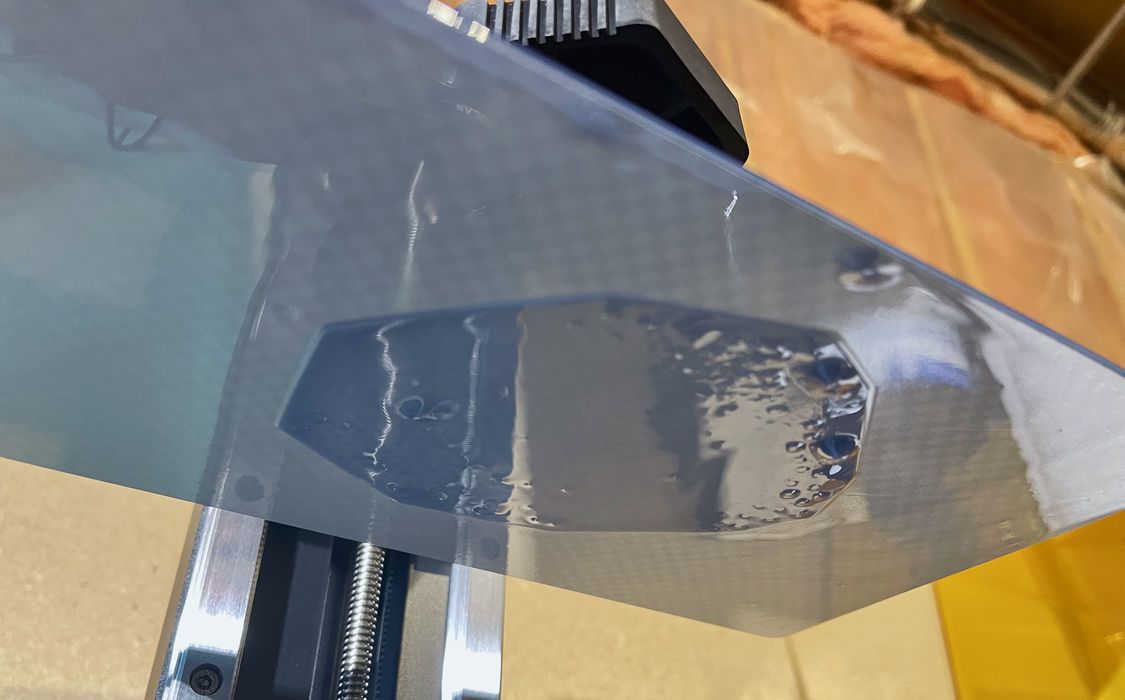
Alas, that wasn’t all that was wrong. It seems that during the failure something punctured the brand-new FEP and a bit of resin is seen here leaking underneath. It’s a good thing I installed that protective film after all!
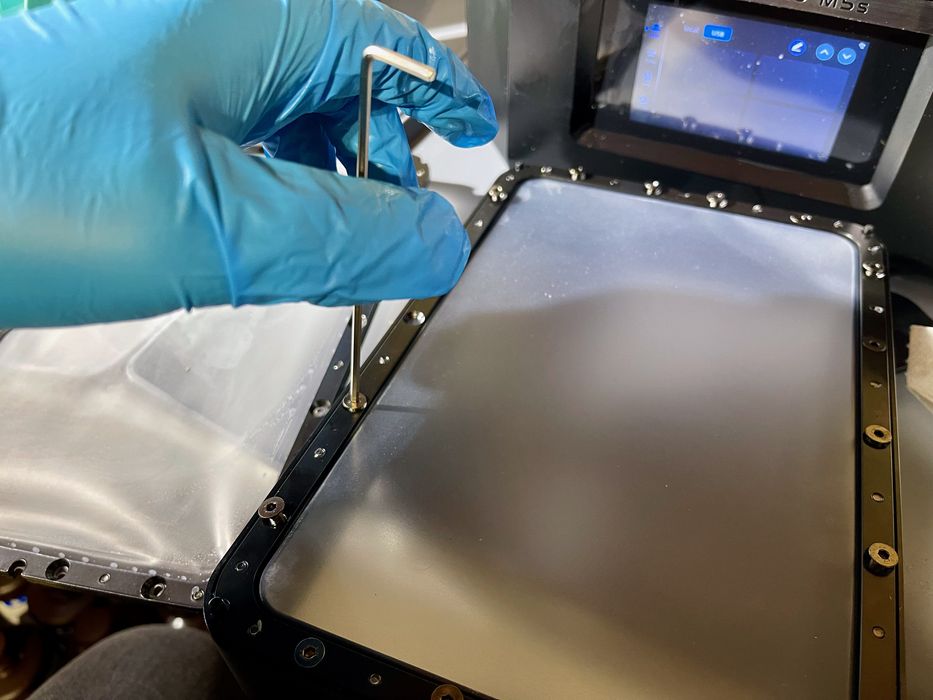
The next step was to replace the FEP, and fortunately the M5s kit included one spare. The replacement process is straightforward, although tedious due to the large number of bolts. You’ll have to pour out the resin through paint filter (also included) back into the bottle, and wipe the tank clean with IPA.
However, it’s still not completely clean, so I wore nitrile gloves during the FEP replacement. It took only a few minutes and I was back in action.
As for the cause of the failure, it turned out to be a very curious issue. It wasn’t the exposure time, but was the lift distance. In the Anycubic documentation they make a point about considering the lift distance for larger models.
The lift distance allows the print to peel properly off the tank. If it’s too short then the peel would not be completed, and disaster follows. We’ve written a detailed explanation of this process that you can find in our FEP Guide.
In my case, it turned out that I had to change the the lift distance from 3mm to 5mm. That’s the difference that can make or break a 3D print job. Going forward, I will be using 5mm, which will make the print jobs slightly longer, but more successful.
While this print job was not successful, it did enable me to see how the M5s handles failure scenarios, and I was pleasantly surprised to see how good the process was. Evidently Anycubic recognizes that failures will inevitably occur, and they’ve taken steps to accommodate them more than other MSLA machines I’ve used.
This is part two of a three part series, please read parts one and three.
Via Anycubic