
We were able to test the highly-touted Anycubic Photon Mono M5s MSLA 3D printer in our lab.
This is part one of a three part series, please read parts two and three.
Anycubic Photon M5s 3D Printer Background
Anycubic has released a series of FFF and resin 3D printers over the past few years, and each time we’ve seen a new model they are slightly more advanced than their predecessors.
The company seems to launch a new device every six months or so, and the new Photon M5S is by far the most advanced resin 3D printer we’ve seen from Anycubic so far.
The device has not only a large build volume and incredible resolution, but also has quite a number of workflow and operational improvements, some of which we’ve been waiting to see for a long time. As is usual for Anycubic, the new Photon Mono M5s also carries a surprisingly low purchase price.
Anycubic Photon M5s 3D Printer Specifications and Features
About that build volume, the M5s certainly is one of the larger low-cost desktop resin 3D printers with 218 x 123 x 218 mm to create objects within.
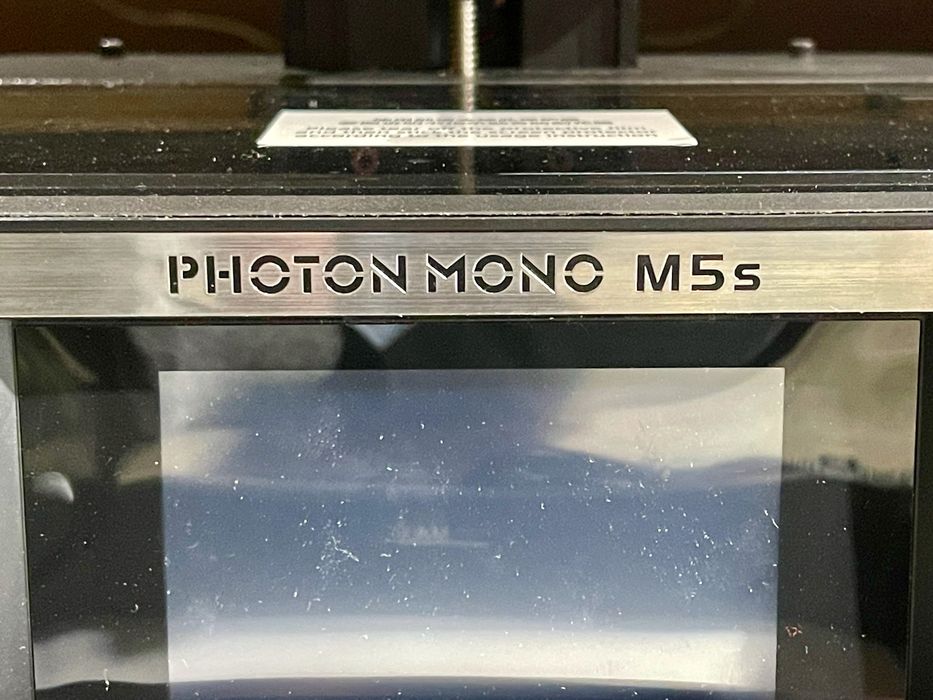
Anycubic has included their powerful light engine, but this time it includes not an 8K LCD panel, but a 12K LCD panel. This is perhaps the first 12K desktop MSLA device on the market, and the first we’ve been able to test in our lab. The M5s specifications say the pixel resolution is 11520 x 5120, which is more pixels than I’ve seen on any other MSLA 3D printer.
Arithmetic reveals that the individual pixel size is 0.019mm, or 19 microns. That’s more than sufficient to produce highly detailed prints.
The other key feature of the M5s is a new system that eliminates manual leveling, a requirement for every other MSLA 3D printer. Somehow Anycubic has created a plate mounting system that automatically levels itself without any human intervention. This should provide more reliability when printing.
Finally, the M5s is touted as being incredibly fast, with an “average” print rate of 105mm of height produced each hour. I was quite interested to see if this was indeed true.
Anycubic Photon M5s 3D Printer Unboxing and Assembly
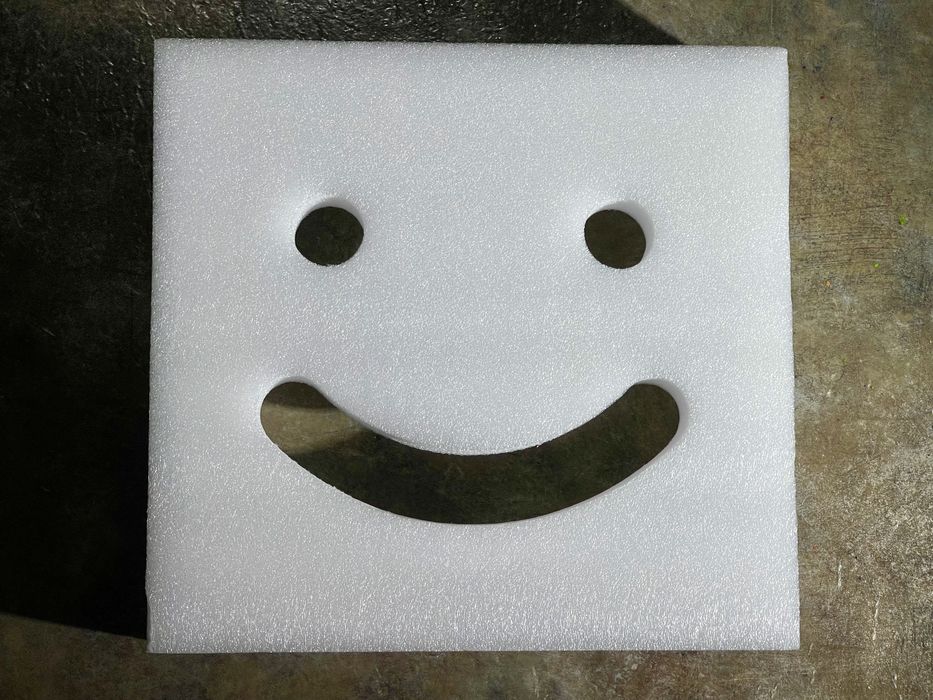
While some 3D printer manufacturers include candies in their shipments, Anycubic chooses to use this happy foam insert at the top of their shipping boxes. We’ve seen this a few times, and it’s great to see each time you open one of their boxes.
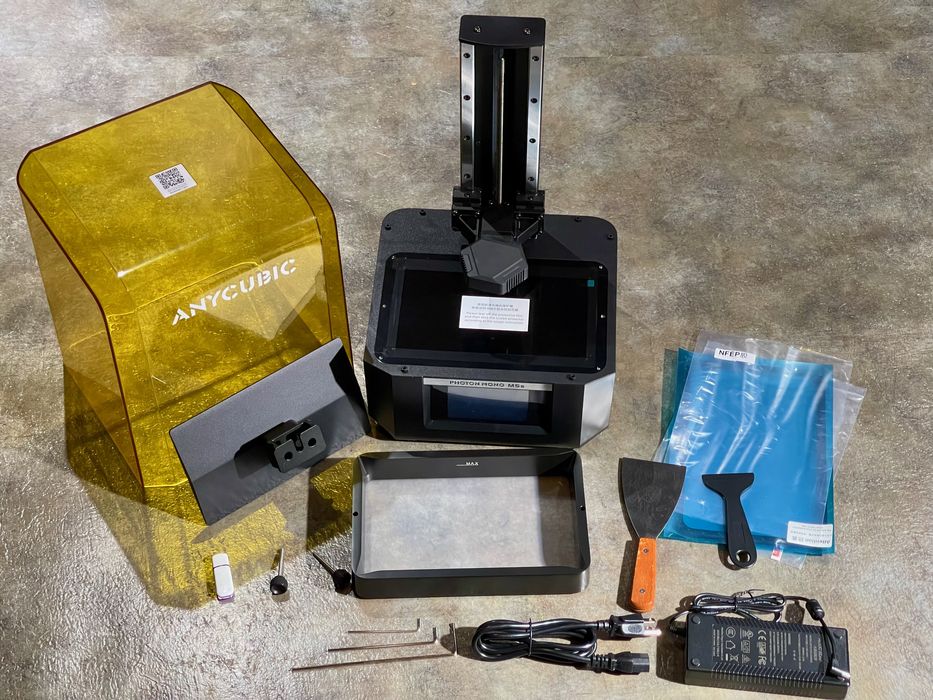
There aren’t a lot of parts for the M5s, partly due to the new auto-leveling design. The print plate is a single piece rather than several items you must bolt together.
The shipment includes the usual equipment beyond the 3D printer itself, including a metal scraper for print removal, and a plastic scraper for resin activities.
The M5s comes with Anycubic’s “3rd Gen” release film, which apparently has reduced release force. This could enable a higher print success rate, but at the same time minimizing release height and increasing lifting speed.
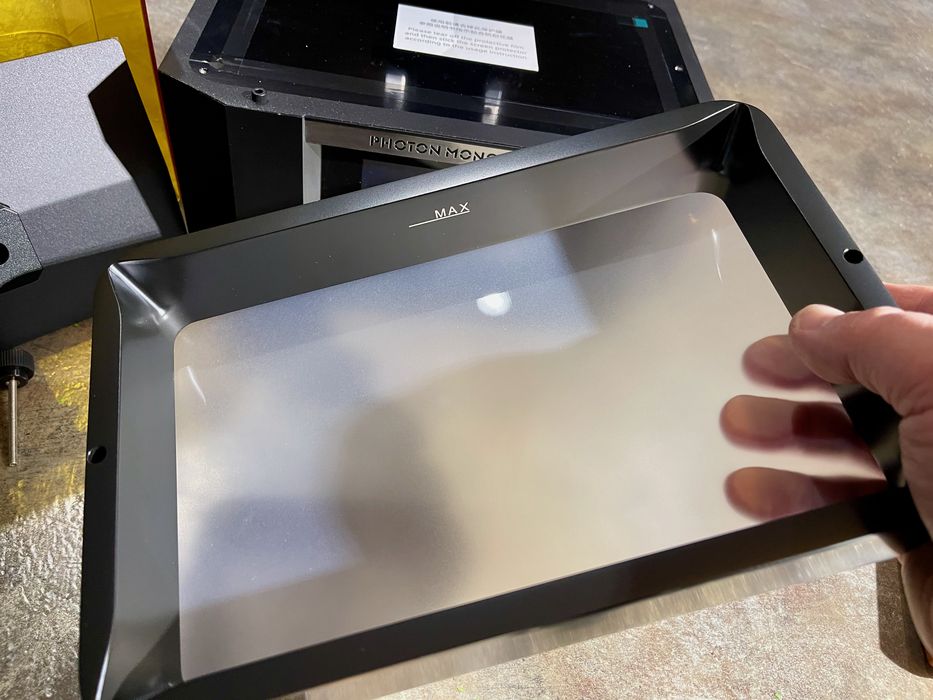
The resin tank is pretty standard, although it is quite a bit deeper than many other tanks I’ve seen. I believe this is because the large volume of the M5s permits large prints, which of course require a lot of resin. There’s a “MAX” level for the resin, and be sure to never exceed it. If you do, you’ll get a messy overflow when the plate plunges into the resin.
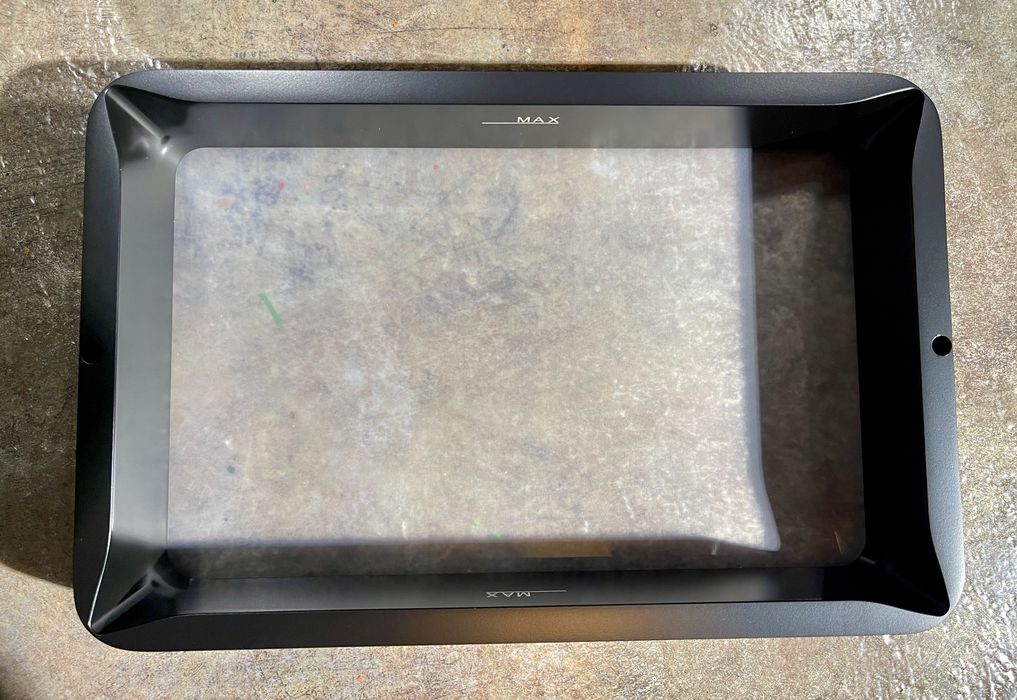
Well, this is interesting! There are times when you must pour out the resin, for example if you are changing materials. Some 3D printer manufacturers include an indent to assist pouring, but here Anycubic has included FOUR pourable corners!
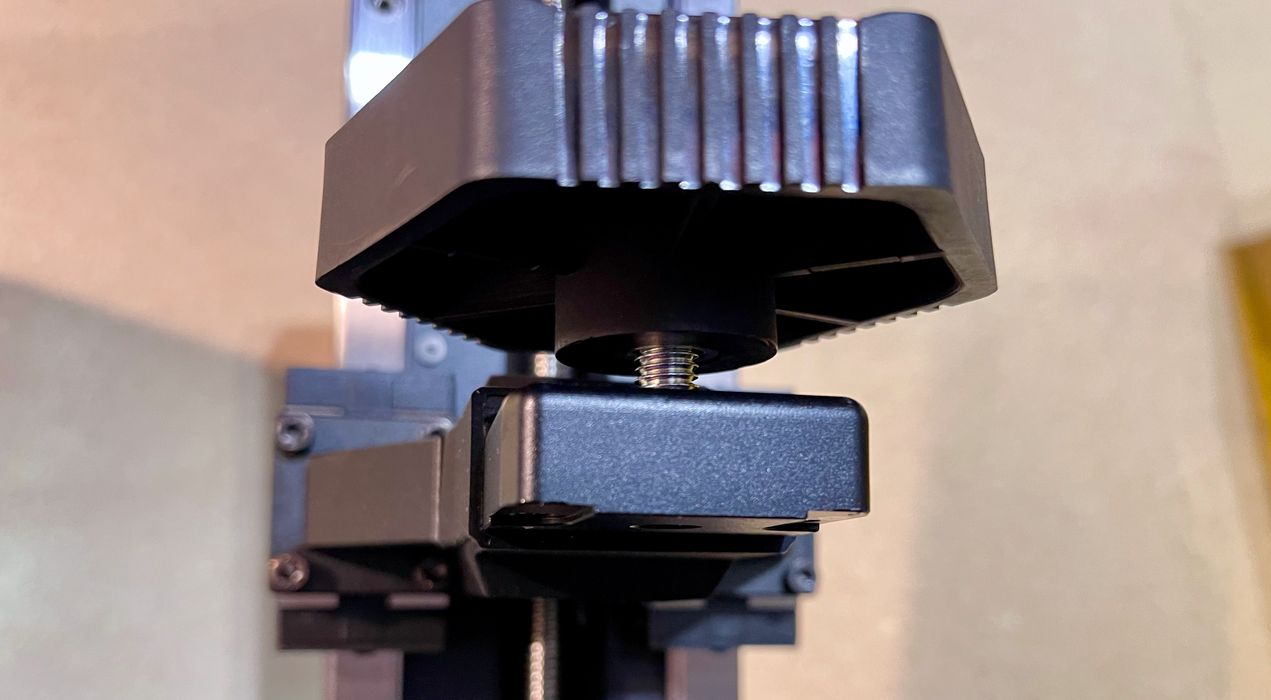
I inspected the plate mount system to discover the secrets of the auto leveling system. However, there’s really nothing visible to suggest how it works.

Once mounted, the plate appears normal, much like any other MSLA device.
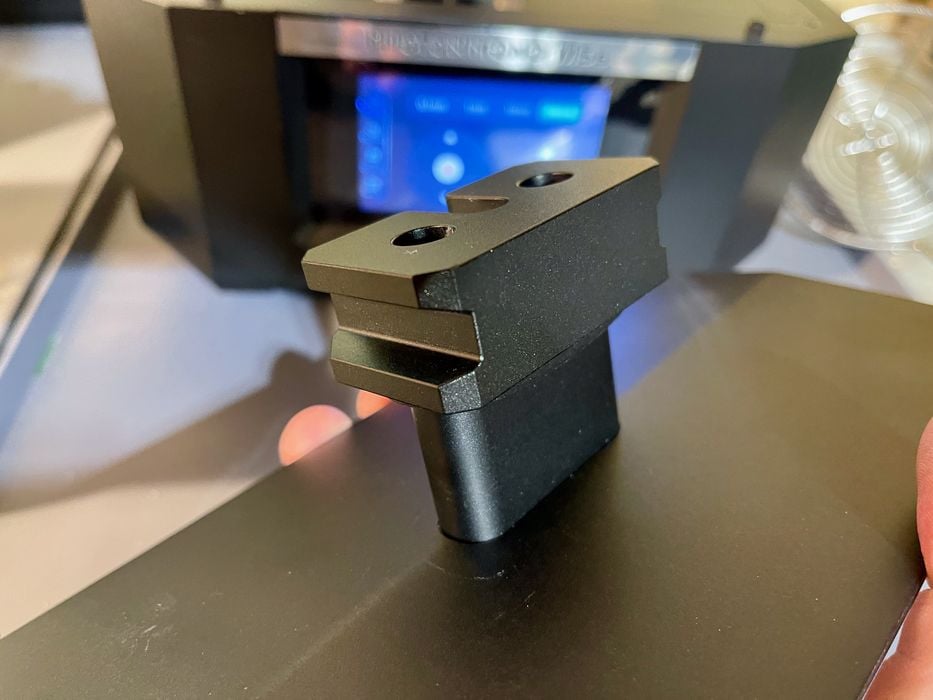
But hold on, there’s something else here. Because the plate does not require leveling, there are no bolts that are typically placed at the top of the plate. This means that this new plate should drip resin freely as there are no bolts or niches to capture resin — which inevitably spills on you when you remove the plate. This is a feature I’ve been waiting a long time to see, and now it’s present on the M5s.
Anycubic Photon M5s 3D Printer Setup and Calibration
While the M5s is mostly assembled, there are a few things to do before getting started.
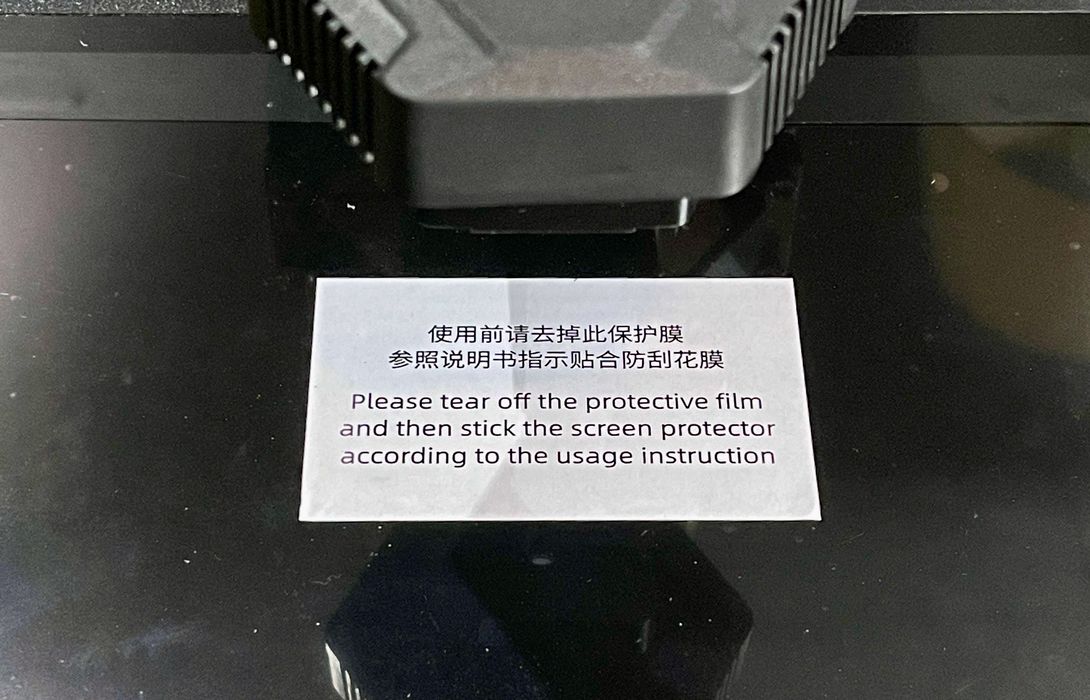
Here we see a label on the light engine indicating that the temporary protective film should be removed. That’s fair, we see this all the time.
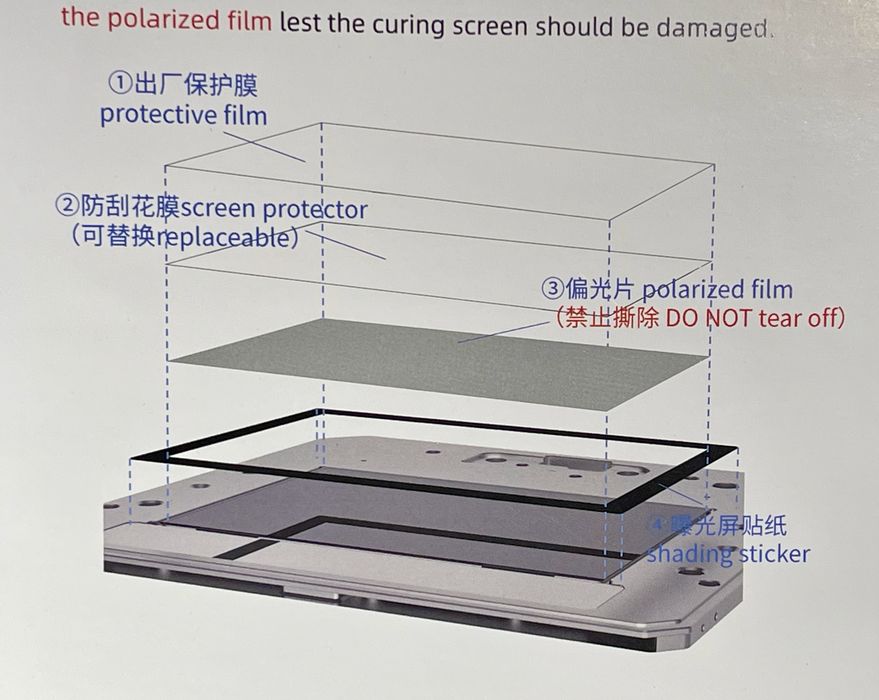
But hold on a minute. This bit in the instructions is saying I should install a protective film. I am taking off a protective film and then adding a protective film?
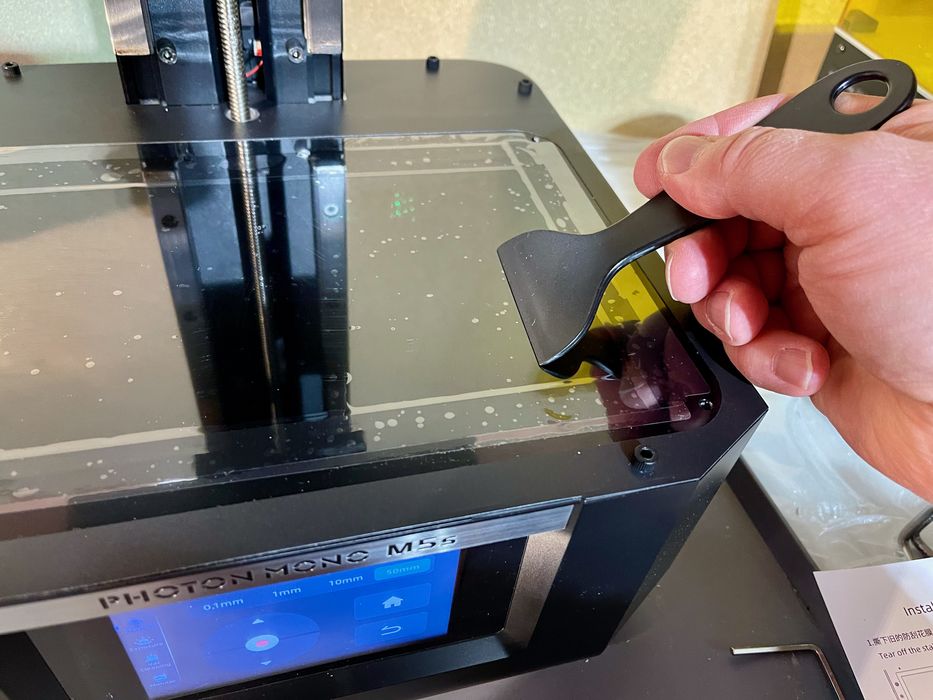
It turns out this is actually the case. There is a separate protective film in the kit that you must apply to the light engine surface. This apparently protects the light engine from spills. When applying this, make sure you use the plastic scraper, not the metal scraper.
That may not make sense, but let me explain. Should your FEP be pierced, a leak will occur and resin will be directly on the light engine glass. It will of course cure solid, and have to be removed. Removal would be done with the metal scraper, which itself could damage or scratch the light engine. That’s why Anycubic recommends using a protective film — damage that instead of the light engine.
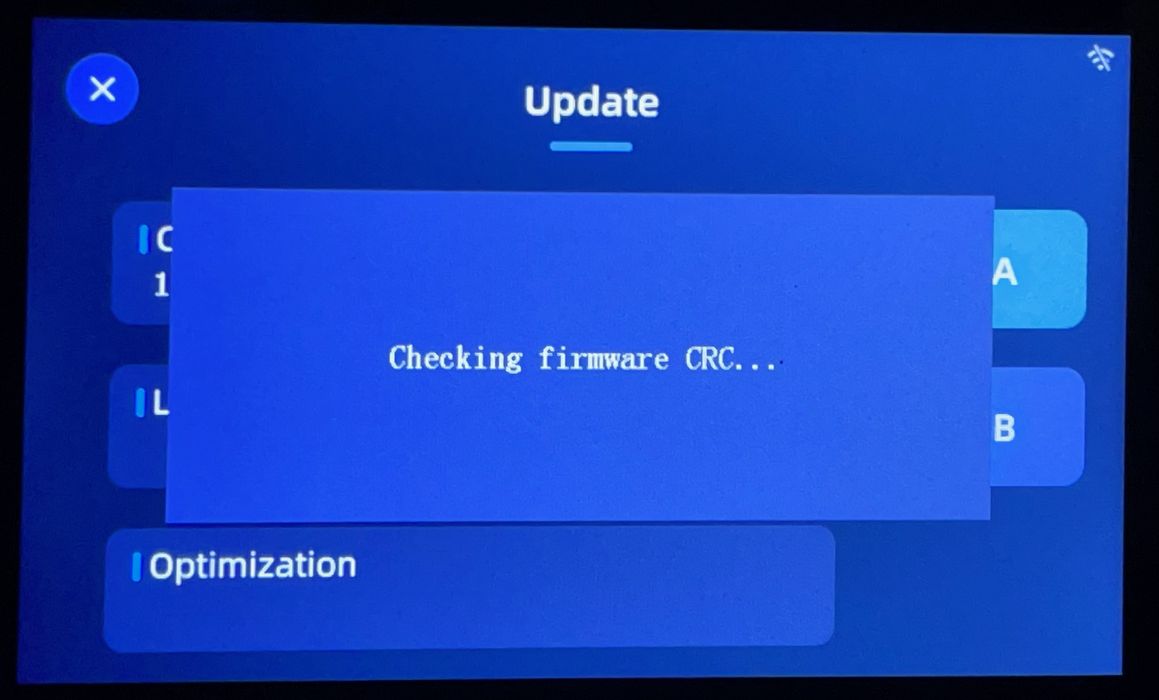
As always, one must check for firmware updates for any new machine. I happened to find one, and it was pretty easy to install. Anycubic has created a new method of firmware updating that is more natural, as previous systems would require you to unnaturally “print” a firmware file to install. Now it’s just a menu item like it should be.
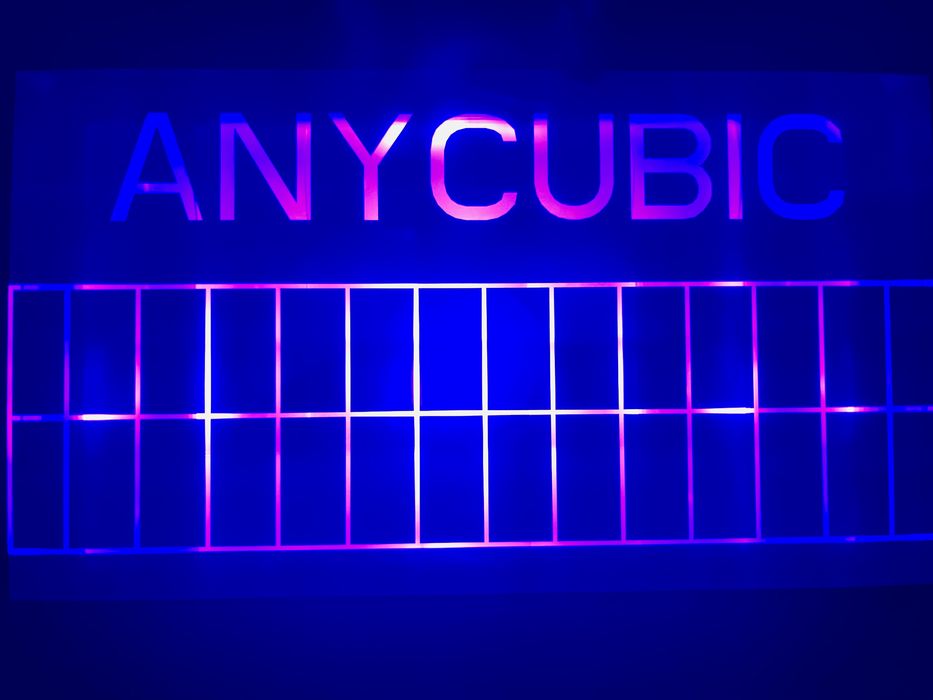
Once all that is done you must check the light engine to see that it is functioning. Mine worked fine, as you can see in the image of the test pattern above.

Anycubic has long had a mobile app that allows you to connect directly to equipment for real time monitoring and control, and that’s also the case for the M5s. However, I found that it wasn’t quite set up for the M5s at the time I tested the unit, so that will have to be checked later.
This is part one of a three part series, please read parts two and three.
Via Anycubic