
Our review of the Anycubic Photon M3 continues with our setup and calibration experience.
This is part two of a three part series, please read parts one and three.
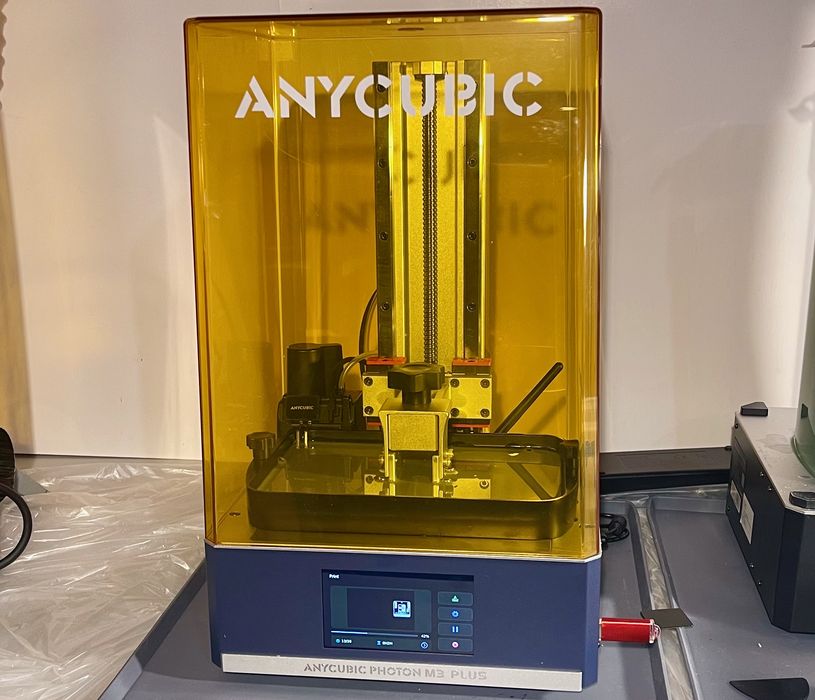
Anycubic Photon M3 Plus Setup and Calibration
There are few things to do when setting up a resin 3D printer, but they must be done.
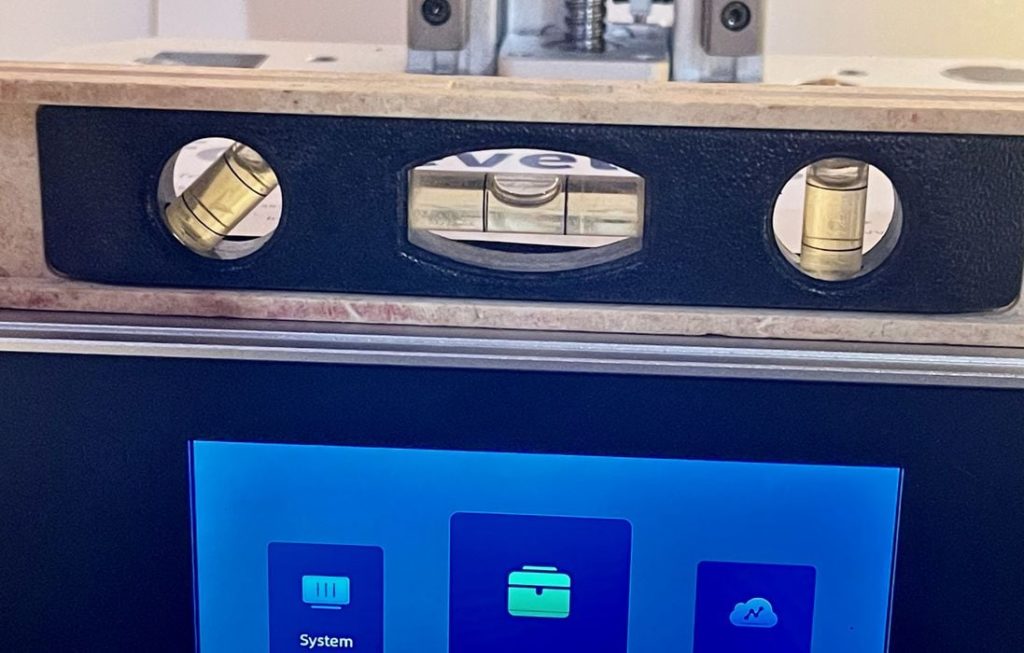
The very first thing to do is to ensure the machine itself is level. This might not seem important, but it will be when the resin runs low in the vat. You want that liquid resin to be as evenly spread as possible.
Fortunately, the Photon M3 Plus includes adjustable feet, and this allows the machine to be perfectly leveled. Note: don’t fill the resin vat before you level the machine otherwise you could produce a big mess.
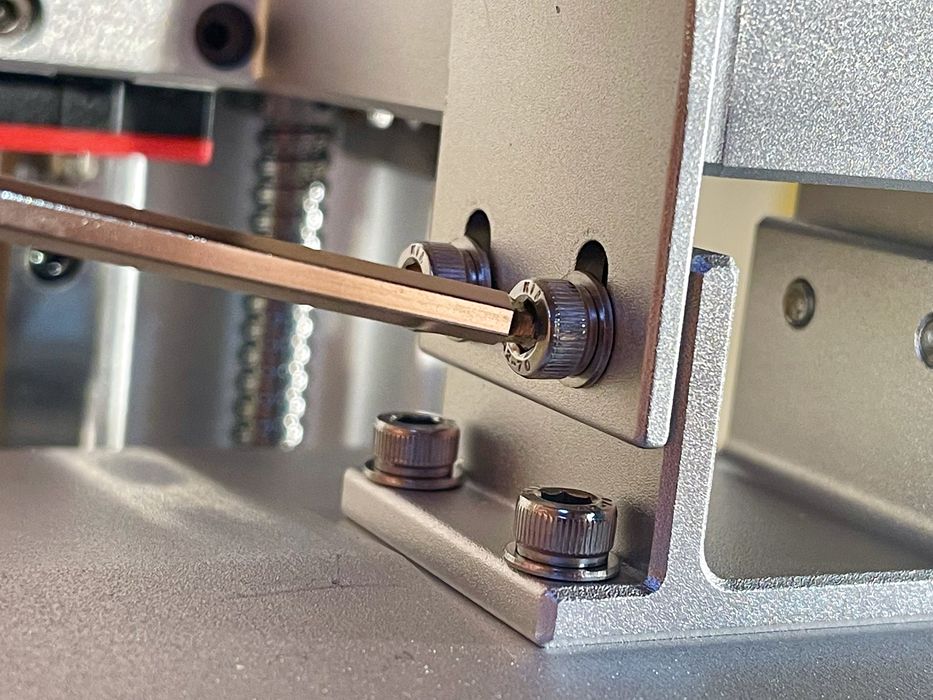
The next calibration step is to level the build plate. This is easily done by removing the vat (if you already placed it) and loosening the bolts holding the plate.
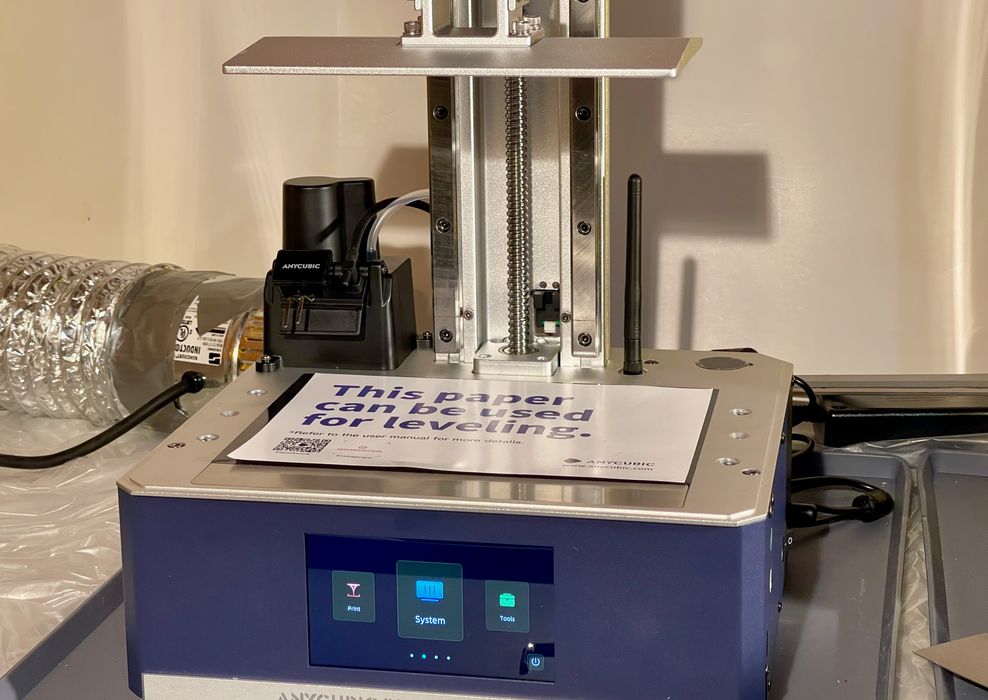
The plate is then automatically lowered onto the very conveniently labeled leveling paper. Then just tighten the bolts and you’re good to go. You shouldn’t need to re-level the print plate until you change the resin vat.
The vat can then be mounted and filled with resin. I did not to use the smart filling option because it seems that it is only for filling during a print job, and not for filling an empty vat.
Before starting a print job you must always calibrate your resin. This should be done anytime you change resins, as they have different optical and chemical properties.
My calibration used the standard matrix test, as seen here.
Anycubic Photon M3 Plus Operations
Operations on the Photon M3 Plus are straightforward. 3D models are sliced externally on a desktop computer using Anycubic’s Photon Workshop system, or alternative slicers such as the Lychee Slicer.
The generated GCODE files are then placed on a USB stick and inserted into the machine, where they show up on the touchscreen for selection.
The large touchscreen is advantageous here, as it shows a small preview of the 3D model as you scroll through the available print jobs on the USB stick. Often you’ll recognize your file by shape, rather than by name. But I recommend always confirming the name, just in case.
Ongoing print jobs are displayed on the touchscreen, with each layer showing the selective illumination pattern as it is exposed. Layer count and progress are also displayed. I found the estimated print times to be quite accurate, and the Photon M3 Plus prints very quickly.
Note that you cannot operate the Photon M3 Plus without the UV cover being installed. This is because it includes a small RFID chip at the rear, which the machine looks for when starting a print job.
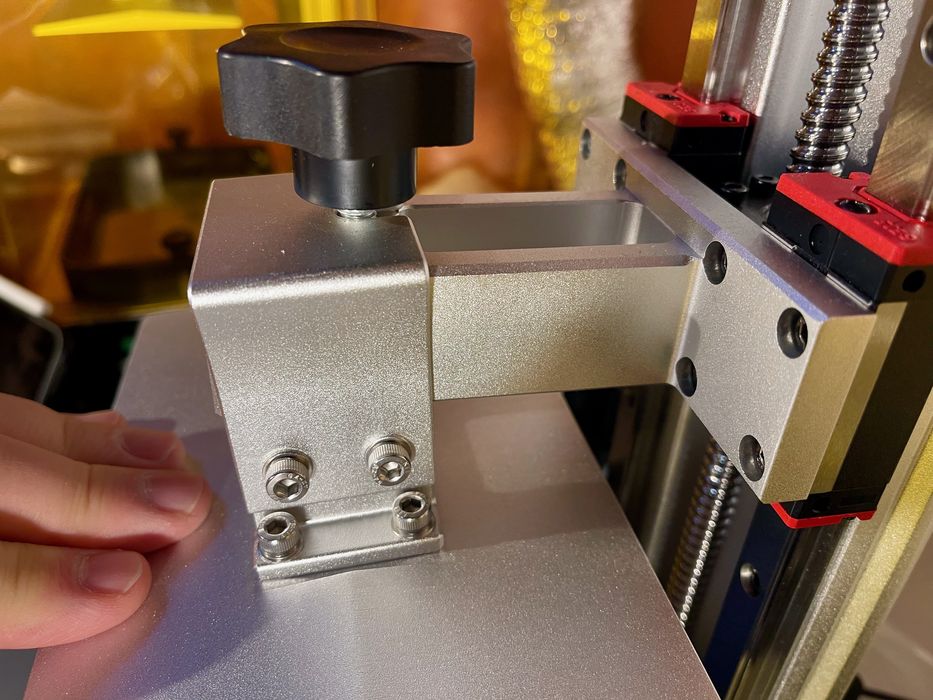
One slight issue I encountered had to do with attaching the build plate. Normally these metal pieces fit together quite neatly, but not quite so on the Photon M3 Plus. Sometimes I had the plate attached in a tilted position as above.
After some investigation I realized what was happening. It seems that the lip of the mount is a bit too short, making it very easy to accidentally ride up on top instead of against the lip. I haven’t encountered this before on other machines, but this is something to look for. Just be careful when mounting the plate and you’ll be fine.
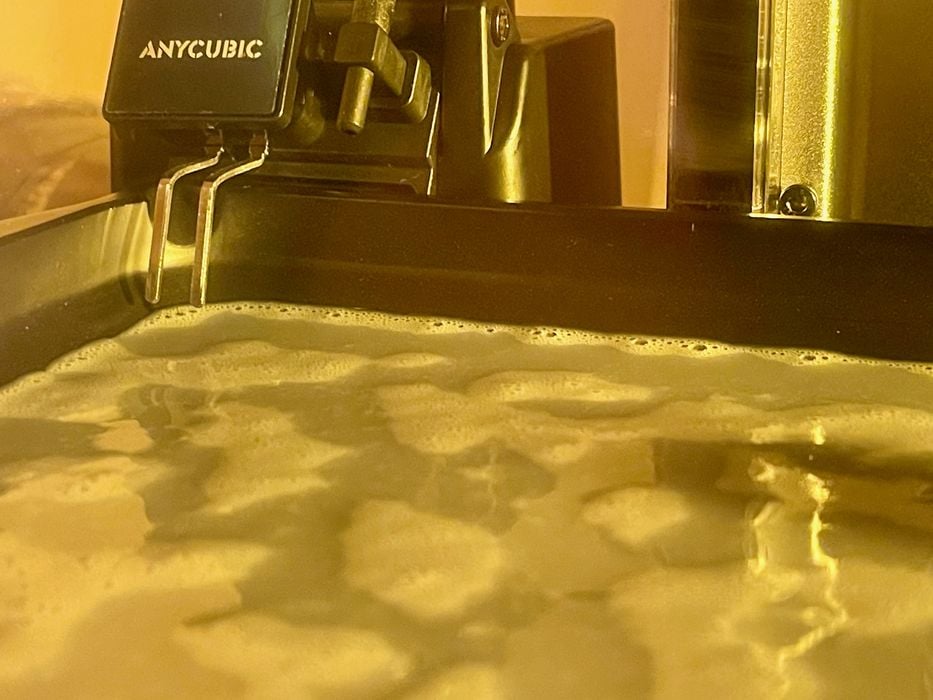
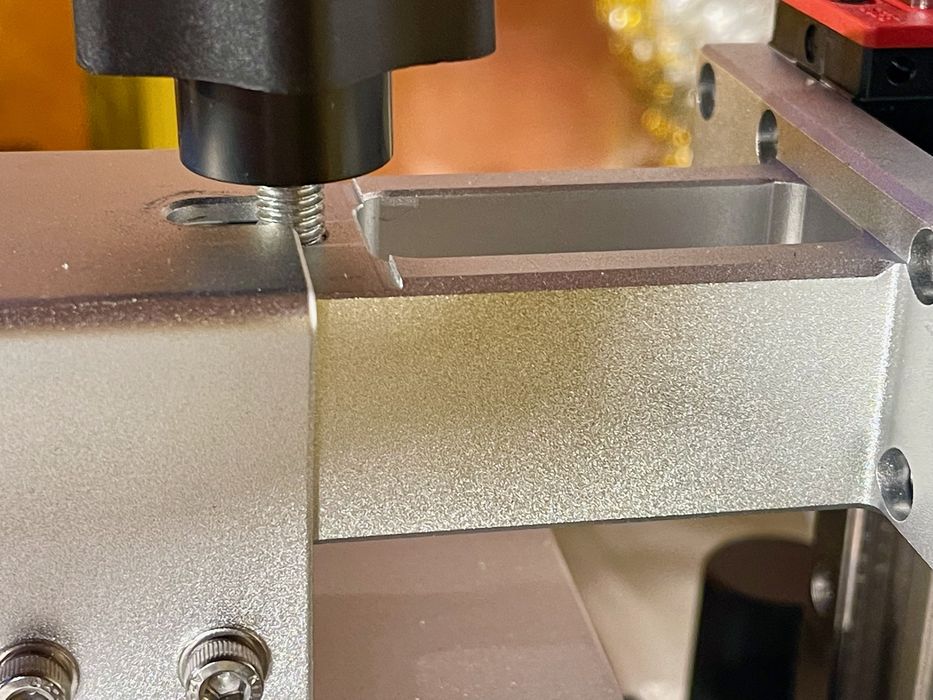
I was very curious about the smart filling system, having never used a machine with that capability before. I was doubly curious because the sensors clearly did not touch the resin, even when I had filled the vat to a normal level, as shown here.
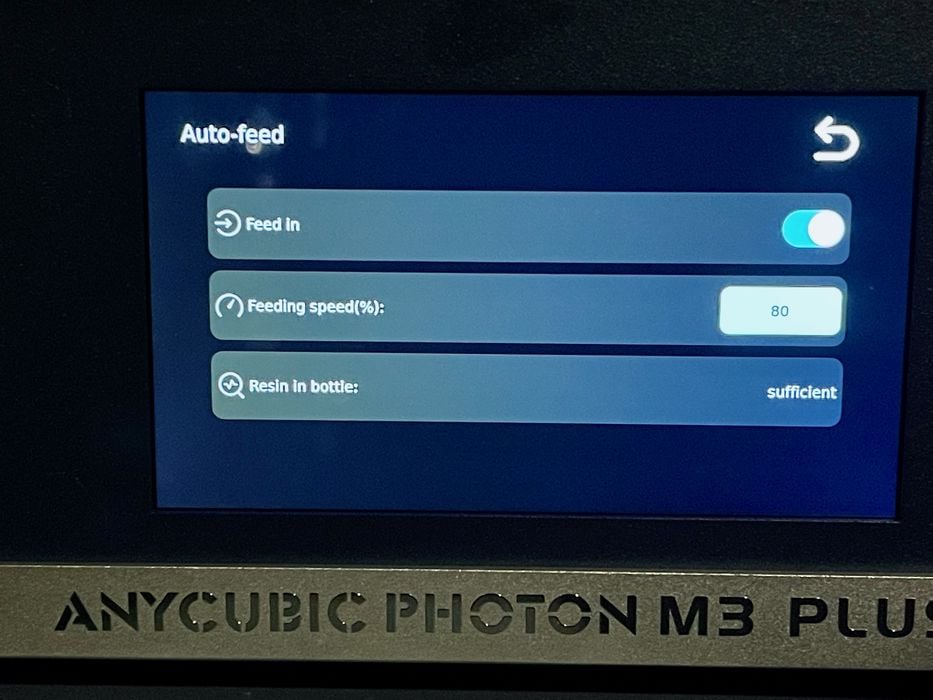
Nevertheless, I enabled the filling system through an option on the touchscreen. I thought I’d try it and see what happened regardless.
I realized what was happening as the print proceeded. When the plate lowers and presses against the FEP sheet, it displaces quite a bit of resin. In other words, at the lowest point of the layer motion, the resin is pushed higher and it does indeed touch the sensors.
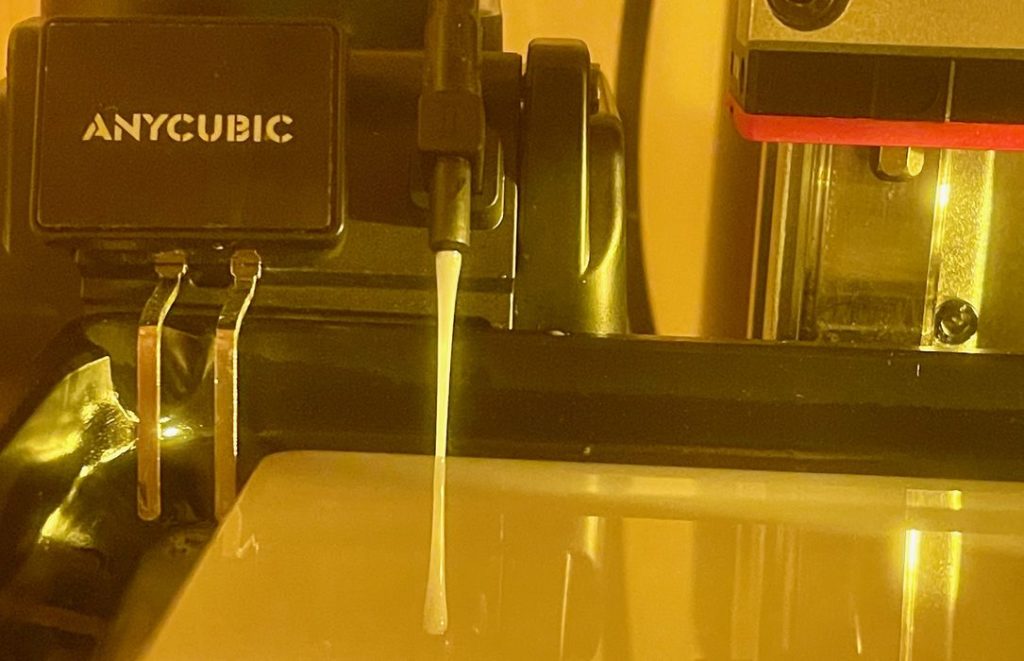
But does it refill the vat? I had to wait quite a while until the resin level was sufficiently low, but then suddenly it started working!
The refill apparently operates only briefly and then only every five minutes. But that’s sufficient to keep the vat at an optimal level. At this point you can freely run through an entire jug of resin without needing to do any refills!
I am wondering about changing resin types, however. One concern is that a different resin would require complete cleaning of the tubes, cap and bottle inserts. I expect this can be done using IPA. However, cleaning the pump is another matter. I suspect that you’ll just have to settle for a small bit of contamination from the previous resin when you swap bottles.
Another concern is that the resin should be sufficiently electrically conductive for the system to detect it. Anycubic’s resins have this property, and likely some others do as well. But you’d better check first and not assume a given resin will work with the Smart Fill system.
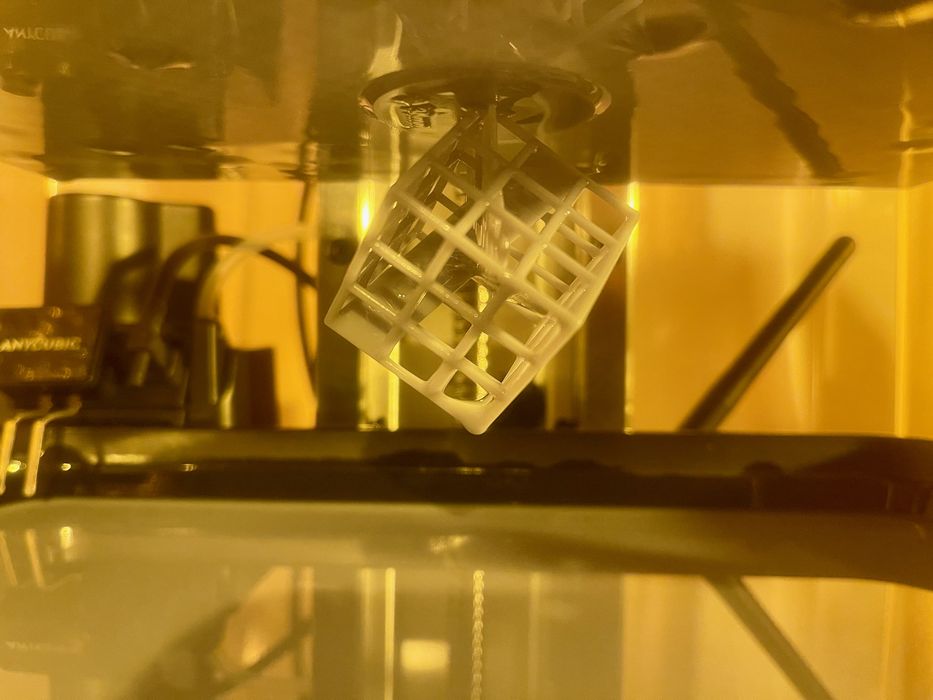
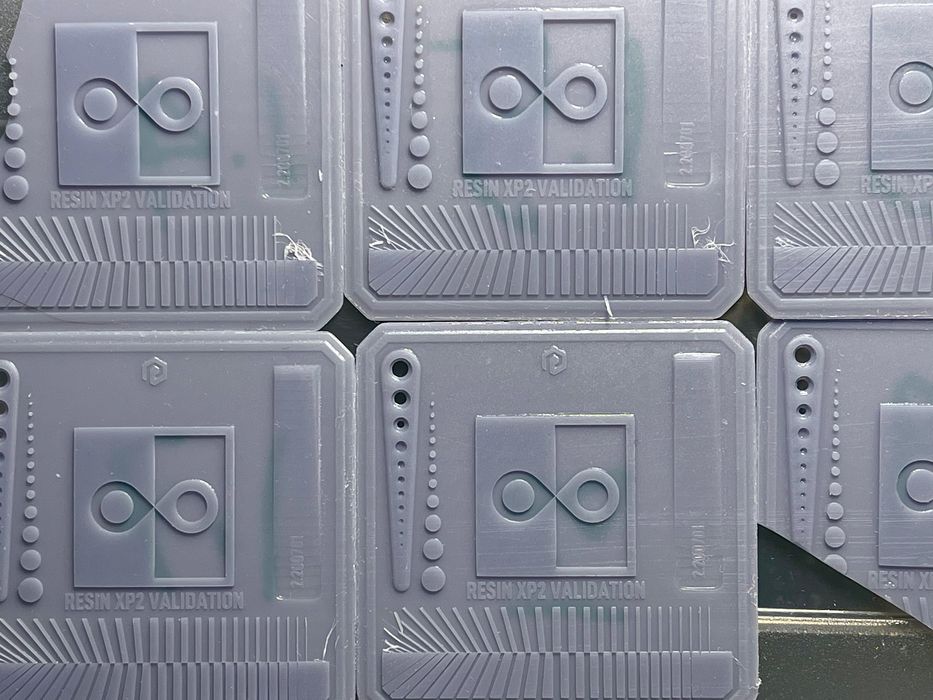
Anycubic provides a test print, which was the first item I printed. It worked quite well. Consider this print part of the set up to ensure you have everything working.
This is part two of a three part series, please read parts one and three.
Via Anycubic