
We had the opportunity to test the new Anycubic D2 DLP 3D printer.
This is part one of a three part series, please read parts two and three.
Anycubic D2 DLP 3D Printer Background
The Anycubic D2 is a very new device that adds to the already quite extensive 3D printer lineup at Anycubic. The company has a long history producing excellent resin 3D printers with their Photon line. We’ve tested several Photon models and found them to be pretty good, so the chance to look at the D2 was obviously intriguing.
One key feature of the D2 is entirely different from all the other Anycubic resin 3D printers, with the exception of the Photon Ultra: it’s a DLP device.
Most desktop resin 3D printers use LCD technology: a light source shines through an LCD panel. Some of the pixels on the panel are on or off, which creates the illumination pattern for the resin layer. This is why that technology is sometimes called “Masked SLA”, or “MSLA”, because the LCD panel “masks” some of the light to create the pattern.
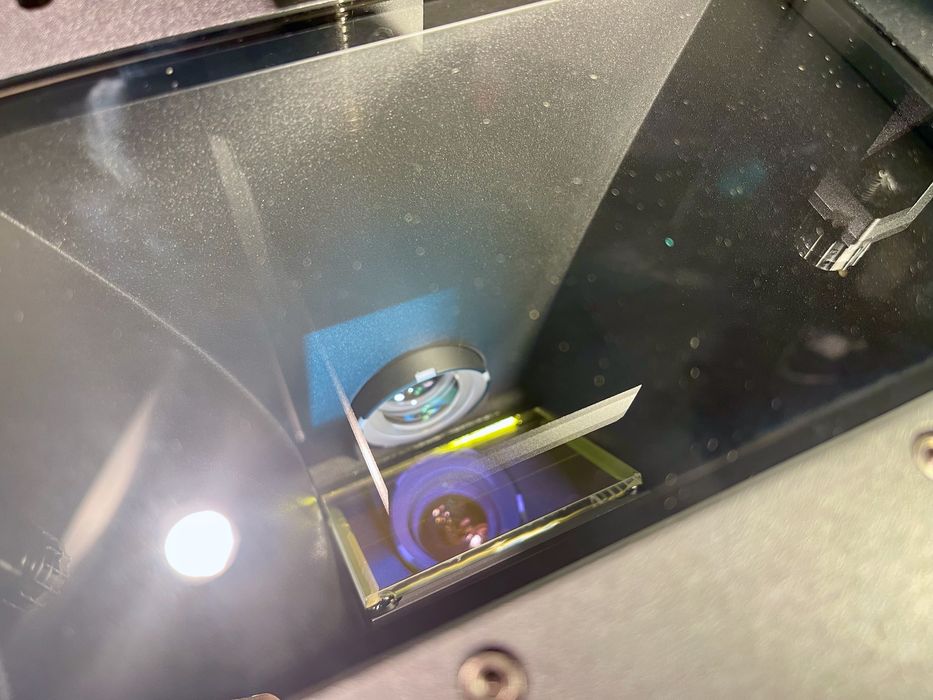
DLP, however, is quite different. Instead of a mask, the light is projected directly. A DLP projector is basically a chip containing a vast array of tiny mirrors. These mirrors can tilt on command, and so in one orientation they reflect the light, and in the other they don’t. An arrangement of on-off pixels can then create the light pattern for illuminating the resin. Anycubic acquired the DLP chip from Texas Instruments for use in their Photon Ultra and Photon D2 machines.
I’ve never tested a DLP machine previously, so I was quite excited to do so. And my excitement was realized, as you’ll see.
Anycubic D2 DLP 3D Printer Specifications and Features
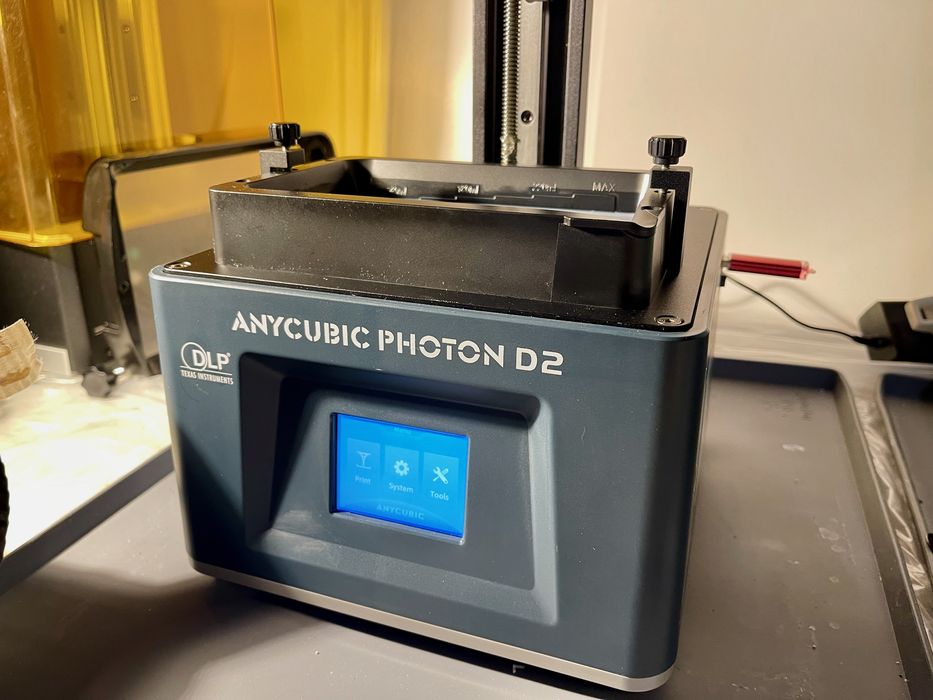
There are two things you will immediately notice when looking at the D2. It’s small, and it’s blue.
The blue cover is very different from the ubiquitous orange covers on other machines. The idea is to filter out UV light from the sun and other sources, so that it does not accidentally cure the resin. But on this machine the blue tint does the same.
Regarding the size, that’s because the D2 has a somewhat small build volume of 131 x 73 x 165 mm. This is smaller than many of the machines we’ve been testing lately, but I don’t think it’s actually an issue. This is because my prints are usually small and would occupy only a portion of the build volume of those larger machines. The D2 is able to accommodate 3D printing almost any object that is worthy of high resolution resin 3D printing.
The DLP chip in the D2 has a resolution, as you might expect. It’s 2560 x 1440 pixels. This is not “4K level”, as you would see on other machines, but here it doesn’t matter because those pixels are squeezed into the small build area of 131 x 73 mm. This results in a dpi of approximately 500!
The DLP chip uses far less power than an MSLA machine, so it doesn’t heat up nearly as much when printing. This means it will last a very long time, up to 20,000 hours according to Anycubic.
Finally, the D2 is designed to handle resins in the 405nm range, as are most desktop devices. There are some that require 365nm resin, but this isn’t one of them.
Anycubic D2 DLP 3D Printer Unboxing and Assembly
The D2 is shipped in a rather small box as 3D printers go, but that’s because of it’s small size. It’s a fully assembled system, so I didn’t expect much to do, and that was the case.
As all Anycubic devices are packed, so too is the D2: extremely well. There is little risk of damage.
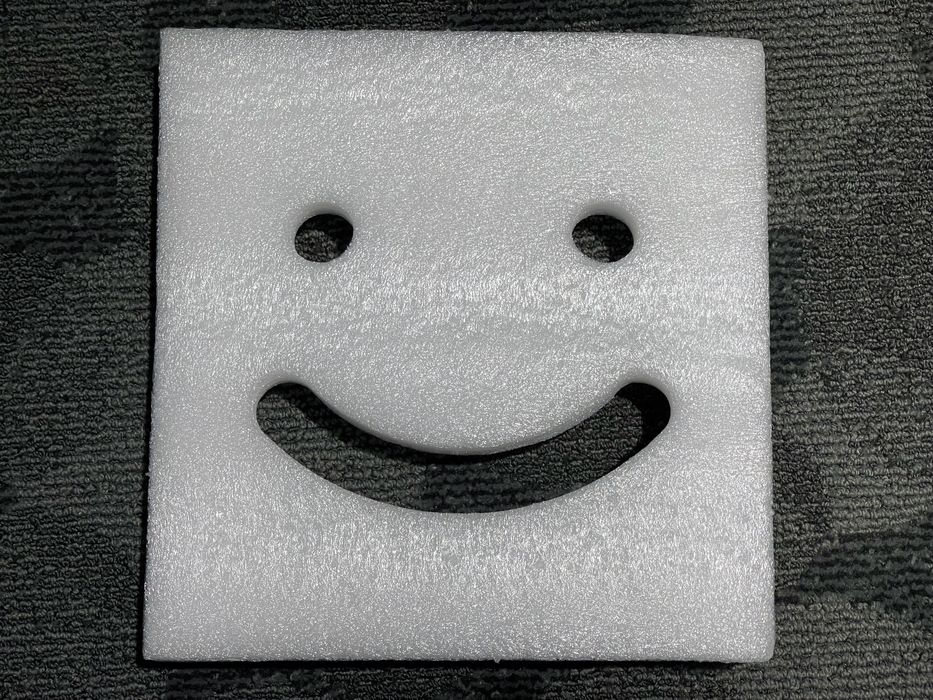
One of my favorite moments of unboxing the D2 is the top foam piece, shown here. It will be the only foam piece I save, because it’s such a good idea. This is almost the same level of fun as finding a bag of Haribo candies in a Prusa shipment.
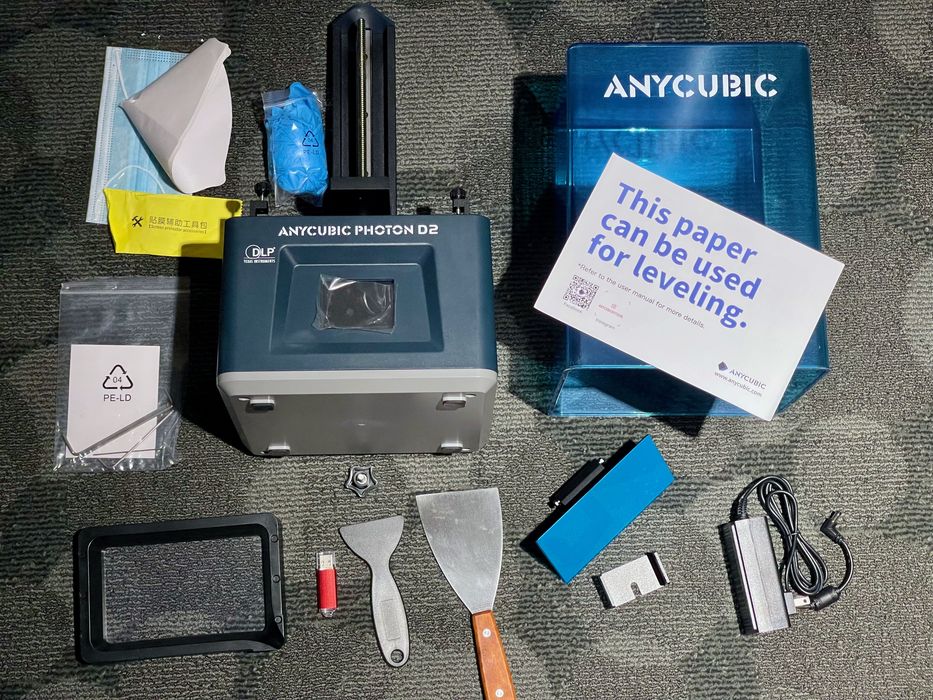
There aren’t a lot of parts to be found with the D2 because it’s assembled, but there are a lot of tools and PPE.
One thing I immediately noticed was the weight of the D2: it’s extremely lightweight compared to any other MSLA 3D printer, and it’s not only due to the size of the device: the DLP mechanism is far lighter than typical MLSA light engines.
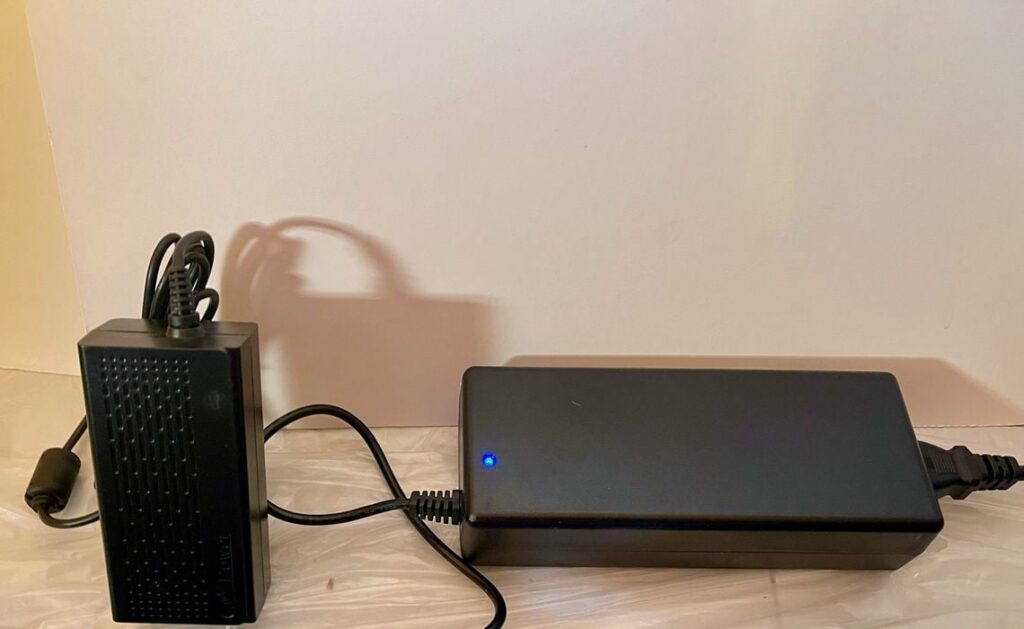
Another surprise was the power supply. Check out this comparison of the D2 power supply on the left and a typical resin 3D printer power supply on the right. The D2’s is much, much smaller. This is because the DLP chip requires far less power than an MSLA system.
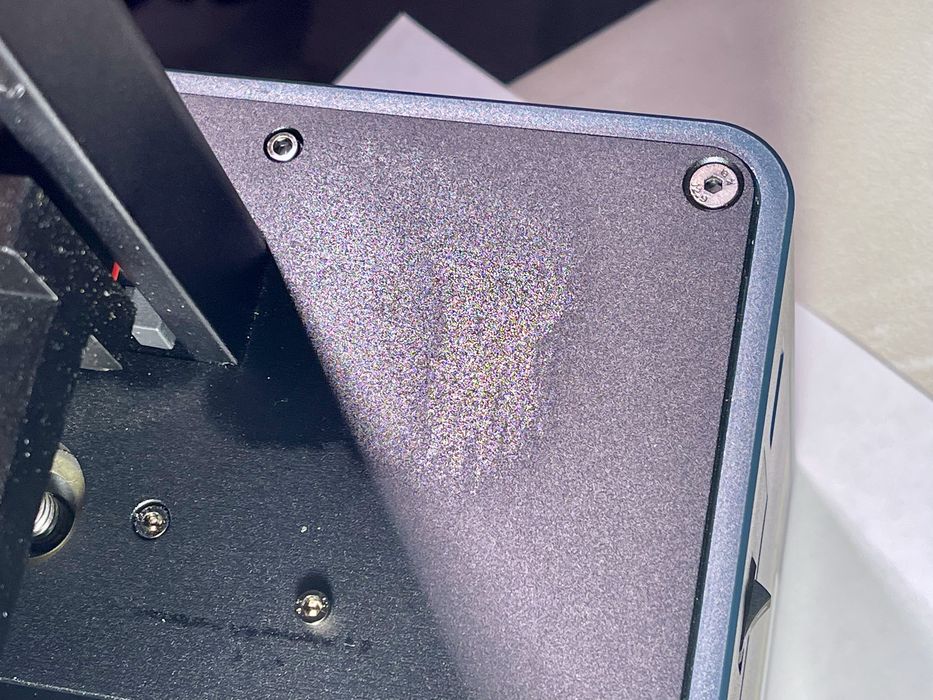
I did notice a bit of a smudge on the top surface of the printer, but this wasn’t really an issue functionally and I decided to ignore it.
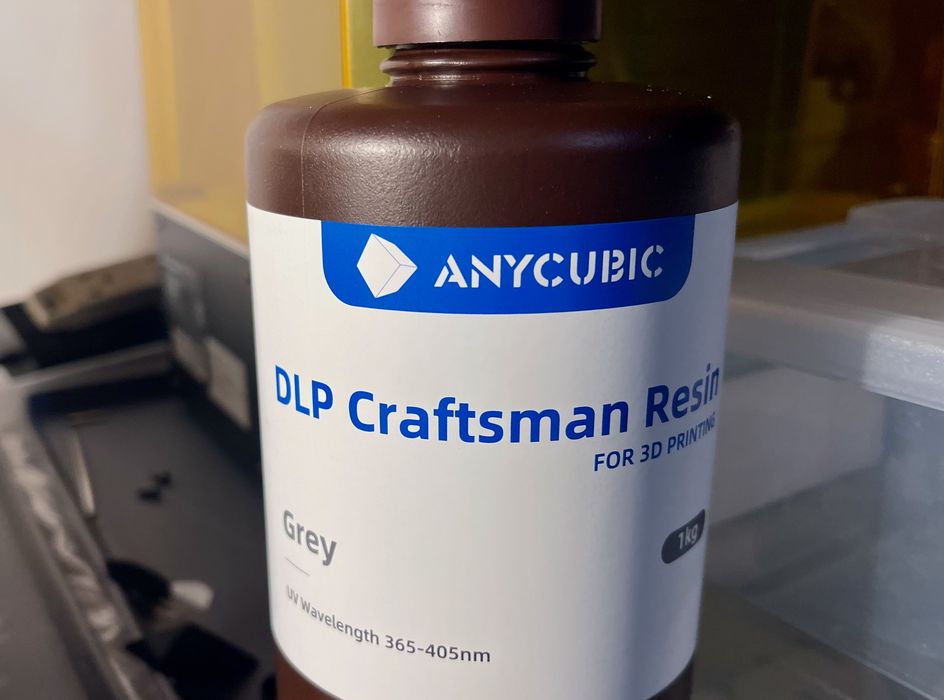
No resin was provided with the D2, so be sure to acquire some separately before you set up your D2. I used Anycubic’s DLP Craftsman Resin, which turned out to be ideal for this machine.
Assembly of desktop resin machines is usually a trivial matter, but it turned out there was a bit more work than usual. Eagle-eyed readers will have noticed the parts included not only the build platform, which is normally detachable, but also the platform’s mount.
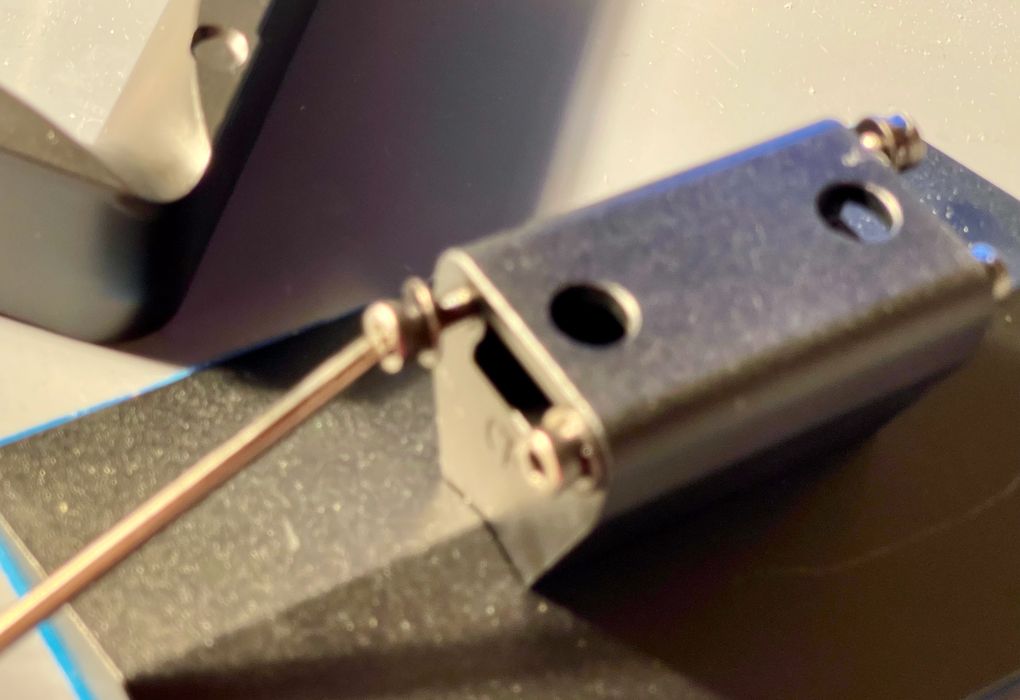
This had to be attached with four bolts. Normally the mount is already installed and merely needs adjustment. Here the D2 required installation and adjustment. However, it wasn’t a lot of work.
After plugging in the D2, it was ready for action.
Anycubic D2 DLP 3D Printer Setup and Calibration
Two steps are always needed to calibrate a resin 3D printer: leveling and material calibration.
The leveling ensures that the build plate is perfectly parallel with the resin tank bottom. This is done by a touch of a button and the use of a supplied leveling paper.
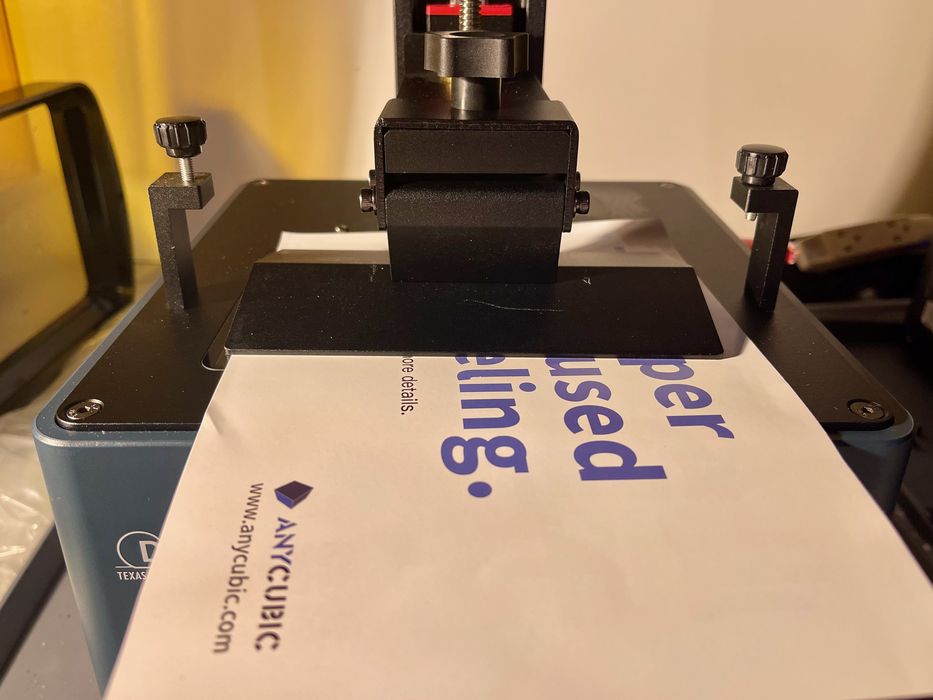
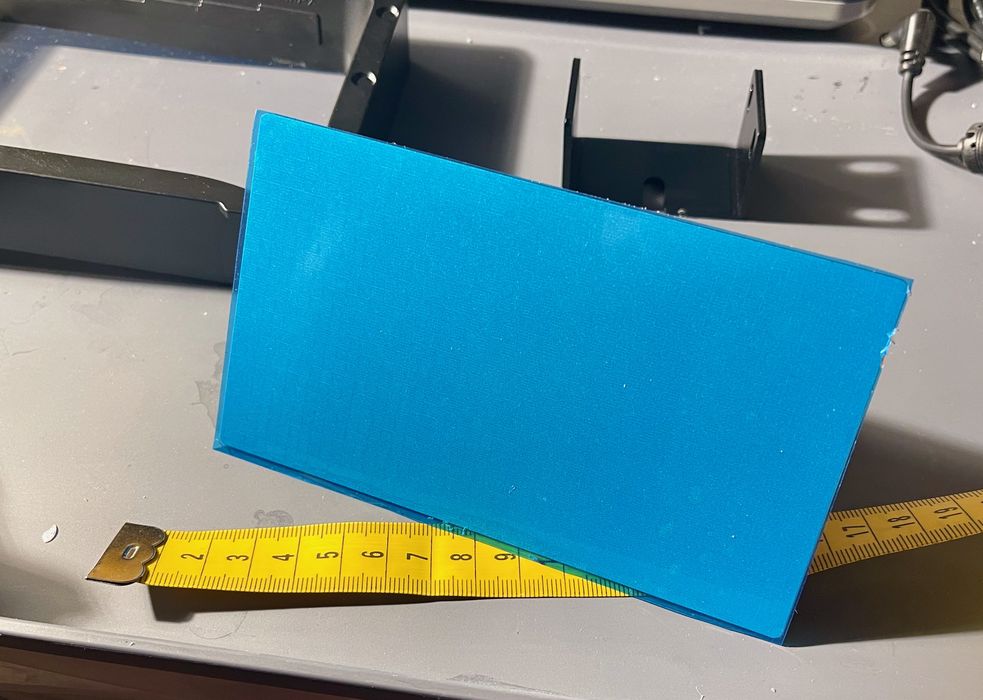
I found the leveling paper to be far too big for the D2, as it is the same leveling paper supplied by Anycubic for all their resin machines. This shows how truly small the D2 really is.
Basically you loosen up the build plate mount bolts, and lower the platform to the bottom — this is all done automatically by a D2 process. Once flat, you tighten up the bolts and voila, you have a leveled 3D printer.
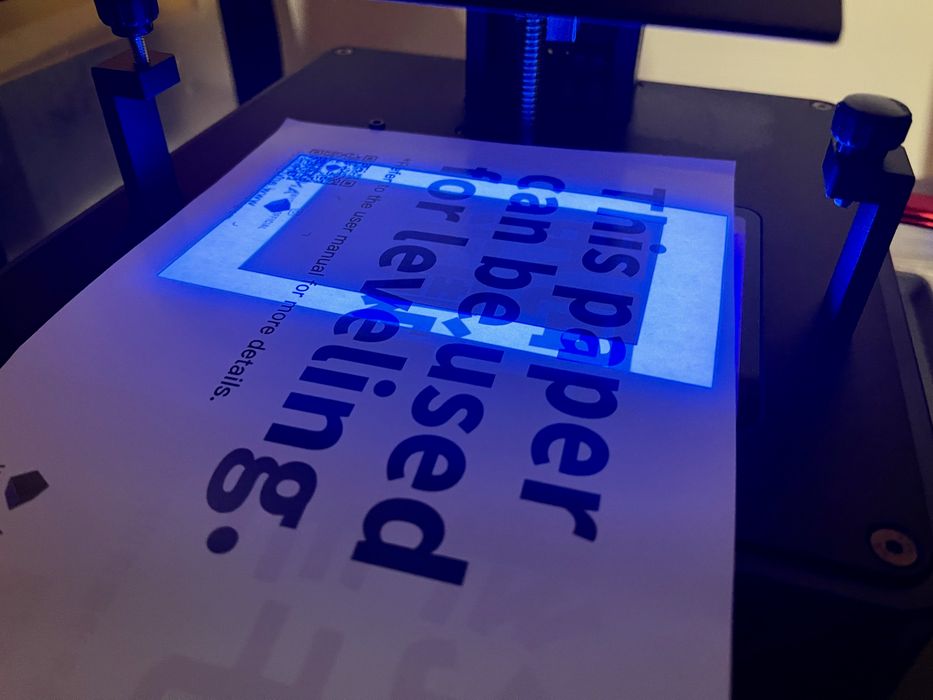
After leveling, you should always do the “Detection” step, where a couple of illumination patterns are shown. This verifies that the light engine is working properly.

The resin calibration is more challenging. This is the process of determining the optimum exposure time for this combination of machine and resin. The process involves printing a test chip repeatedly with slightly different exposure times, and then choosing which one looks best.
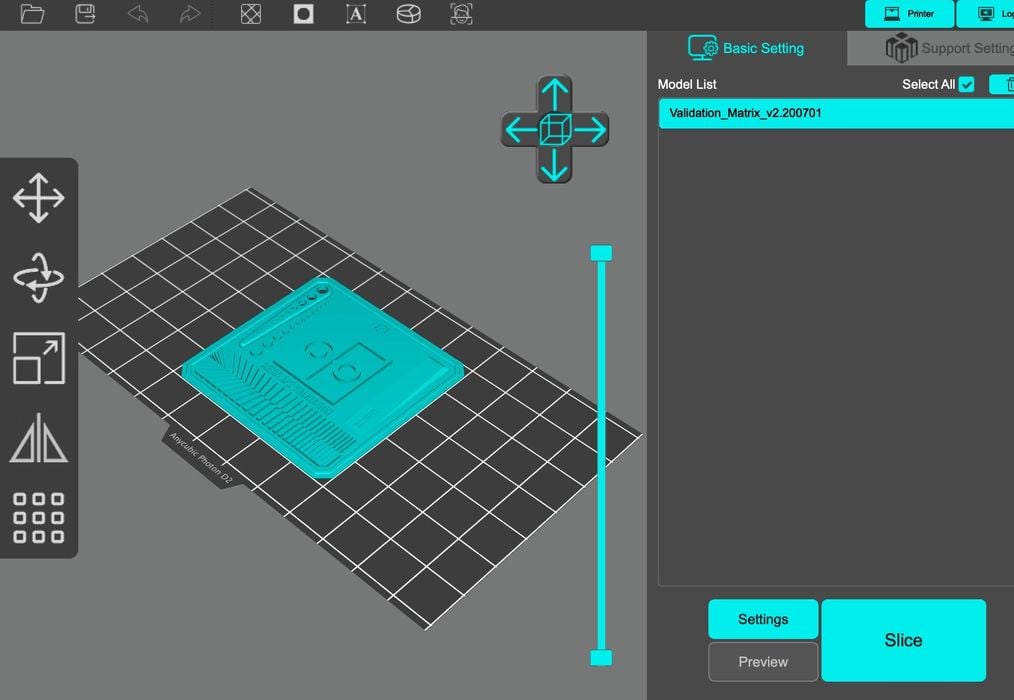
The test chip I used here is the standard Validation Matrix design, which has a number of features that quickly show whether the exposure is under or over what it should be. Also, a microscope would help.
The good news was that the DLP Craftsman resin seemed to have a rather wide range of good exposure times, so it was quite forgiving if you happen to be off slightly.
This is part one of a three part series, please read parts two and three.
Via Anycubic