

Our evaluation of Capturing Reality’s new mobile 3D scanning app continues.
This is part two of a two part series. Part one is here.
I found there is a limit to the number of images you can take. While taking images of a large object, the app stopped me. It turns out there is a maximum limit of 200 images possible in a single scan. This could cause issues for some complex models, but I suppose one could easily break the subject into section and scan them separately, with assembly later.
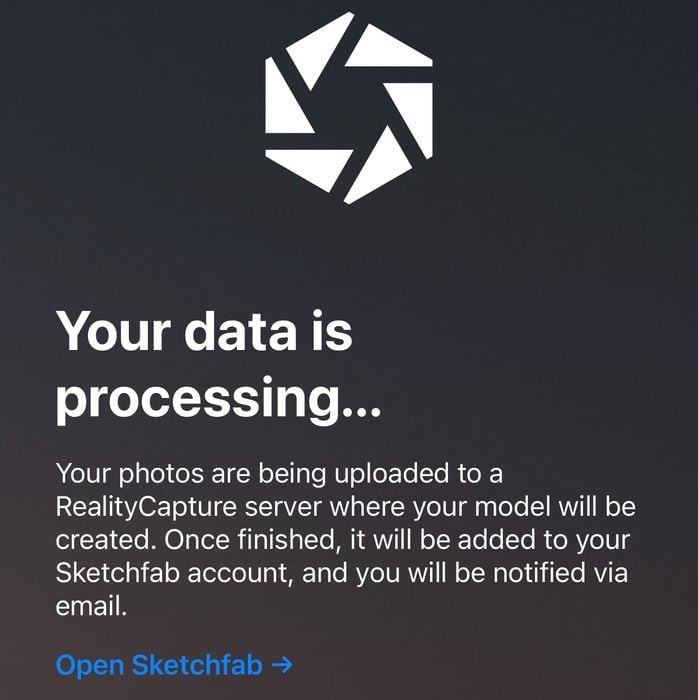
Once the scan has been completed, you press a button to upload the images to SketchFab for processing. Of course, you’ll need a SketchFab account. SketchFab has paid options, but the free level allows for ten uploads per month, which would be sufficient for many people. For the beta test, participants are given a Pro level account that allows for up to 50 uploads per month.
One thing you must know is that the processing is done in the cloud with zero opportunity to provide any tweaking. There are no parameters to play with, and the processing is entirely automatic. I found the most complex scan — 200 images — took only a few minutes to process on the SketchFab cloud engines.
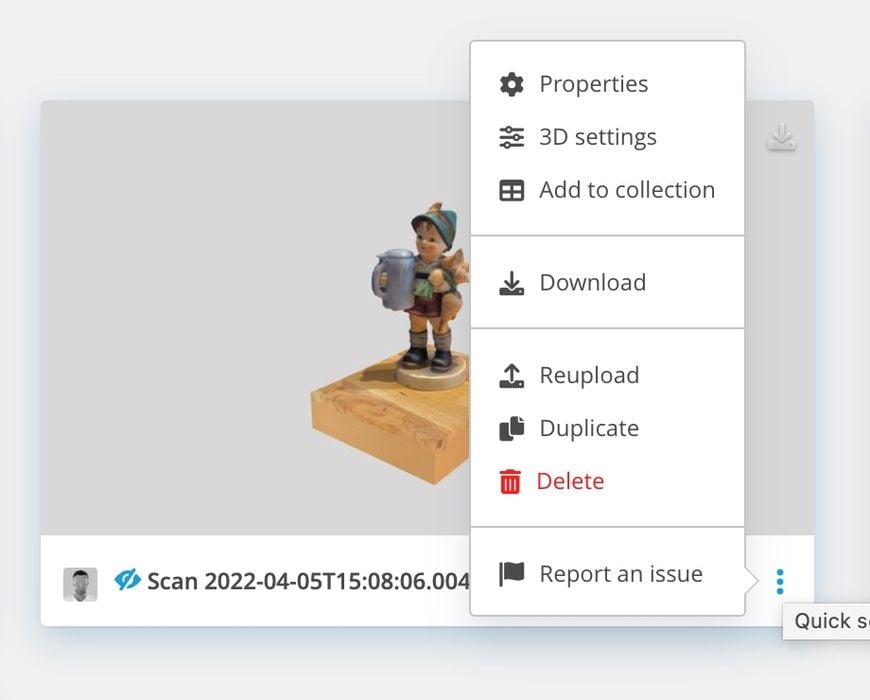
The resulting 3D models then appear in your SketchFab account. You initially see them in draft mode, but after publishing them you can download them for local processing. Models can be set to “private” mode if you wish, but the default on SketchFab seems to be publicly visible.
But what about the scan results?
RealityScan Test Results
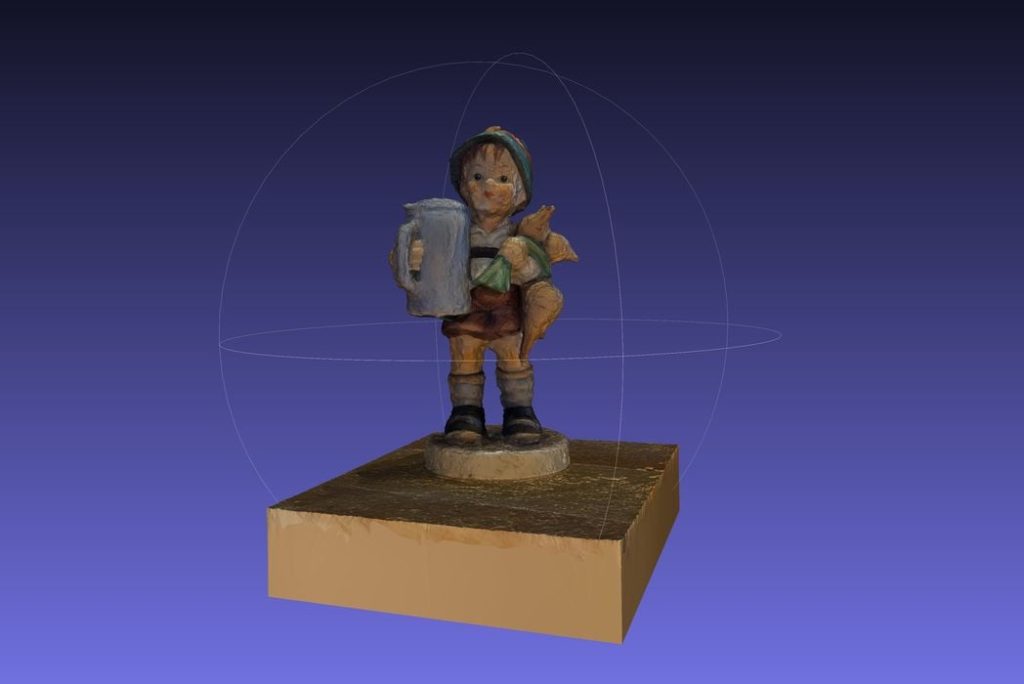
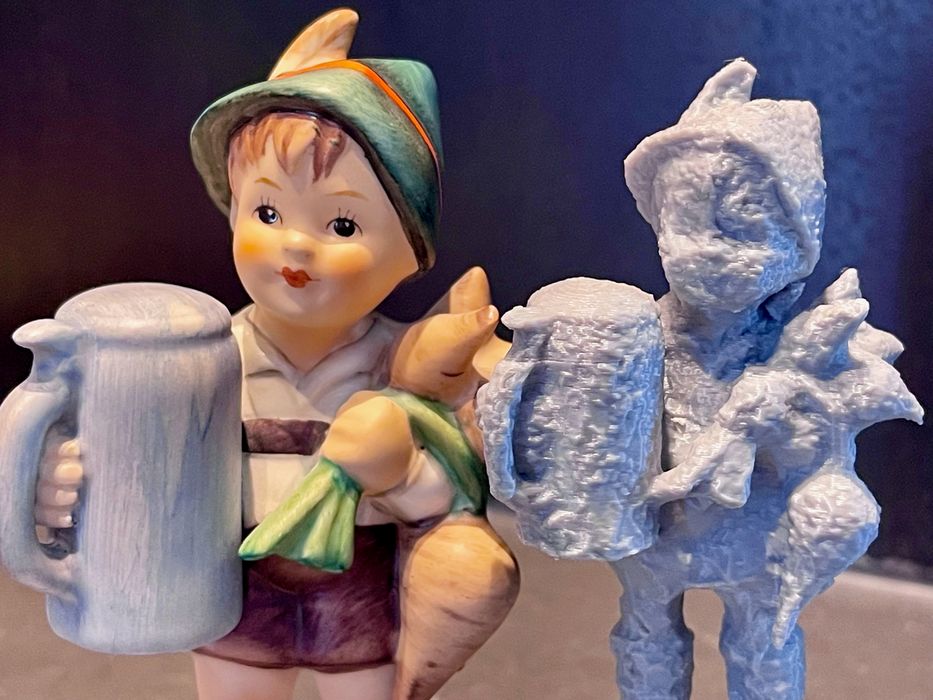
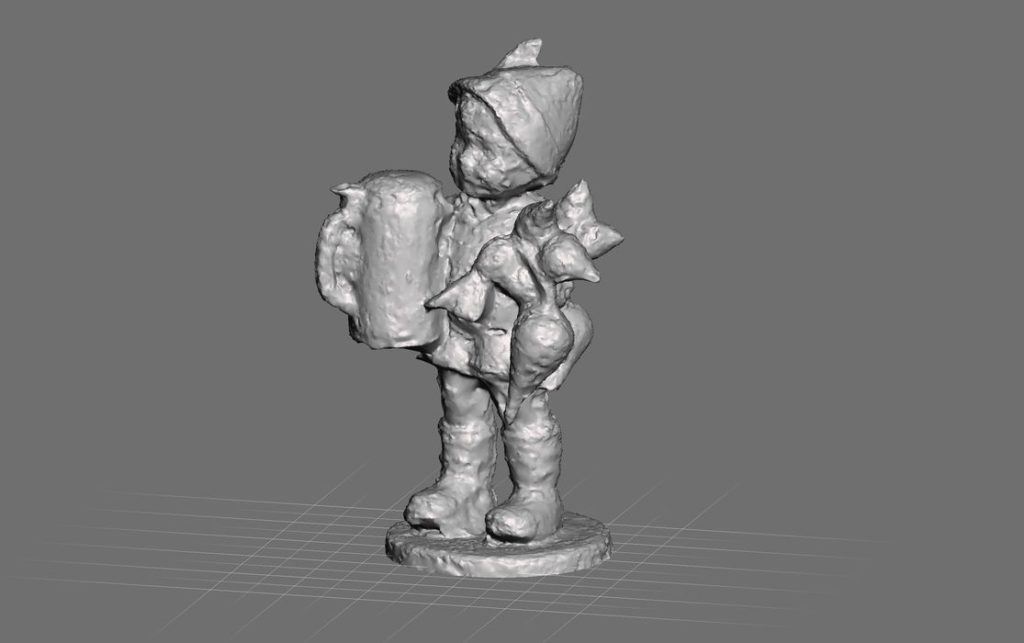
My first scan was of a standard Hummel figurine that I often use when testing 3D scan tools. I scanned the object outdoors in the sun, and used only 44 images.
The results were not too bad, although the surface was a bit wobbly:
I re-ran the scan of this object indoors under different lighting and this time used 107 images. I thought the scan might be better, and it was:
However, when you look at the untextured surface, it is still a bit wobbly.
Note that the scan seems to be a great deal better when the texture is applied. If you reduce the object to only its surface, then you can better see the scan quality, which happens when you convert the file for 3D printing.
Nevertheless, I was able to 3D print this model, and it turned out “OK”. Not great, but ok. In retrospect it might have been useful to do some surface smoothing on the model before printing.
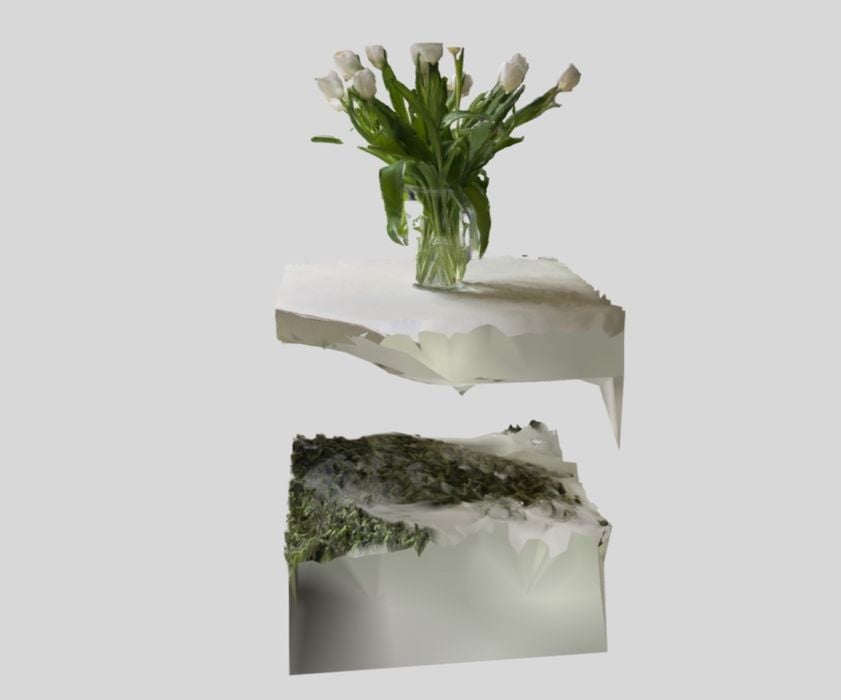
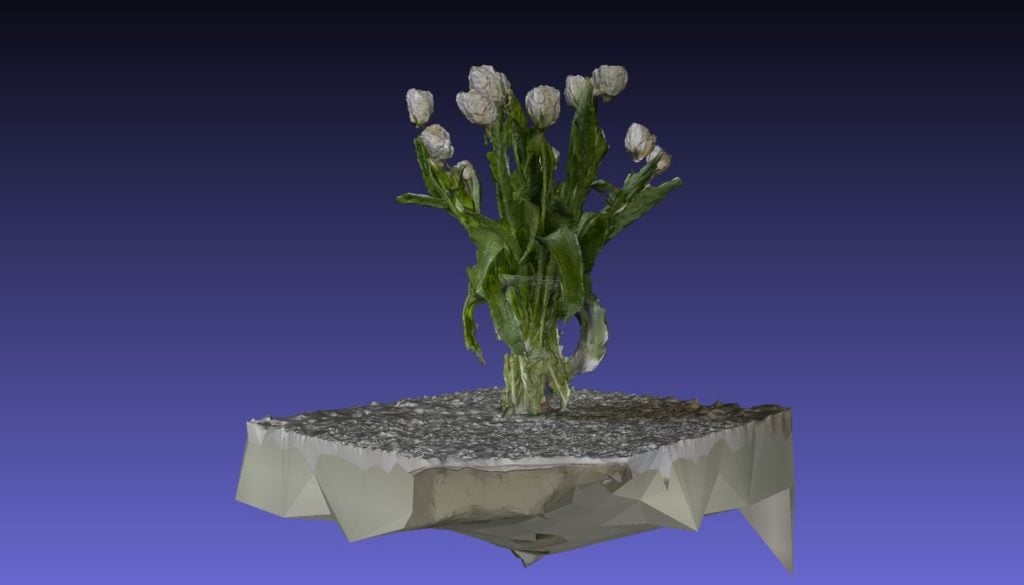
My next scan was of a complex subject, a glass vase containing a spidery array of flowers. I was curious to see whether the glass would be captured.
Unfortunately, the glass was not visible in the resulting 3D model. This is not surprising, as light passing through or reflected of the glass surface can madly confuse any photogrammetry algorithm. It would be possible to spray the vase with a temporary opaque scan spray and get it captured properly.
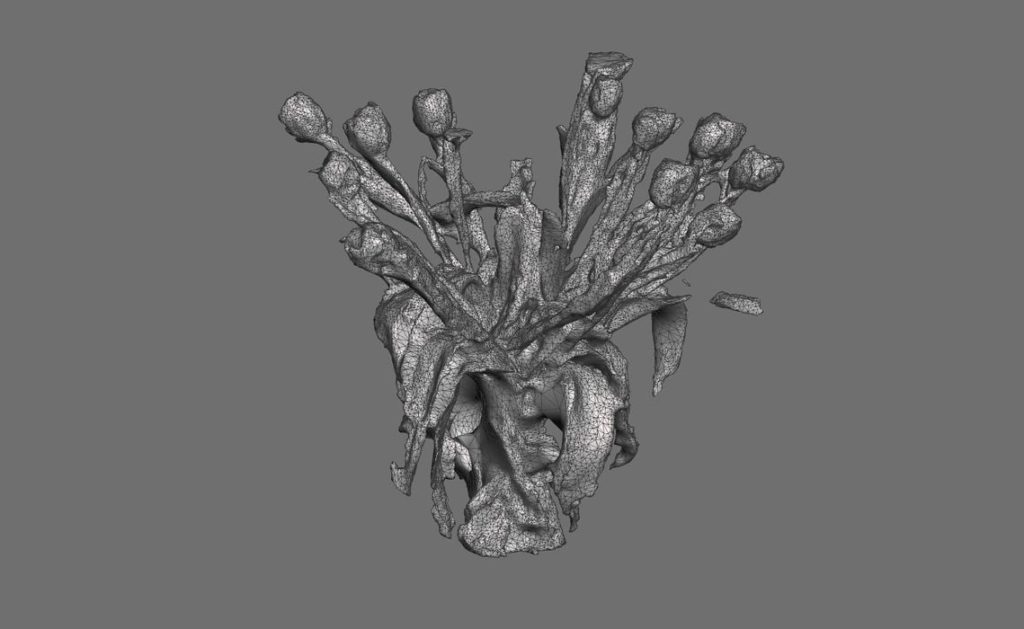
The results of the flower scan were pretty good, considering the complexity of the subject with all its overlapping surface views. I used over a hundred images for this scan.
My next test scan was of an entire automobile. I wondered if it was possible to capture a large object as easily as a small object. This is where I ran into the 200 image limit, as I was taking plenty of images as I strolled around the vehicle.
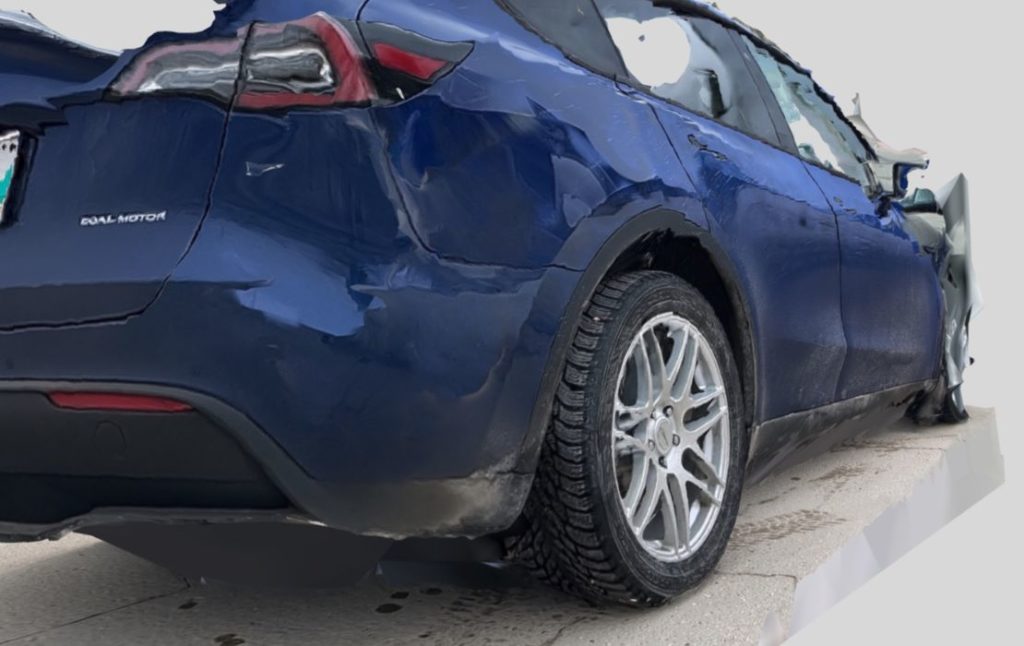
The results were not great, as I anticipated. This particular vehicle has a great deal of glass — and the entire roof is one glass piece, so it didn’t come out well.
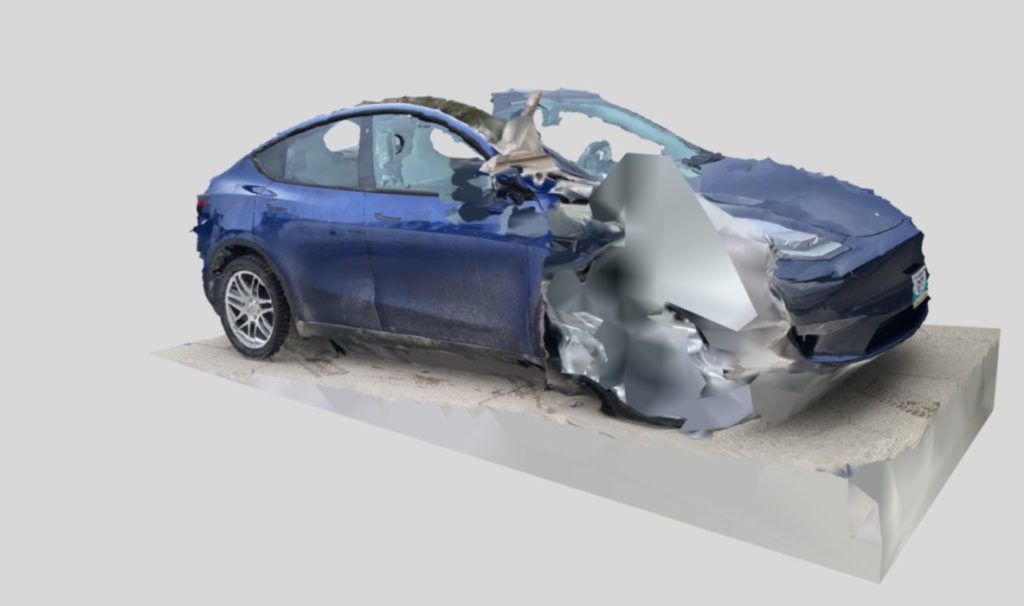
However, much of the rest did come out very well, with the exception of one corner. I subsequently realized that this corner was where the sun must have been bouncing off, again confusing the algorithm.
Moral of the story: scan dirty cars under cloudy skies.
Body Scanning With RealityScan
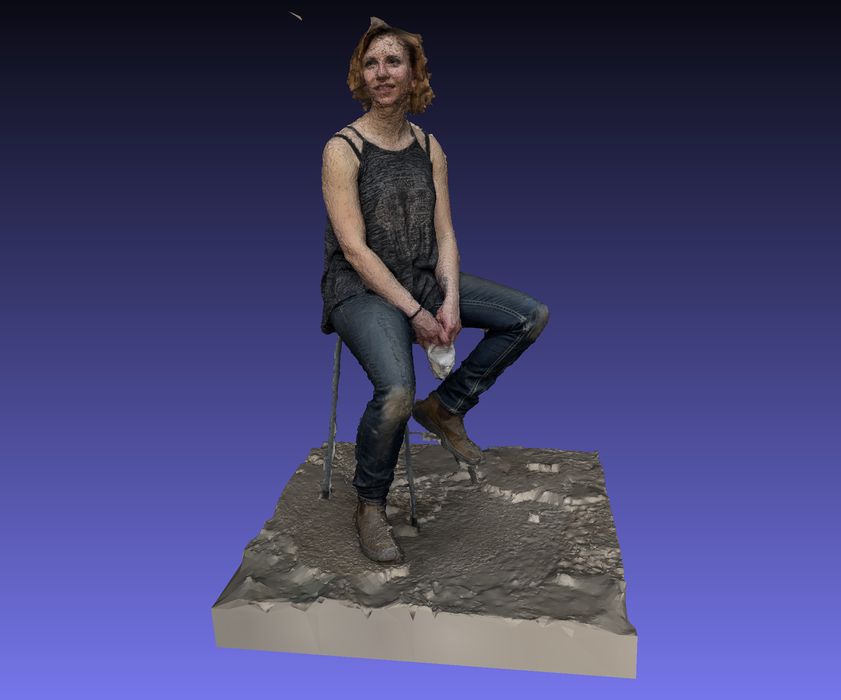
The true test of a handheld scanner is to attempt the scan of a human, which surely will be a frequent use case for the app. My test involved a subject sitting very still on a stool. Using the app, I took 150 images from all angles. I took special care to take extra images of the subject’s face to ensure more detail would be possible.
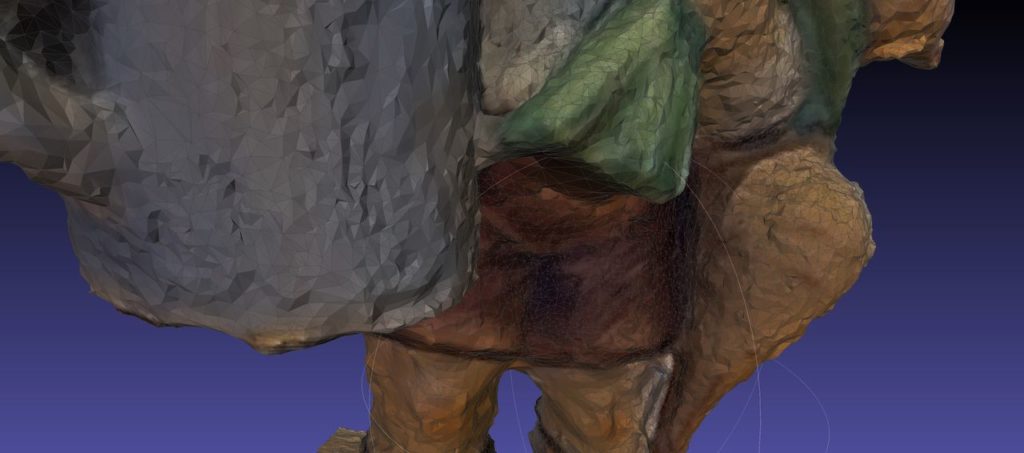
Initially, the scan looked not too bad, as you can see above. However, as you zoom in the results of the scan were not terrific.
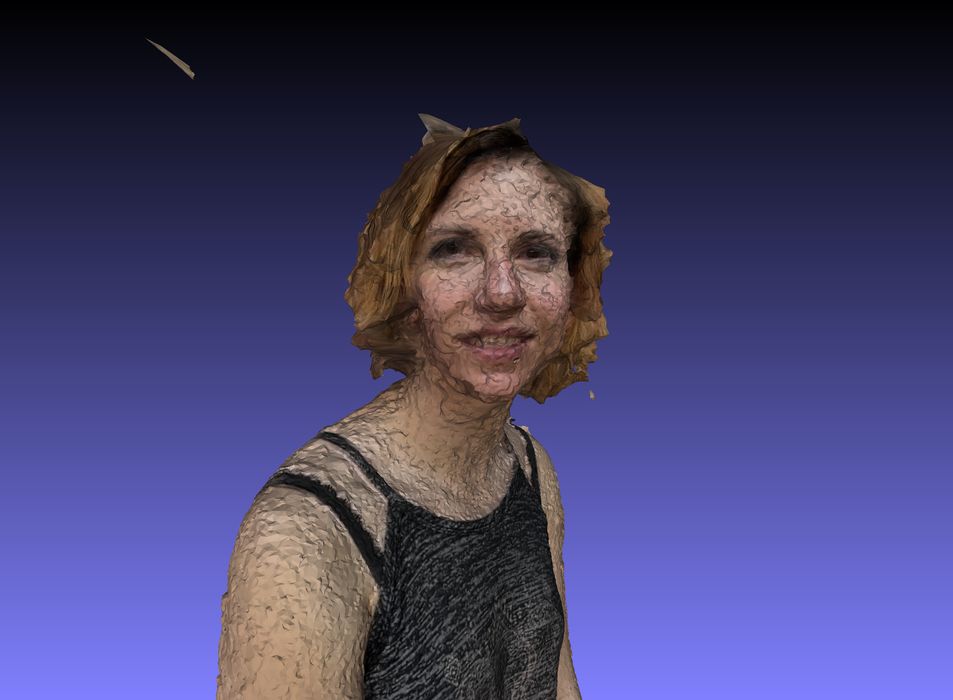
There was a weird artifact found at the back of the subject’s head. Although strangely stylish, the subject did not actually have that hairstyle. I suspect the photogrammetry might have been confused by the somewhat loose hair of the subject, as is the case with any 3D scanning approach.
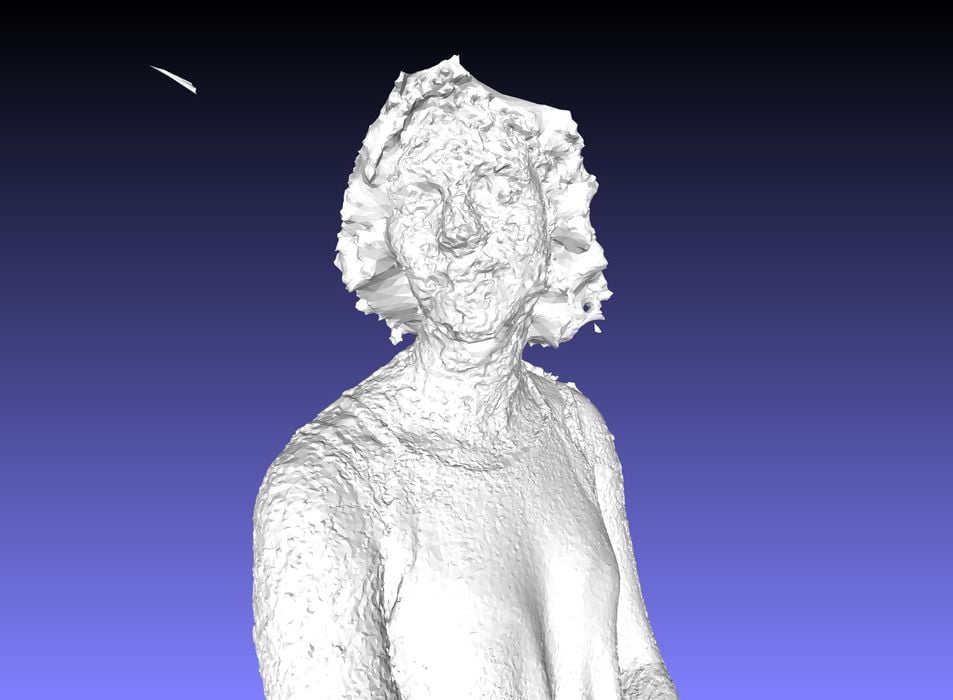
However, when you remove the texture it is clear that the resolution obtained by RealityScan is actually quite poor, and probably insufficient for proper face scans. I’ve seen far better results for face scans from other photogrammetry systems. Reality Capture should consider improving the surface quality of the scans somehow.
On the other hand, perhaps the scans are sufficient for AR / VR use, while insufficient for 3D print use. That could be a big problem for anyone hoping to do proper 3D scanning for printing with RealityScan.
RealityScan Export For 3D Printing
Finally, let’s talk about file formats. Fabbaloo readers will most likely want to use this app to capture 3D models for printing, so how does one do that with this app?
From SketchFab it is possible to download the 3D model, after the item has been published. This works very well, and both 3D model and associated textures are provided.
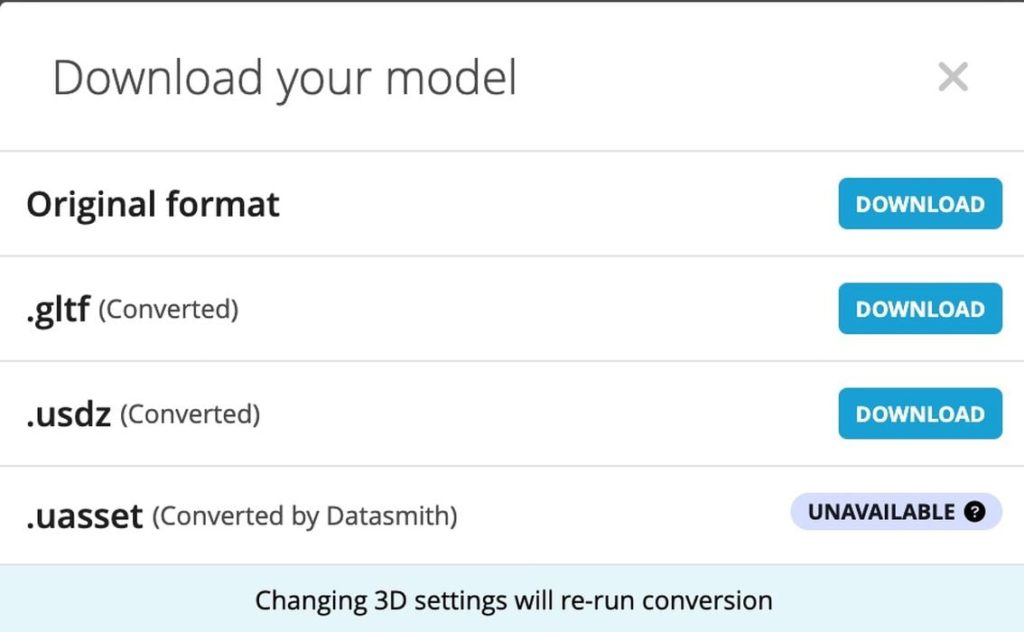
However, there is an issue: no commonly used 3D printing file formats are enabled. There is no STL, OBJ, PLY, or 3MF. You get only:
- “Original Format”, which turns out to be .GLB
- .GLTF
- .USDZ
- .UASSET
As you might know, these are formats targeted at VR / AR apps, not 3D printing, so a conversion must take place. None of these formats are easily imported into commonly used 3D print file formats by the usual tools. However, I found a relatively easy way to do it.
If you download the .GLTF file and unzip it, it is possible to open it in MeshLab, a free 3D utility.
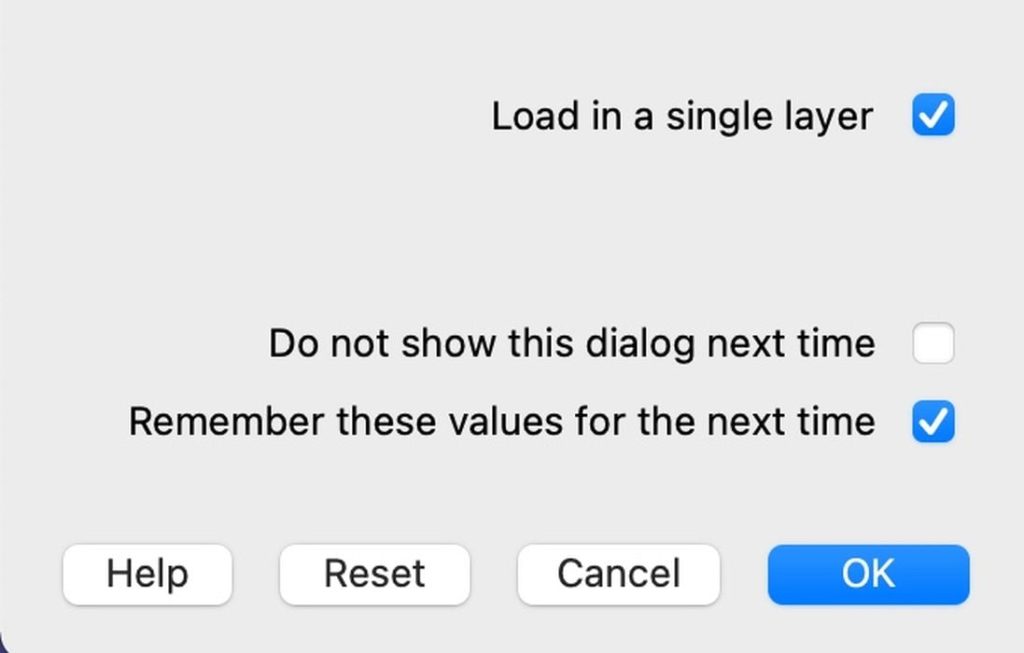
IMPORTANT: when opening the .GLTF file in MeshLab, make sure you specify “Load in a single layer”. If you do not, then you get several separate models that intersect, and it’s really difficult to join them together. If MeshLab joins them immediately, then it’s easy: just “Export Mesh As..” to whatever format you like: STL, OBJ, etc.
The 3D models do require a bit of cleanup, as the bounding box of the scan tends to include a bit of the floor, but that’s easily done with a plane cut.
My thought is that RealityScan is an interesting handheld mobile photogrammetry system, but it likely requires some improvements to be more functional for 3D print applications.
This is part two of a two part series. Part one is here.