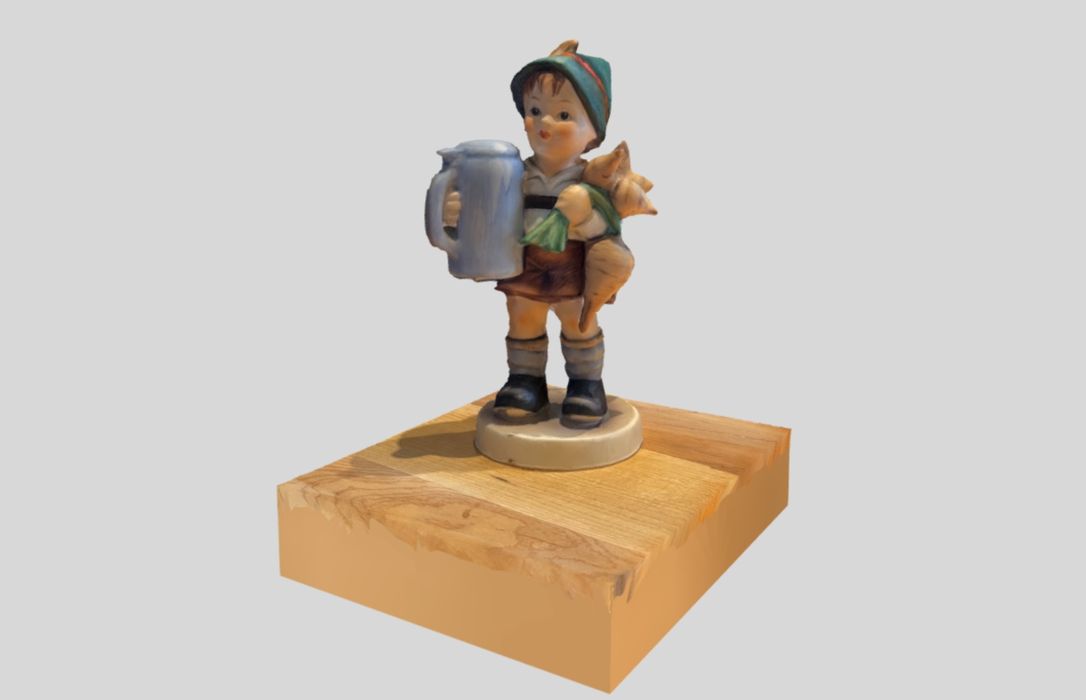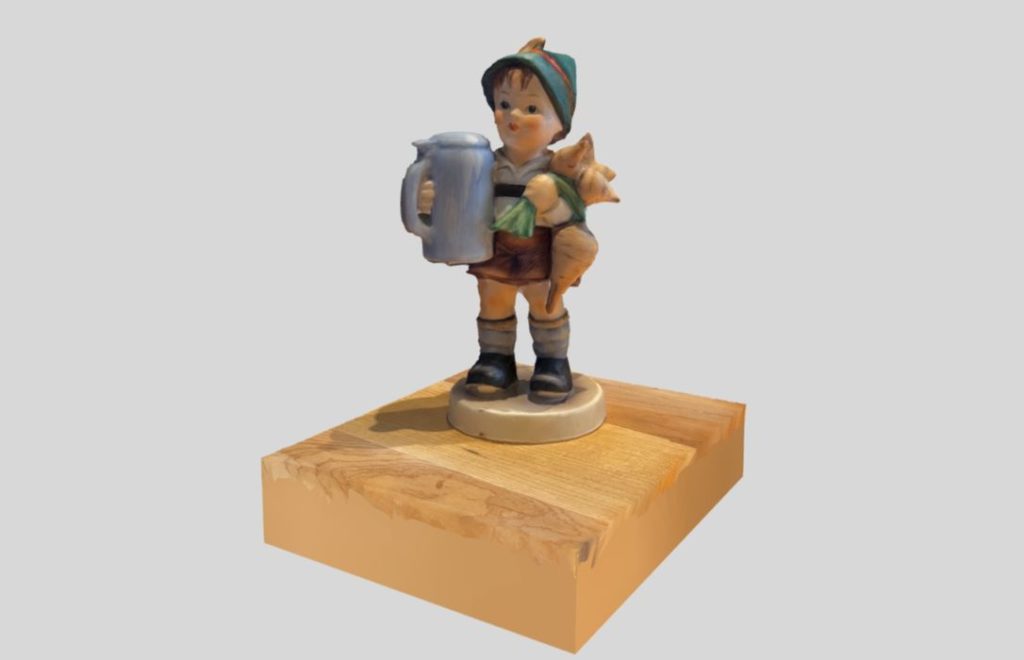
Capturing Reality released a mobile version of their powerful 3D scanning system, and we gave it a test.
This is part one of a two part series. Part two is here.
Capturing Reality’s flagship product is the RealityCapture app. It’s a paid product that produces outstanding 3D scans using a photogrammetry approach. To use it you first take dozens if not hundreds of images of a subject, and then process them with the RealityCapture app to produce a 3D model. The system works via “credits” that can be purchased.
One problem I’ve always had with RealityCapture is that it does not have a Mac or Linux implementation, so I don’t use it often. It also requires a hefty graphics card to perform the processing.
But then, something changed.
RealityScan Introduced
Capturing Reality was acquired by Epic Games. The company also just happens to own SketchFab from an earlier acquisition, and it looks like someone decided to put all of these pieces together into a portable, cloud-based 3D scanning solution.
The idea is to use an app, currently only available on iOS, to intelligently capture the images for photogrammetry, then upload them to SketchFab for processing and storage. The result is “RealityScan”.
I gave the new app a test, which is being distributed to the first 10,000 requestors for beta testing. I’m not sure if there are more slots open, but you can give it a try at the company’s site.
I’ve used many 3D scanning apps and hardware, and had some idea of what to expect. The RealityScan app is a bit different from a scanner, in that you are NOT scanning the object, you are instead collecting images of the subject. The idea is to capture a lot of images of the subject from every possible angle to allow the photogrammetry algorithm to process them into a 3D model.
Most photogrammetry systems do not deal with the imaging step, as they rely on you to provide images from whatever camera system you happen to use. However, it turns out that this is actually disadvantageous, as Capturing Reality has done some very interesting things with their capture app.
Using RealityScan
When you open RealityScan you’re presented with a display that looks pretty much like any camera app. There’s a button at the bottom to start taking pictures, which you press immediately.
The app counts the number of images taken, which is quite important. The more images the better, as I’ve found you really need over a hundred to get a good scan of anything. RealityScan says you need a minimum of 20, but I would go well past that for better results.
The interesting part is that as you take images a couple of things happen in the app.
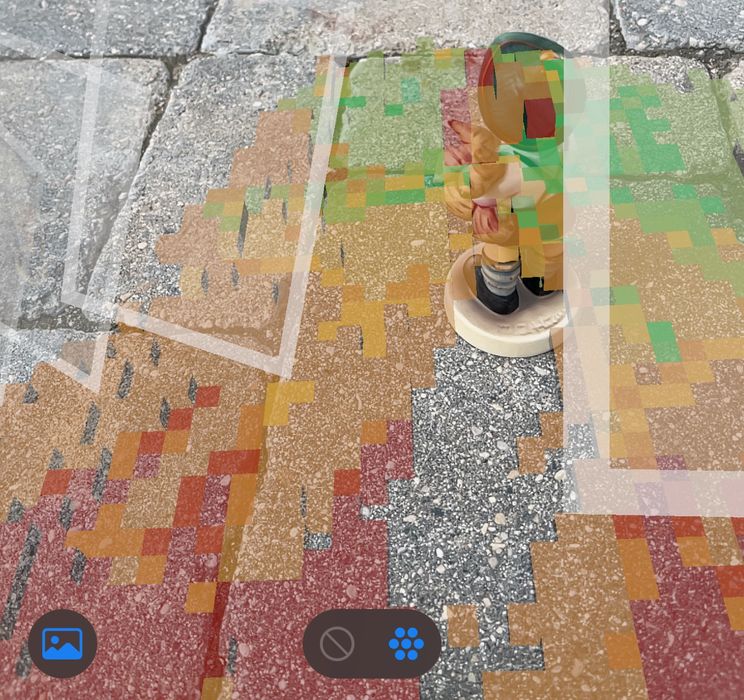
First, after a dozen or so images, the app seems to recognize where the floor is located. This is critically important because the app then “knows” where it is in 3D space at all times.
I cannot tell you how much frustration I have had using scanning apps that “lose tracking” if you even slightly point the camera away from the subject. Usually that means starting over.
This NEVER happens with RealityScan. You can point away, turn the device upside down or sideways, nothing makes it lose tracking. I literally took a phone call in mid-scan and it still didn’t lose tracking! This is astonishing.
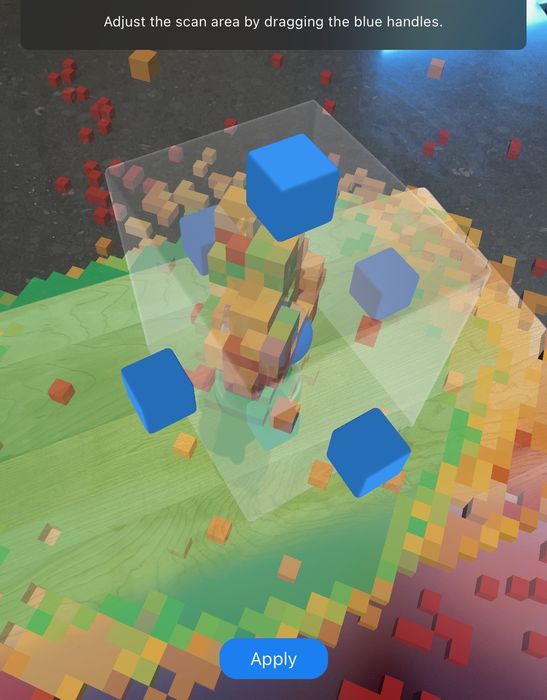
The second interesting thing is that eventually the app presents the opportunity to set the bounding box for the scan. While you’re scanning your subject, the app is dutifully recording the table on which the object sits, and everything else in the vicinity. By setting the bounding box you can limit the scan to a specific volume.
This is also amazing because most scanning apps don’t do this and you must chop up the messy scan afterwards in other tools to strip it down to the subject.
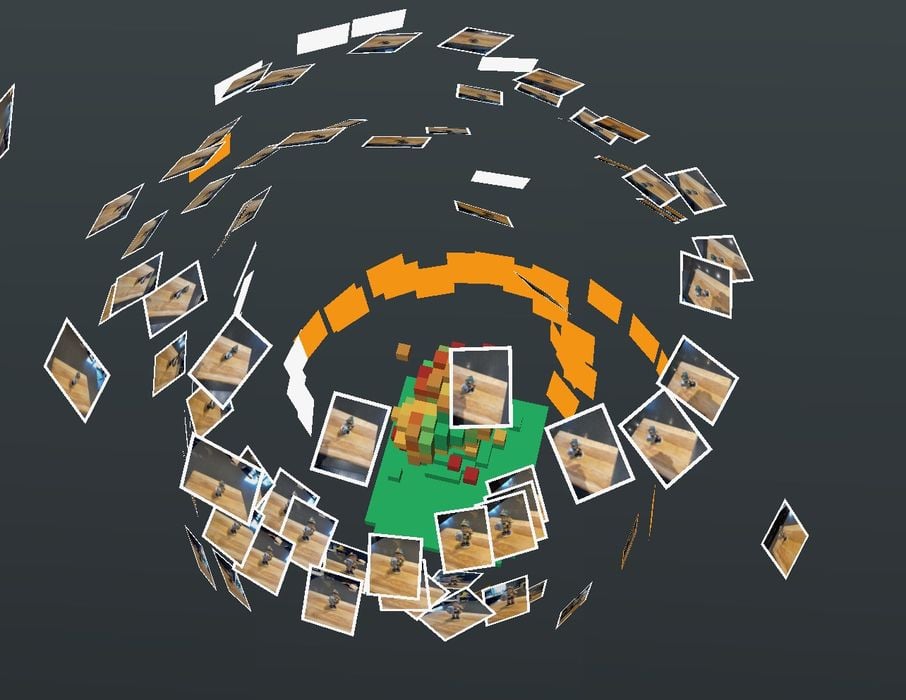
Another benefit of this is that the app can display the location of each image taken as you take images, as seen here. This “inspect” function thus allows the operator to easily find angles where few images have been taken, and then fill them in. Again, this is not present in other photogrammetry systems until after the fact. It’s features like this that help optimize the image capture step.
This is part one of a two part series. Part two is here.

