![How to 3D scan using photogrammetry [Source: SolidSmack]](https://fabbaloo.com/wp-content/uploads/2020/05/image-asset_img_5eb099e6bd0b0.jpg)
For some designers and engineers, 3D scanning physical objects to use as reference models can be the ultimate time-saver.
Industrial Designer Eric Strebel is one such design professional—and as always, he has some insightful tips for fellow designers and engineers out there who want to kickstart their 3D scanning game—aka, photogrammetry.
Photogrammetry is a process in which a user takes photos of an object from different angles. Using these pictures, computer software calculates the form and size of an object and can recreate it as a 3D model. In his latest video, Strebel shows us how to prepare and scan a bottle using basic photogrammetry techniques:
First, the surfaces of the object need to be prepped for optimizing image capture—including removing surface imperfections and glare. To make the bottle non-reflective, Stebel first sprays the bottle with several colors of primer.
![Applying primer to a misbehaving 3D scan subject [Source: SolidSmack]](https://fabbaloo.com/wp-content/uploads/2020/05/image-asset_img_5eb099e7282dc.jpg)
He coats the bottle first in a grey primer, then switches back and forth between speckles of black and white primer to give it some texture. After spraying the bottle, he props it up on a makeshift stand using a hot glue gun.
![Positioning an object for 3D scanning [Source: SolidSmack]](https://fabbaloo.com/wp-content/uploads/2020/05/basic-photogrammetry-stand-1100x618_result_img_5eb099e76b1ca.jpg)
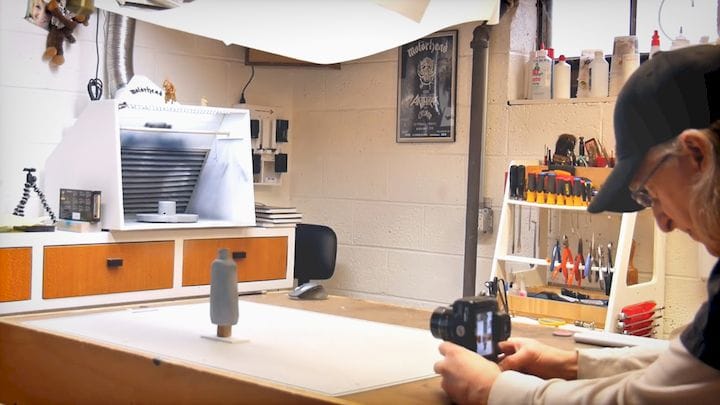
Just as crucial for ensuring proper output is prepping the “capture space”. In Strebel’s case, he places the bottle and stand on his workshop table since it is flat and has good lighting.
![Using software to finalize a 3D scan [Source: SolidSmack]](https://fabbaloo.com/wp-content/uploads/2020/05/image-asset_img_5eb099e7b20bc.jpg)
To make the images look better in post-production, he lays a sheet of white paper above the light as a diffuser while he takes photos of different angles of the bottle. For his camera settings, Stebel has the camera set to manual with the aperture as low as possible to blur out the background and so he can get good depth of field. He also has the ISO locked and the camera autofocused.
Read the rest at SolidSmack


Formlabs just issued three new videos for beginners to 3D printing, and the result was quite surprising.