This is part six of a series describing practical methods of capturing 3D scans of museum sculptures.
I’ve had great success 3D scanning and subsequently 3D printing sculptures from museums around the world, so I thought I’d tell you how it can be done.
There’s much to tell, so this story will be split into several parts:
Part 1: Getting Organized
Part 2: Selecting Subjects
Part 3: Performing The Scans
Part 4: Processing Your Scans
Part 5: Fixing The Models
Part 6: Printing The Scans and Beyond
Now that you’ve prepared your 3D model for printing, it’s time to get it running and produce a replica of the original sculpture. But first there are a couple of considerations.
First, consider the amount of support required to print this object. If it is a lot due to the complexity of the object, you may find yourself very tediously removing support material, and for some spindly sculptures, you risk breaking the model while removing support. You’ll also have to deal with numerous marks on the surface left after removal of the support material. Of course, if you are printing with dissolvable support material, this does not apply, but many of you are not.

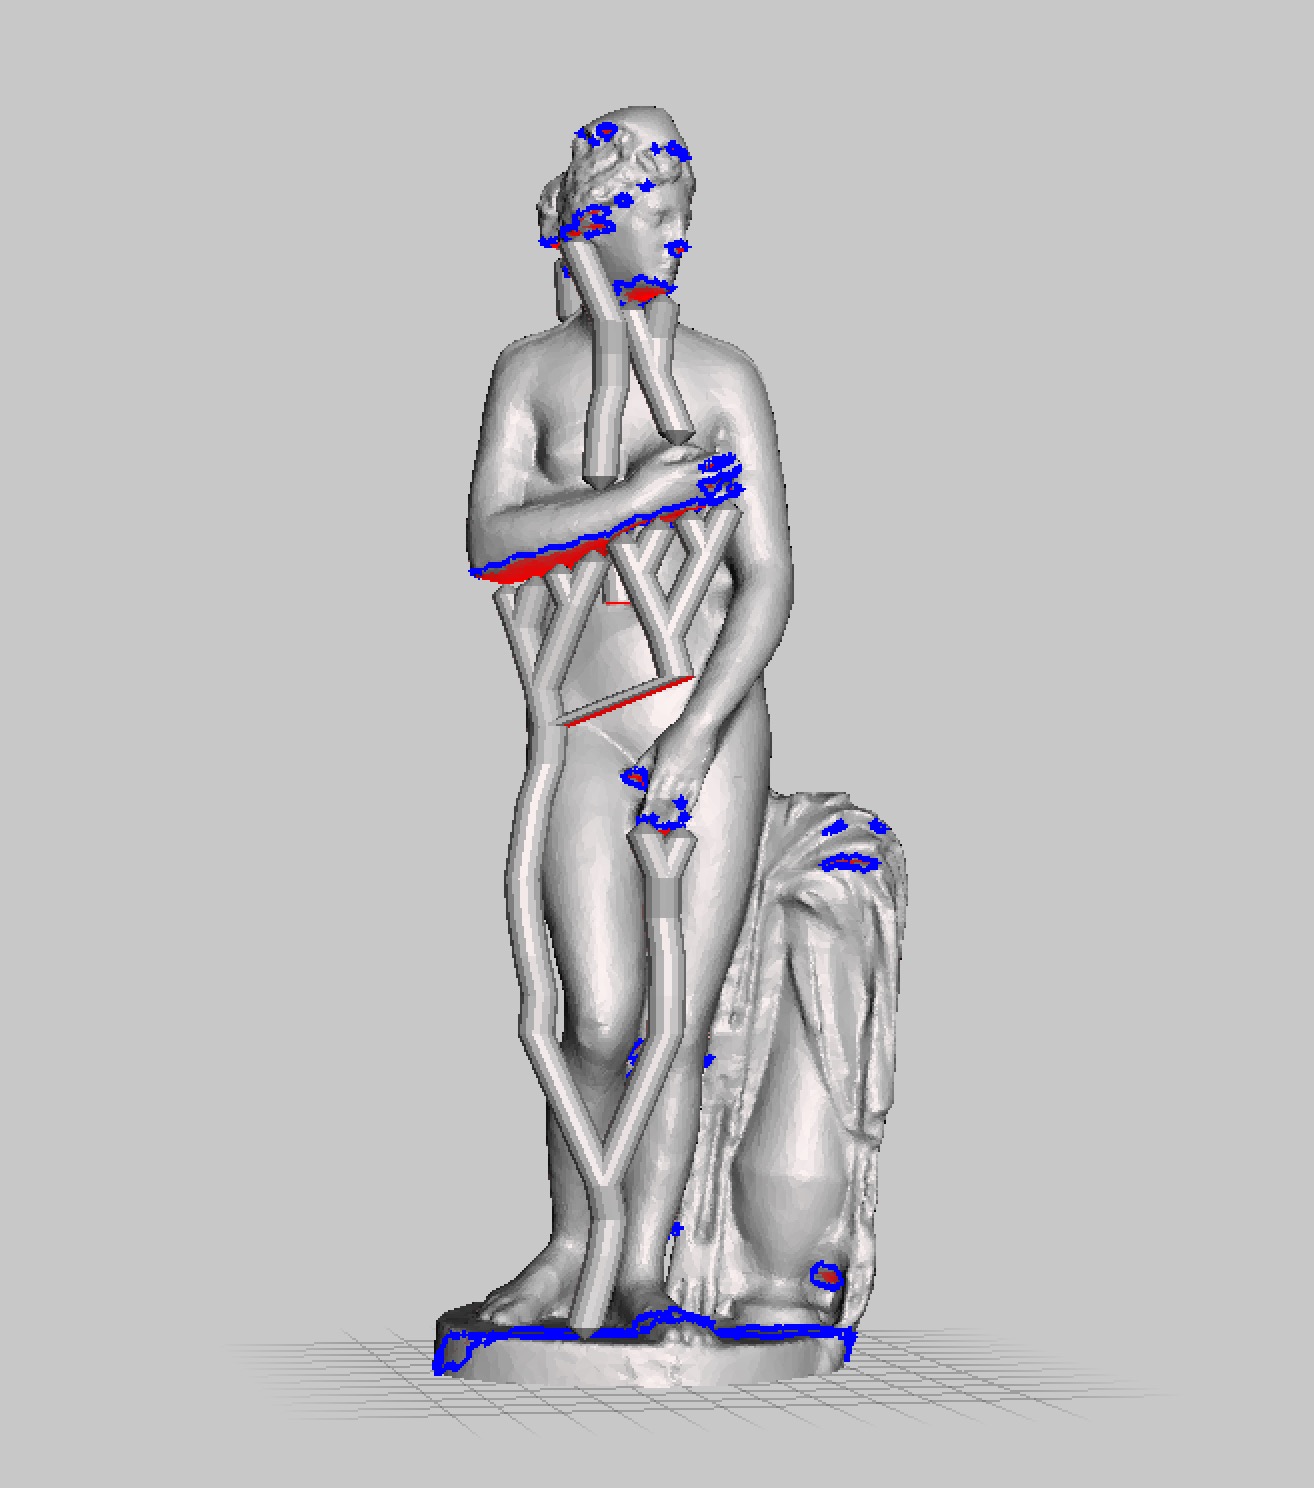
One recommendation is to use MeshMixer (yet again) to generate support material for the often vertically-oriented museum scans. Their tubular support structures are often easier to remove than the support typically generated by most slicers, and they use a lot less material and print time, too. Often a single pull with some pliers removes an entire branch; you’ll be done in no time.
It’s possible to print larger versions of your scan, larger than the build volume of your 3D printer. This requires some extra work, however.
To do so, you need to break up your 3D model into sections that can be printed separately and then assemble them together after printing.
Breaking up a 3D model is tricky, however. One way to do so is to open up the 3D model in your favorite CAD program, resize to the desired larger dimensions and create a box of a size that will easily fit within your build volume.
Then, perform a series of boolean operations (or intersections, if that’s what your software calls the method) to chop up the model into printer-sized pieces. Simply move the box over top of the portion to be extracted and then do the intersection. But you must be very careful to ensure you don’t over- or underlap any pieces.
One way to ensure this is to use fixed size boxes and numerical positioning. That way you can be absolutely certain they are placed correctly.

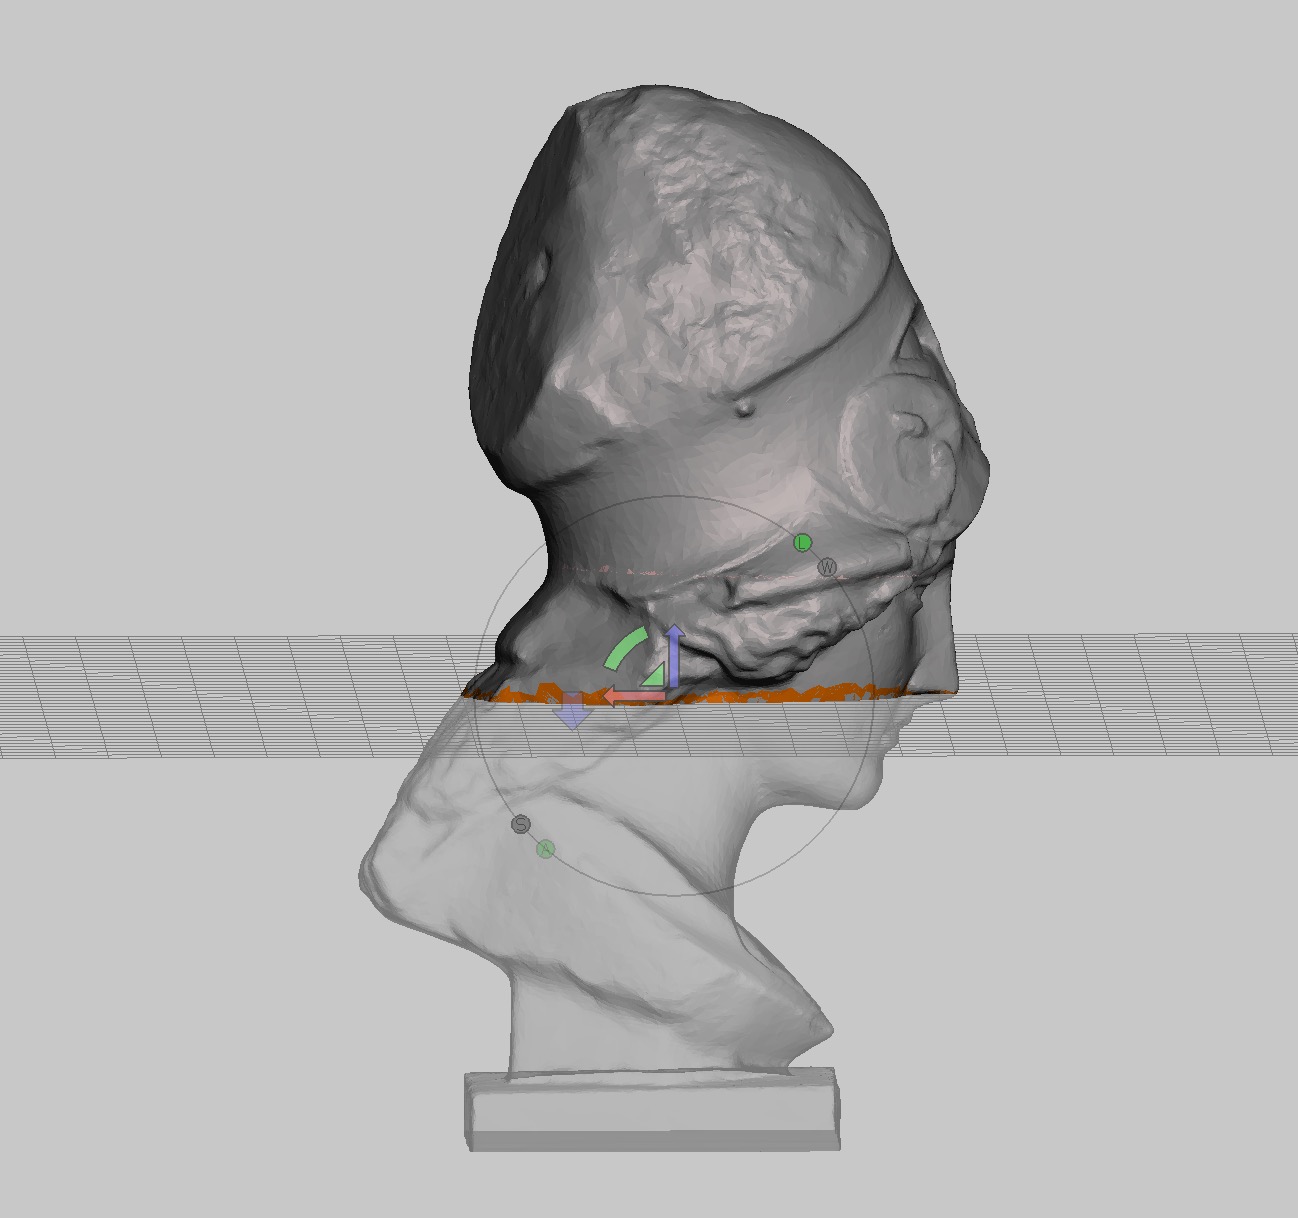
Another method would be to use a series of carefully placed plane cuts. But again, make certain you are cutting at the correct positions.
You may also find it useful to chop the model at certain points to optimize where the final seams will appear. You can also resolve support issues by printing some sections upside down, but again this requires careful segmentation.
A final consideration is the number of copies you intend on printing. If you wish to print and sell copies, you had better have received official permission to do so from the sculpture’s owner.
Similarly, if you intend on posting the 3D model to a publicly accessible repository, you must also receive permission to do so, since anyone could theoretically download it, print and sell copies. Always respect the rights of the owner or maker of the work.

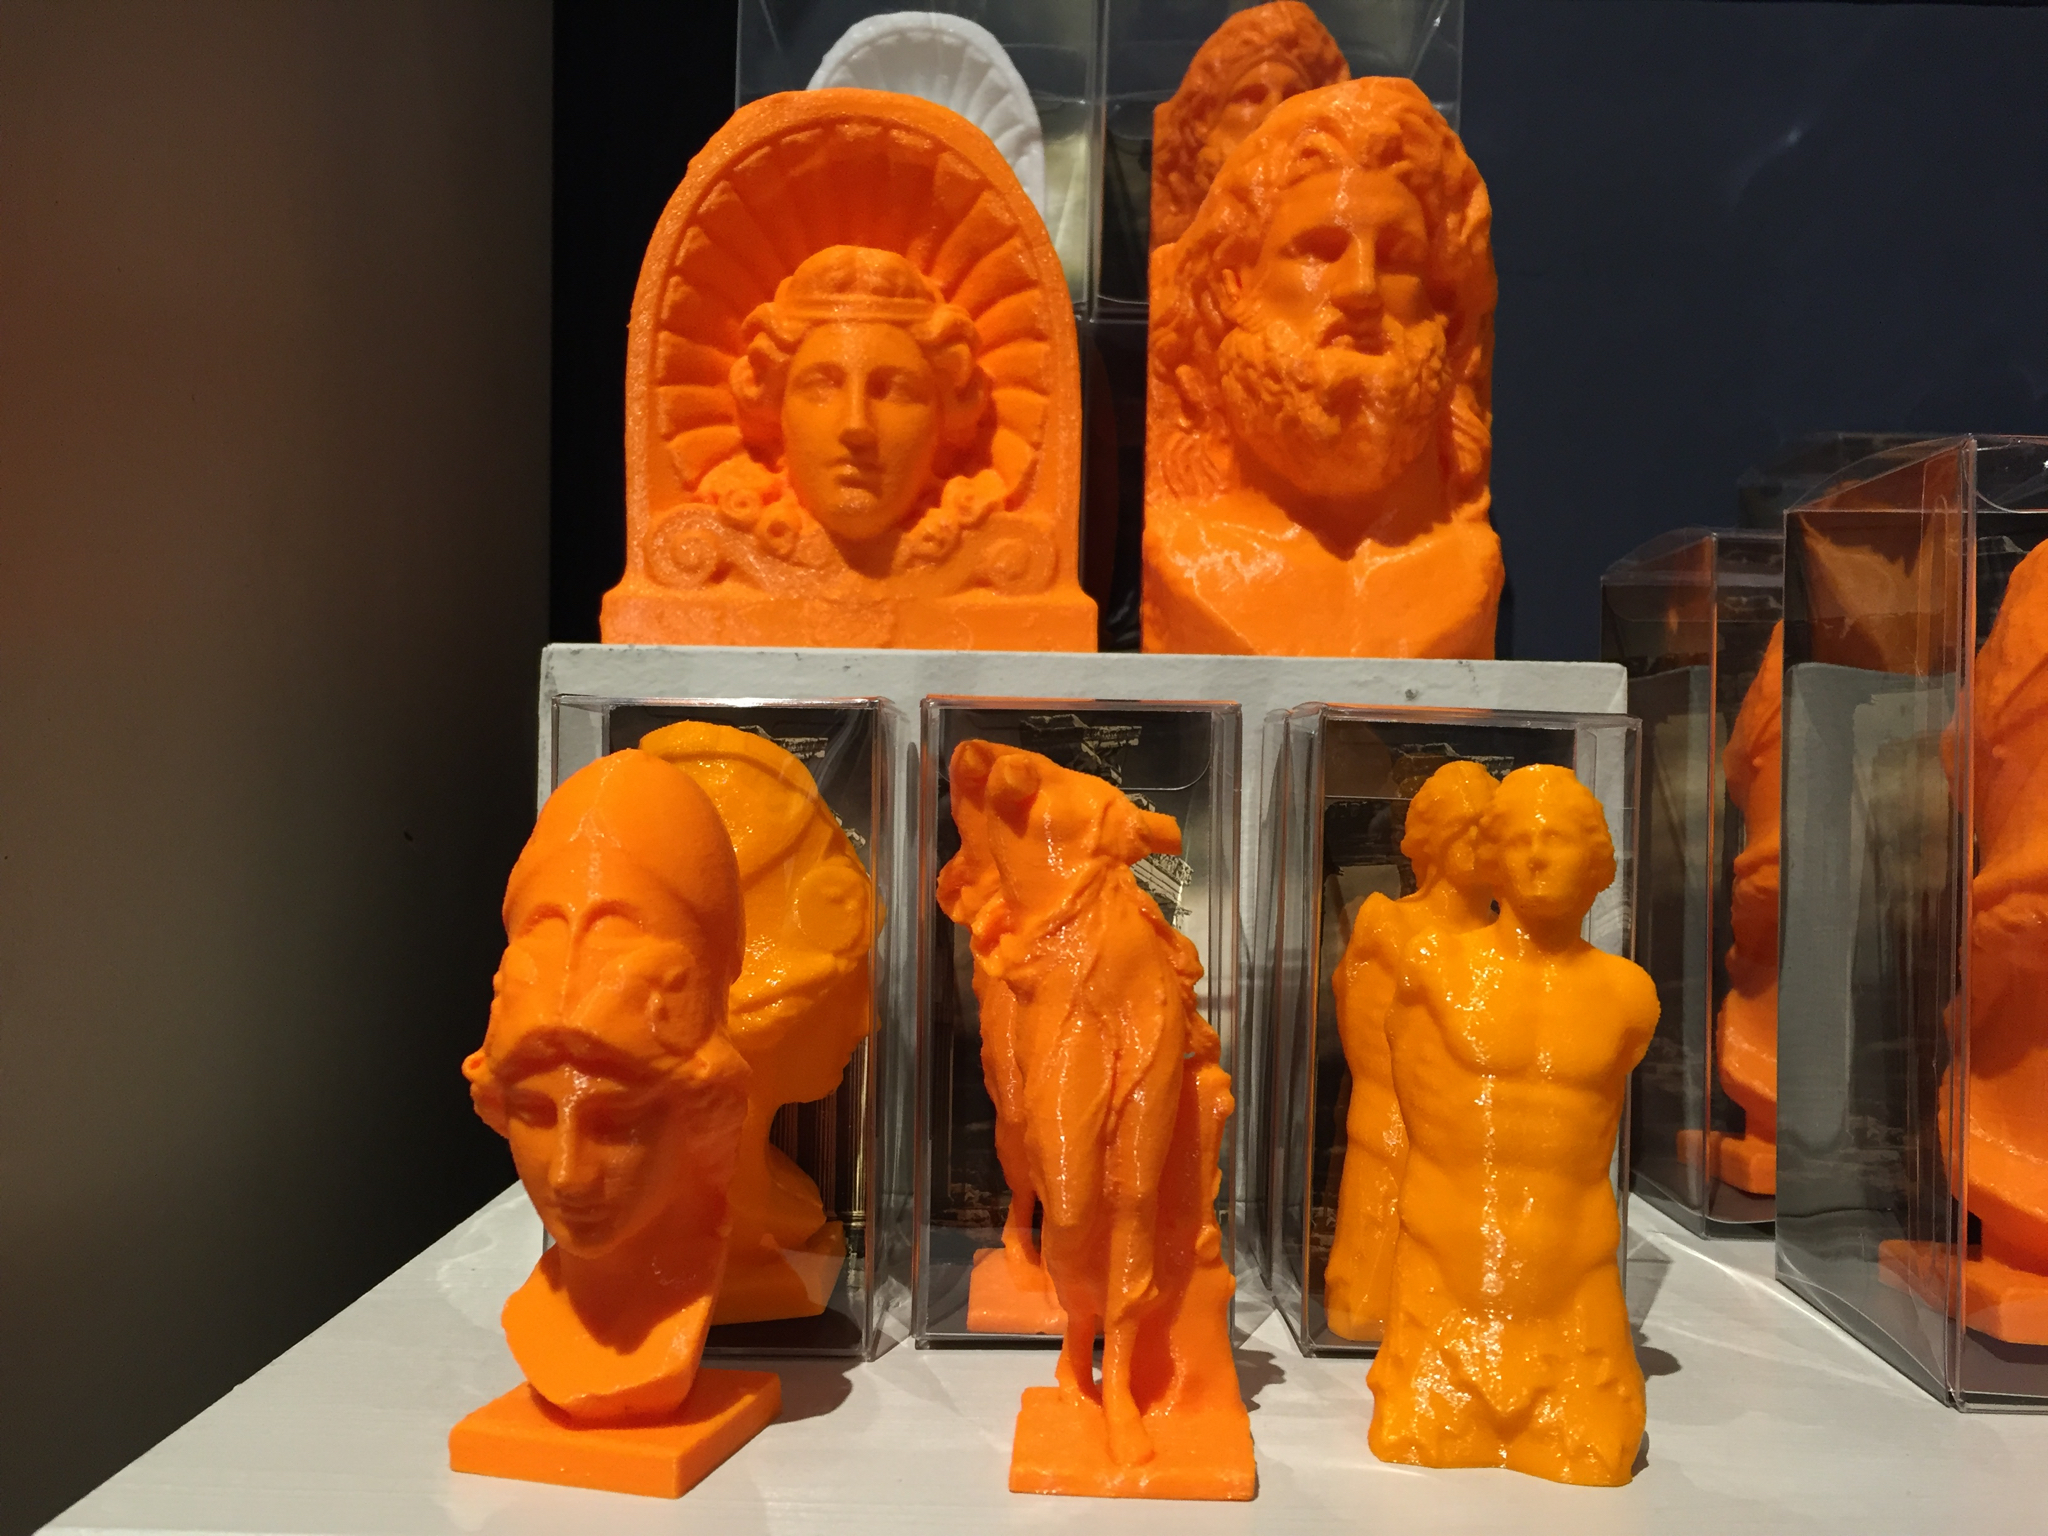
But for your own use, you should be able to print copies and place them on display.
At this point I’m hoping you can use this simple workflow to effectively capture and scan sculptures, be they located in a museum or outside. Please let me know if you’re able to succeed!

