The latest version of Ultimaker Cura has a secret, extremely powerful feature: Lightning infill.
I’m sure many people haven’t even noticed this feature, but it is surely going to dramatically change how many 3D prints are done.
Part of the confusion is that the feature appears as “just another infill pattern”, like cubic, gyroid, etc. There have been so many of these odd infill patterns added in recent years that I, like many of you, have begun to ignore them.
I did the same on Ultimaker Cura 4.12.1, the latest release.
That is, until I watched this video, where Lost In Tech discovered the truth about this fascinating slicing feature.
The gist of it is this: Lightning Infill is not really infill — it’s actually internal tree structure supports.
The new feature is most applicable for ornamental prints that are not expected to receive significant mechanical stress. Mechanical parts almost always have to be printed with notable infill patterns to ensure the part is strong, but that’s not the case for ornaments.
Ornamental 3D printing is a very common practice, as everyone has printed tons of plastic dragons, #3DBenchys or figurines. Usually these are 3D printed hollow, or as close to hollow as would be allowed by the geometry. This minimizes the amount of material used and speeds up print time, while still producing an object sufficiently strong for expected use.
3D Print Internal Overhangs
But there’s often a problem. While the exterior surface of an object might not require any support structures, it’s possible there are internal zones where support is required. Consider this pathological example of the cross section of a part:
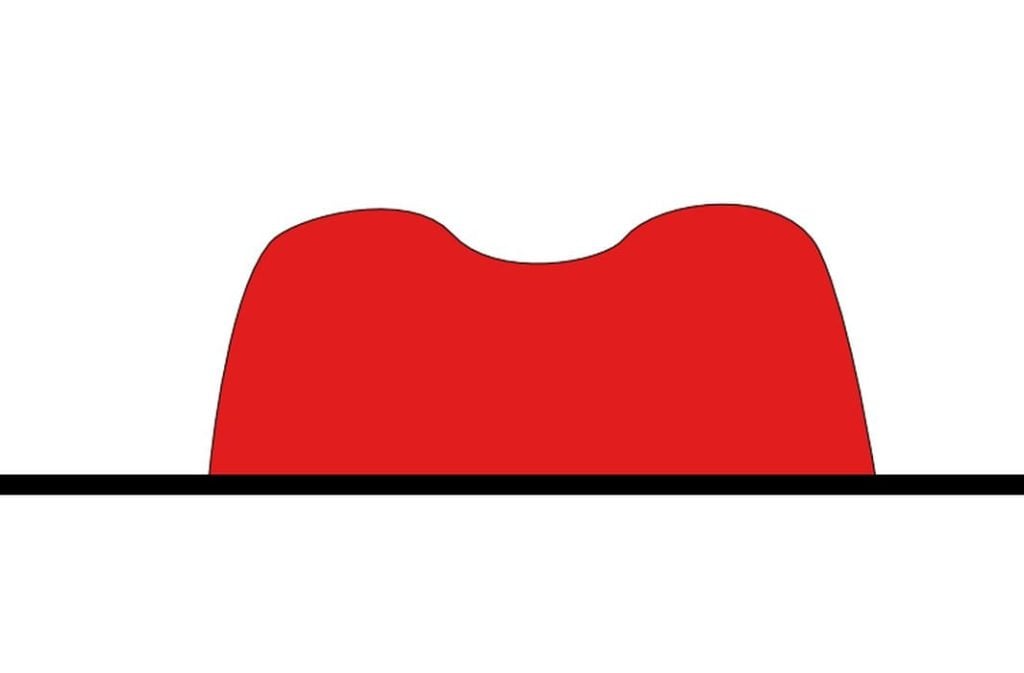
Now, let’s try and 3D print this item hollow:
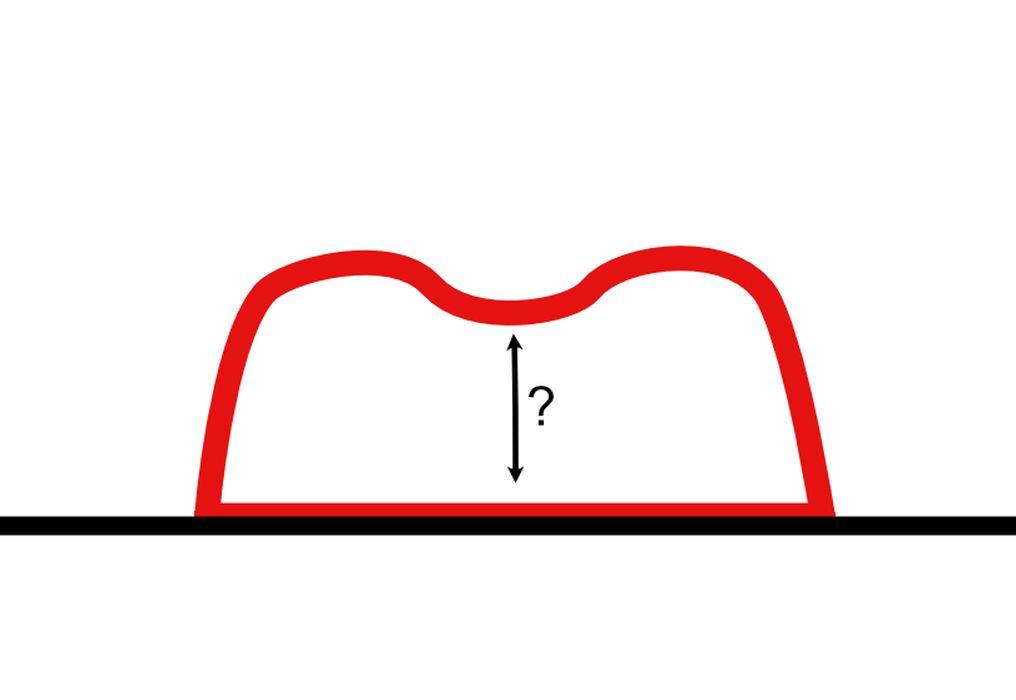
See the problem? There’s no support under that dip at the top.
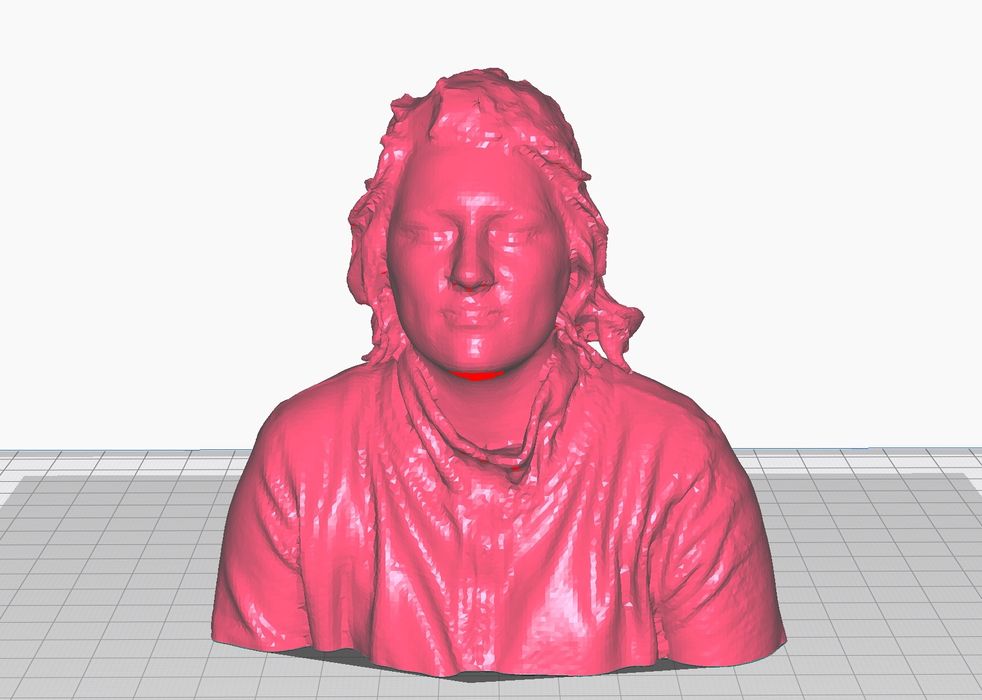
One way to solve that problem is to use infill to ensure there’s enough material under the interior dips to support printing at those layers. Let’s look at a real-life example where I sliced a figurine of my friend Avery:
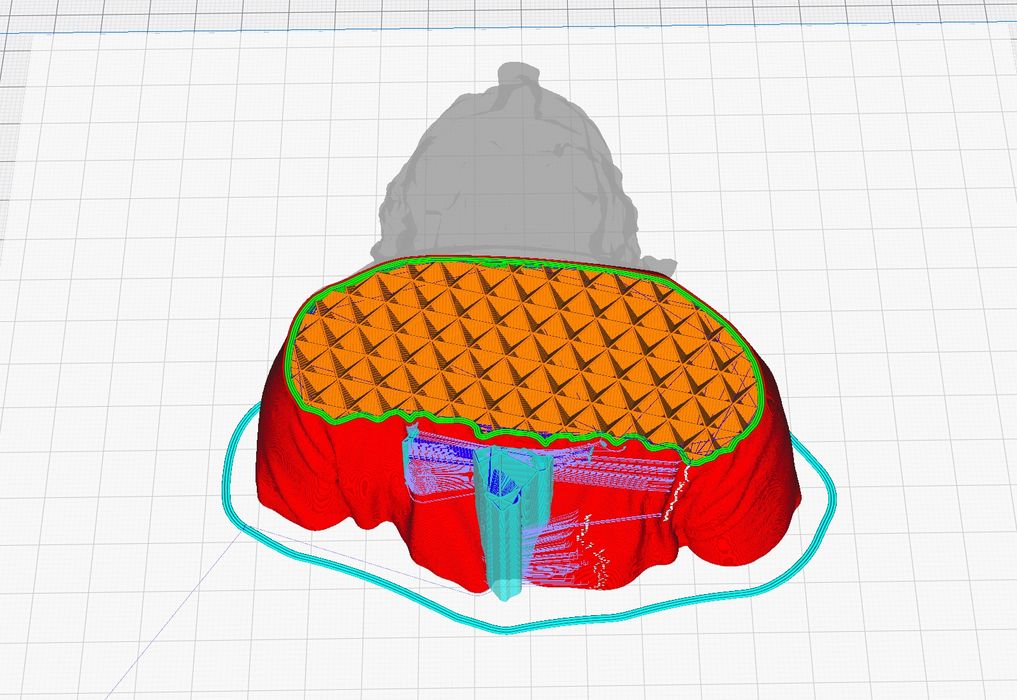
Here we would like to print the figurine hollow to save material, but there’s a risk that the top of the head might not come out well due to lack of support.
It would be possible to use constraints in some slicing software to isolate the overhang and apply different infill for affected areas, but honestly, that’s a lot of steps to do.

Slicing it using a standard cubic infill of 20% yields this, which will take 6:08 to print, and use 97g of material.
Lightning Supports
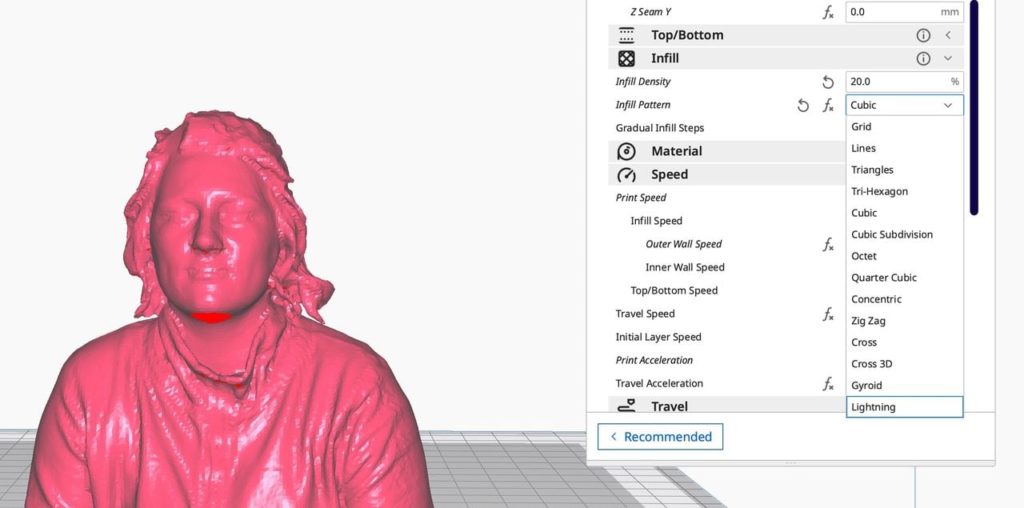
Now let’s instead use the new Lightning infill instead of the cubic infill. Note the visual difference inside the head:
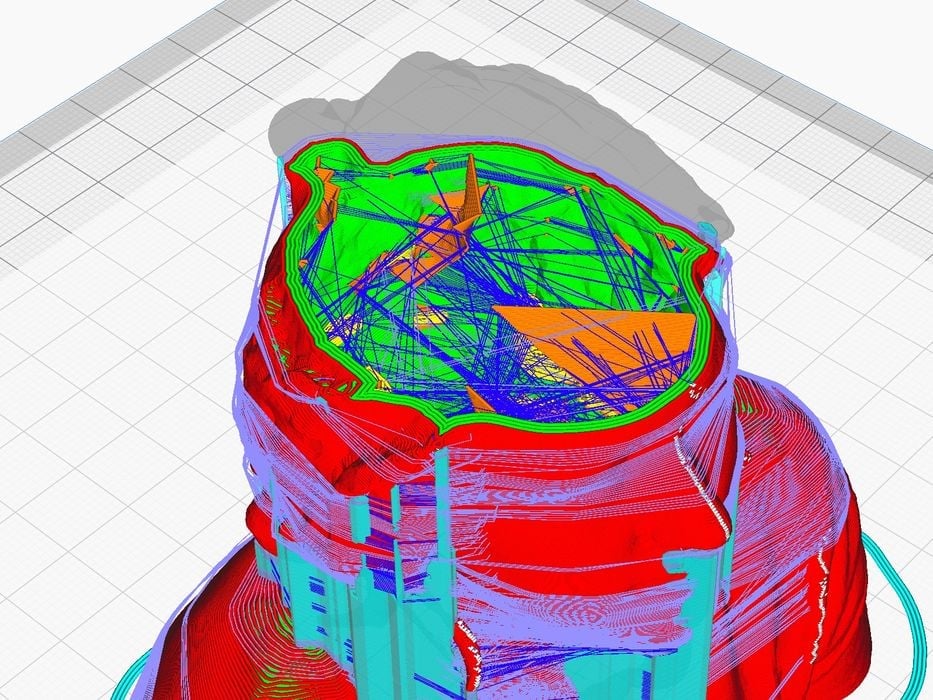
The resulting slice will have all the internal support required, but instead will take only 4:36 to print, and only 55g of material. That’s a saving of 25% on the print time and a whopping 43% on the material.

The internal lightning supports (sorry, it should say “infill”, but I keep typing supports because that’s what they really are) are far more efficient because they can attach anywhere inside the structure: messing up the inside surface doesn’t matter.
Lightning supports infill is perhaps one of the best new slicing features I’ve seen in quite a while. It will certainly save me a great deal of material, and it could do the same for you.
It’s unfortunate that this incredible new feature has been hidden in this way, but I’m happy to tell you about it if you haven’t heard yet.
Via Ultimaker
