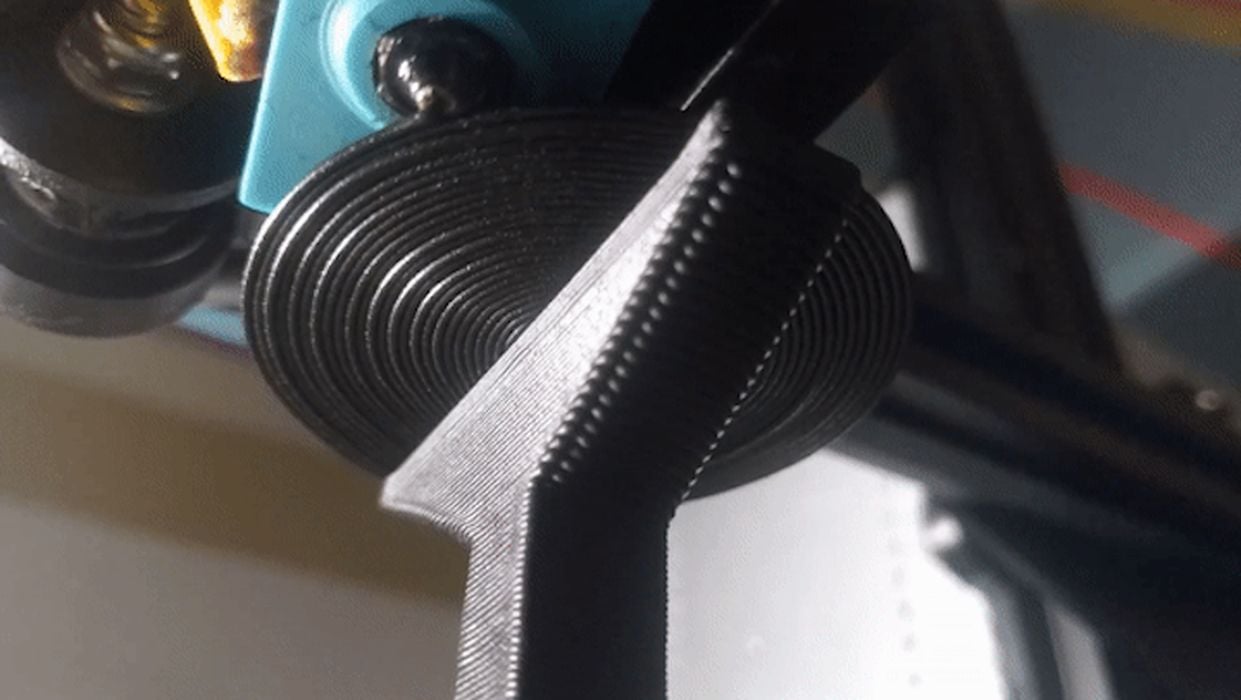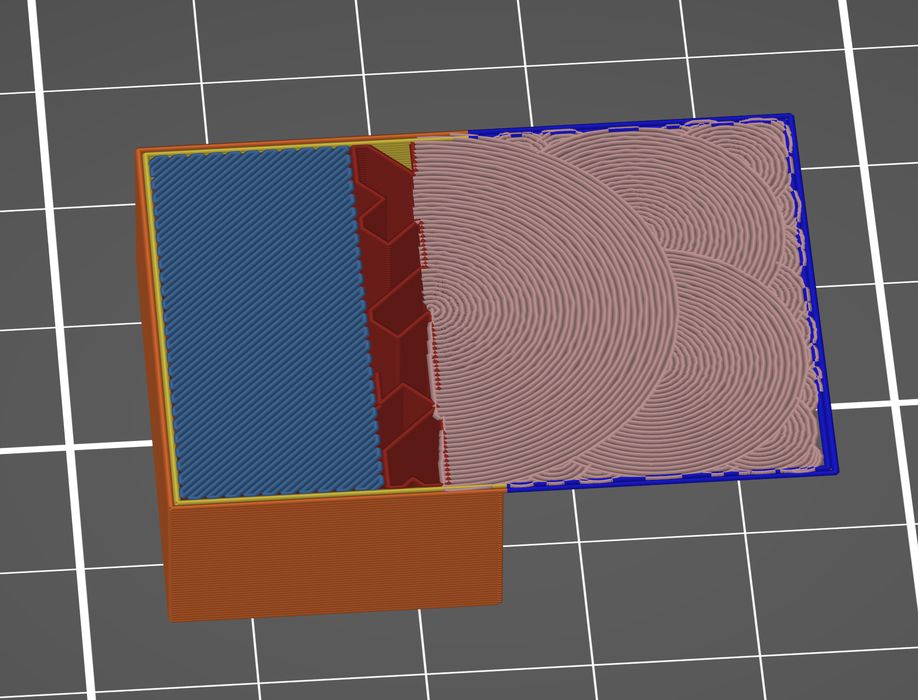
It’s now possible to try out the “arc overhang” technique in PrusaSlicer.
Overhangs are the bane of FFF 3D printing. To print them, one must use the dreaded support structures that consume material, require laborious removal and generally mess up surfaces.
I try to avoid support structures unless absolutely necessary. Even so, I still have to use them frequently, and so do you.
But what if you didn’t have to?
That’s the premise behind a new GitHub project that uses the “arc overhang” method to print without supports.
The idea is straightforward in concept, but complex in implementation. The approach relies on the ability for a single extrusion thread to be successful 3D printed as an overhang.
The strand does not fall because it’s attached to a supported structure, much like you could print a “bump” on the side of a cylinder.
Let’s expand on that “bump” notion. What if you added a “bump to the bump”? What if you did that repeatedly?
If so, you’d be printing a series of increasing diameter arcs outward, none of which would require support structures!
Of course, 3D print slicers do not do this. They simply slice each layer regardless of what’s underneath it.
Now a new GitHub project by Nicolai Wachenschwan hopes to change this: “arc-overhang-prusaslicer-integration”. It’s a script that can be added to PrusaSlicer to obtain this style of slicing.
Wachenschwan explains:
“A 3D printer toolpath generation algorithm that lets you print up to 90° overhangs without support material, original Idea by Steven McCulloch.
Now it is easy and convinient to use by integrating the functionality into PrusaSlicer as a post-processing script.
Steven and I hope that some day this feature gets integrated into slicing software. But until then you can use this script to get the added functionality today!”

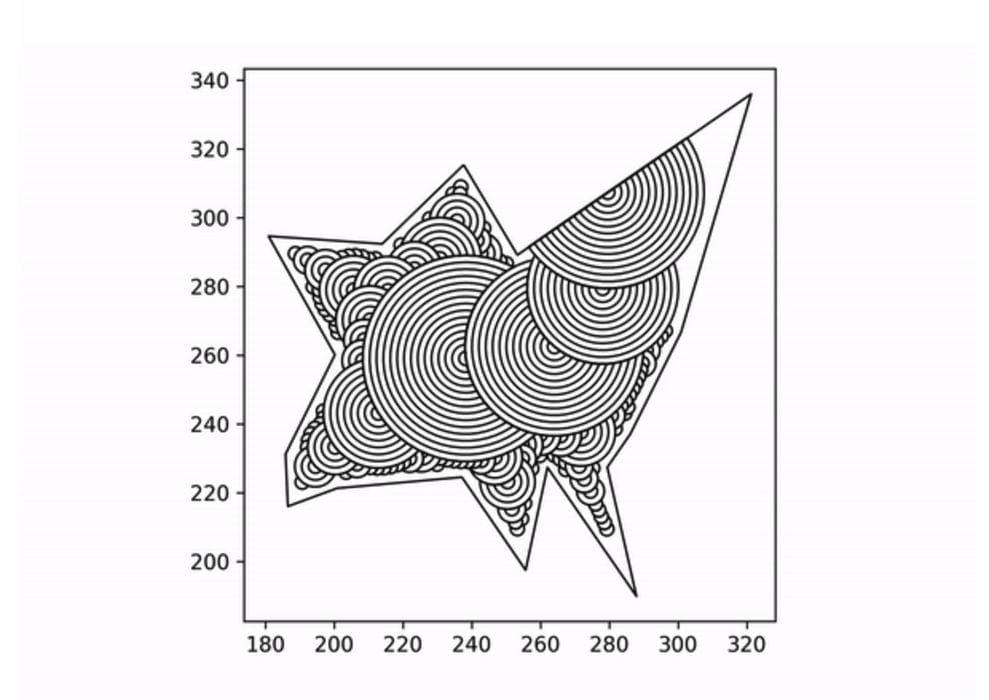
What exactly does this do? It identifies flat overhang areas and decomposes the geometry into a series of adjacent arcs. This then becomes the toolpath. Above you can see how this works.
CNC Kitchen’s Stefan Hermann made a video about the concept a few months ago:
However, in the video Hermann explains that while it’s possible to accomplish arc-overhangs, it was extremely difficult to do so and required some scripting surgery to complete.
The new GitHub project makes it far easier as the scripts are ready to use. They act as a kind of post-processor for the files that come from regular PrusaSlicer output. It’s possible to automatically run the script because PrusaSlicer has an option to run a post processing script.
The script is still pretty rough, and there are a number of limitations. For example, the remaining print time is wrong, and processing can be slow on complex models.

There are also a number of operational challenges, and 3D printer operators must carefully tune their systems to enable the script’s output to work properly for a given material. There are several best practices that give you an idea of what you’ll be doing:
Print as cold as possible. I used 190 degrees for PLA. You can probably go even lower. If you require higher temp for the rest of the print, you could insert could insert some temp-change gcode before and after the arcs are printed. Might waste a lot of time though.
Maximize cooling. Set your fans to full blast. I don’t think this technique will work too well with ABS and materials that can’t use cooling fans, but I haven’t tested it.
Print slowly. I use around 2 mm/s. Even that is too fast sometimes for the really tiny arcs, since they have almost no time to cool before the next layer begins.
If you’re up for an interesting technical challenge that could provide you with a brand new overhang capability, you should check out this project.
Via GitHub
