
The process of electroplating 3D prints is powerful, yet not very well known or practiced.
Electroplating is the process of coating an object with a metal surface using an electrochemical process. In concept, it’s pretty straightforward
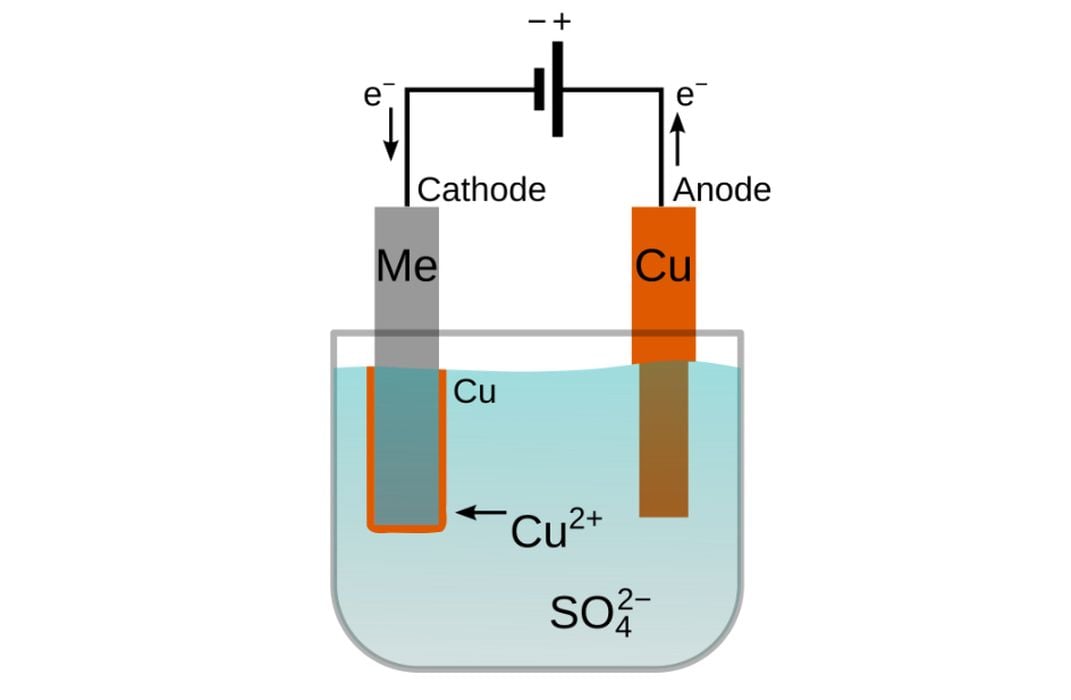
The object is submerged in an electrolyte solution, where there’s a positively charged anode. The object is connected to the negative pole of the power supply, opposite to the anode, and becoming a cathode. When electricity is supplied, metal atoms shift from the positive anode to the negative cathode and coat the object.
I haven’t tried this method myself, and seen many examples, including this test part:
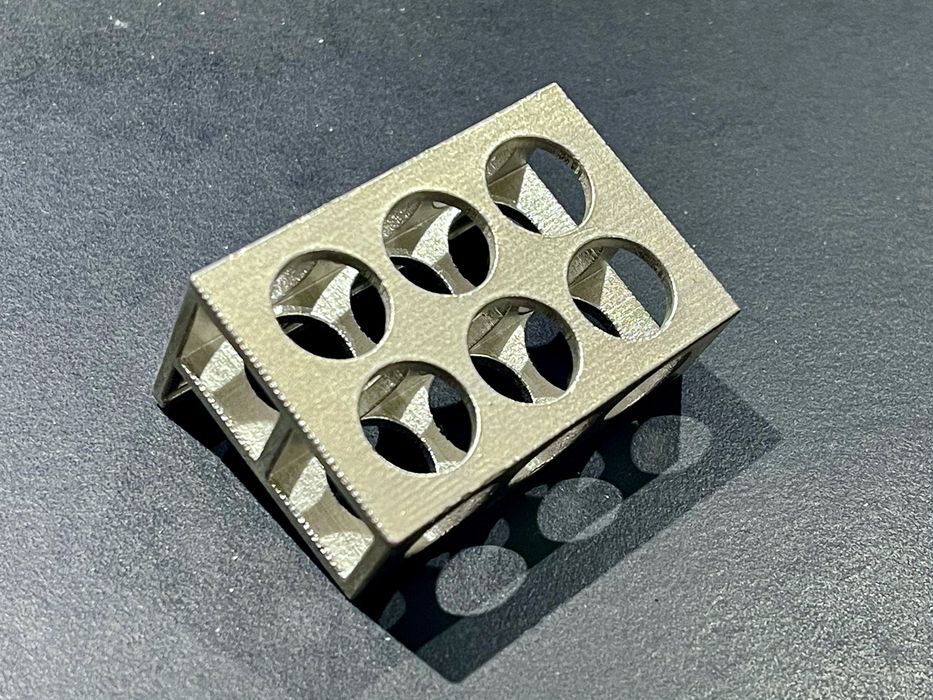
The presence of a metal coating actually strengthens the plastic parts considerable. However, they don’t have much additional heat resistance, as they swiftly sag when exposed to higher temperatures.
I recently came across a fascinating video where the entire process of electroplating 3D prints is portrayed. As you might guess, it’s far more involved that what I described above.
The video, produced by Hendrik Vogelpohl on his “HEN3DRIK – Electroplating 3D Prints” YouTube channel shows the entire process of producing an incredible Star Wars helmet using 3D printing and electroplating.
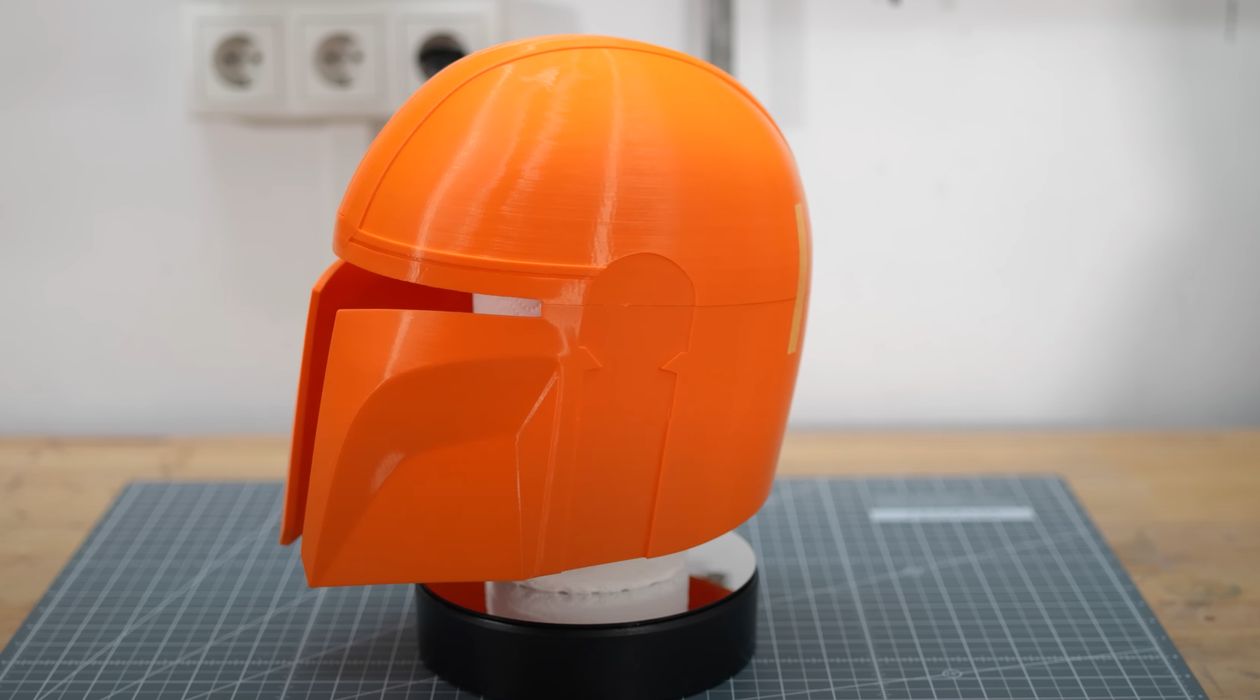
The process begins, of course, with the 3D printing of the necessary parts. This is done in the conventional manner, and then the parts are assembled. Glue is used to connect the parts, and the seams are filled.
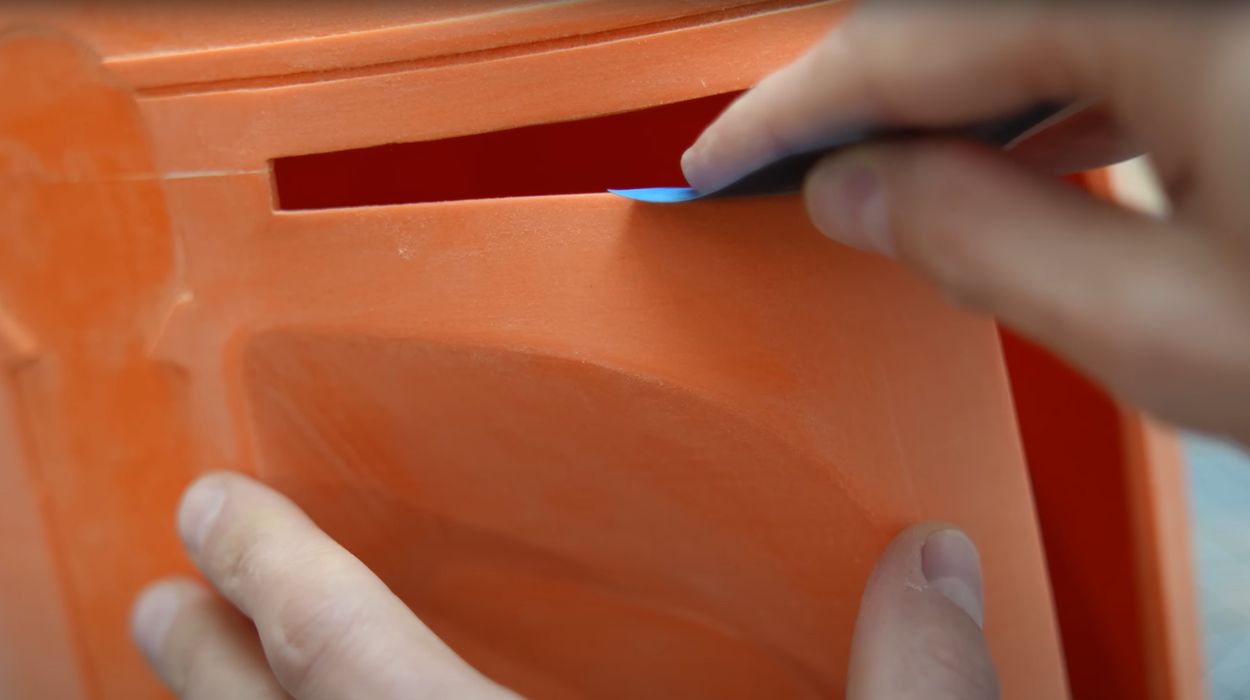
Then the next step is where the work comes in. The assembled print must be sanded smooth. This is done with a series of sandpaper grades, but is then followed with a coat of spray filler. This helps close up the layer gaps and serves as a paint primer.
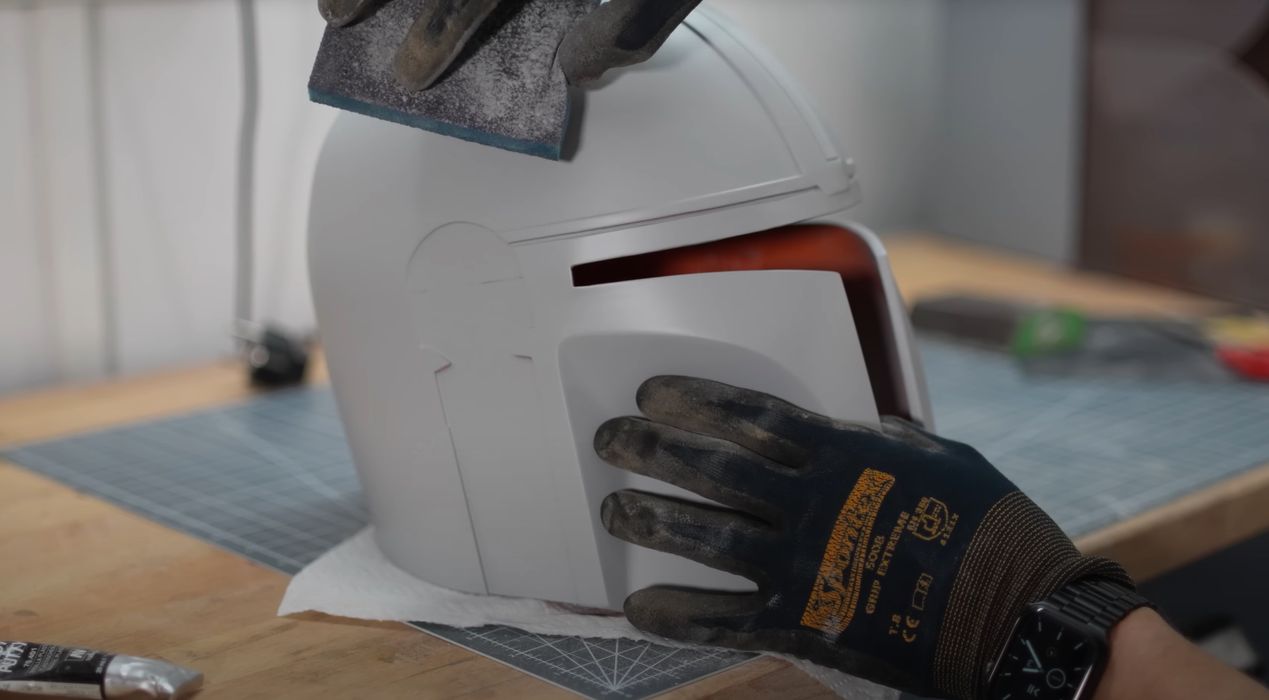
And it’s followed by more sanding.
The print is then painted with a metallic base of a copper material. This might seem strange, as the goal of the electroplating is to deposit metal, so why would we apply metal paint?
The answer is the electroplating requires a metal to metal circuit, and 3D prints are not metal. But they can be “made” into electrically useful metal parts through an application of paint.
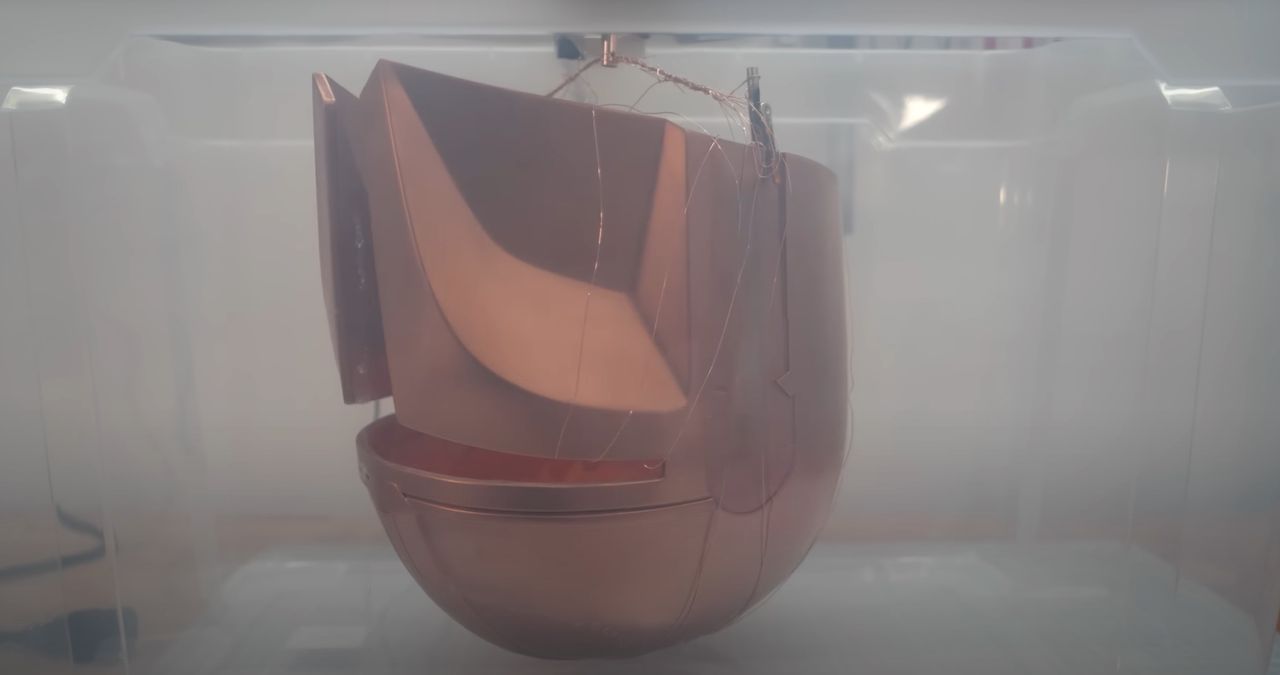
The metal-painted print is then placed in the electroplating chamber, where electrochemical action deposited copper on the entire surface of the helmet.
While the copper looks incredible, there’s more sanding to be done. Here Vogelpohl went through many grades of sandpaper and eventually polish to make the helmet’s surface highly reflective.
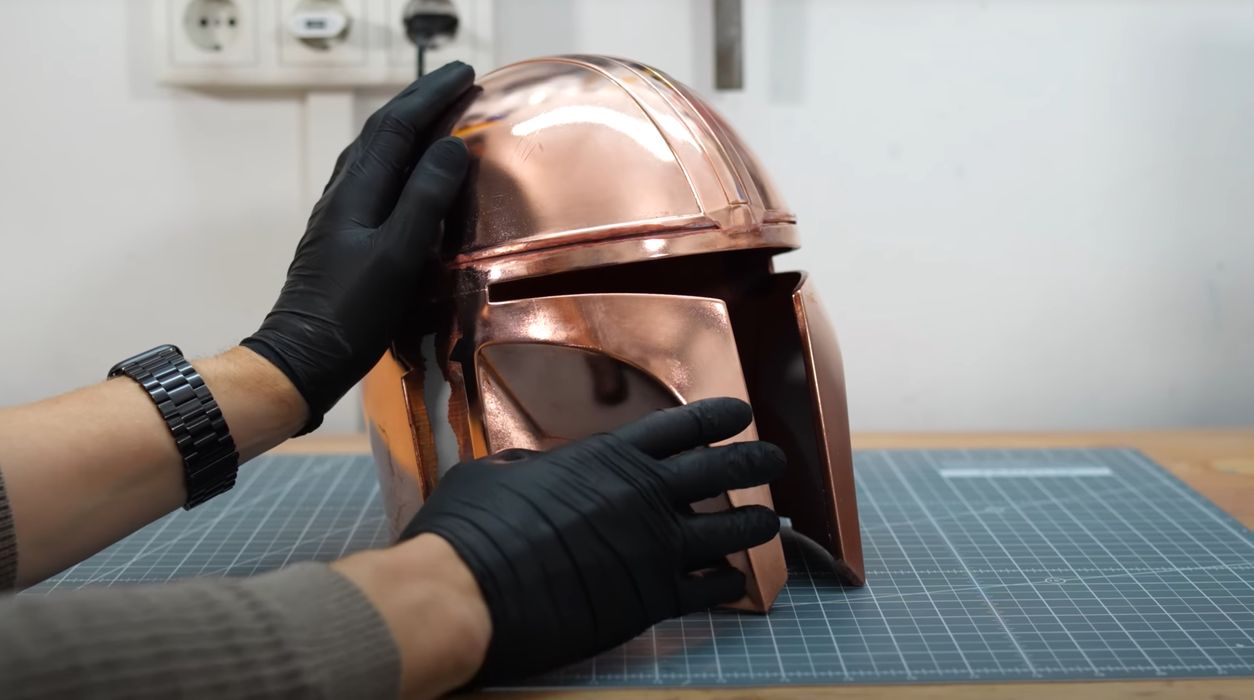
It looks quite good at this point, but the copper surface isn’t the end. Copper will quickly rust and become unattractive, so an additional metal surface is required.
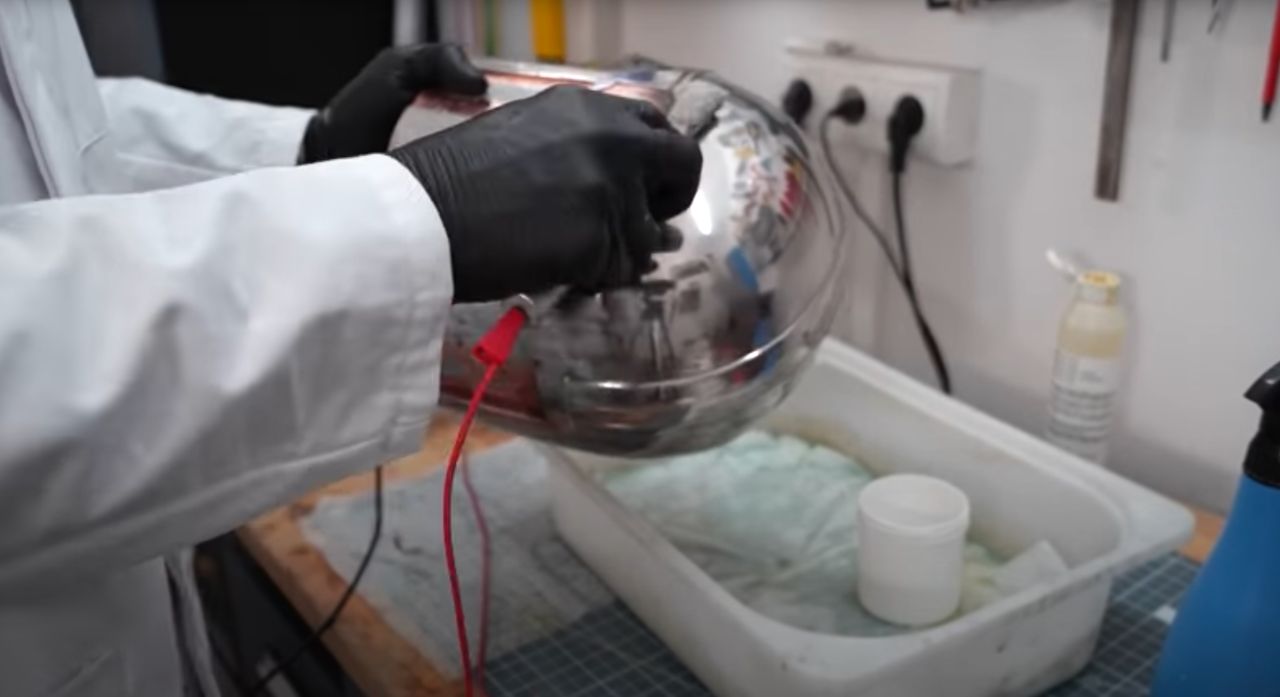
For this, Vogelpohl used a series of galvanic pens to manually apply a new layer. In the video, both nickel and palladium are attempted, but it turned out that palladium was far easier to apply.
Finally, the remaining pieces and non-printable parts were applied, resulting in the incredible helmet shown at top.
This was an amazing project, but as you can see the number of steps is considerable. There are also multiple speciality tools required, including an electroplating rig, sanding tools, galvanic pens and of course PPE.
While the results are terrific, it is understandable that few are able to undertake the full electroplating process due to the tools and labor required.
There doesn’t seem to be a way to properly automate these steps, so it is unlikely we’ll see an easy-to-use “one touch” electroplating machine for 3D prints. This means that if you want to electroplate your prints, you’re in for a lot of work.
Via YouTube
