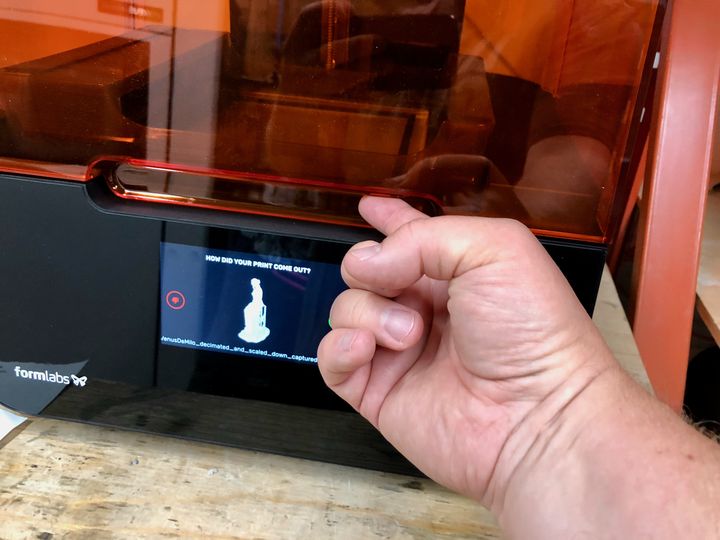
I’ve been using several different resin 3D printers lately and have some tips for you.
The most numerous category of 3D printers today is FFF-style equipment, where filament is heated and extruded into desired geometries. Many operators are now quite familiar with operating these machines, and we’ve provided some tips in the past.
But in recent years there have been a large number of now-inexpensive and powerful resin machines hit the market, some targeted at the very same users. These often use LCD screens as the light engine, which is why they’re lower cost, but sometimes you’ll see a laser-based or projection system. They can be called different names, including SLA, MSLA, DLP and other terms.
Some FFF 3D printer operators have now been experimenting with resin equipment, largely because you can obtain very high-quality 3D prints for the same or slightly more cost. A typical use case is to 3D print figurines, where the fine details are best shown with resin 3D printing.
But what might be the best practices for operating these resin devices? Having made a bunch of mistakes myself, I’ll provide some advice here.
3D Printer Safety
Photopolymer resin is very different from 3D printer filament because it is most often toxic. It’s a silent problem, too, because you may not have an immediate reaction. However, repeated exposure will eventually build up your body’s intolerance and you will have a reaction, and it could be permanent: any slight exposure to the stuff later on will present a reaction.
To avoid these unfortunate circumstances, it’s best practice to do the following:
- Wear PPE: This includes nitrile gloves, sleeves and safety glasses. The safety glasses will help if you accidentally spill resin and it splashes in your eyes.
- Ventilate your work area: Photopolymer resins can evaporate into the air and you could be breathing the chemicals.
- Clean the equipment and workstation: You will inevitably slop resin, and cleaning it up quickly will avoid later exposure.
Use The Recommended Parameters
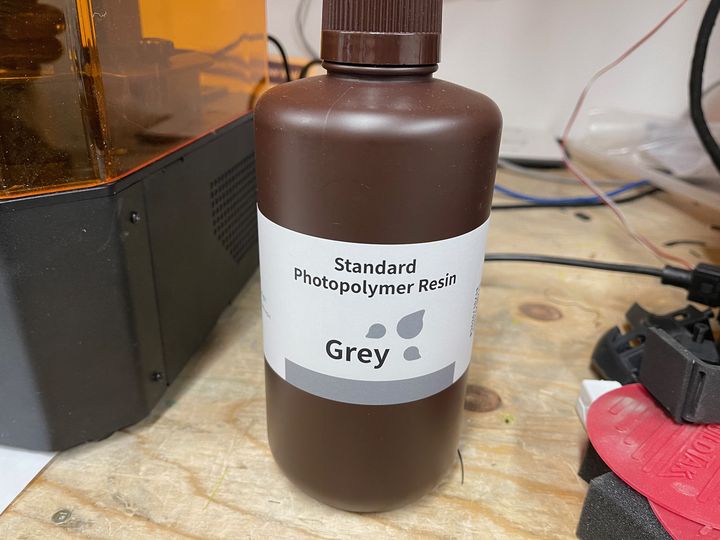
With filament 3D printing you must determine the optimum speeds, temperature and other parameters. It’s a bit of a game to dial-in the correct parameters. The same can be done on a resin 3D printer, but it’s way more inconvenient due to the messy nature of the technology.
The best practice is to use the key print parameters specified by the material provider. Usually this means setting two critical values: the initial layer exposure duration (which must be longer to ensure adhesion to the print plate) and the “normal” exposure for other layers.
If you get those wrong it’s not a lot of fun. I recently attempted to use faster parameters than I should have, and ended up with a detached model stuck onto the resin tank after 14 hours of exposure.
One more thing: make sure your resin is designed for the same light wavelength as your resin 3D printer. This should be obvious, but don’t assume everything is automatically for 405nm light.
Dope Your Material
I haven’t tried this yet, but I’m told by several folks that a great way to increase resolution is to darken your resin. Many resins are somewhat transparent, and this allows light to “leak” outwards to neighboring areas. By introducing a colorant into the resin (which must be mixed very thoroughly), the light leakage is inhibited, and thus you may get slightly crisper prints.
Holes!
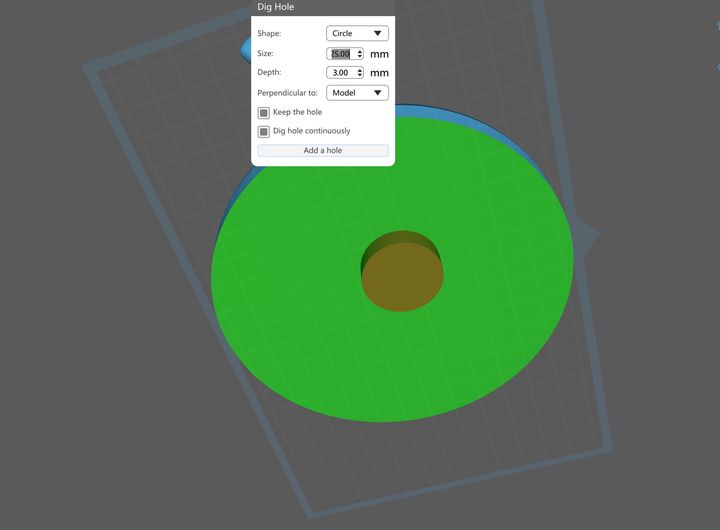
When 3D printing a hollow item on an FFF 3D printer, you can be confident the print will be filled with air. However, on a resin 3D printer you might find that void filled with expensive liquid resin!
The solution is to devise holes in your 3D model that either allow resin to flow out during printing, or allow air in from the top that permits resin to fall out at the bottom.
There’s also the possibility of re-orienting your 3D model to ensure it drains correctly during 3D printing, depending on the geometry.
For solid 3D models, this doesn’t matter. However, you’ll soon discover the cost of resin strongly encourages using hollow 3D models.
Wash More Than You Think
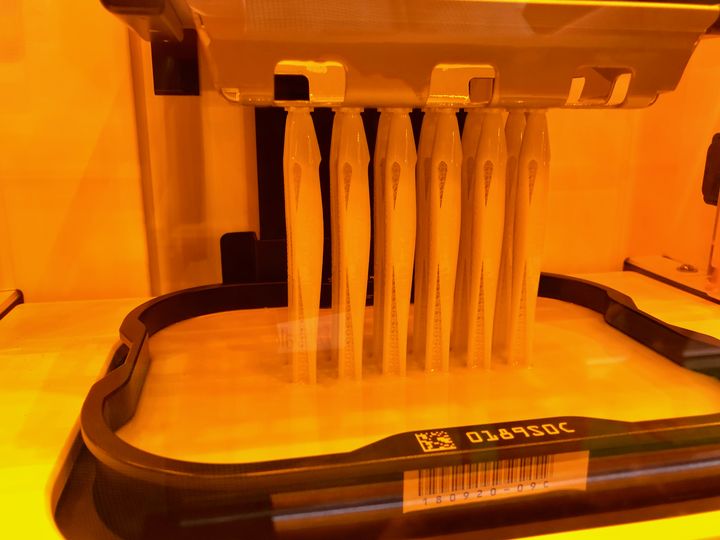
The usual sequence of events is to finish the 3D print by first washing it in (usually) IPA to rinse off any stray liquid resin. That’s important because if you don’t, those drips and blobs will eventually cure and become part of the solid structure of the print — and they were not part of the 3D model.
Thus it’s critical to remove ALL of this resin, and the washing is supposed to do this. However, particularly with automated washers, this might not always occur properly. For example, a strange geometry might “hide” some areas from the flow of IPA.
The best practice is to wash for longer than you might think, and even then re-orient the part to ensure every possible area is properly cleaned.
Cure First, Post-Process Later
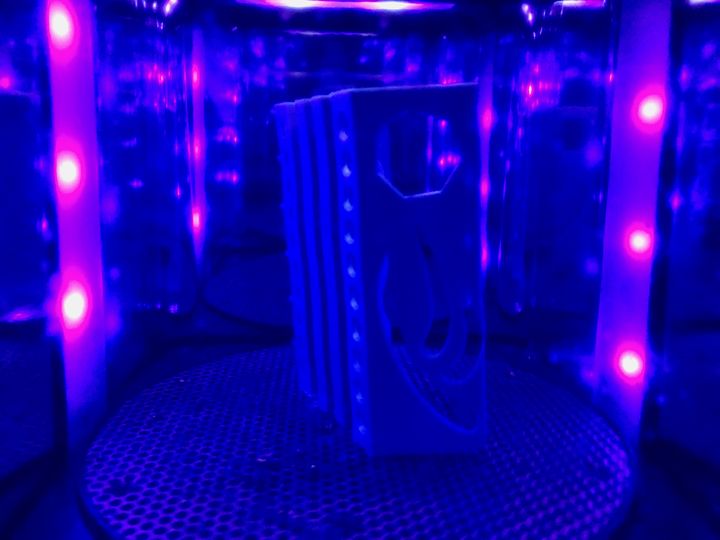
Many resin 3D prints must use support structures to hold up segments that are temporarily disconnected during printing layer-by-layer. These must be removed after 3D printing, usually with some snips and some time. Oh, and make sure you wear eye protection, as some parts may fly away when cut.
The question is, when, exactly, do you remove the support structures? Do you remove them right after 3D printing completes? At that stage the material is not fully cured, so the support structures are weaker and thus could be removed more easily.
However, that’s the wrong thing to do. The support structures are still attached to the actual 3D print, and could distort the shape if you’re pulling on the support structures.
The best practice is to take the wet 3D print directly to the wash station and then to the curing station before you attempt to remove support structures. The supports will be stiffer, but their removal will be less likely to disturb the print’s desired geometry.
That said, you must be very gentle on this step, particularly if the print contains weak and spindly segments.
Cure ALL Areas
Curing a resin 3D print is a relatively passive affair: you place the print in a UV exposure chamber (or leave it in the windowsill to let the sun bake it). However, the idea is to cure all areas of the print, not just the surfaces immediately exposed to the UV light source.
This can be done by simply changing the orientation of the part during curing. When one curing cycle completes, do it again, but tip the print over to ensure the bottom (or interior) gets exposed. You may have to do this several times to ensure all areas are properly cured.
