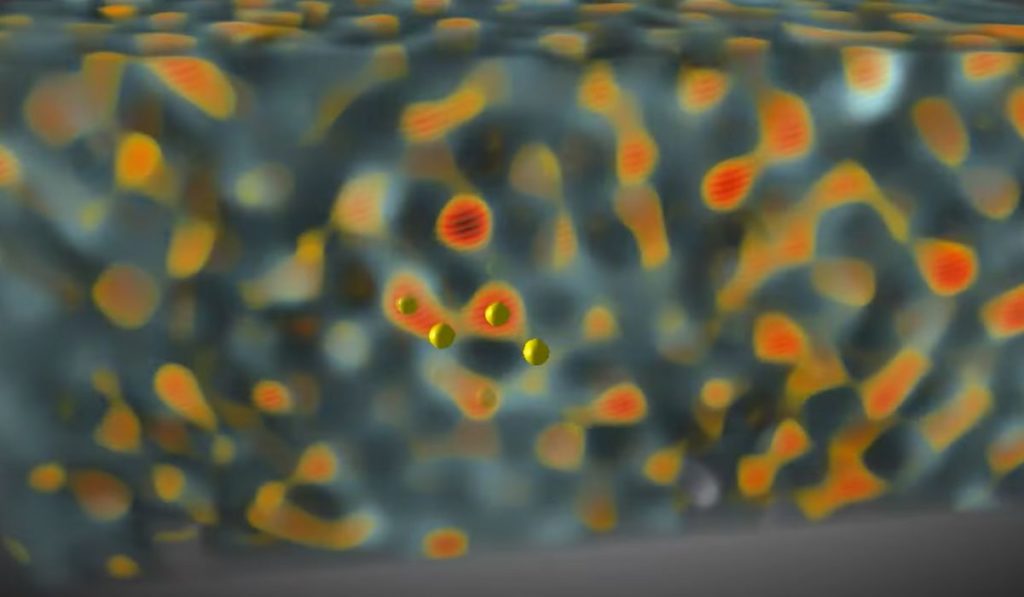
Researchers have developed a method of 3D scanning that can resolve structures as small as 7nm, or 0.000007mm.
That’s an extremely small dimension, but why would you need to resolve details at such incredible resolution?
It turns out the researchers were also studying nanostructures, specifically self-assembling nanostructures. These are microscopic structures made from nano-sized particles that are designed to organize themselves into predictable patterns.
Such work is on the extreme of future manufacturing, but the idea of having objects “build themselves” is highly desirable and perhaps could become a standard manufacturing method in the distant future. For now, however, the technology is limited to nano-sized objects and has plenty of design constraints.
There is a big question for researchers to answer while these assemblies form: are they actually building into the target geometry?
Up to now there was really no way to know other than using a scanning electron microscope after the fact. That might be suitable to inspect the exterior of the nanostructure, but what happened on the inside? Like any 3D printed object, you can’t see inside and know whether the object was built according to plan.
This need provoked the researchers to develop a new technique for visualizing the assembly of the nanoparticles, which happened to be only 7nm in size.
Their technique involves high energy X-rays, which are blasted at the assembly site at the appropriate time. The X-rays pass through the object, but some rays are also reflected back. Both emissions are monitored, and the data collected is then analyzed by 3D software to create a visualization of what happened during the assembly.
The researchers found this process to be incredibly challenging, taking days to complete. However, after several iterations they have managed to simplify the capture and processing to occur in only one day. They say it is ready for use by others requiring detailed views of self assembling particles in action.
Using this technique, those organizations producing self assemblies have a chance to verify that the process is occurring as designed.
In the world of larger-scale 3D printing it is common to provide inspection of freshly produced parts through 3D scanning after the fact, but there have been relatively few initiatives attempting to visualize the interior of 3D printed parts.
While this particular technique likely won’t be used on macro-scale parts, I’m wondering if at some point the X-ray method could be adapted for quality inspections of 3D printed parts.
After all, quality can also be found on the inside.
Via Phys.org

