This week’s question is all about print profiles for desktop FFF 3D printers.
Fabbaloo reader Kevin asks:
“Hi, Could you please provide me with the profiles created for the Kingroon KP5L printer in Ultimaker Cura?”
Kevin asked after reading our previous hands on review of the Kingroon KP5L 3D printer, where we found the device to be quite capable.
Unfortunately, we don’t provide print profiles — or equipment. We just write about 3D printing.
That said, we can provide some advice for this situation.
Print profiles are essentially a bag of 3D print settings for a given combo of a 3D printer and a specific filament. The idea is that by using a profile you can get guaranteed quality print results without fussing around with the settings.
This actually works, but it is quite restrictive, and let me explain.
Print profiles are not maintained in any centralized database; they are instead collected by certain 3D printer manufacturers or otherwise float around social media and discussion forums. In other words, there really isn’t any central place to get arbitrary print profiles.
This is understandable because the number of possible print profiles would be the product of these factors:
- The number of different FFF 3D printers
- The number of different printing modes (draft, high quality, etc.)
- The number of different 3D printer filaments from all the manufacturers
We know there are several hundreds of 3D printers, and countless variations of 3D printer filament. The answer would be a massive number, and these factors are always changing and increasing. It’s no surprise there isn’t a central database of profiles, and that’s why everyone looks around for them.
Some 3D printer manufacturers are starting to create their own private databases of print profiles for their equipment, like UltiMaker and a few others. They simplify the equation by using only their own equipment and striking deals with a handful of major filament manufacturers to make the machine-material pairings. That works, as long as you use their equipment and their designated filament suppliers.
But for a random desktop 3D printer with random filament, you’re out of luck.
What can you do? I have two suggestions.
First, you can tune your own profiles. Most slicing software comes with some default profiles for “Generic” filament. As long as you configure the machine, which is usually a matter of setting up the print dimensions and a few other parameters, you can then work on the filament settings.
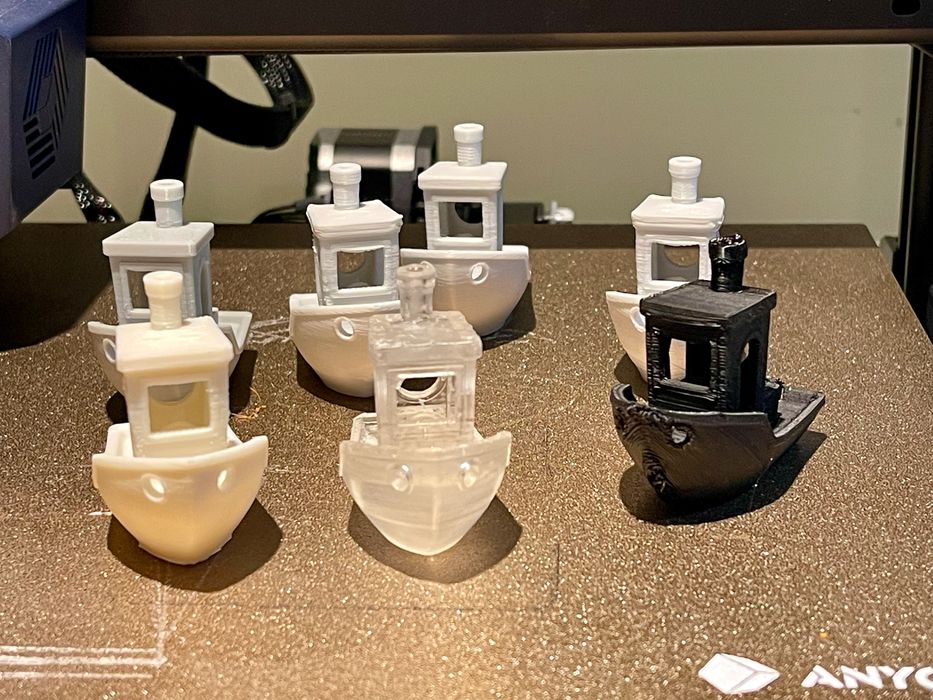
Grab a test 3D model, like a #3DBenchy, and print it with the default settings. You can examine the results and tweak the settings to improve the result. The most typical tweaks will be required on:
- Extrusion temperature
- Flow rate
- Retraction
- Print speed
There are a ton of other settings, but if you can get the above mostly correct, you’re most of the way there.
The second suggestion is to use SuperSlicer, which we reviewed last year. It’s a fork of open source PrusaSlicer software that does pretty much the same things in the same way. However, it has a very important added feature: a calibration wizard.
SuperSlicer can take you on a relatively quick calibration journey by automatically generating test prints with different settings. You print them all at once, and then examine them against sample images to determine the best setting.
SuperSlicer’s calibration then takes you to the next step, gradually building upon previous discoveries.
In the end, SuperSlicer will help you identify the most important print settings for any given filament. If you use those settings in subsequent prints on that printer with that filament, you are almost guaranteed to get a high quality result.
If you bring in a different spool of material, even if it claims to be the same material, do that calibration again. The chemistry of filaments does change from batch to batch, even with different colors, so it’s important to always calibrate.
Do you need profiles? Just make them yourself.
