Researchers at the Fraunhofer Institute have developed a new approach for 3D scanning that works with reflective objects.
3D scanning is an important tool for reverse engineering, a key step in the digitization of products for more flexible manufacturing in the future. Today there are several approaches for 3D scanning, but each have issues.
3D Scanning Issues
Aside from “touch”-based 3D scanning, which is useful only for taking spot measurements, most 3D scanning systems use optical processes.
- Photogrammetry transforms a series of 2D images into a 3D model
- Laser scanning fires beams over the surfaces of a target and dual cameras determine the 3D location of each point
- Structured light presents a specific pattern on the surfaces, and its distortion reveals the 3D geometry
However, each of these approaches suffer from a difficult problem: reflectivity and transparency. They each depend on light bouncing off the subject and returning to an observing camera in a predictable manner.
That assumption breaks down when you involve glass, for example, as light is bent as it passes through. The scanners cannot determine the point source, and that portion of the subject isn’t scanned properly.
Similar effects happen with transparent objects, or even slightly reflective objects. Often 3D scanning a slightly shiny object like a metal part becomes challenging due to light path effects.
It’s possible to overcome these effects by temporarily coating the object with a non-troublesome surface. There are spray-on products that can accomplish this, some specifically designed for 3D scanning.
Transparent 3D Scanning

Now there seems to be an entirely new 3D scanning process that can bypass the reflectivity problem entirely.
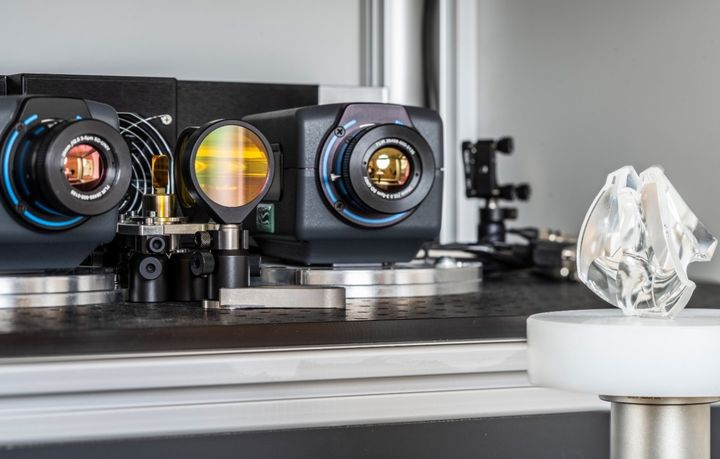
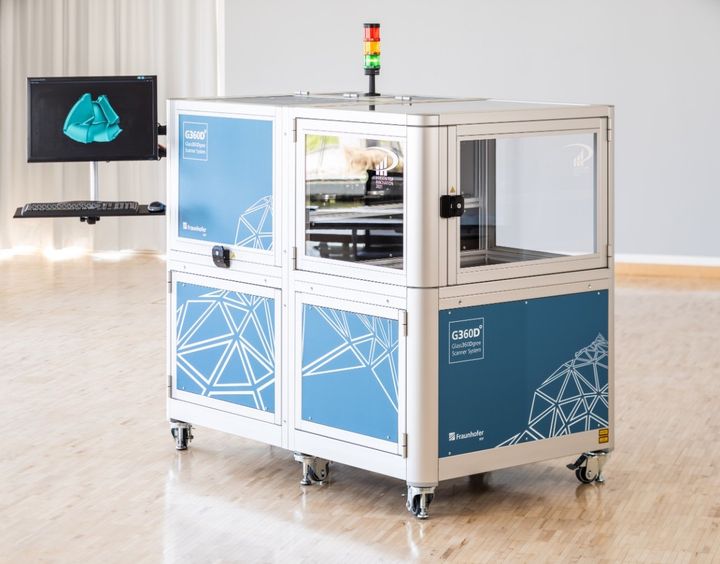
Fraunhofer researchers created a news device they call the “MWIR-3D sensor”, which is able to scan any object, even transparent objects.
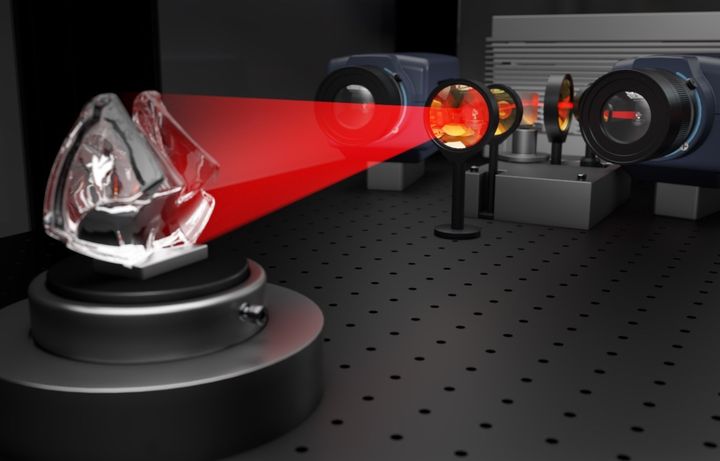
The system uses infrared radiation in a very innovative manner. First, the object is blasted with a CO2 laser. This slightly heats the surface of the object. This makes each point visible to infrared detectors, and by having two of them, you can locate the location in 3D space.
This is quite similar to standard laser 3D scanning, except that infrared wavelengths are used instead of optical wavelengths. Fraunhofer Institute explains how it works:
“This is possible because researchers at the Fraunhofer Institute in Jena have succeeded in making thermal radiation usable for 3D measurement. The researchers therefore refer to this method as “3D sensing in the thermal infrared range”. At the heart of the system is a high-energy CO2 laser with which the objects are irradiated.
Using special lenses for high power densities, the laser beam is expanded into a line that vertically illuminates the entire object. For a high-resolution measurement result, this line is moved over the object in a specially coordinated sequence. The energy of the laser light is absorbed by the measured object and partially re-emitted.”
How can this work? Does not thermal radiation seep into neighboring areas and would that not confuse the detectors?

This issue was noted and resolved by the researchers. They use specialized lenses to finely focus the laser illumination on much smaller spots, and this not only allows the scanning to take place quickly, but also increases the resolution. The researchers say the accuracy can be less than 0.01mm, which is on par with the best current 3D scanners.
The Fraunhofer Institute performs research to develop new discoveries such as this one. From there, the intellectual property will be commercialized, either by a spin-off company or perhaps by another company that licenses the technology.
Either way, it’s certain we will see a new style of 3D scanner hit the market in the near future.
Via Fraunhofer Institute (Hat tip to Benjamin)
