
My testing of the Voxelab Aquila X2 desktop 3D printer continues.
This is part two of a two-part series. Part one is here.
Aquila X2 Power On and Setup
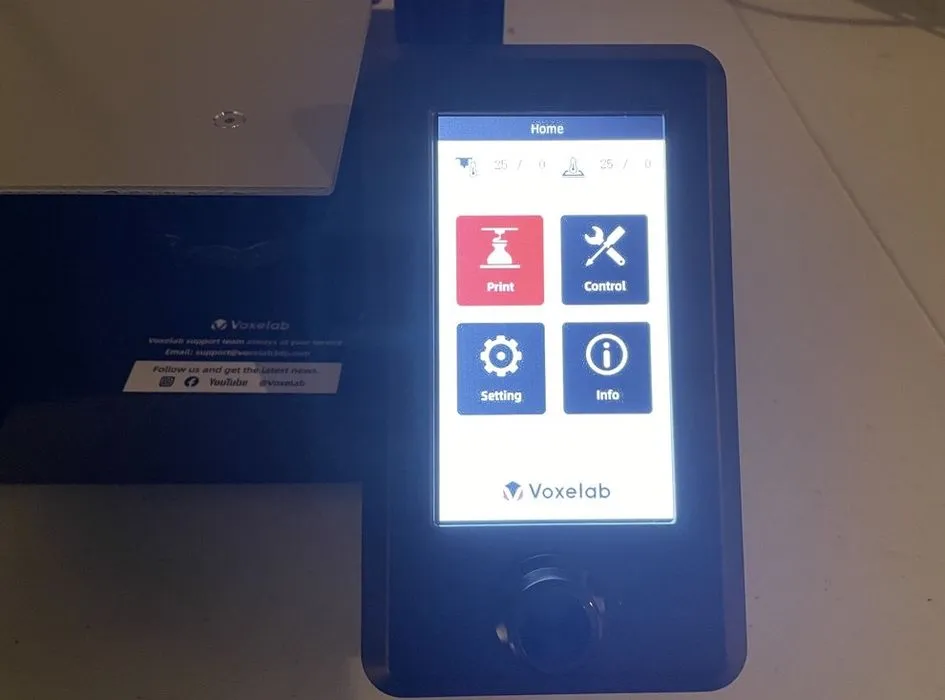
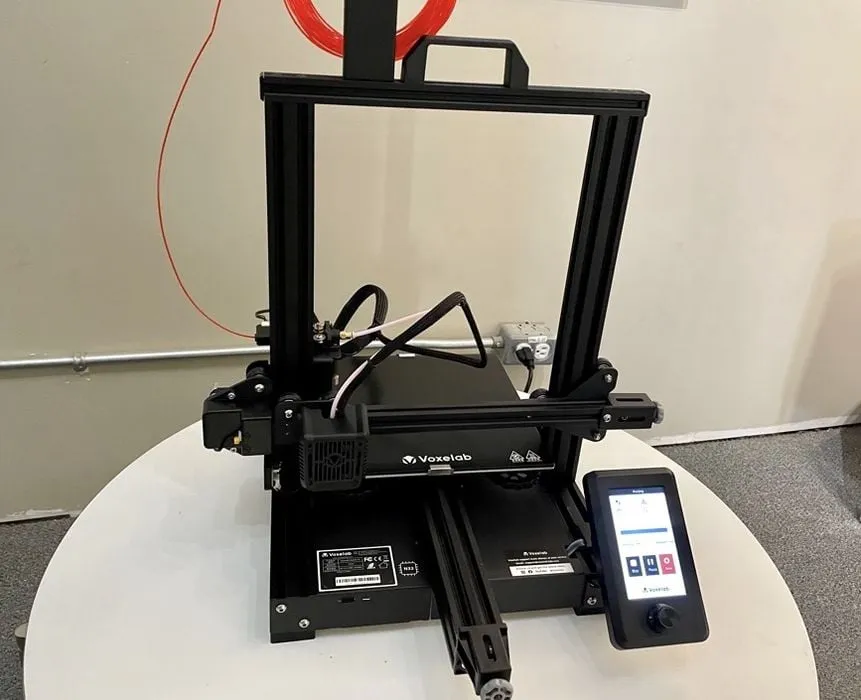
Fortunately, after the assembly I was able to successfully power on the device, and saw a welcome appear on the color touchscreen.
Bed Leveling was straightforward as I followed the instructions, as was preheating the hot end to load the first filament.
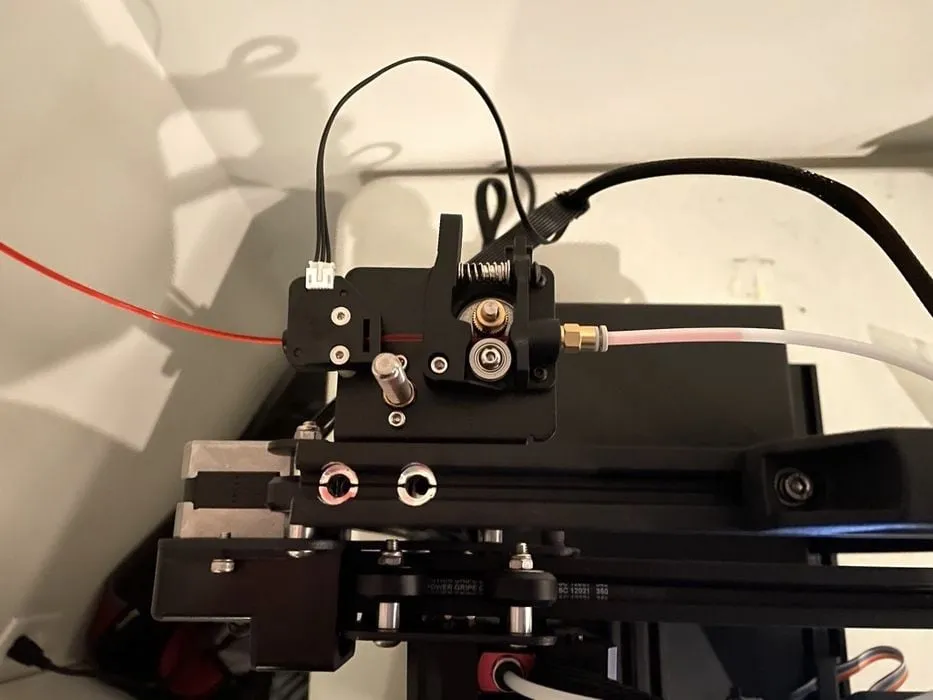
One of the key features of the Aquila X2 is filament autoloading. It turns out to work very well. I thought the small coil of bright red filament included with the printer is a good idea so you can easily see it move through the Bowden tube to the extruder.
Starting printing is the last step, however I was not convinced I had assembled everything correctly and wanted to go back and review all previous steps.

I worked back from step 2 of the instructions with a Maintenance Manager from a Fabrication Lab who has experience with 3D Printers, about as good a set of second eyes as you could hope for.
Surprisingly, he had difficulty following the steps too, so I realized that I did ok!
We found that step 2, installation of the Z-axis motor kit, was done correctly. He tightened up screws and corrected a few items (steps 3 – 5) that I had mistakenly installed backwards and therefore did not align as it should have.
We also discovered that I had used some of the wrong length screws and therefore some parts were not as tight as they should be. This heightened my thought of Voxelab labeling the different size screws more clearly.
We followed the bed leveling steps again to be sure.
Aquila X2 Initial Prints

Finally, we were ready to start a test print.
The printer is incredibly quiet, except for the controller board fan. I don’t know how the fan could be upgraded in the future to be quieter but that would be something to consider for Voxelab. The silence of the stepper motors is totally overcome by the controller fan, and the machine isn’t nearly as quiet as it should be.
Final Thoughts on Aquila X2 Assembly
This is the first time I have ever assembled a 3D printer, so I am not sure if all printers requiring assembly are as involved with this many steps.
There were 13 assembly steps to follow and took me three days of a few hours a day. Some steps were completed without issues but others required more instructions by watching YouTube videos and also (my last resort) asking for help. The user manual is now very well used!
The Aquila X2 has well built parts especially for the low price of the machine — only US$320. In spite of the low price, this is not a cheaply built printer. If you want to experience assembly, and do not have a lot of money to spend, this is a 3D printer that I recommend.
Aquila X2 Printing

Once properly set up and able to print, I began 3D printing many different objects to see how well they turned out.
I like the progress bar on the display while printing, and generally am impressed by the user experience of the display. It’s clear and easy to follow.
I am not used to a glass plate and was not certain at first how to remove the finished print. Unfortunately, there were no instructions on how to remove completed prints.
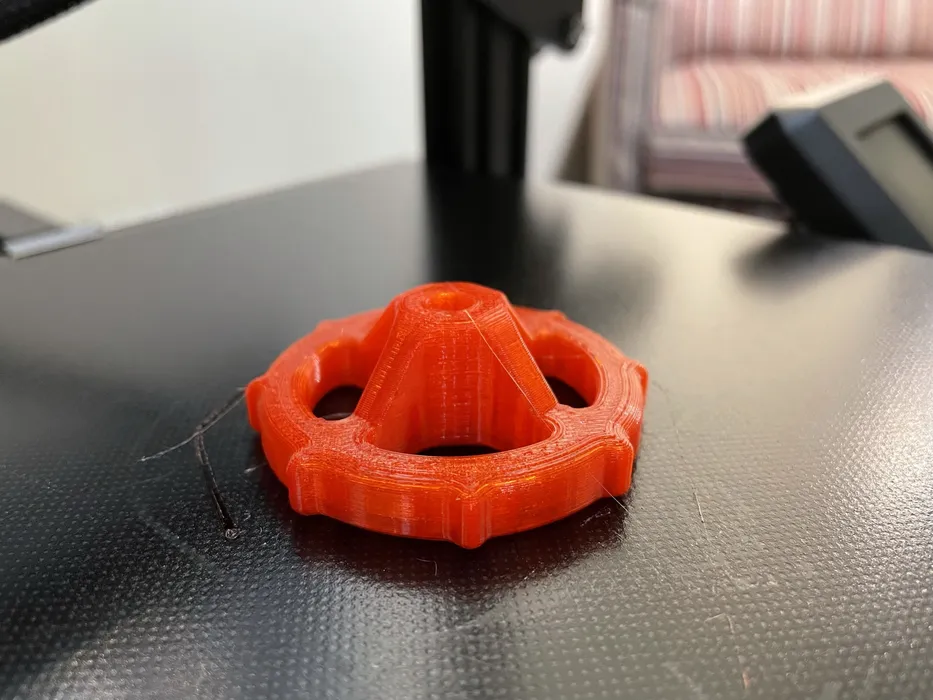
The first Aquila test print of shapes (using their red provided material) looks really nice.
I am so used to a flexible build plate that I forgot how hard it is to remove a print from a fixed glass plate. A metal scraper was included in the kit, and that’s how you pry off prints. It does help to allow the print to cool before attempting removal, however.
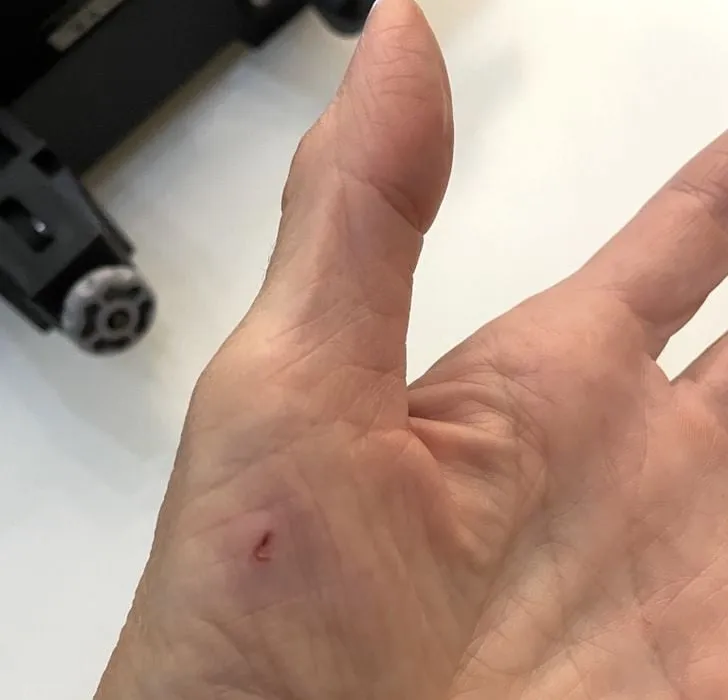
It can be dangerous to remove prints in the wrong way: I received a small flesh wound and will not attempt to remove it with the tool like I did again! Please be very careful removing prints on the Aquila X2.
I had to look up how to clean and how to remove a print from a glass build plate. I ended up using warm water, a little dish soap on a soft cloth. This method seemed to work well. I couldn’t find any good instructions on how to remove a print off a glass build plate except for patiently waiting for it to completely cool and let it pop off.
My second Aquila X2 test print stuck to bed and printed nicely.
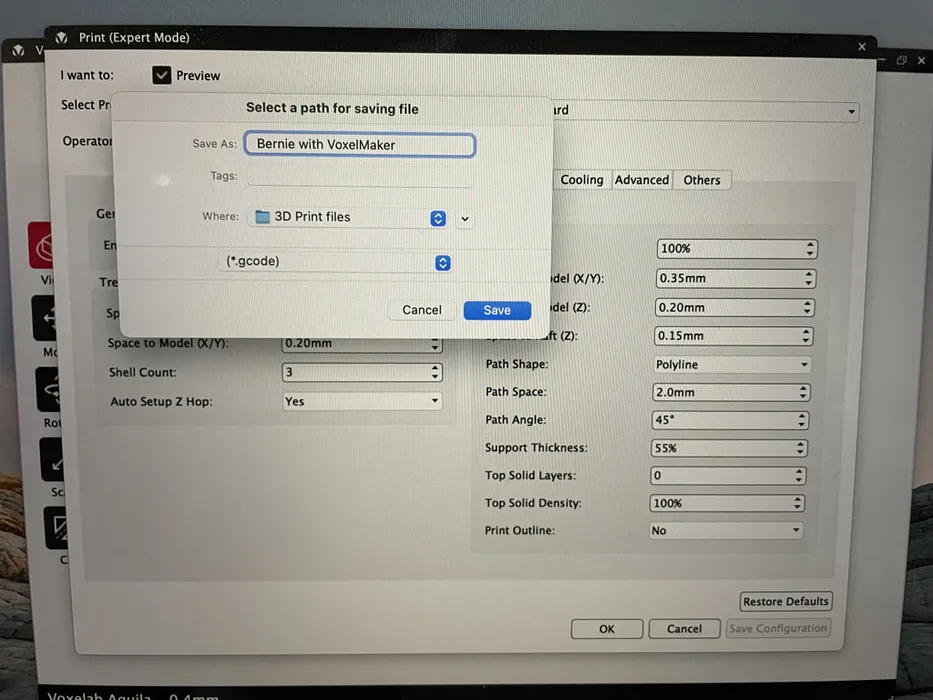
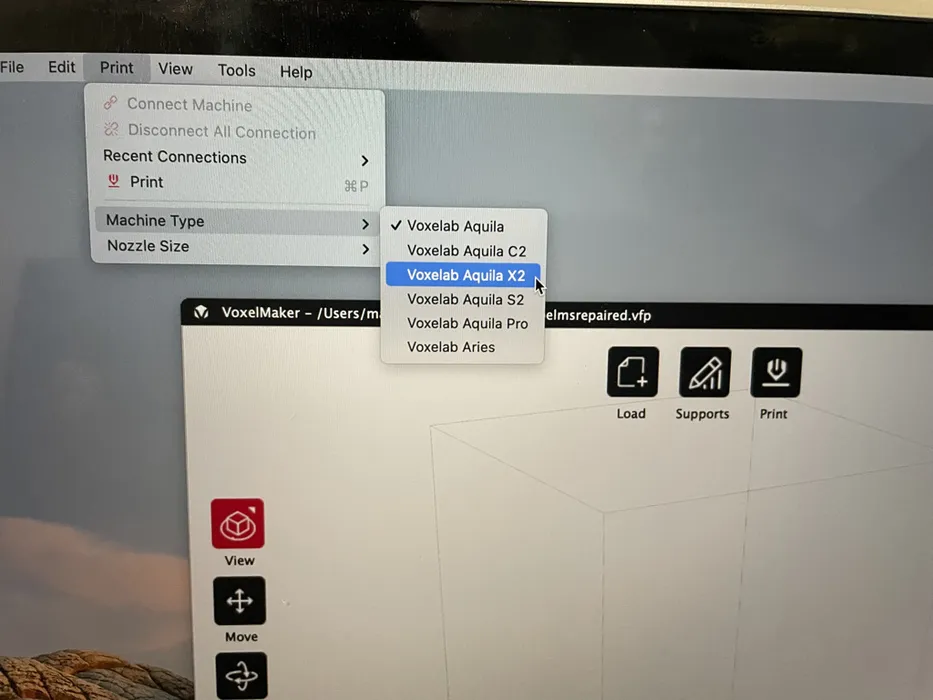
I downloaded the Voxelmaker slicing software and found it super easy to understand. I used it to slice and print and a logo, and it printed very well.
Aquila X2 Troubleshooting
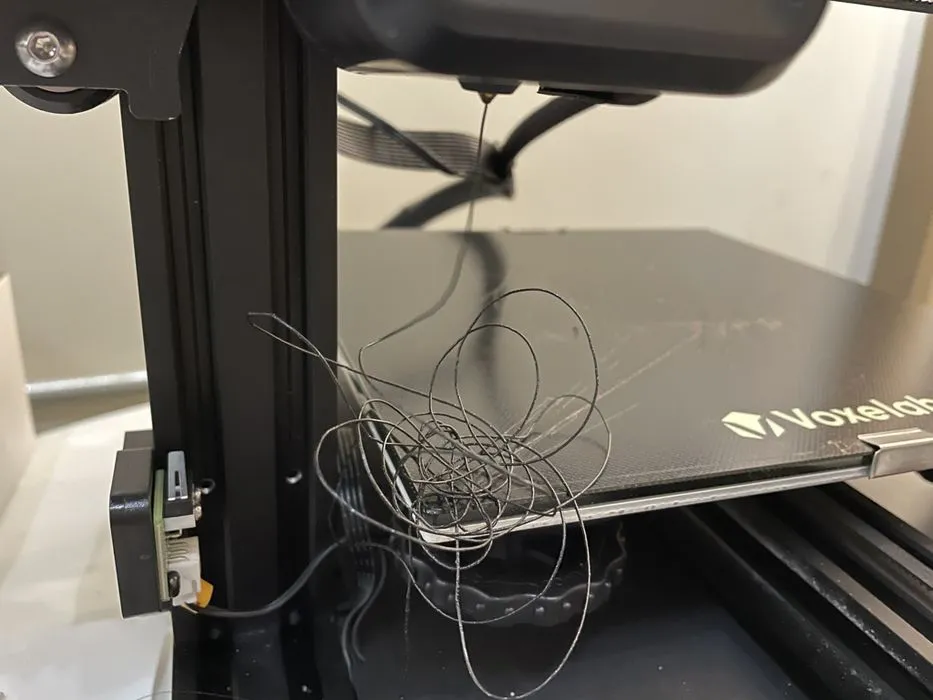
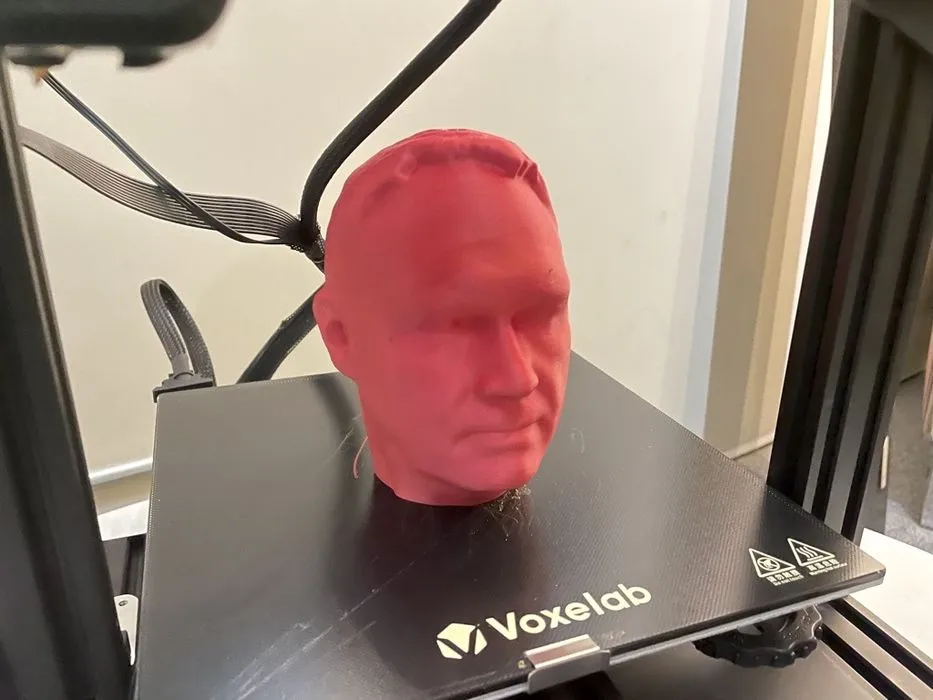
Once when 3D printing a Robert head sliced on Voxelmaker, the print did not turn out and the layers were all squished together.
Troubleshooting by printing another test print that came with the printer and that previously printed well. It too did not print well.

I discovered that the x-axis is loose and we researched and discovered it was a Z-binding issue and it was quickly resolved by tightening screws on the Z-axis passive block. Also, the coupler on the X-axis screws needed raising. This caused need to re-level the bed, which is easy to do. Finally, I 3D printed a test object again and it printed beautifully without error.
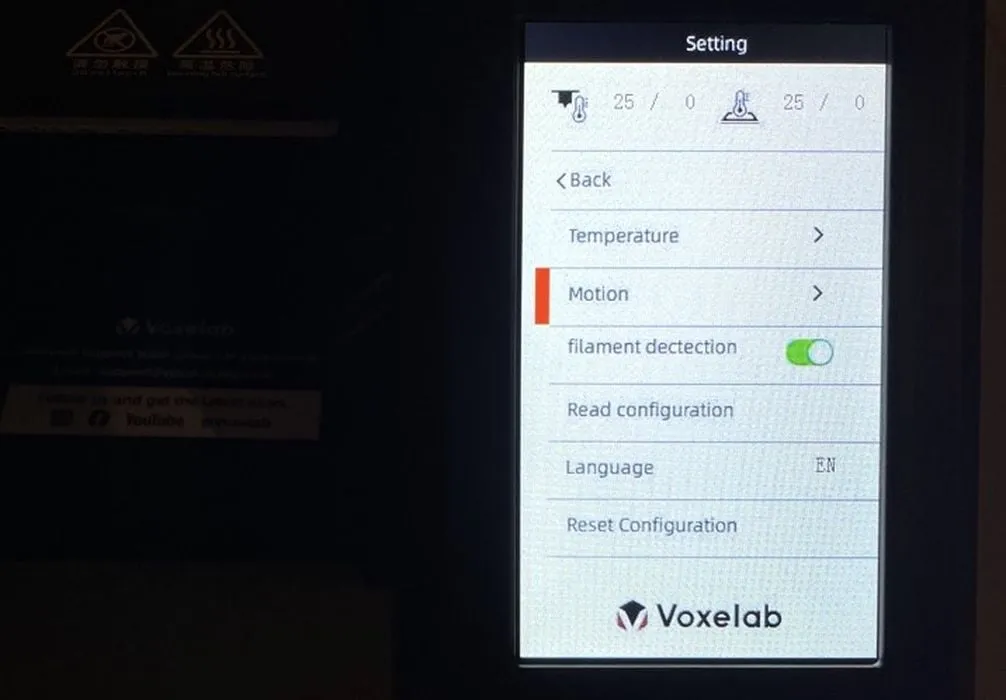
I decided to test the filament runout sensor. The Aquila X2 alerted that it was running out of filament and the message was early enough to load more filament without pausing or stopping the print in progress.
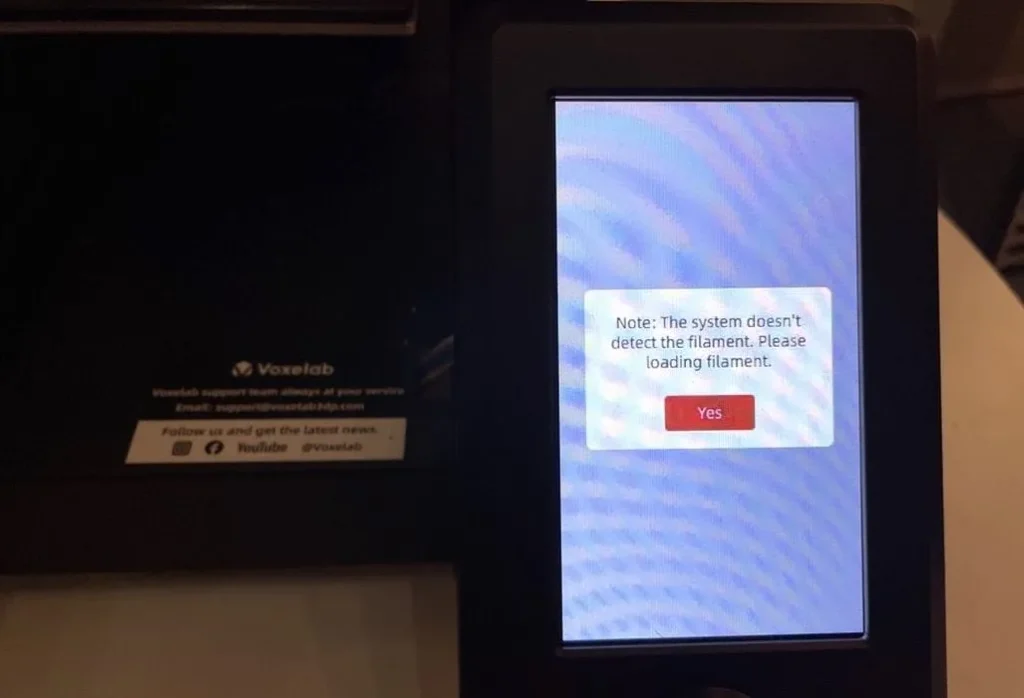
When unloading the filament, the tube is so long that you get great gobs of filament and when unloading filament you really need to pull a great amount out of the tube.
After that, the print job recovered and continued successfully: filament out detection works!
Final Thoughts on the Aquila X2
This is a very well built machine, however, I can now see some issues that can happen that I have never discovered on a more expensive FFF printer that I normally use.
I wouldn’t call this a beginner printer, especially because of the assembly steps and knowledge needed to troubleshoot.
It is a well built printer for the cost and once you have it fine tuned with bed leveling, screws tightened, etc., and as I discovered, you may need to do this more than once, it prints very well.
This is part two of a two-part series. Part one is here.
Via Voxelab