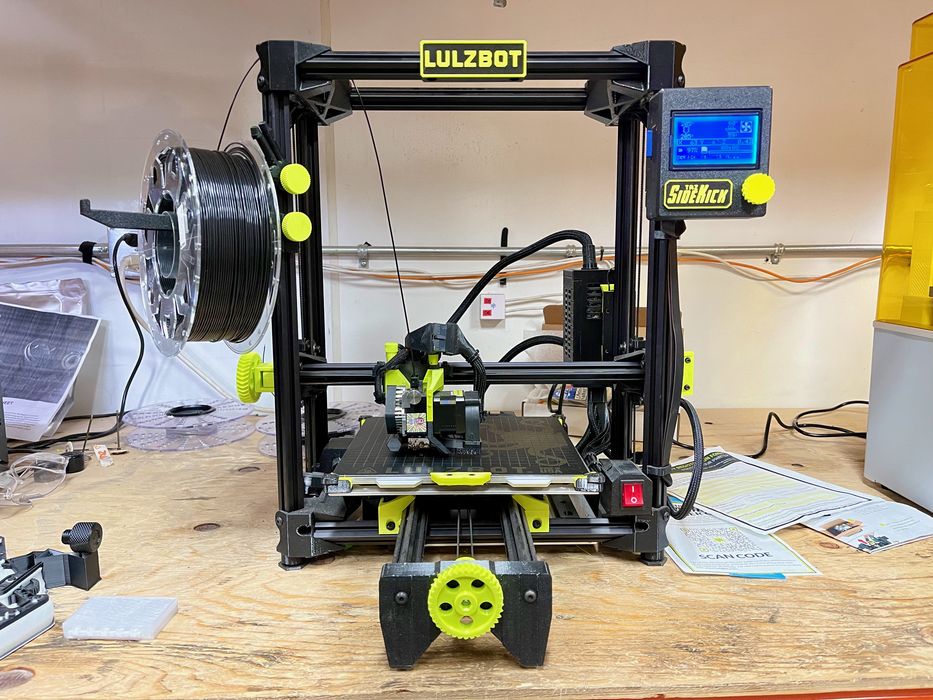
Our hands on review of the LulzBot Sidekick 747 3D printer ends with a look at software, print results and final thoughts.
This is part three of a three part series, please read parts one and two.
LulzBot Sidekick 3D Printer Software
Software for the Sidekick is, as you might guess, a flexible choice. It’s possible to use a variety of slicing software, but the recommended software is the official Cura LulzBot Edition.
We used this software for most of our testing.
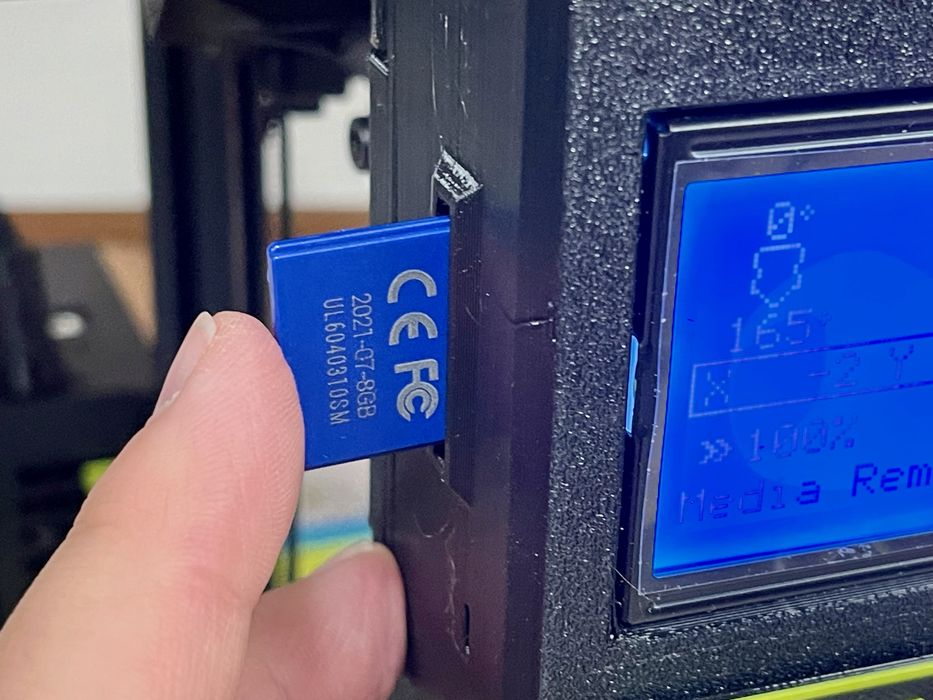
It’s easy to use — it’s Cura with a few tweaks for LulzBot equipment. You simply slice 3D models as you would in any version of Ultimaker Cura and place them on an SD card for mounting on the printer.
However, there is a catch: the current version of LulzBot Cura Edition is based on Ultimaker Cura version 3.6.37. This is pretty old, considering that the current release of Ultimaker Cura is version 5.2.1. However, there is a beta version of LulzBot Cura Edition based on Ultimaker Cura 4.13 that’s free to download and try.
We did an experiment of our own here. We had previously installed Ultimaker Cura 5.2.1 for other equipment, and wondered whether we could get the Sidekick working with this version.
This was an attractive option, because the latest version of Ultimaker Cura is replete with advanced features not seen on earlier versions, such as Arachne, which allows for variable-sized extrusion widths. Arachne can create far better prints and enable printing of very small objects.
Another advanced feature available in 5.2.1 is tree-supports. This is a different geometry for support structures that is often more effective, less likely to get tangled up with the object, and can use less material.
To achieve this conversion we painstakingly copied over a large pile of settings, which are difficult to export / import over different versions of Ultimaker Cura.
The result? It worked, and worked very well.
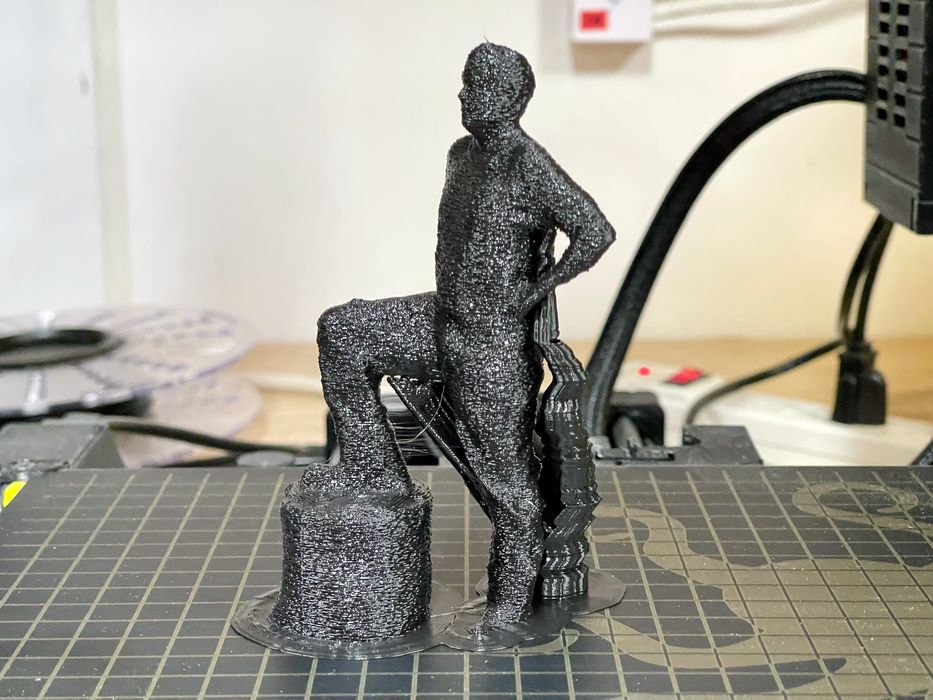
Here you can see an example print, where we printed a 3D scan of someone standing on a can. We used the “fuzzy skin” option, which causes the unusual surface texture. By the way, this is a terrific feature to obscure layer lines in FFF 3D prints.
You’ll also notice this print used tree supports, which flow up the side of our subject. They were very easily removed after printing.
It’s very likely we’ll continue using Ultimaker Cura 5.2.1 instead of the LulzBot version, at least until they get a bit more current.
LulzBot Sidekick 3D Printer Print Results
Print results on the Sidekick were pretty good. We never encountered print failures, aside from some adhesion issues when tweaking the Z-offset on the original print plate.
This is a very reliable machine, and I believe our print quality could have been made even better with some tweaking of settings.
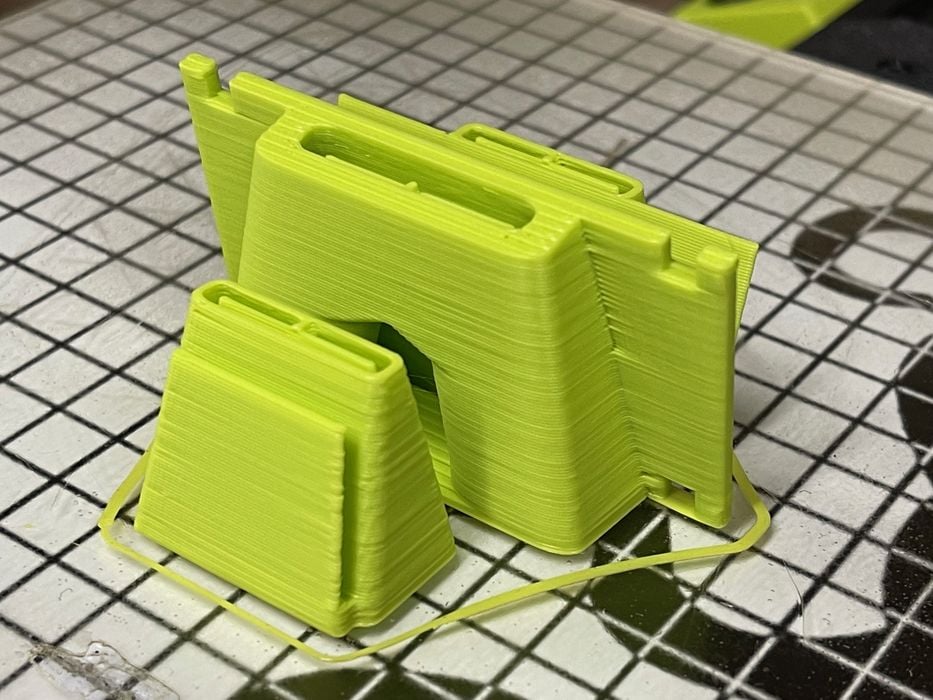
I would like to try using SuperSlicer’s integrated machine calibration routines on the Sidekick in the future to fine tune settings, but we have not done that yet.
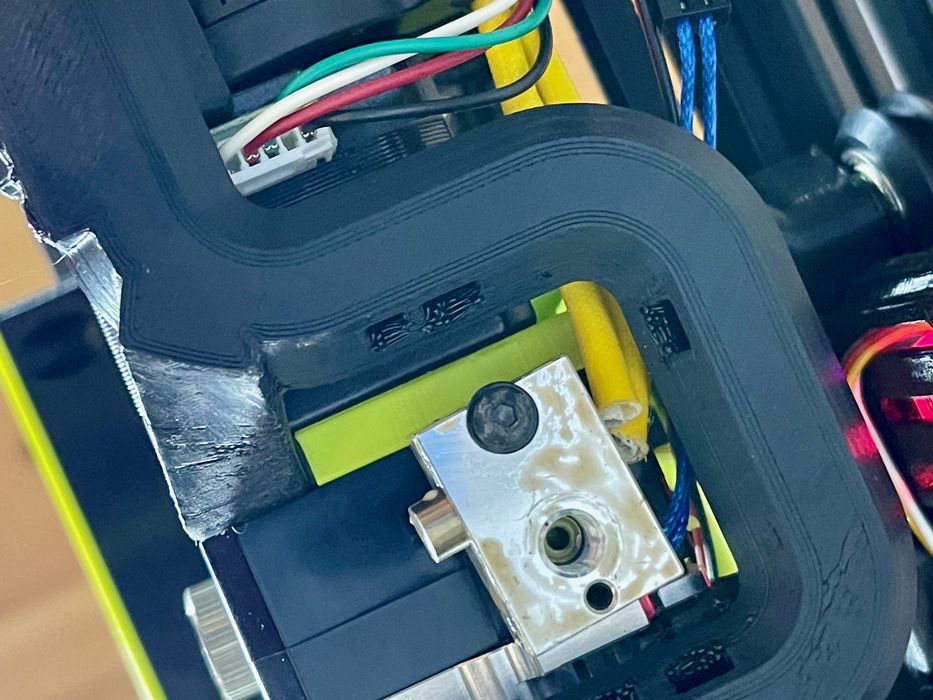
One of the reasons the machine prints well is that it has very good cooling. Here you can see the underside of the toolhead, showing multiple points of airflow from the ducting.
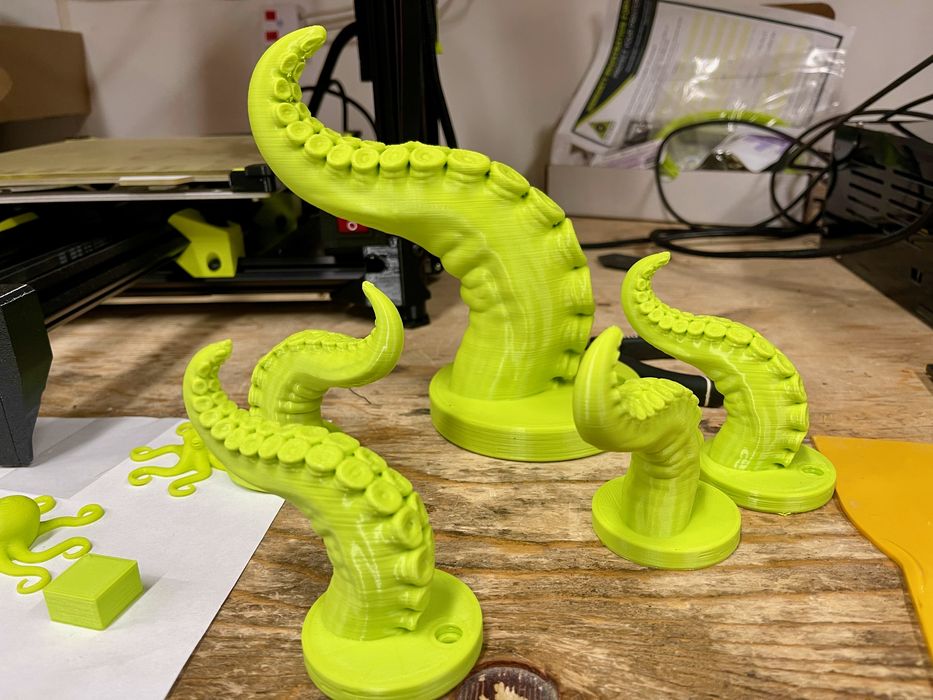
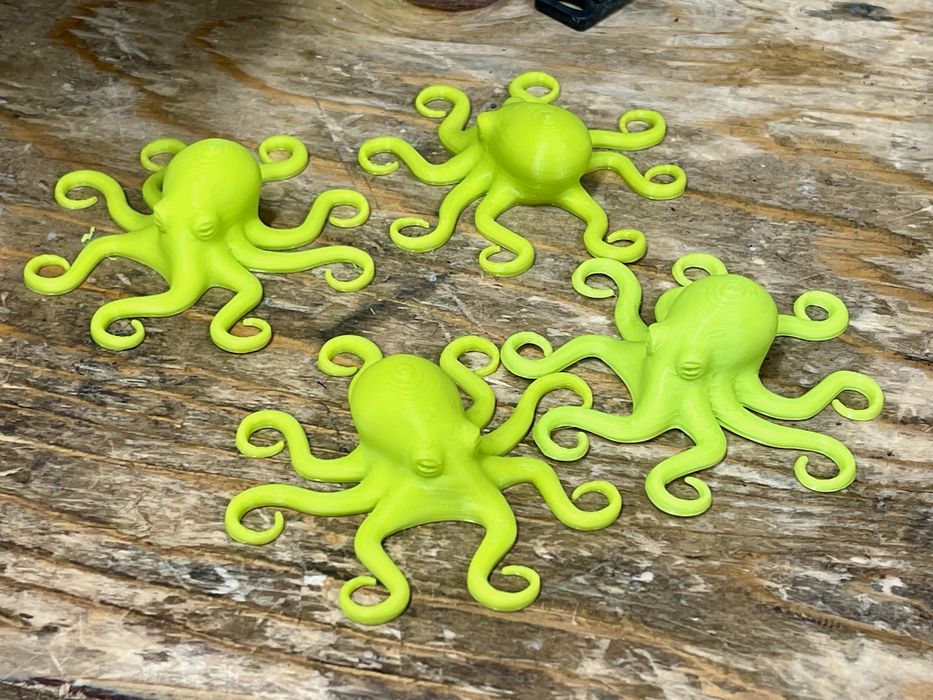
We printed quite a few objects, and especially the famous LulzBot tentacle, which can act as a coat hook. It looks best in LulzBot Green, the company’s standard color.
LulzBot Sidekick 3D Printer Final Thoughts
While we encountered a couple of very minor issues, the LulzBot Sidekick 747 performed beautifully. It’s an incredibly solid and reliable workhorse that I expect can run for hours and hours, similar to the company’s larger equipment. The print results are good, and the machine is easy to assemble and operate.
We were very impressed by the machine and packaging design, and by the very high ratio of 3D printed parts in the machine. All aspects of this machine are easy to use and adjust.
The Sidekick 289 retails for US$1085 and the Sidekick 747 retails for US$1285, which is somewhat higher than some competitors, but the Sidekick is a very solid machine.
LULZBOT
SIDEKICK 747 3D PRINTER
★ BEGINNER 8/10
★ ENTHUSIAST 9/10
★ PRODUCTION 9/10
BEST FEATURES
✔︎ Solid, reliable
✔︎ Unique design
✔︎ Easy and fun assembly
QUESTIONS
✖︎ Slower calibration
✖︎ Hard to read display
✖︎ PEI over-adhesion
This is part three of a three part series, please read parts one and two.
Via LulzBot
