
Our test of the new high speed desktop 3D printer from Anycubic, the Kobra 2, continues with a look at setup, calibration, and operations.
This is part two of a three part series, please read parts one and three.
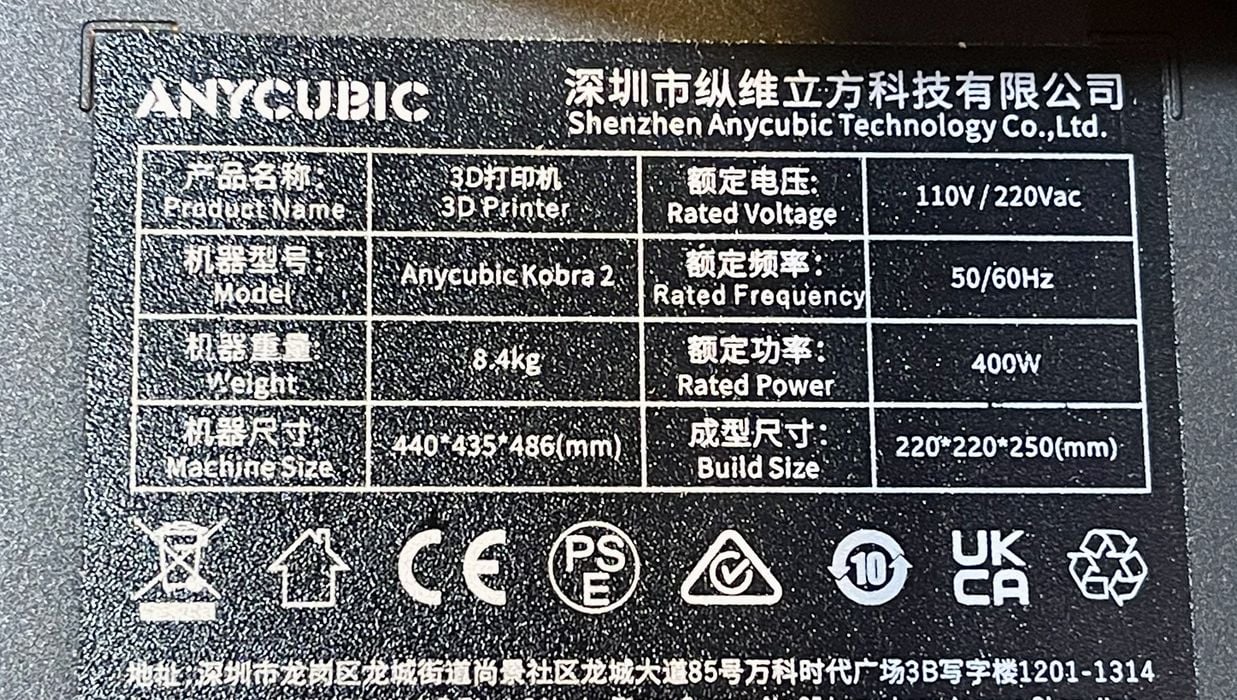
Anycubic Kobra 2 3D Printer Setup and Calibration
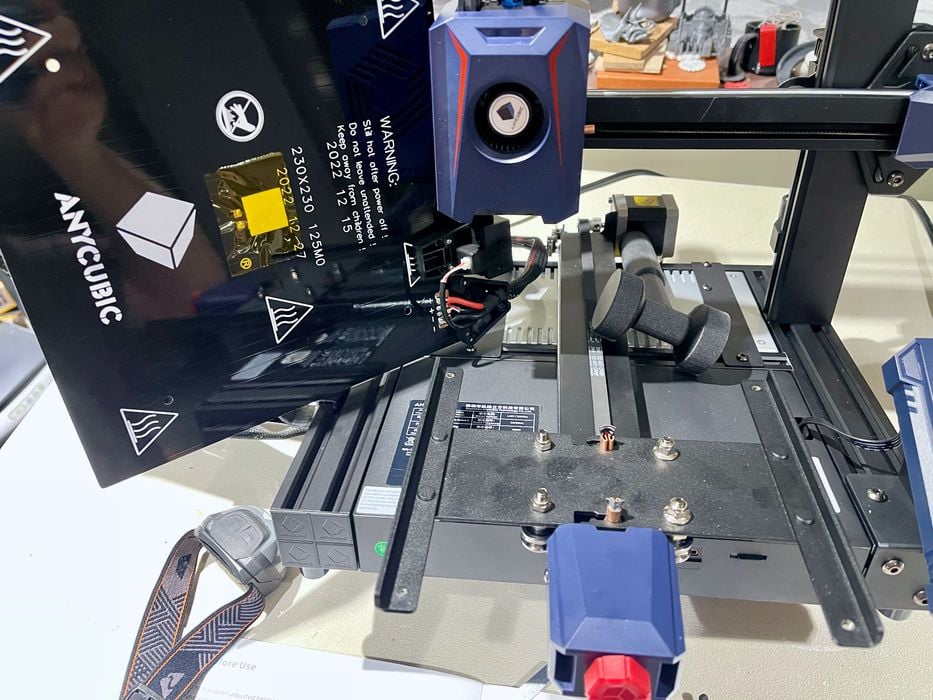
At this point I was almost ready to power up the Kobra 2 and begin the process of calibration. However, I noticed something amiss.
I usually manually move all axes to ensure they move smoothly. You don’t want the machine to grind against something that doesn’t move when motors engage.
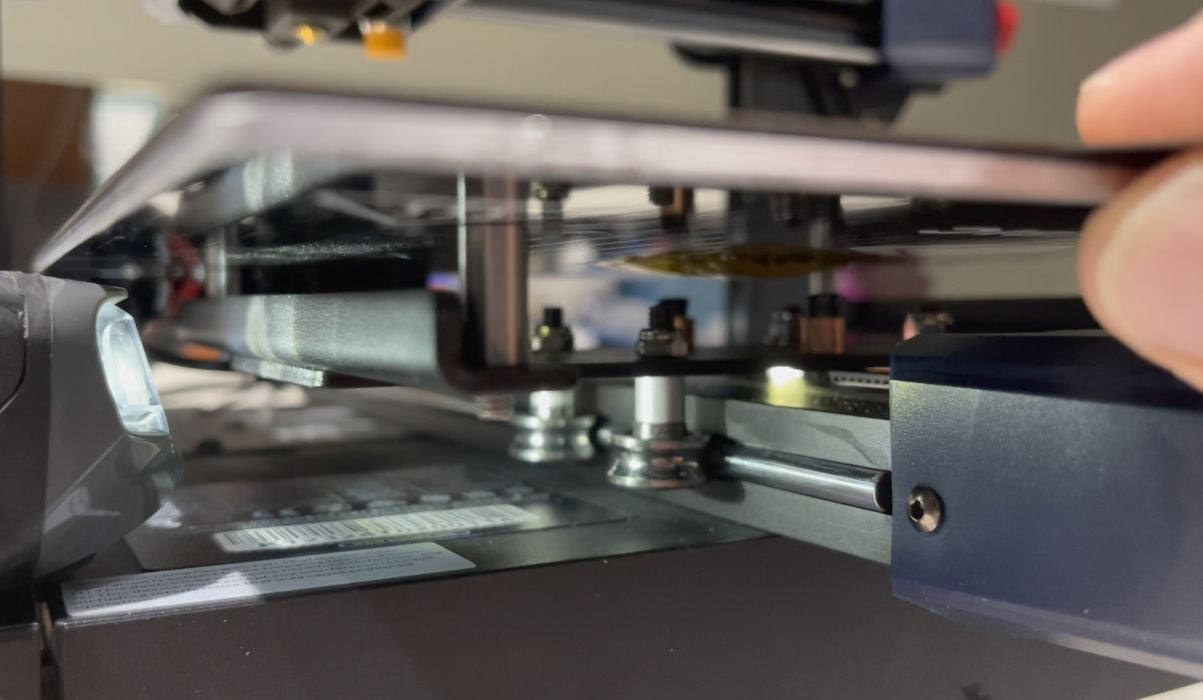
I noticed that the build plate was loose. Not the magnetically attached plate, but the heating plate underneath it. It had a slight wobble that wasn’t right. The plate should slide smoothly and tightly along the Y-axis, forwards and backwards. Here it would wobble. Something was loose.
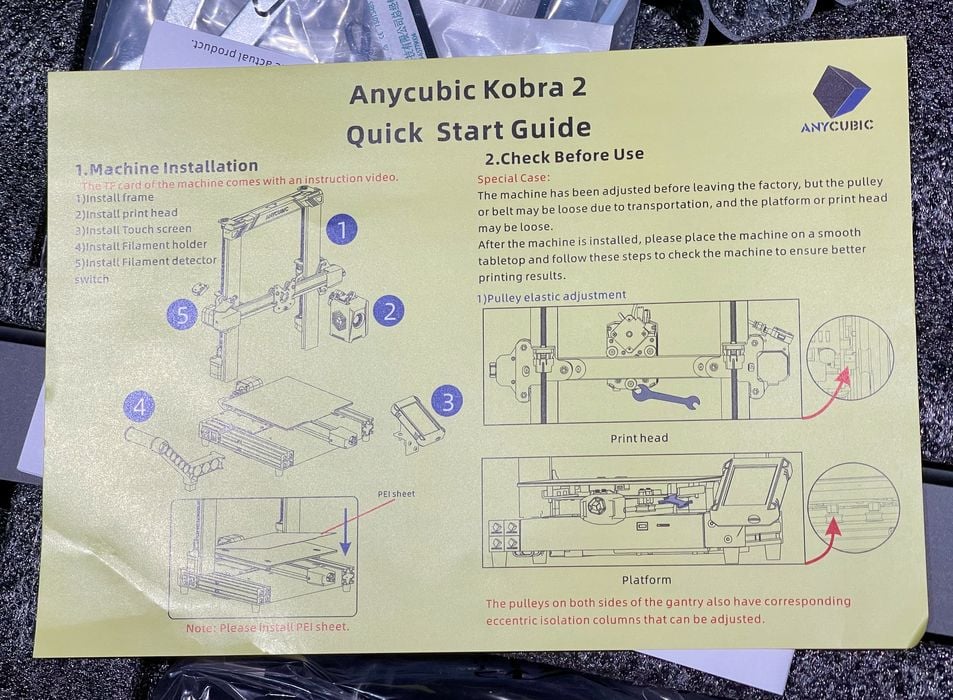
I noted that in the quick start instructions Anycubic explicitly explains that this could be a concern, and that it should be checked. They suggesting looking at both axes. My X-axis was fine, but clearly there was something loose on the Y-axis.
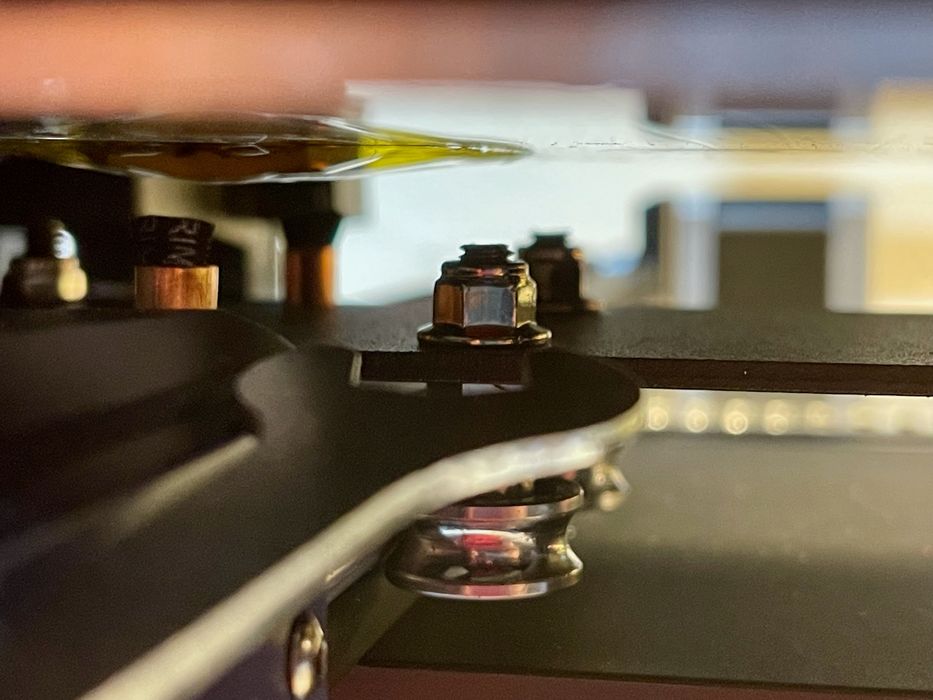
It turned out one of the wheel nuts had to be tightened on the Y-axis, which must have shaken loose during shipping somehow. This would seem to be an easy fix, except that I could not easily reach the nut because it was deep underneath the build plate.
This necessitated the removal of the plate, which turned out to be extremely simple to do. After removing the magnetic plate there are only four bolts to remove. The plate can then be lifted up to provide easy access to the wheels.
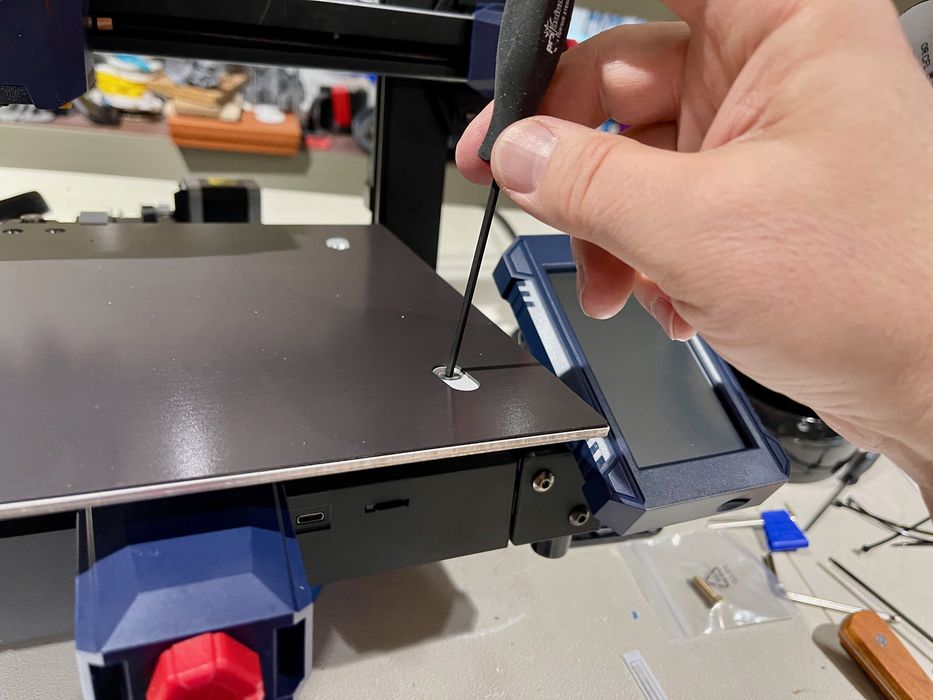
Reassembling the plate after tightening the wheel bolt was also straightforward, and afterwards the Y-axis moved very smoothly forwards and backwards.
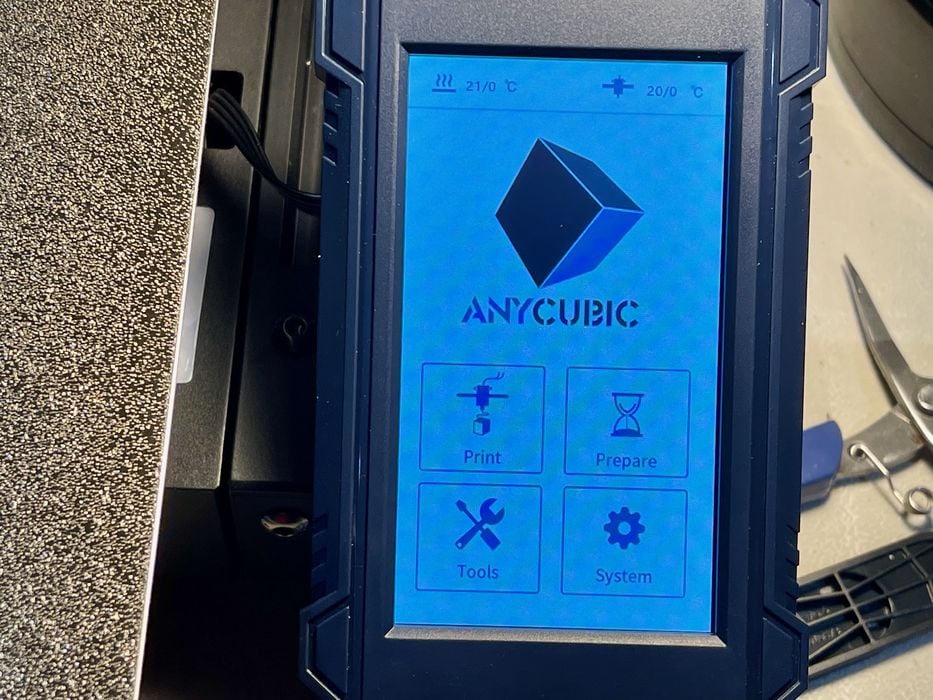
The machine was now ready for power up, which was uneventful. It seems that Anycubic uses their standard interface for most of their FFF devices, and the Kobra 2 is no exception.
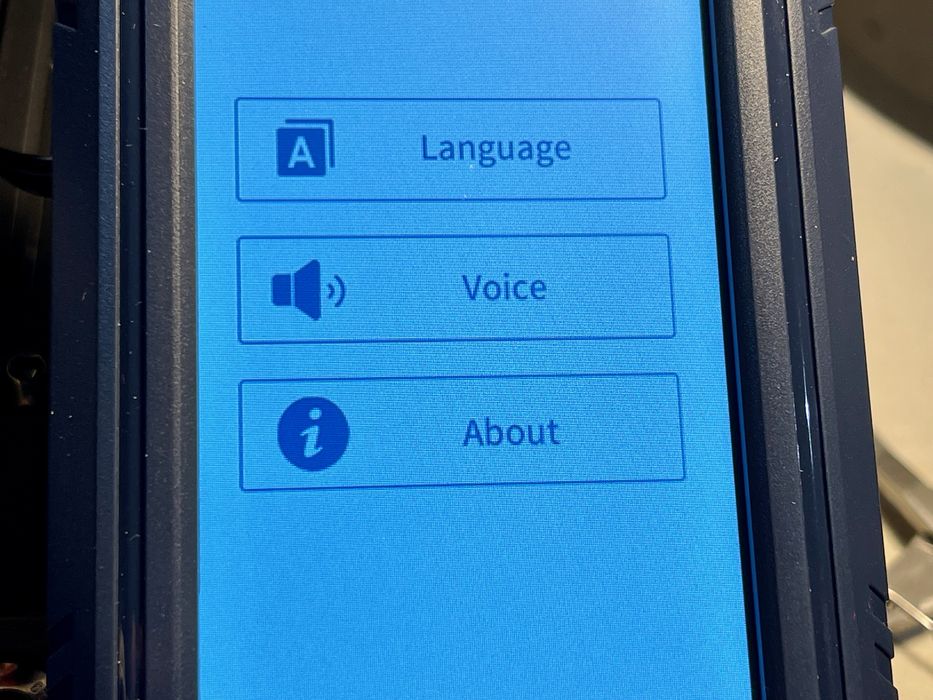
The interface is pretty straightforward, although I’d like to see more contrast on some of the screens: dark grey on light grey isn’t the best optical scenario. Occasionally you’ll see some translation quirks, such as the “Voice” menu item above. This actually turns the audio effects on or off, and the Kobra 2 does not actually speak to you, as far as I know.
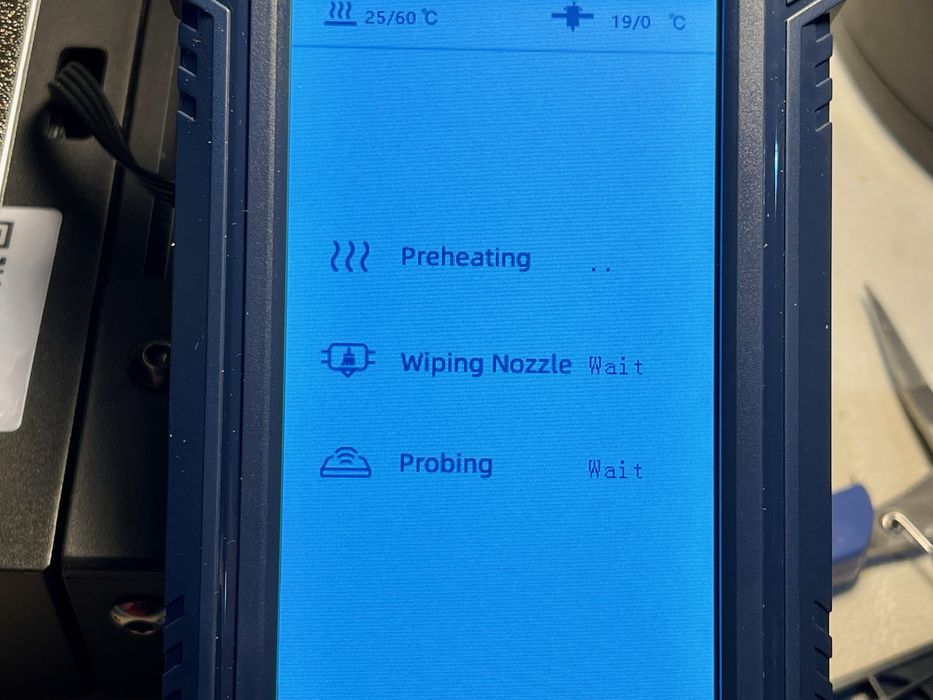
One difference I noted is that the calibration process is a bit different due to the new LeviQ 2 system. Note there is a “wiping” sequence.
Wiping is the process of removing crud from the nozzle tip, which is critical for setting the Z-gap properly. This is something I do manually on other machines, but I suspect many people don’t bother. Here it becomes automatic.
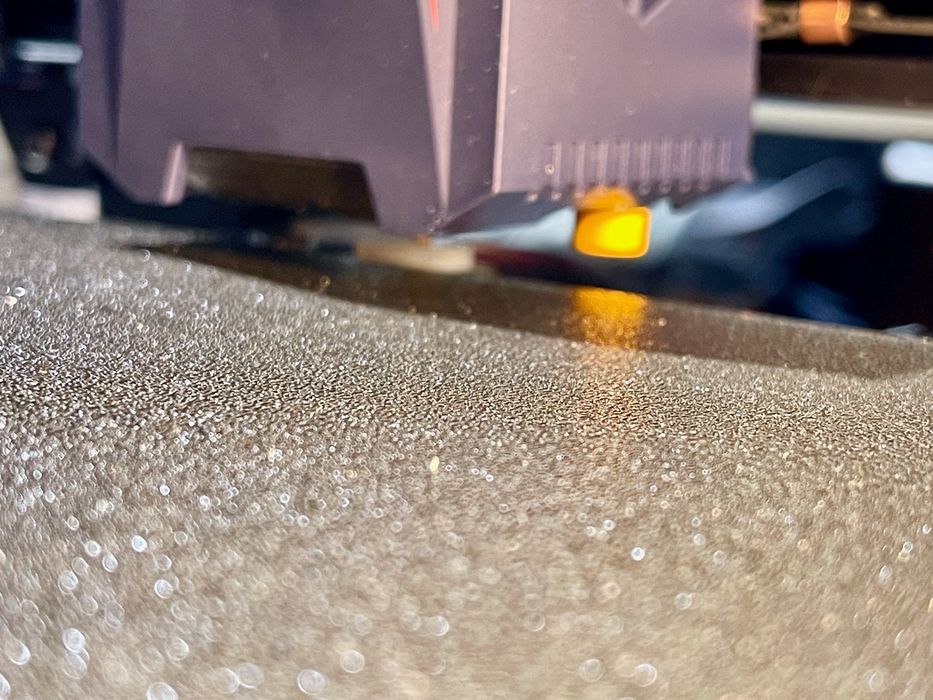
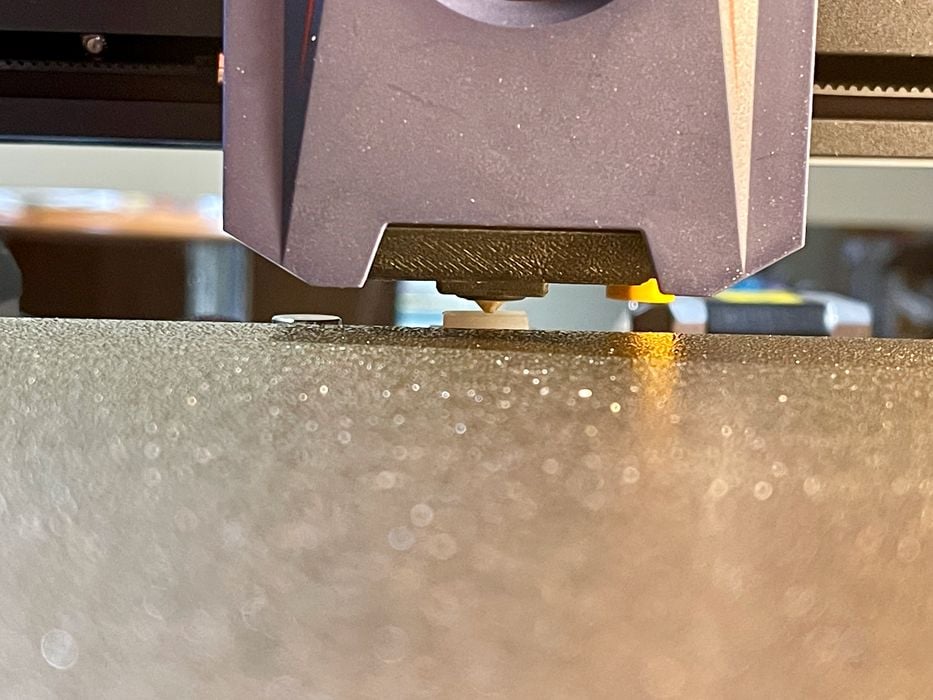
And there’s that new sensor on the right side. It’s used to detect the proximity to the print surface, enabling the LeviQ 2 system to precisely calibrate the surface topology for leveling and set the Z-gap. The calibration was easy and totally automatic.
Anycubic Kobra 2 3D Printer Operations
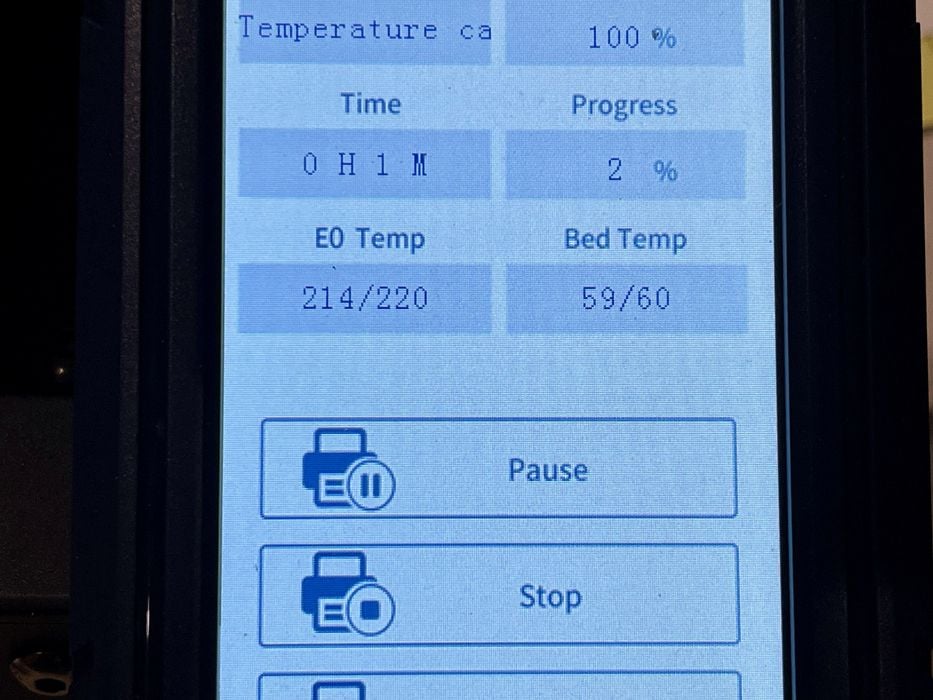
If you’ve used an Anycubic FFF 3D printer before, the printing interface is identical. The usual information is displayed, and it’s easy to tweak settings during the print if you need to change something.
Launching prints is straightforward: they’re stored on a microSD card and placed in the machine. Then the touchscreen finds the file and it can be selected and printed. With the USB-C connection it is also possible to launch jobs via set-top boxes like Octoprint.

One persistent missing feature with Anycubic FFF devices is some method of easily aligning the print plate. On the Kobra 2 the magnetic plate is simply dropped on the heating plate and it is usually out of alignment by at least few millimeters. If the machine is cold you can use your fingers to align the plate at the sides or back, but that’s not something you want to do when the plate is 90C.
Many machines have corner pins or some mechanical way to align the plate. I’m hoping Anycubic incorporates that type of feature into future machines.
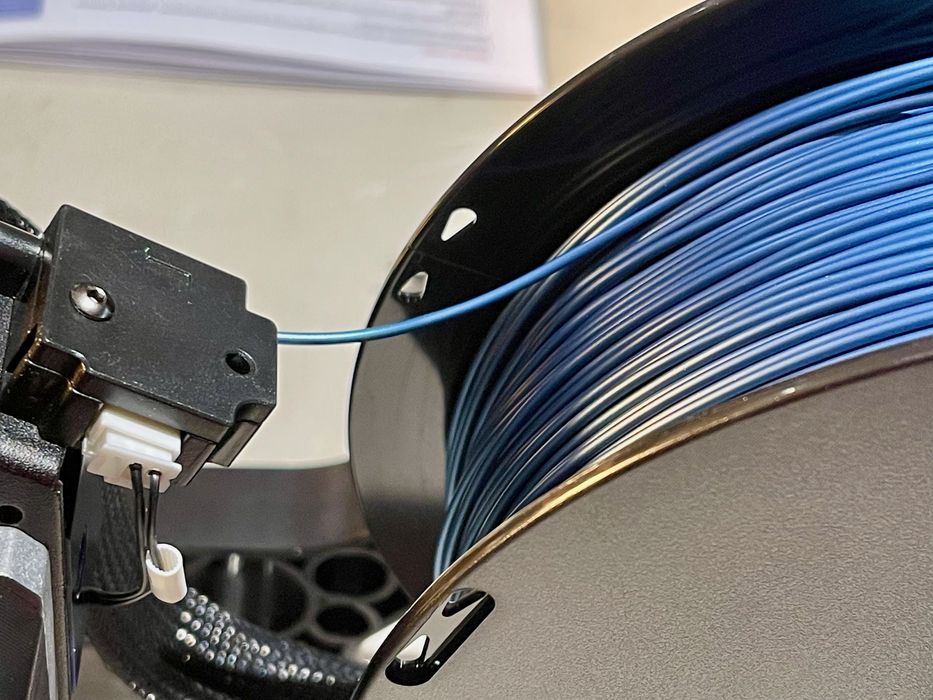
The Kobra 2 includes a spool mount, as most FFF machines do. However, the filament path seems a bit awkward. The filament sensor seems awfully close to the spool. When you have a full spool the filament must bend in order to get into the sensor, which is fixed in place.
This isn’t a problem, as I didn’t encounter any printing issues because of this. I just noticed this bend was quite a bit more than usually seen in FFF equipment. Brittle filament could potentially snap at this bend.
This is part two of a three part series, please read parts one and three.
Via Anycubic