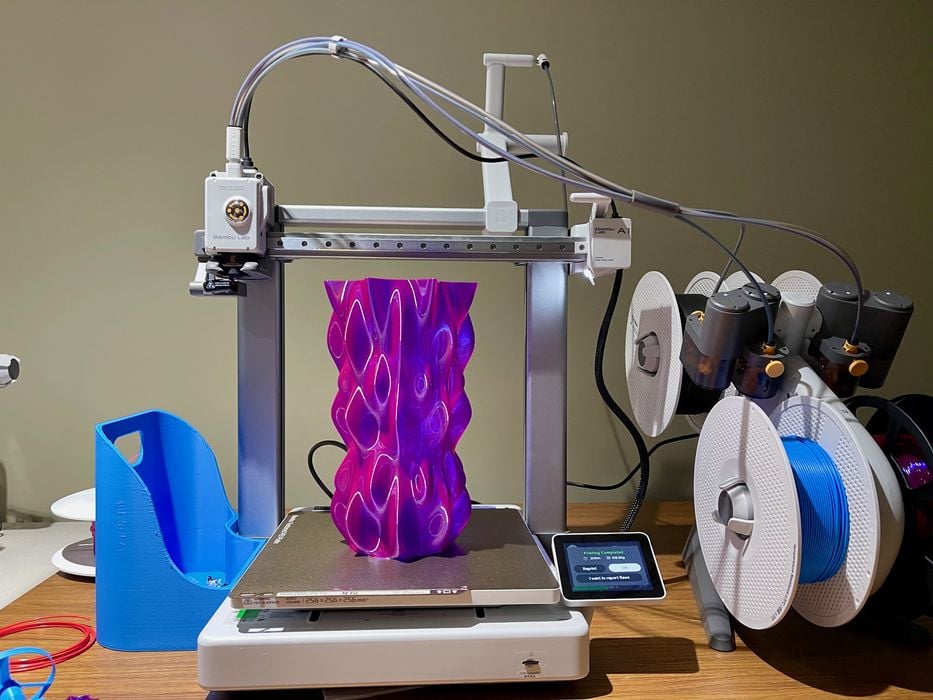
Our look at the Bambu Lab A1 desktop FFF 3D printer concludes with software, print results and final thoughts.
This is part three of a three part series, please read parts one and two.
Bambu A1 3D Printer Software
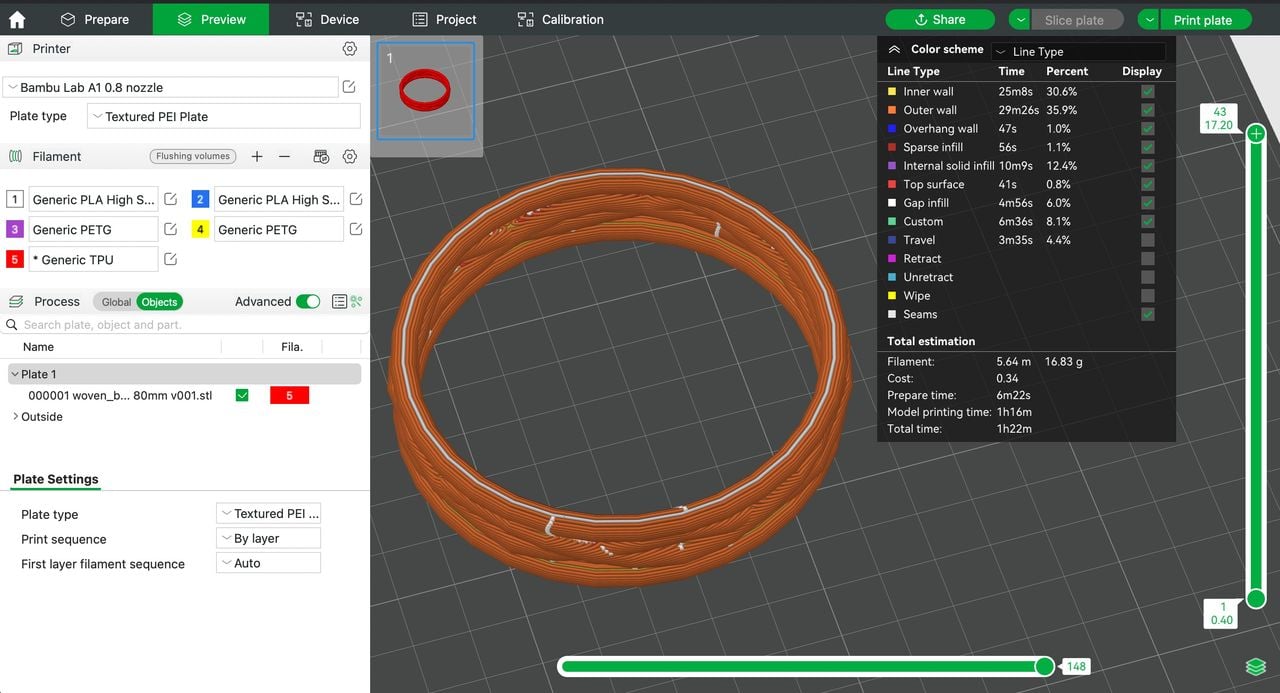
The A1 system is designed to be operated from either BambuStudio on PC or the Bambu Handy app. With both you dispatch jobs through the Bambu Lab cloud to the machine; you don’t have to get up and go to the machine.
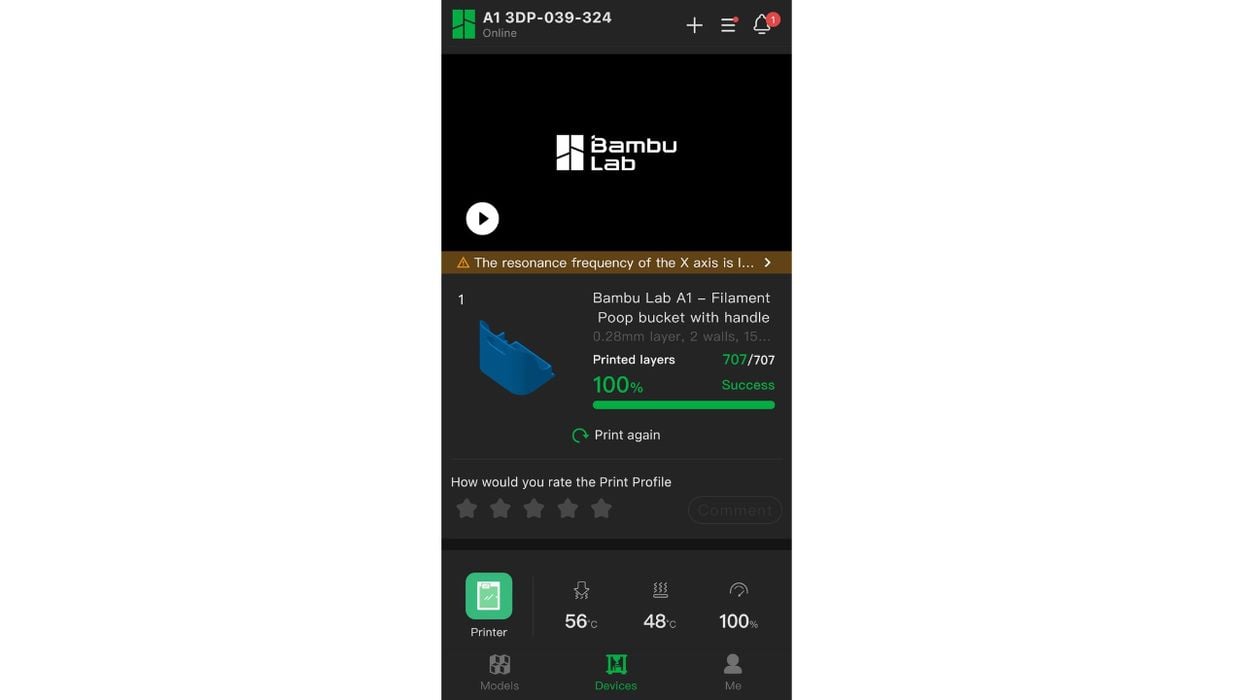
You can do much more with BambuStudio than the app, and that’s what I typically used. The app is capable of pulling prints off of Bambu Lab’s MakerWorld online model repository and directly printing them, assuming they’ve been sliced for your machine.
BambuStudio is a fork of PrusaSlicer, with a ton of additions and extra features specifically for the Bambu Lab equipment.
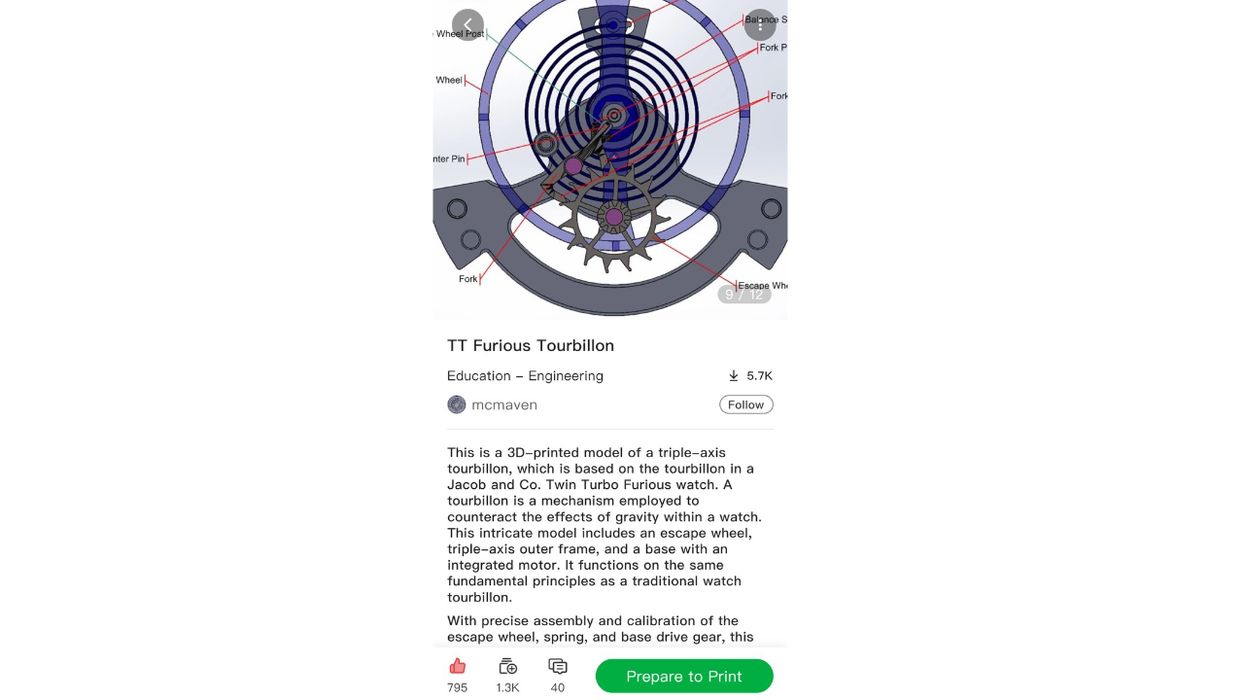
Here’s an example of one of the models on MakerWorld integrated into Bambu Handy. It happens to be the entry for the special project kit included with the machine that I’ll describe below. There are many such models on MakerWorld, and it’s sometimes to find and print them.
I say sometimes because quite often models loaded to MakerWorld happen to be sliced for different machines. For example, you might download a 3MF file but find that it was prepared for a X1C machine. If so, you have to tediously set up the parameters and profile for your machine and then print. I suspect this is going to confuse a great many new 3D printer operators.
Another confusing aspect of the process is the order of operations in BambuStudio. I mentioned above that some of my print failures were due to incorrect settings, and this happened much more often than I expected.
It’s because the following items must all be aligned properly for each print job:
- Printer model and nozzle selection
- Plate type
- Filament specification
- A1 AMS filament identification
- A1 AMS filament loaded
- Print profile
Maybe it’s just me, but these factors are scattered all over BambuStudio and it’s easy to miss one or more.
Here’s an example: the print failure imaged above was because I had mistakenly selected the A1 0.2mm nozzle instead of the A1 0.4mm nozzle. My eyes saw “0.2mm” and somehow concluded that yes, I want 0.2mm layers. Wait a moment — that’s the nozzle diameter, not the layer size! Issues like this are far too easy to stumble into when using BambuStudio.
In the end I created a kind of mental checklist that I must go through before I submit each job. This involves checking this, that and the other thing. While I know this is all necessary, it goes against Bambu Lab’s apparent goal of simplifying life for 3D printer operators. I am hoping future versions of BambuStudio take this into account and offer some kind of streamlined process to ensure the operator is doing the right things.
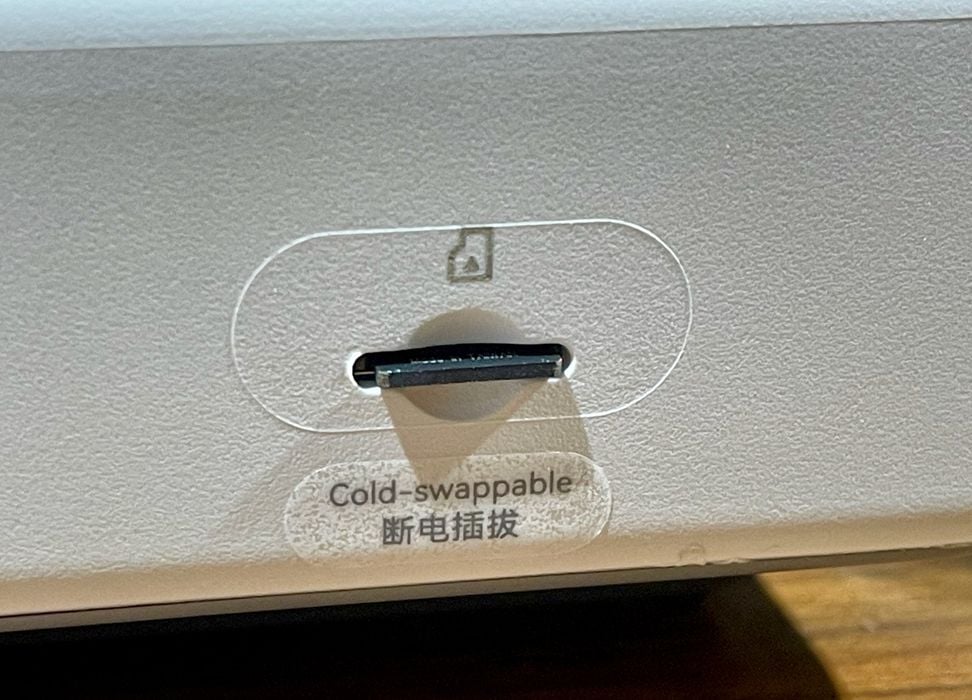
Note that it is entirely possible to not use the cloud system, as the A1 includes an SD card. This approach might be of interest to those who want to maintain secure operations, but I didn’t bother because it is incredibly convenient to just print from my desktop. In fact, I’ve actually been printing a lot more because it’s so easy to do.
Bambu A1 3D Printer Print Results
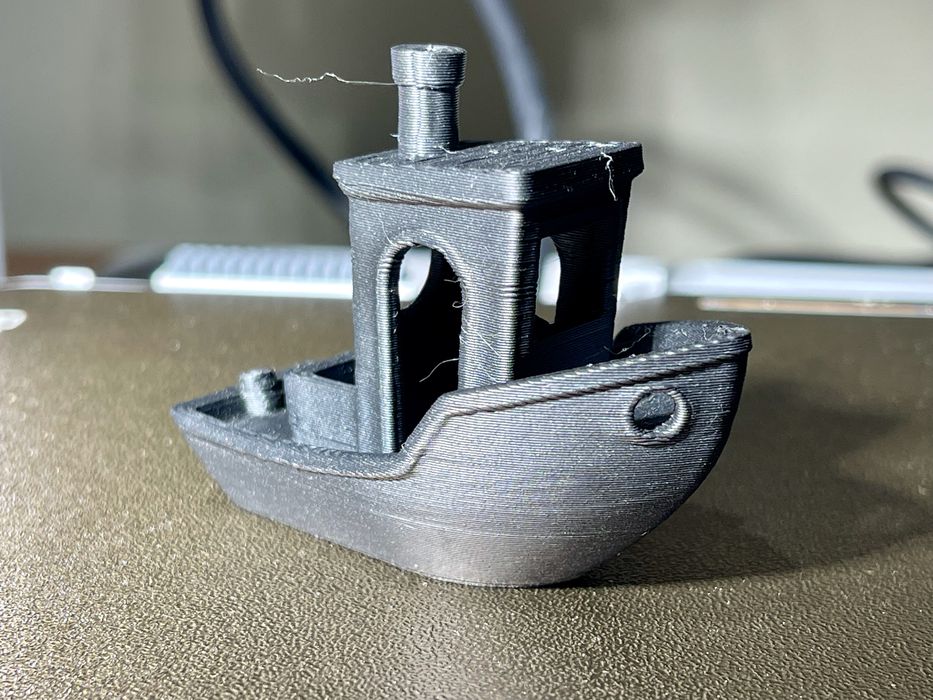
I printed a ton of items on the A1, and almost all were perfect. Here’s one of the canned prints, a 19 minute #3DBenchy. It’s absolutely perfect and finished very quickly.
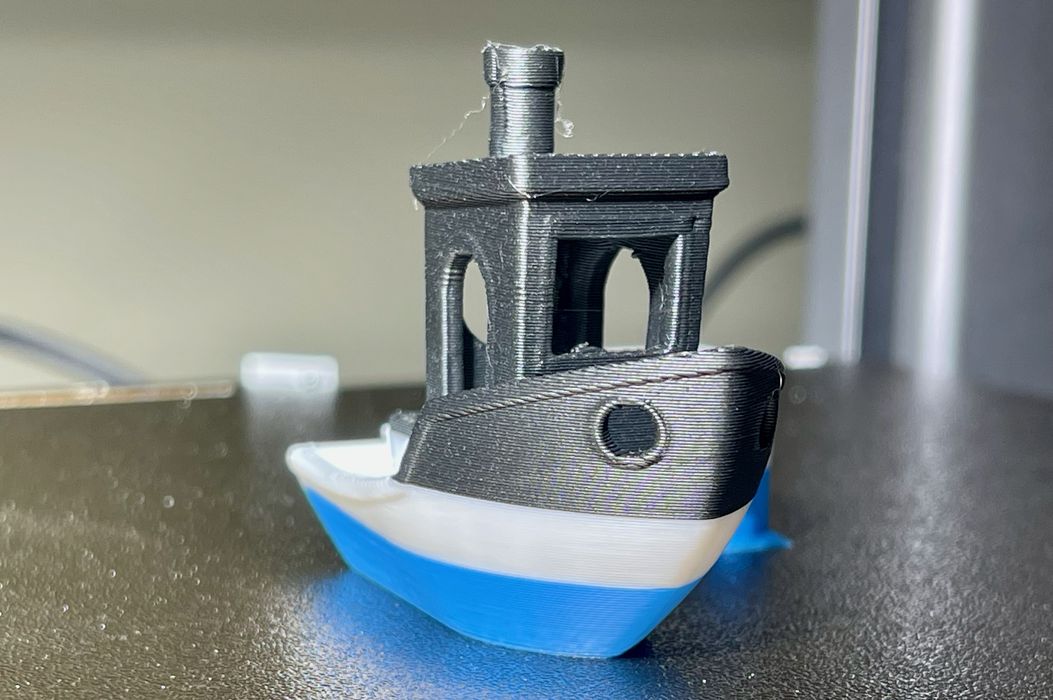
Another pre-sliced model is this color layered #3DBenchy, which is designed to ensure the AMS lite is working properly. As you can see, it did.
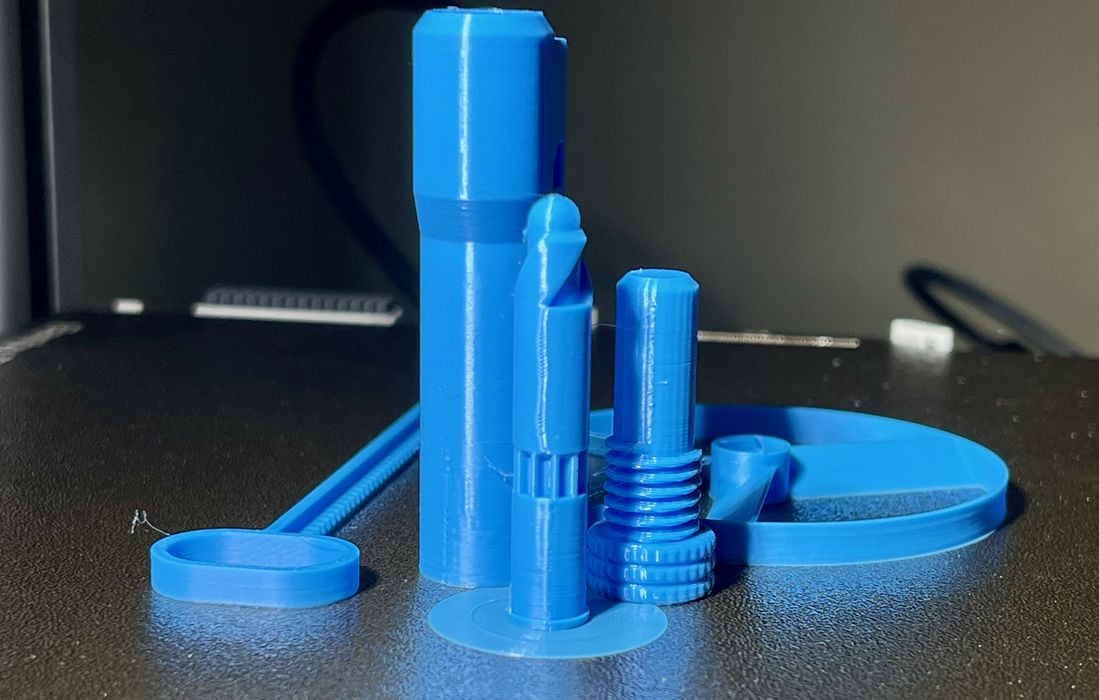
This is another pre-sliced 3D model, a toy air spinner. It printed very quickly and was immediately functional.
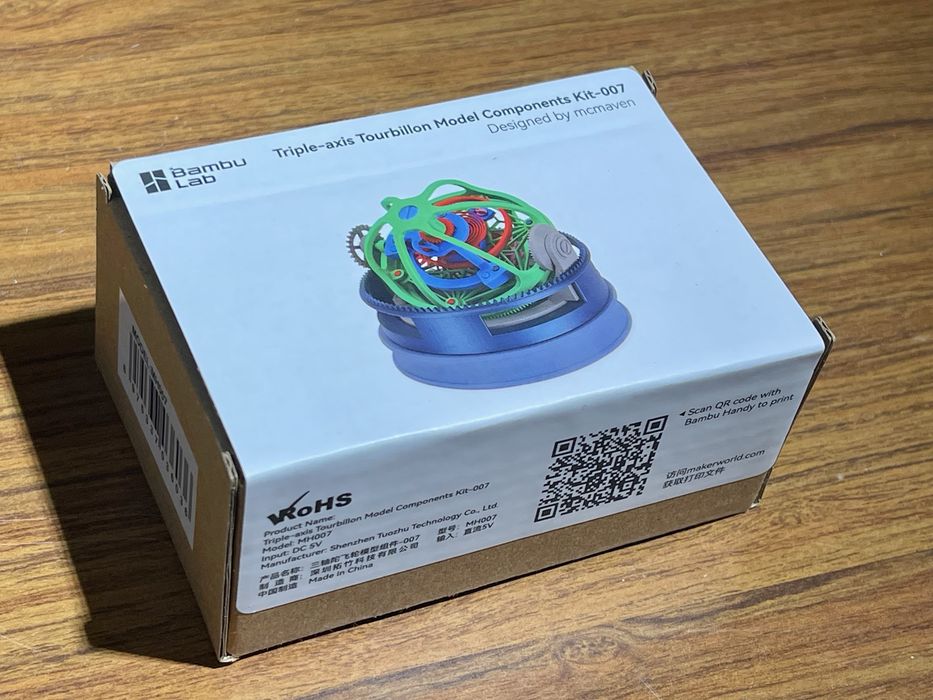
Each A1 shipment includes a special project kit. There are several different options, one of which will be included in your shipment. The idea is to print a series of parts and then assemble them into a large project. The kit includes the necessary hardware, like bolts, bearings, etc.
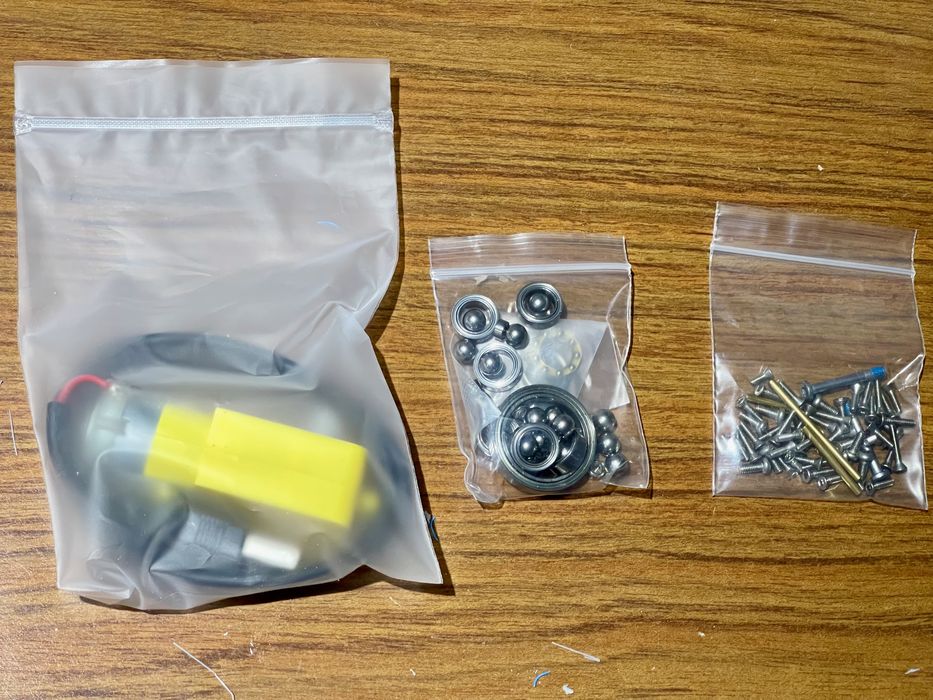
This is a great idea to get new operators deeply involved. In my case the model was the Triple-Axis Tourbillon, a representation of an advanced wristwatch clock engine.
I found the corresponding entry on MakerWorld, and the parts to print were divided into 20 different print jobs!
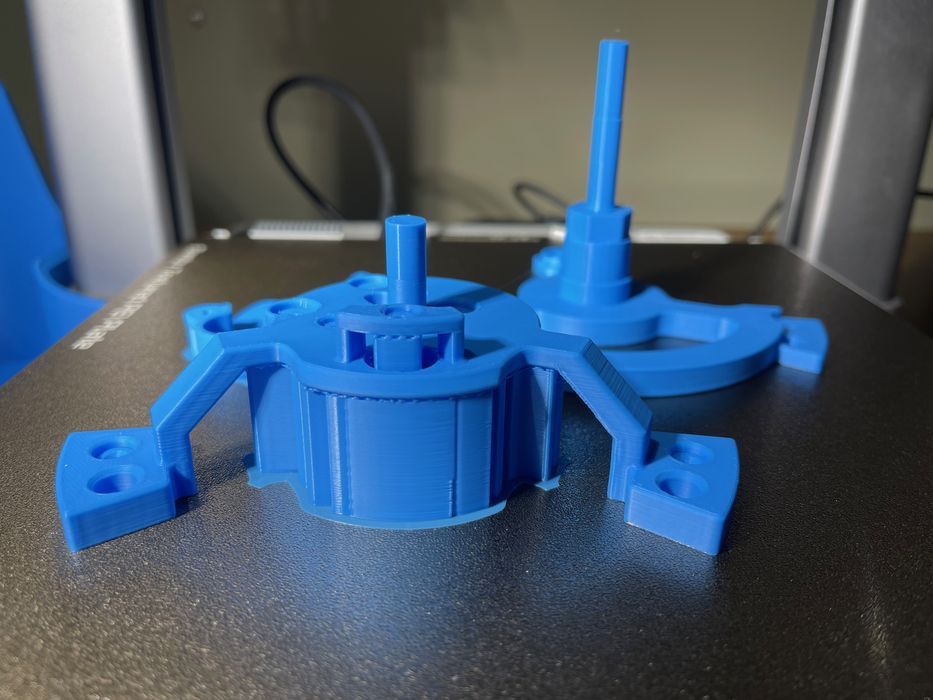
Here’s one of the plates I printed, and as you can see the print quality is outstanding. There were many more like this.
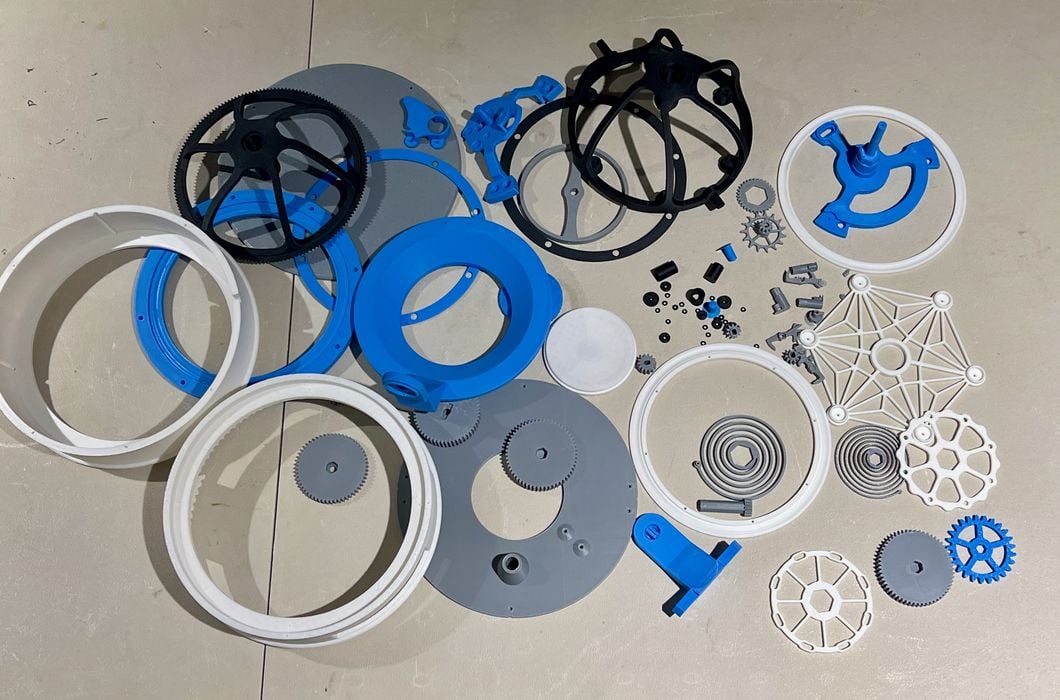
Fortunately all plates printed correctly, and the app provided an easy “Next Plate” button to move to the next job. In all it took me over three days to print all these parts.
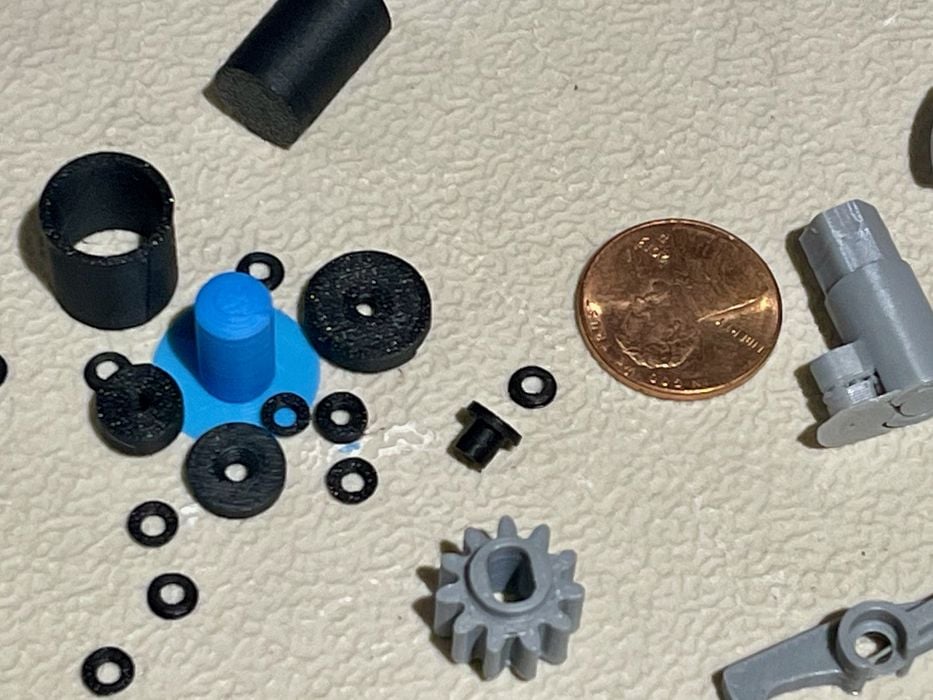
Some of the parts were extremely small, as you can see here. This is a considerable project to build.
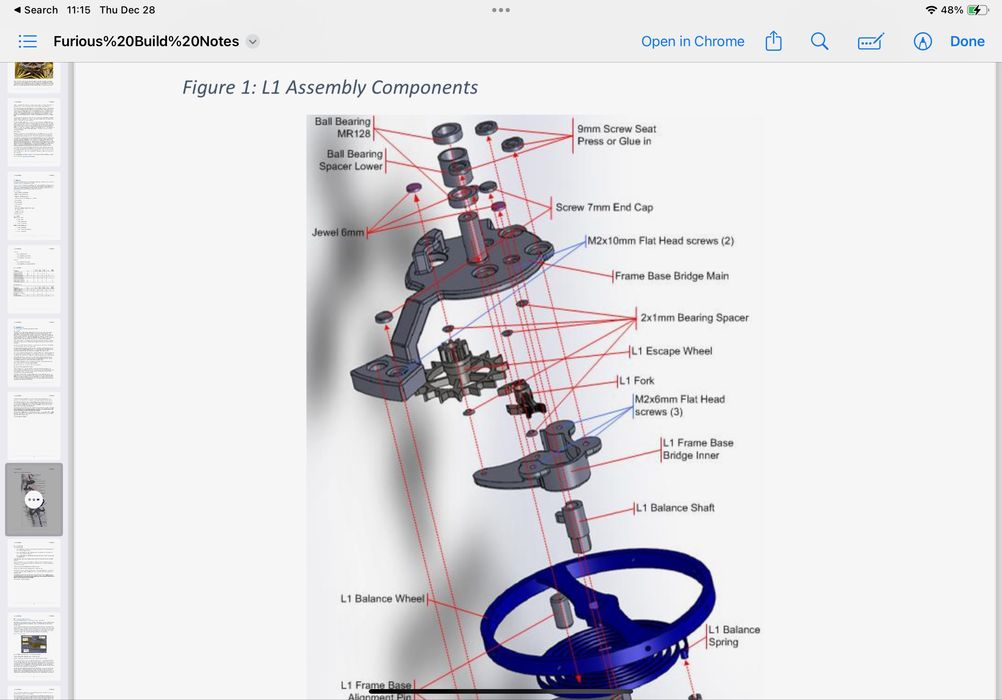
Unfortunately I haven’t yet completed building the Tourbillon. It’s a very advanced project, with a 32 page set of assembly instructions that require extra drilling, fit-tuning and much more. It’s going to take me a while to get through that project, but it will be fun to do so.

I printed a number of holiday decorations for the house, and they came out quite well. The ability to change colors in mid print using the AMS lite is very useful.
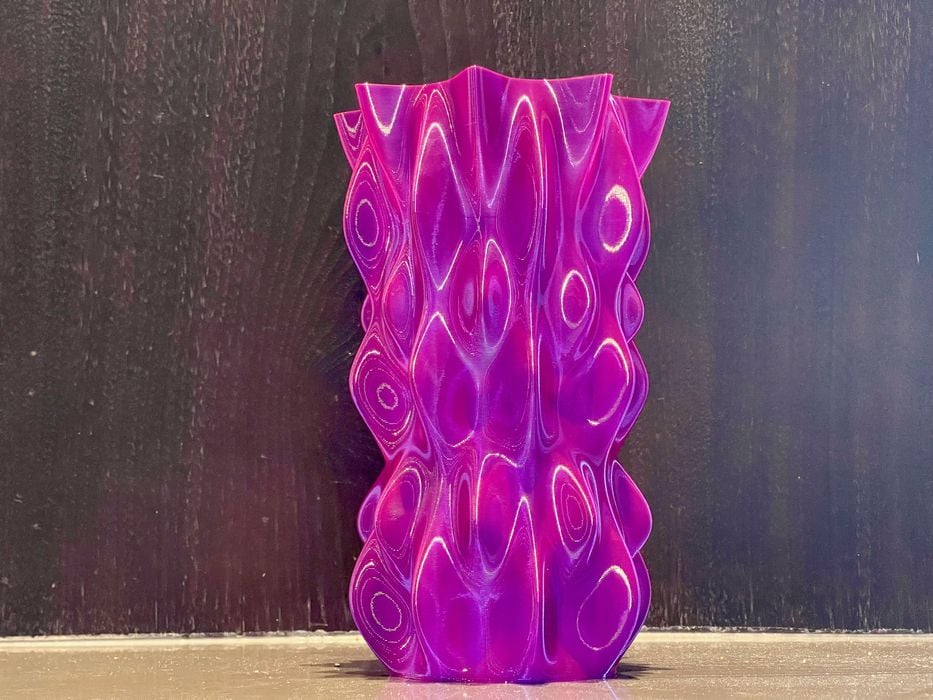
I printed a large vase in PETG on the A1 to ensure that PETG works. It does, and I had zero issues. I happened to use the 0.8mm nozzle for this vase, which is ideal for spiral mode: the lines are thicker and the resulting vase is much stronger.
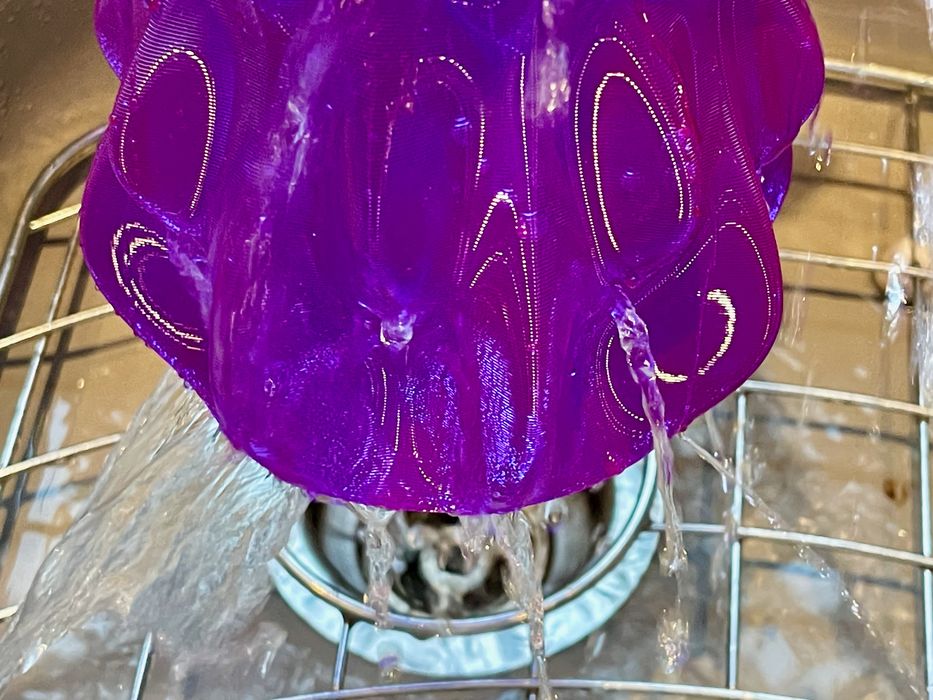
However, it still does not hold water.

TPU was next. This must be mounted on the external spool, as the AMS lite is not able to handle TPU. Bambu Lab does provide a profile for generic TPU, which is what I used.
My first test TPU print didn’t stick to the bed, and I noticed that the profile specified a plate temperature of only 35C. I thought it best to raise the temperature for more adhesion, so I set it to 60C.
The print stuck much better, and I attempted printing a large 80mm bracelet in TPU, which you can see above.
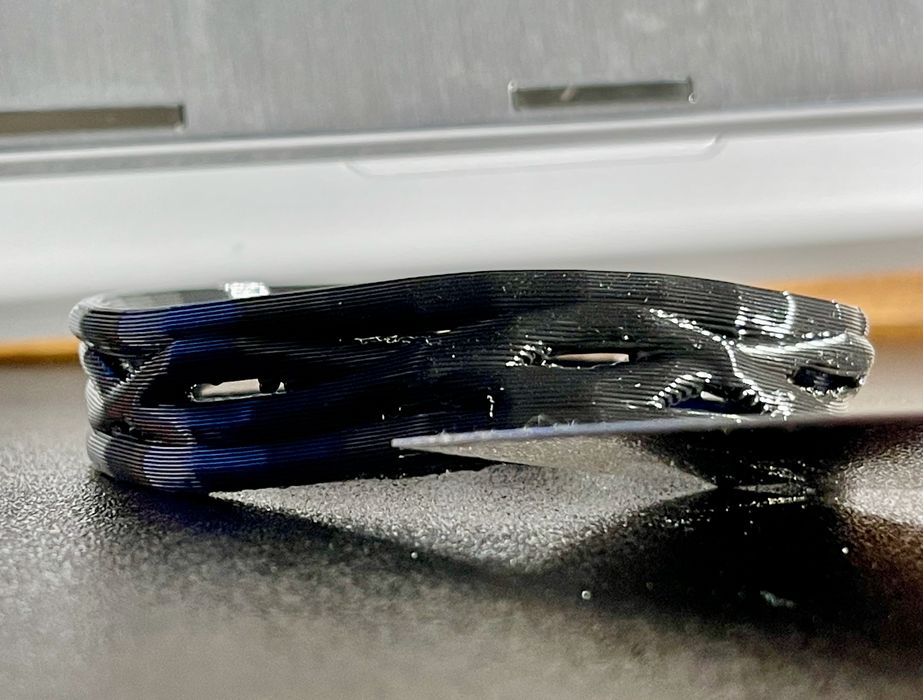
Unfortunately the extra temperature caused the TPU to stick extremely well to the plate. I ended up having to carve it off with a scraper (not included with the A1). The recommendation here is to not use 60C as your TPU plate temperature, but something a bit less.
Bambu A1 3D Printer Final Thoughts
I’m very impressed with the A1 3D printer. It’s fast, inexpensive, large and able to produce objects with incredible quality.
Is it better than the A1 mini? In terms of size, yes. In terms of ease of assembly, no. I would say that for those new to 3D printing, the A1 mini would be a better choice because of the assembly.
Is the A1 better than most other desktop FFF 3D printers? Absolutely. At this price point (US$559 for the AMS lite combo), it cannot be beat for features, speed and quality.
If you’re in the market for a mid-sized, inexpensive desktop FFF 3D printer, the A1 is definitely worth strong consideration.
BAMBU LAB
A1 3D PRINTER
★ BEGINNER 9/10
★ ENTHUSIAST 9/10
★ PRODUCTION 8/10
BEST FEATURES
✔︎ Quality, reliability
✔︎ Multicolor
✔︎ Print speed
QUESTIONS
✖︎ More assembly
✖︎ Software workflow
✖︎ Camera and timelapse
This is part three of a three part series, please read parts one and two.
Via Bambu Lab
