
This is part 1 of a 3-part series. Please read parts 2 and 3.
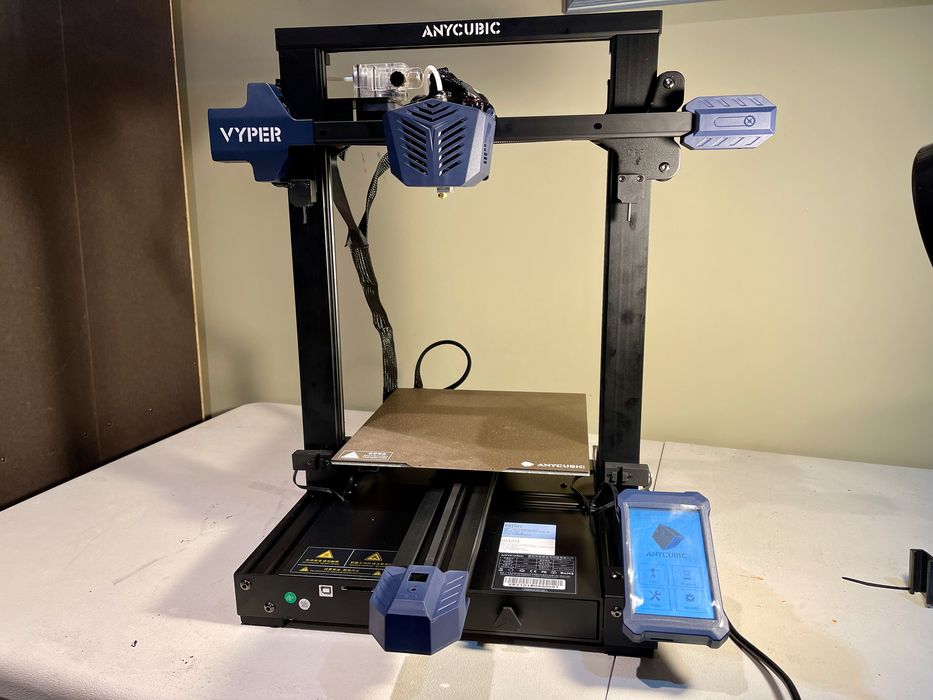
I had the opportunity to test out the new Vyper 3D printer from Anycubic in our lab.
Anycubic Vyper Features
The Vyper is a new desktop 3D printer from Anycubic, which we’ve covered previously. While at first glance the device appears to be quite similar to many other inexpensive desktop 3D printers, the Vyper actually contains quite a few less visible important features, particularly for its price point.
The Vyper’s key specifications include:
- Single extruder, 1.75mm
- Large build volume of 245 x 245 x 260 mm
- Fast print speed of 80-100mm/second
- Heated print surface up to 110C
- Standard SD card interface
- USB interface for set-top box control
The major feature, one not normally found at this price point, is automated leveling. The Vyper performs a 16-point inspection of the print surface to identify the topology, which is compensated for during printing.
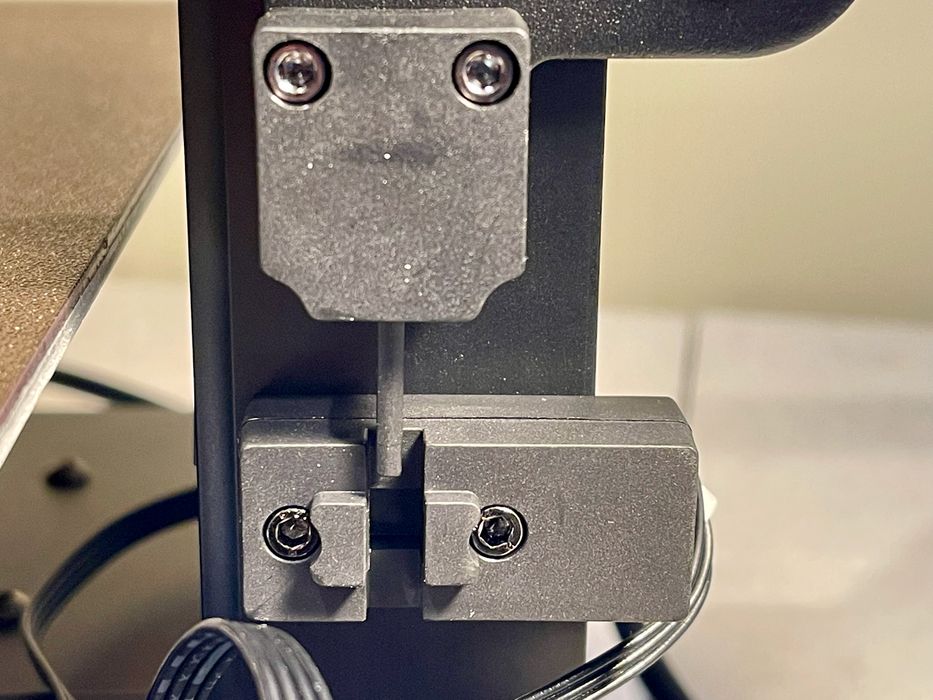
Another interesting feature is the use of optical end stops, which make the system more reliable than mechanical end stops. Here you can see how Anycubic has designed a peg that slides into the optical switch as the Z-axis lowers.
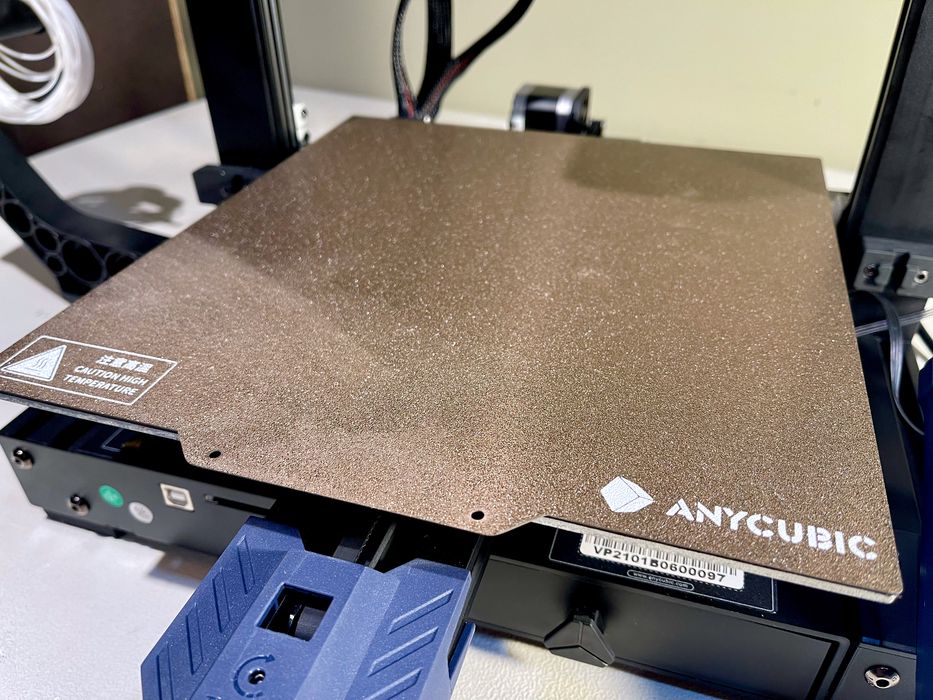
An extremely useful feature is a magnetically-attached, removable spring steel print surface. This plate is powder coated with an adhesive solution that I suspect is a form of PEI, making it incredibly easy to print different materials. Once printing completes, you simply remove the plate and twist it; the print pops off.
One item I’d like added to the spring steel plate is some mechanism to align it when placed. Other machines have pins or edges to guide the plate to the perfect position, but there’s nothing but your eyes for the Vyper’s plate. You can’t slide it if misaligned, because the magnetic bottom sticks extremely well. However, this won’t be an issue unless you are printing very large objects and are quite sloppy positioning the plate.
The extrusion system includes a dual gear arrangement to more strongly grip the filament. This decreases the likelihood of filament slippage.
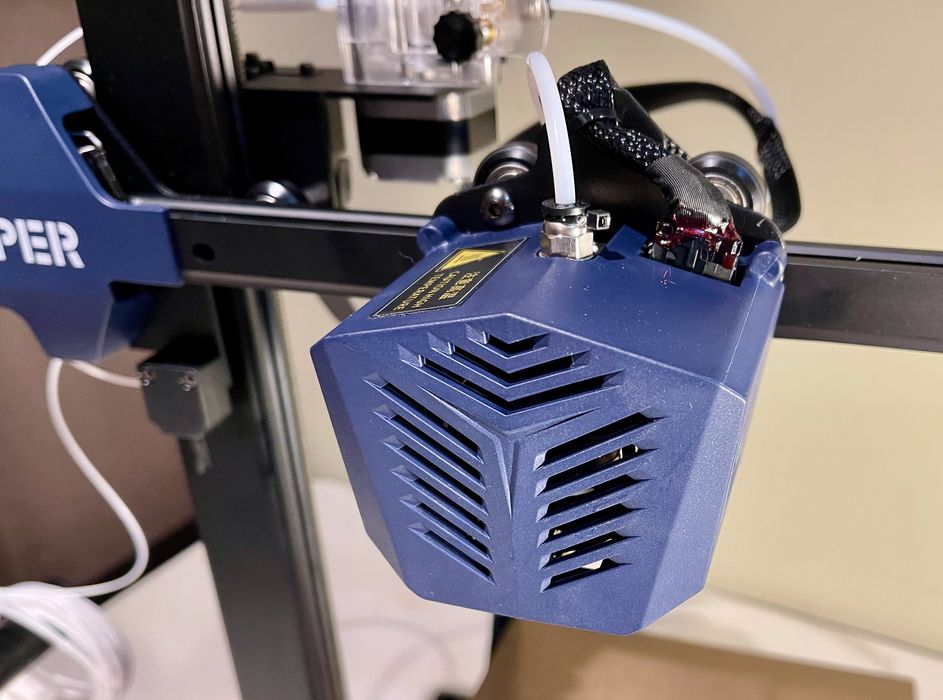
The toolhead has an attractive housing around it, but it also provides a way to duct cooling air from dual fans towards the print. This is much better than most machines that have only a single fan that cools one side of the print.
The Vyper includes advanced stepper motor drivers that render their operation completely silent. This is an increasingly popular feature as older machines are quite noisy when operating. However the Vyper must be the least expensive machine I’ve yet seen with silent drivers.
Finally, one feature that is completely invisible is a very powerful 32-bit processor on the controller board. The extra power of this component should help with print reliability, particularly when rapid print speeds are used.
Anycubic Vyper Packaging
The Vyper ships as a kit, but don’t let that dissuade you from buying it. There are only a very few steps required to “build it”. Really, it’s not a kit; it’s just slightly disassembled for shipping purposes.
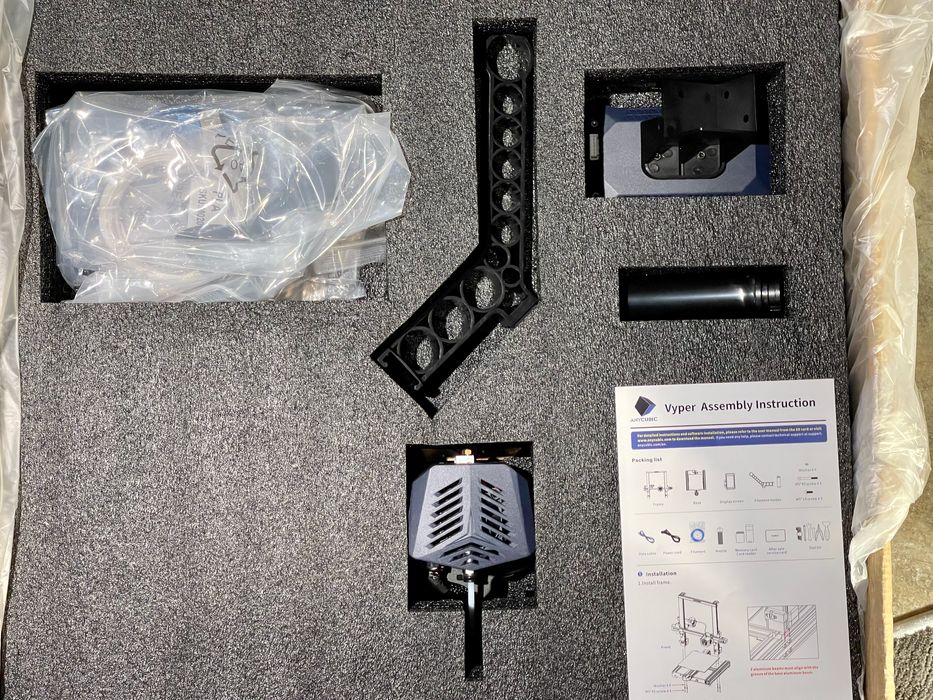
I was quite impressed with the Vyper’s packaging. Anycubic clearly knows how to pack a device into a box in such a way that it will not get damaged while shipping. From previous experience with other 3D printer manufacturers, I can tell you not all of them know how to ship a 3D printer.
Anycubic does.
Anycubic Vyper Assembly
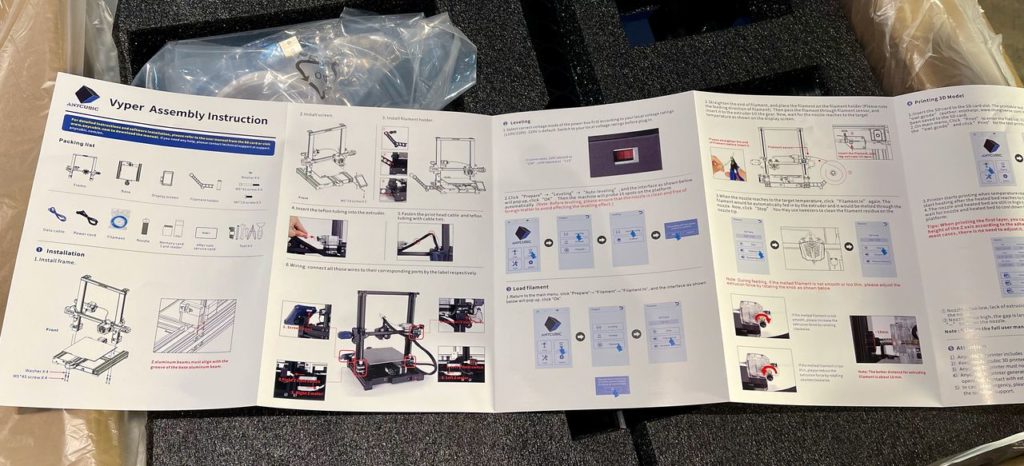
Assembly and startup instructions are usually hit-or-miss from 3D printer manufacturers, but Anycubic does a decent job. Here you can see the short but well-written instruction pamphlet that’s easily found at the top of the shipping box.
The first step is to remove stray packing material and any tie-wraps that have been used to hold movable parts secure during printing.
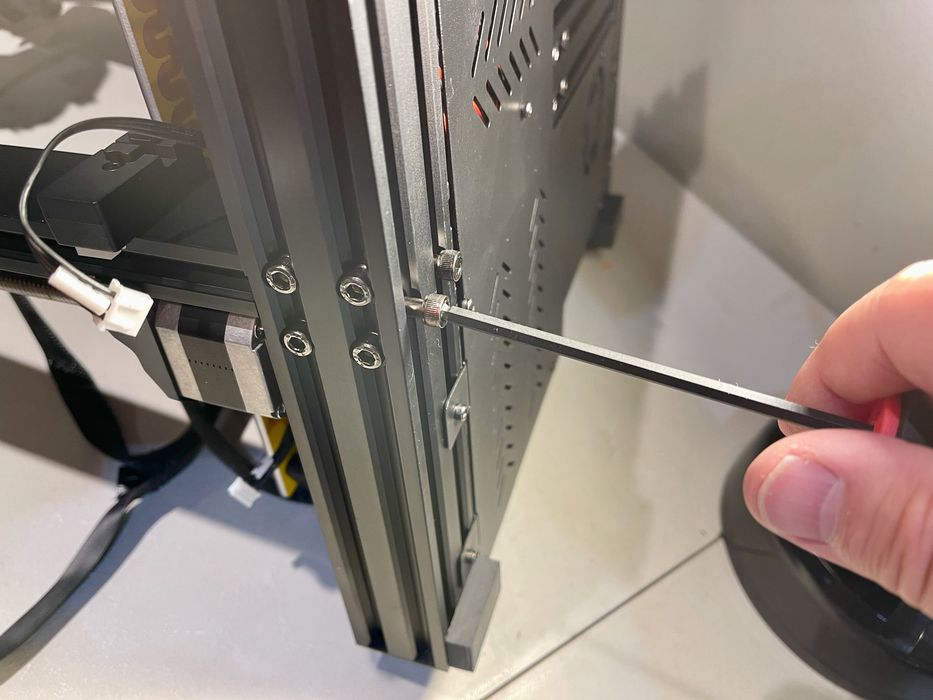
There are two main components shipped: the base and the gantry, which must be mounted together. That is the only major step required, and you should be careful when bolting these two pieces together.
There are several wires dangling from the gantry to be plugged in later, but during assembly it’s pretty easy to get them caught in the frame. My advice is to tape them securely as you position the gantry above the base and make sure you don’t accidentally pinch them.
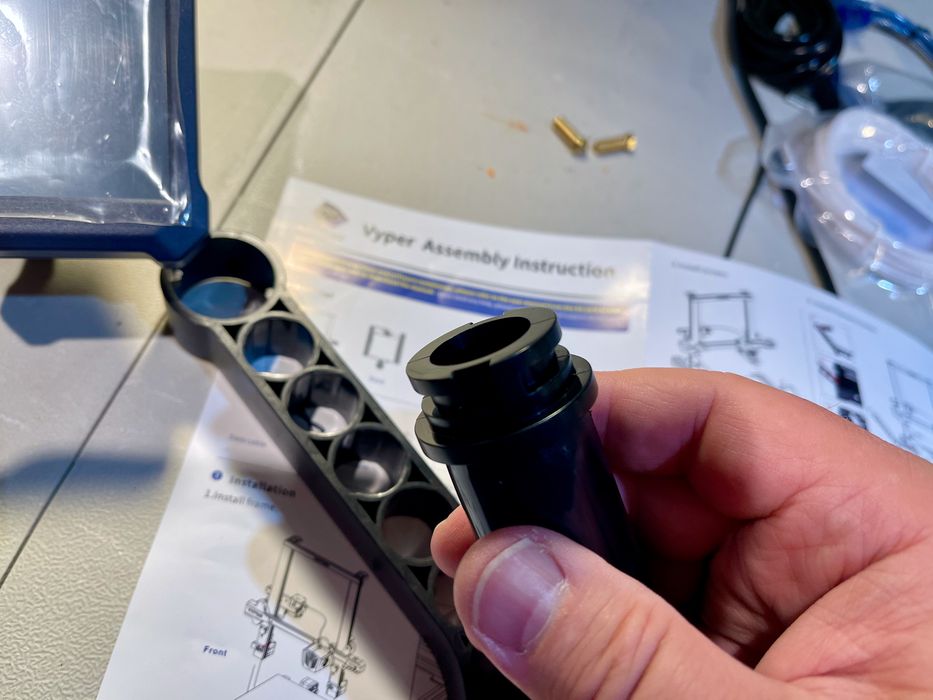
The filament holder is a simple plastic part that snaps into the side of the machine, and this is very easily done.
After the “major” physical assembly, it’s just a matter of plugging in several cables. These are all very easy to locate, and you hardly need any instructions as the receptacles are placed in obvious locations near the dangling cables. Just be sure to plug them in using the correct orientation.
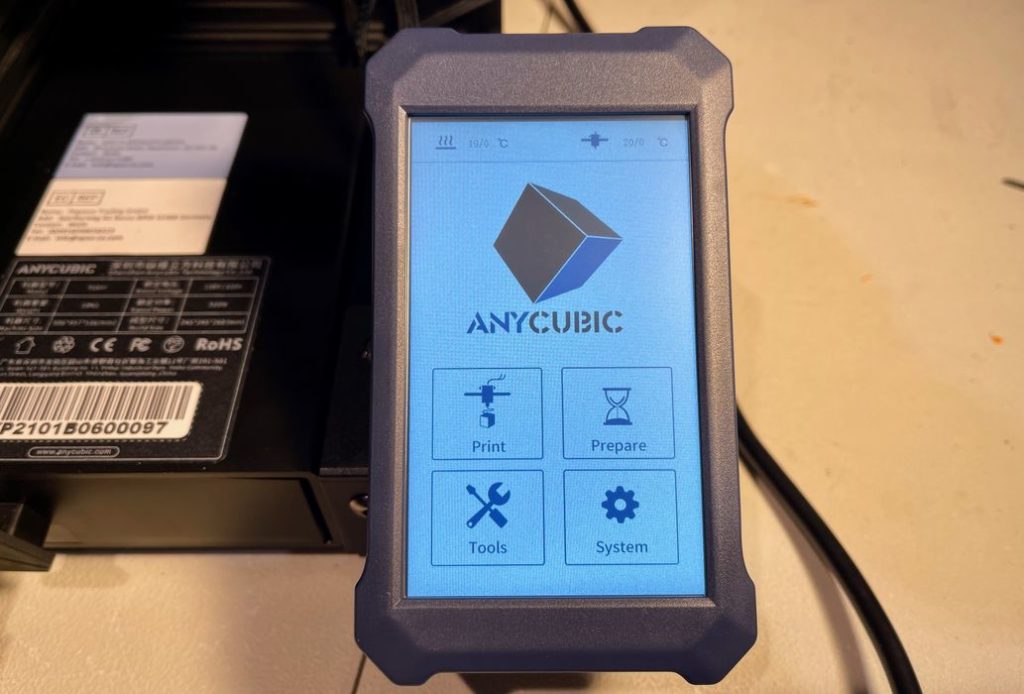
At that point the machine is ready for power up.
Anycubic Vyper Setup
Before 3D printing there are a few things to do.
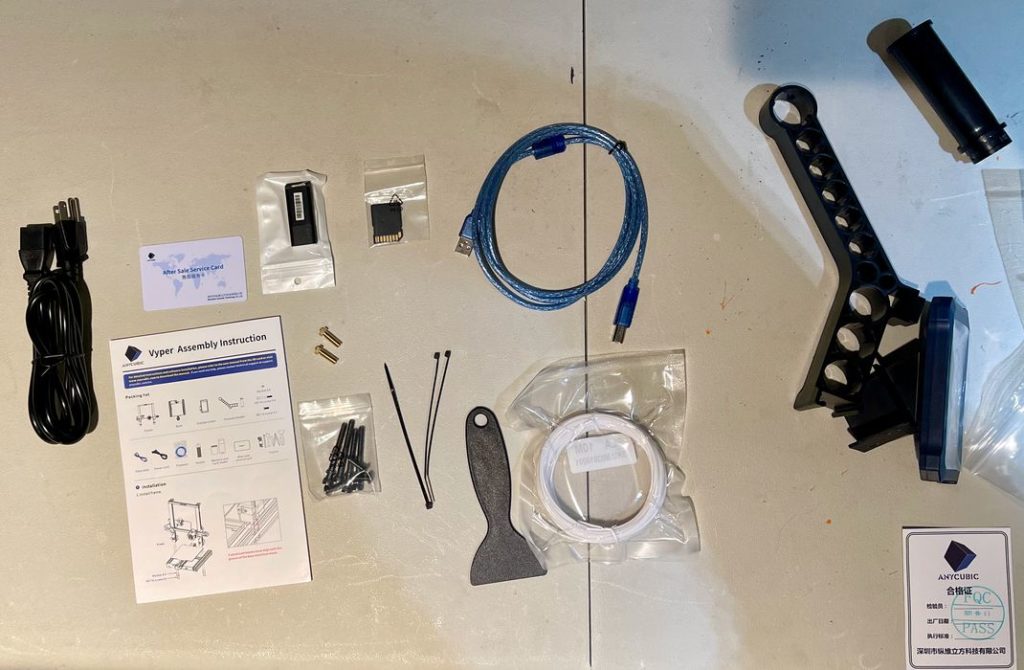
At this point I was checking the shipping list to make certain I had received all parts and completed all the activities. I noticed that some parts appeared to be missing.
Several tools appeared on the list of parts shipped, but they were not visible anywhere. I initially thought Anycubic might have forgotten to include them in the shipment.
However, my fears were allayed when I realized the purpose of this knob on the front of the Vyper.
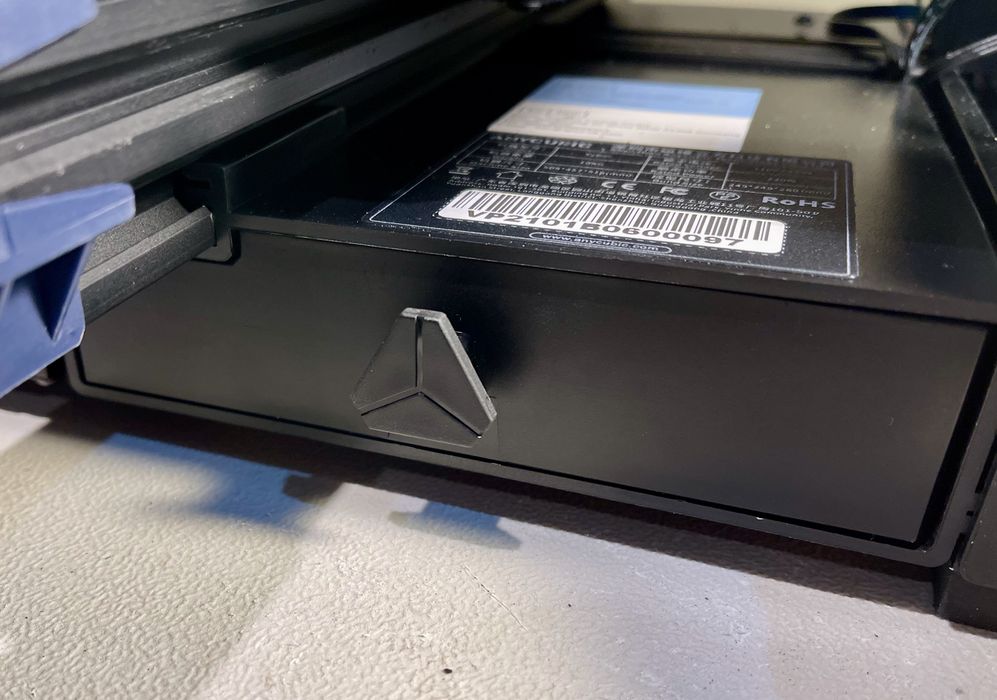
It’s the handle for a tool drawer!
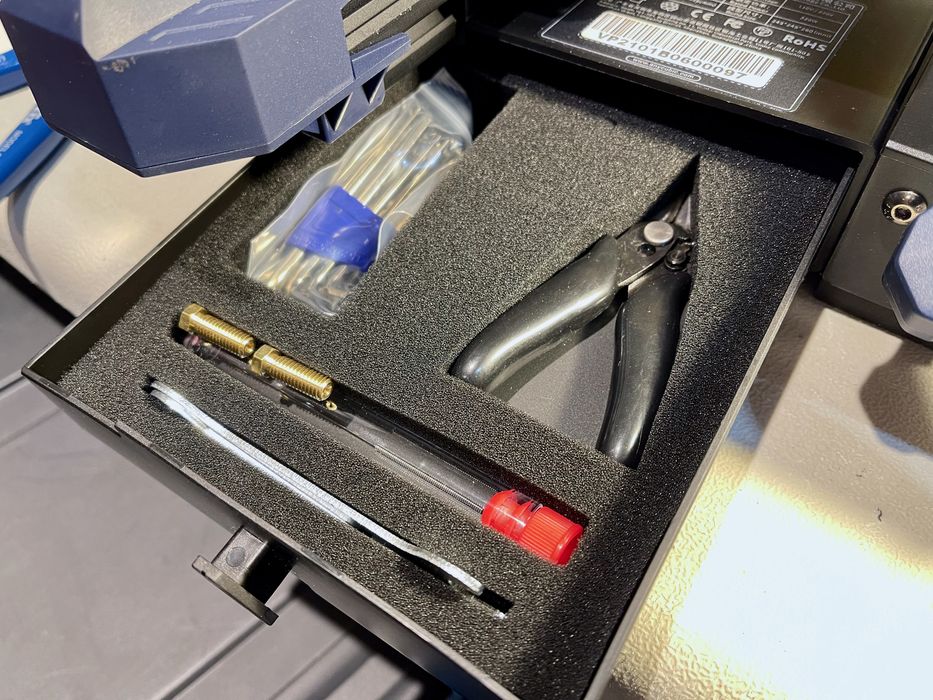
The open drawer included all the “missing” tools, as they were neatly packed in foam outlines. There was also space to put in some other spare parts shipped with the Vyper, including extra nozzles.
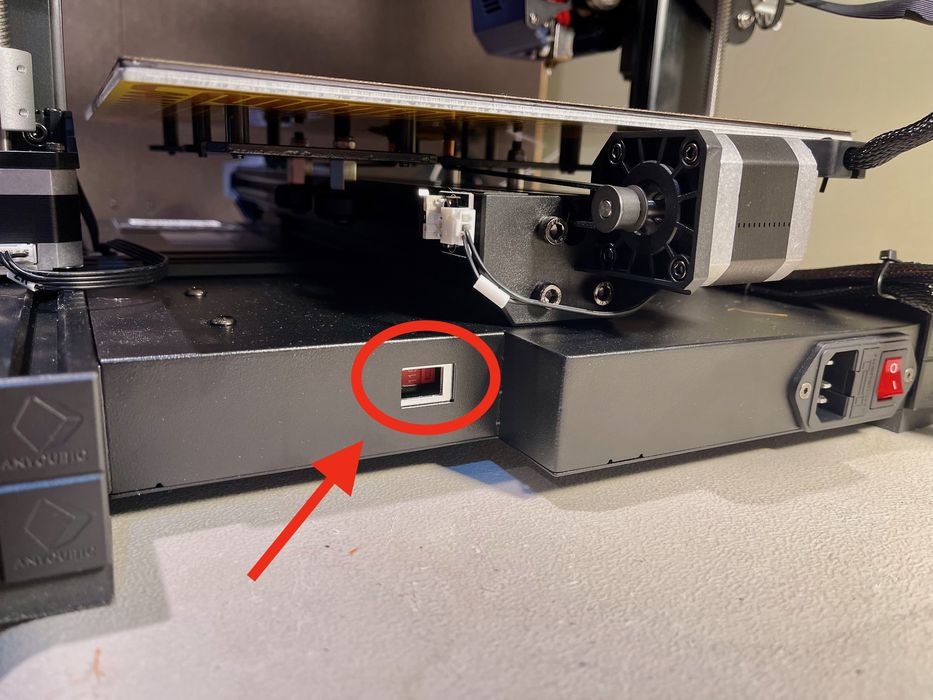
One extremely important step is to set the power supply voltage. There’s a tiny red switch on the back of the Vyper that’s not quite so obvious, as it’s located deep inside the hole. I had to switch my Vyper from 220V to 110V.
This is part 1 of a 3-part series. Please read parts 2 and 3.
Via Anycubic