
Our hands on test of the Anycubic Photon M3 3D printer continues, with a lot at operations, software and final thoughts.
This is part two of a two-part series. Part one is here.
Anycubic Photon M3 Operations
There are a couple of easy steps to do before printing.
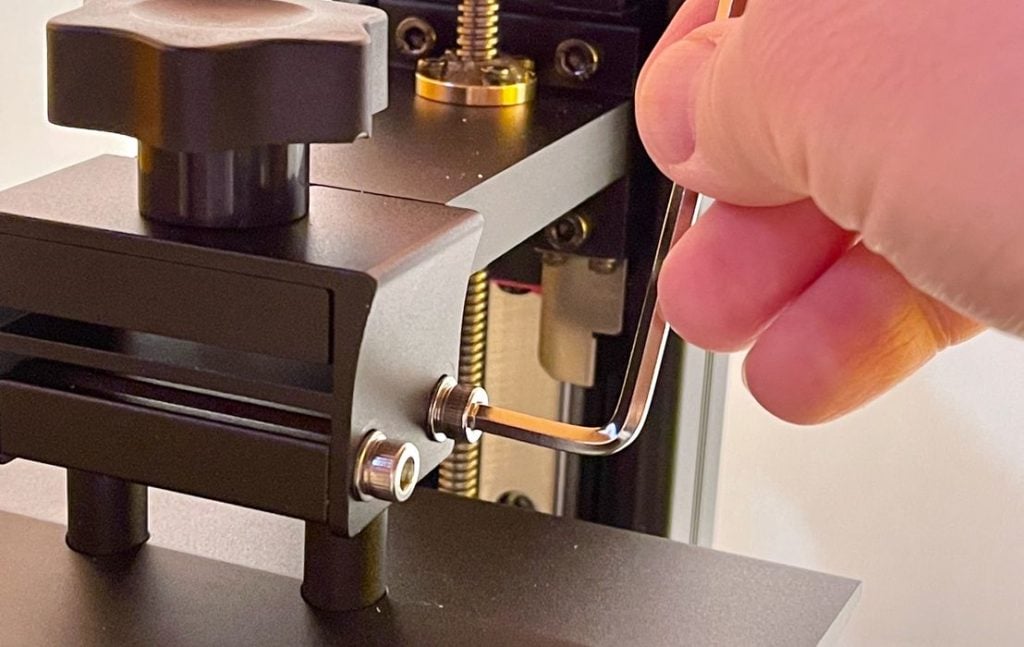
The first is leveling, where you ensure the print plate is perfectly parallel with the light engine. It’s an easy process to execute: after firmly mounting the build plate, loosen the bolts. Then “Home” the system via the touchscreen onto the conveniently provided paper card, and re-tighten the bolts. Then hit “Z=0”, and the machine is fully calibrated.
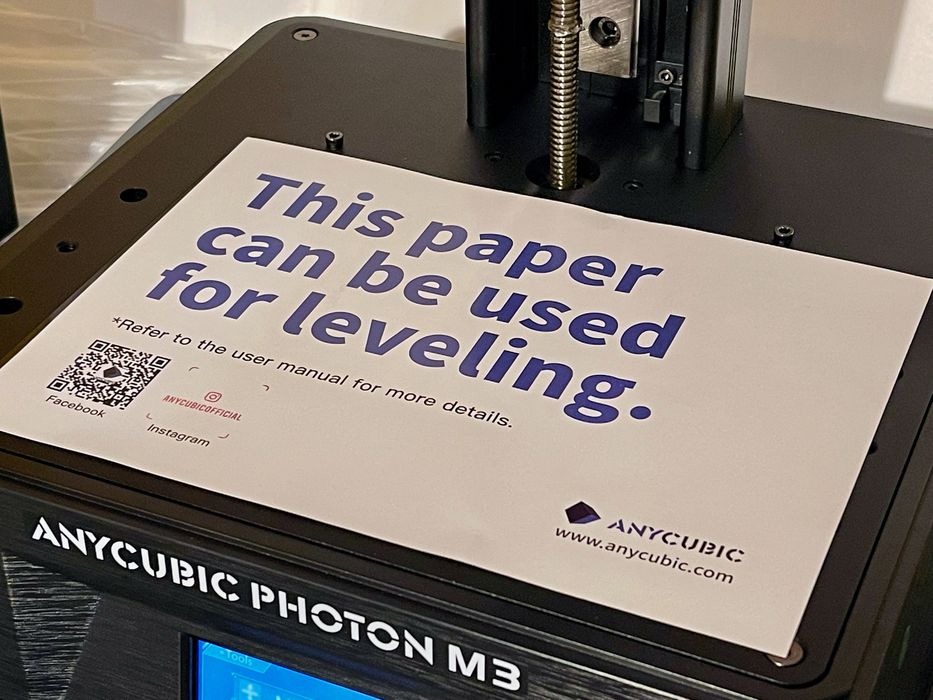
I’m impressed with Anycubic’s very, very clear messaging on the card here. There is no mistaking what this card is for.
Material must be loaded into the M3’s vat. You can use any 405nm resin, but be aware that you will have to dial in the print settings for each specific resin. Anycubic has provided some print profiles in their software, but these are rather conservative. More on this in a bit.
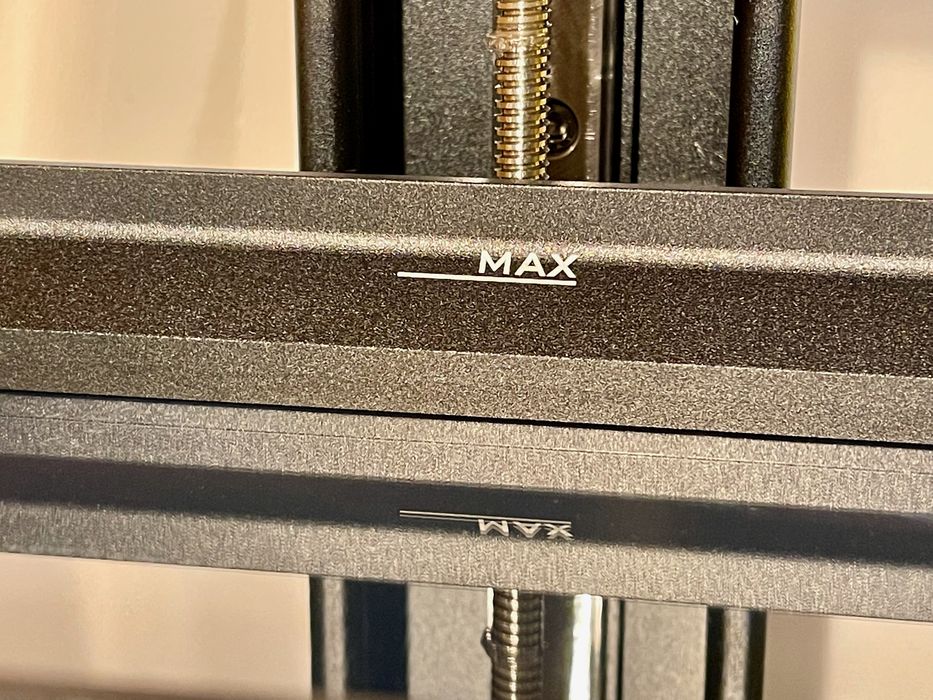
Wearing your safety gear, very carefully pour the resin into the vat. Of course, vigorously shake the resin beforehand — the resin should be completely uniform in appearance. Be sure not to fill past the “max” line on the inside of the vat. If you do so, you might produce a terrible spill when the print plate dips into the resin later. Watch out for drips as you complete the pour.
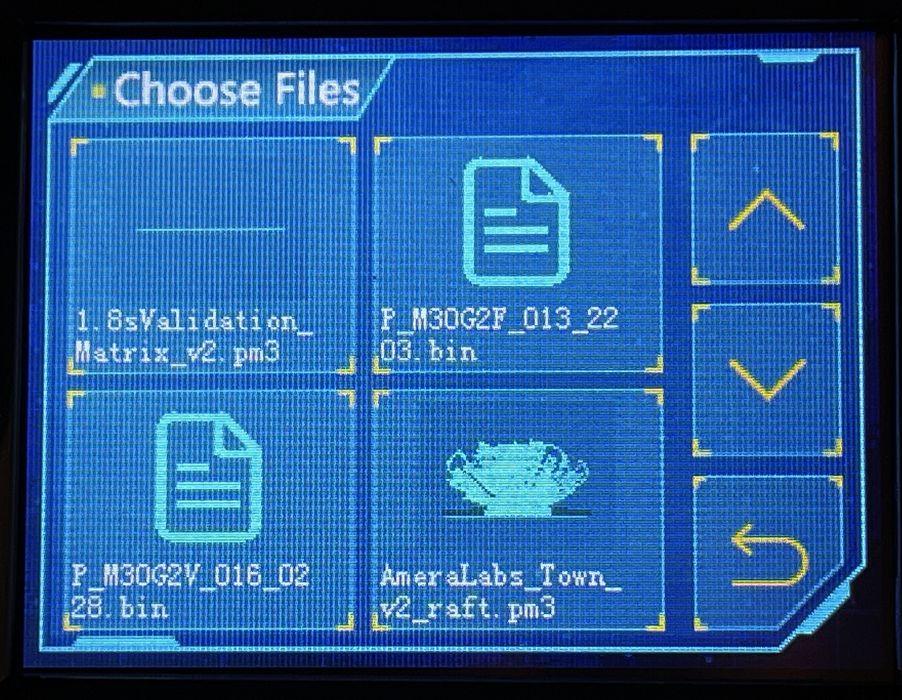
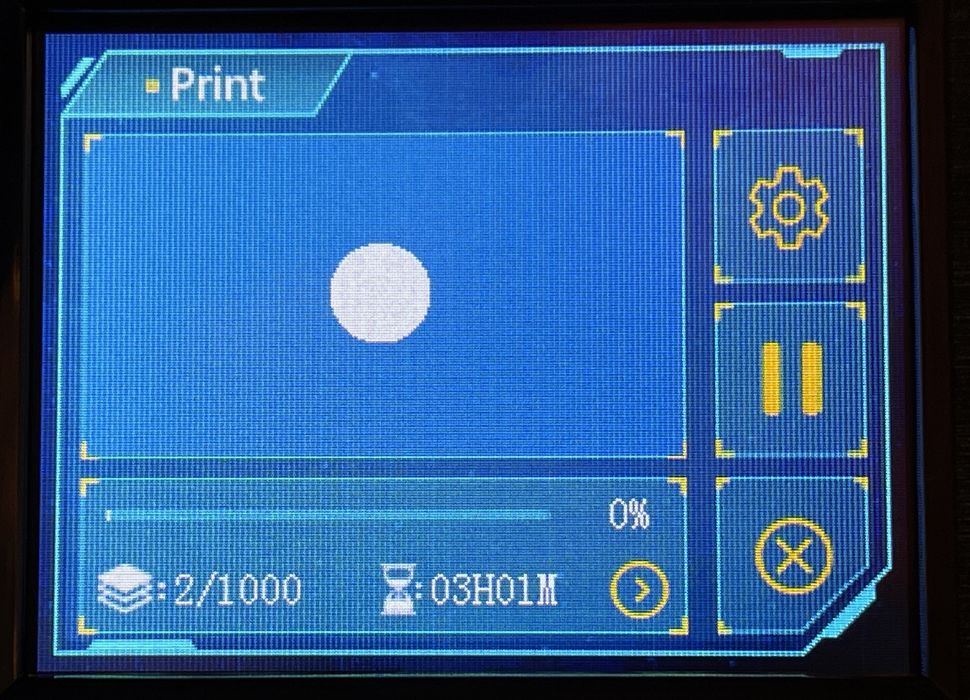
To print on the Anycubic Photon M3, it’s a simple matter of pressing a couple of buttons on the touchscreen menu. Prints are prepared in software and placed on a USB stick, which is inserted into the side of the M3.
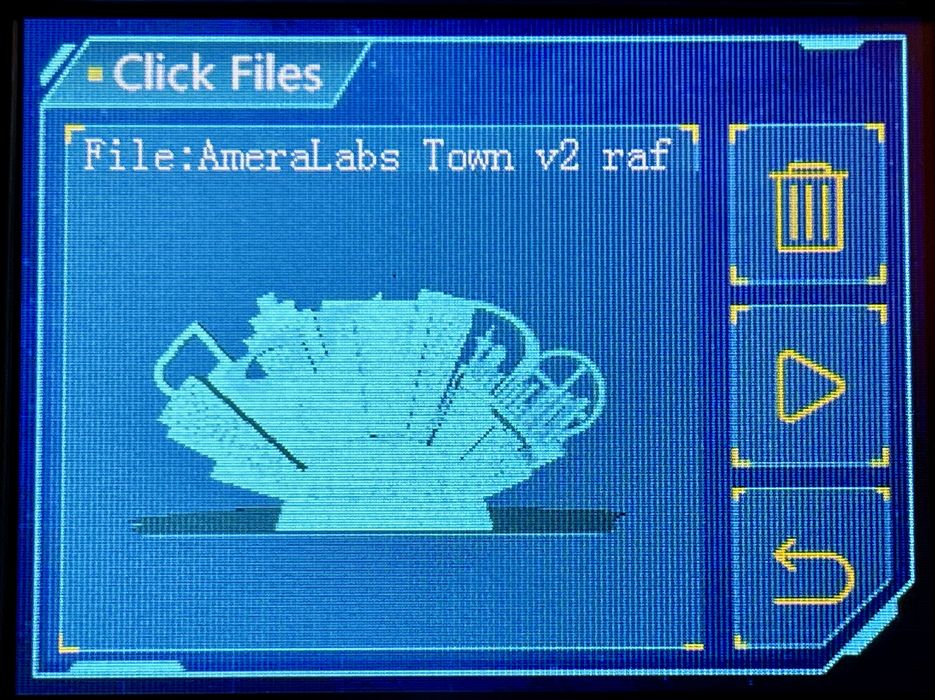
The touchscreen reads the stick and shows, albeit in rather small form, a 3D representation of each print. Select a print and hit the “play” button to begin the print.
That’s it; the M3 will run on its own until the job completes. It’s really quite simple to run this 3D printer.
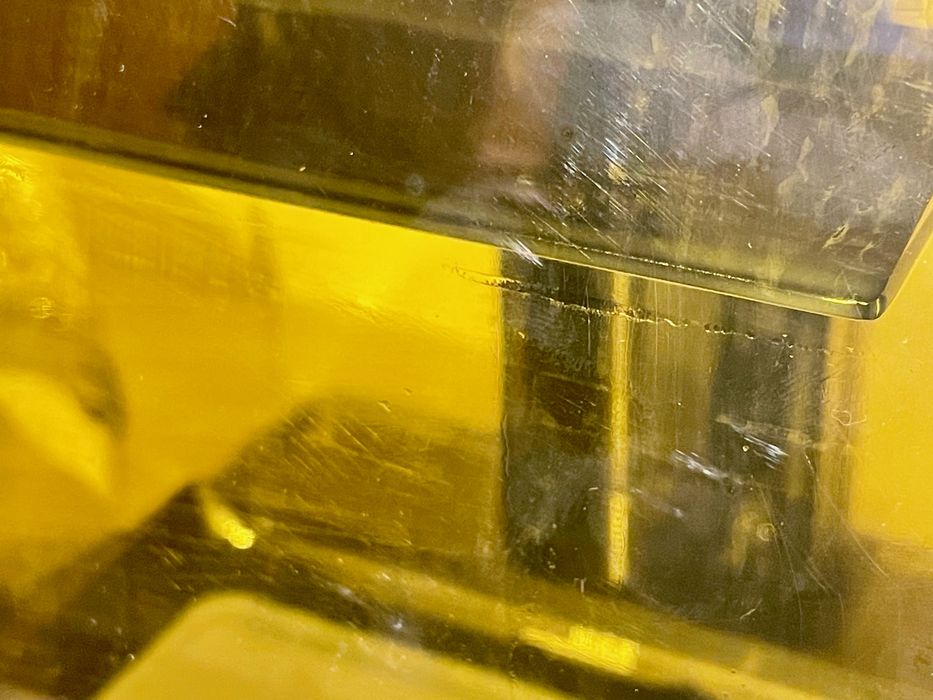
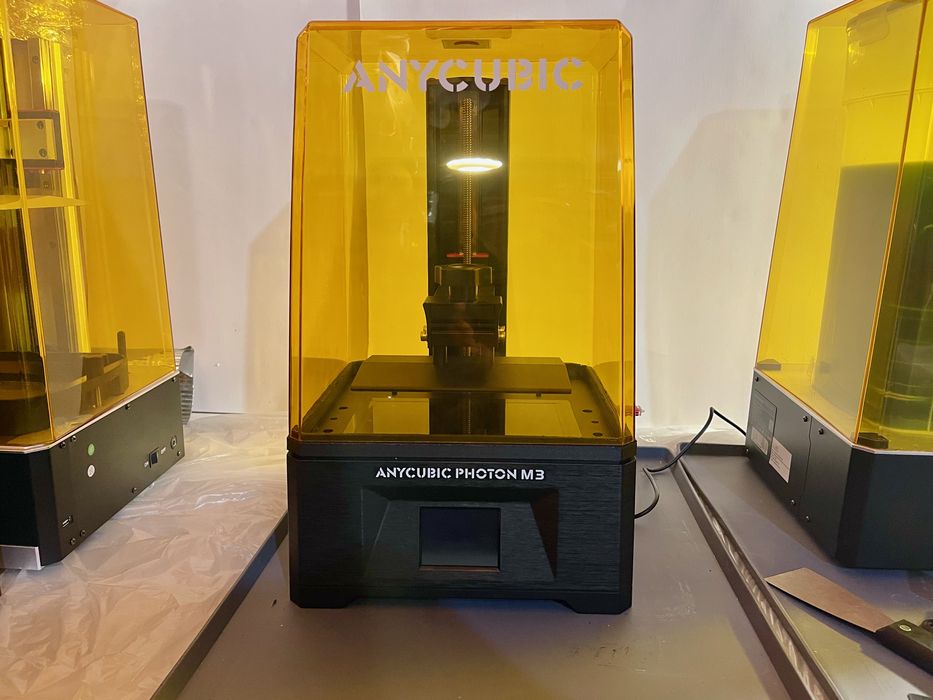
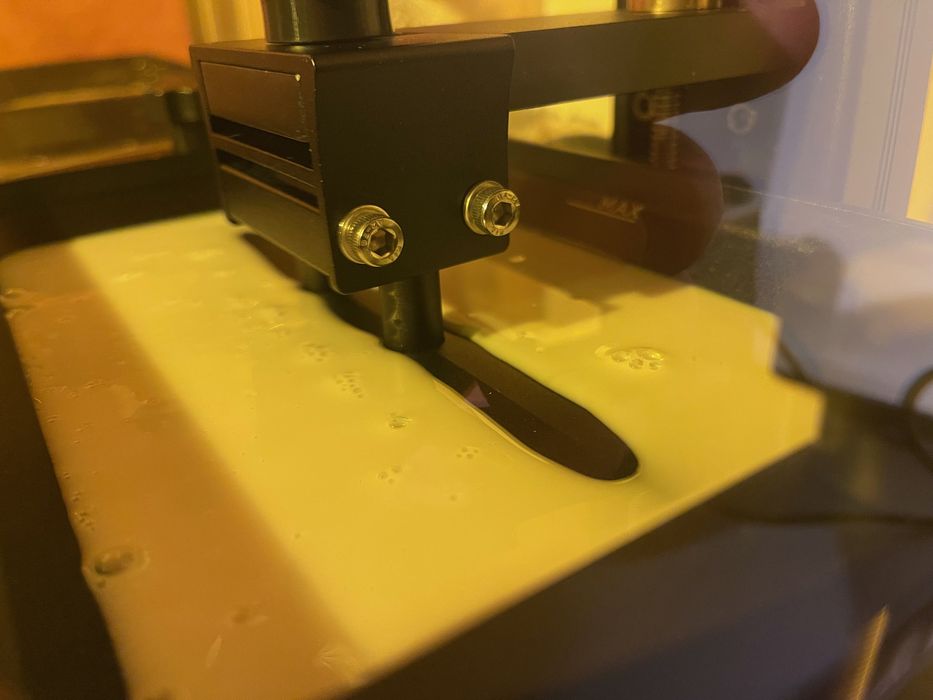
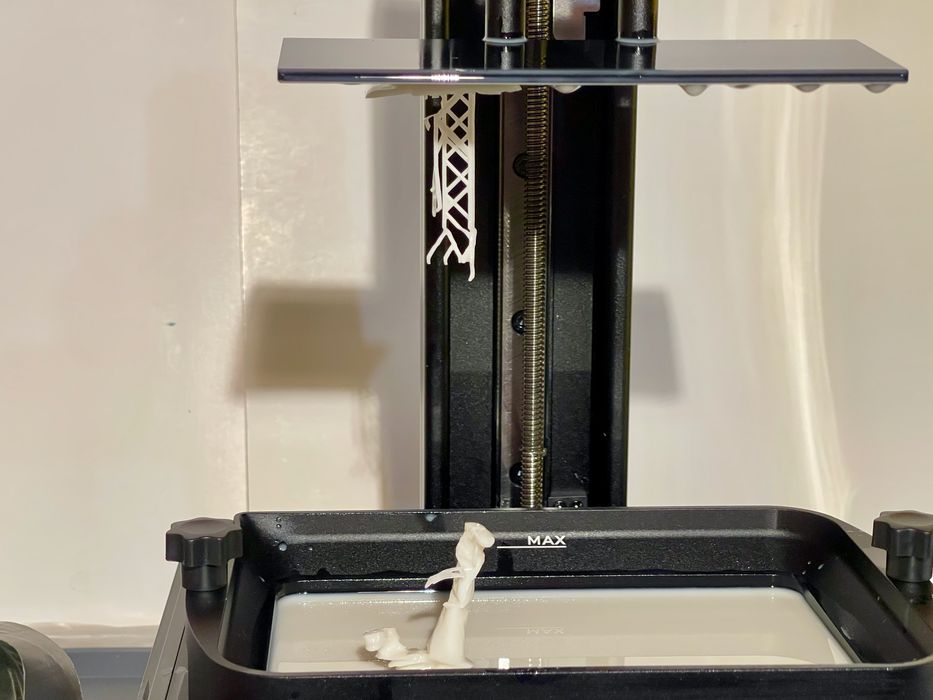
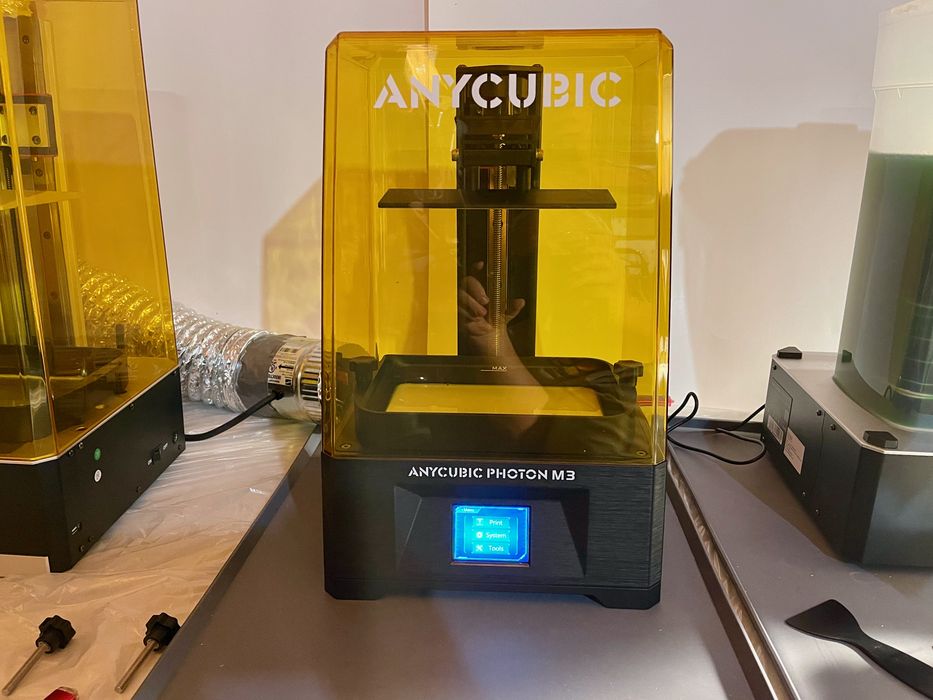
One issue we encountered was unusual, and I hadn’t seen this in other machines. As you can see in this image, the UV cover is a bit wet! This is because the sloped cover comes rather close to the build plate when it is raised high, and can actually contact it if you bobble the cover when lifting.
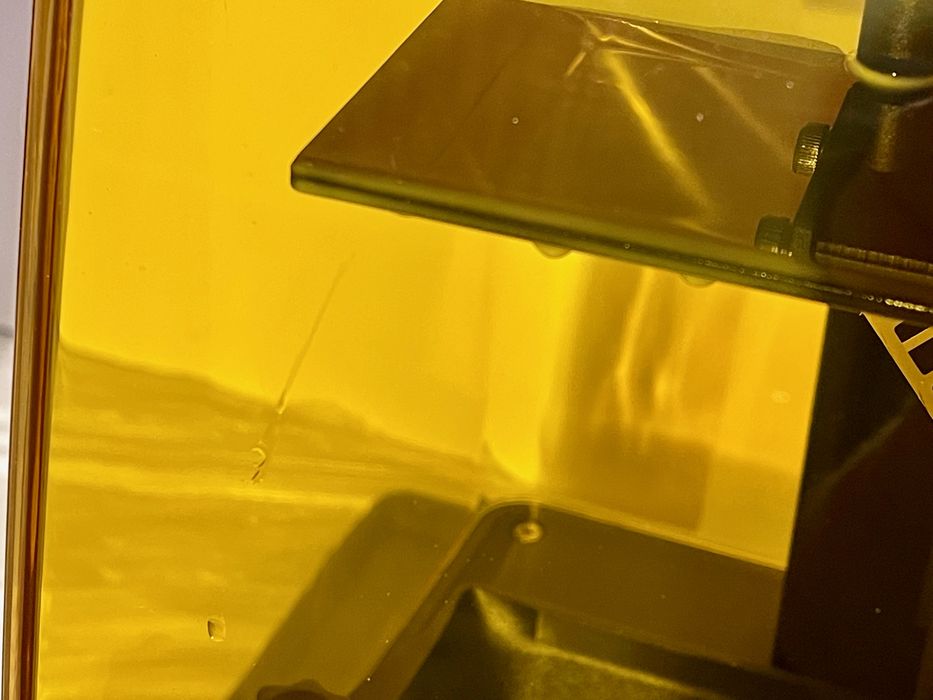
I reported this to Anycubic, who quickly provided a firmware fix, which seems to limit the height of the platform, thus minimizing the risk of contact. [UPDATE: Anycubic has posted this firmware update for any Photon M3 users to download and install on the Photon M3 product page.]
In addition, I built a special 3D printed collar of my own to fit around the base of the lid and raise it up a full centimeter. Between these two fixes, I don’t expect to have this problem anymore.
Anycubic Photon M3 Software
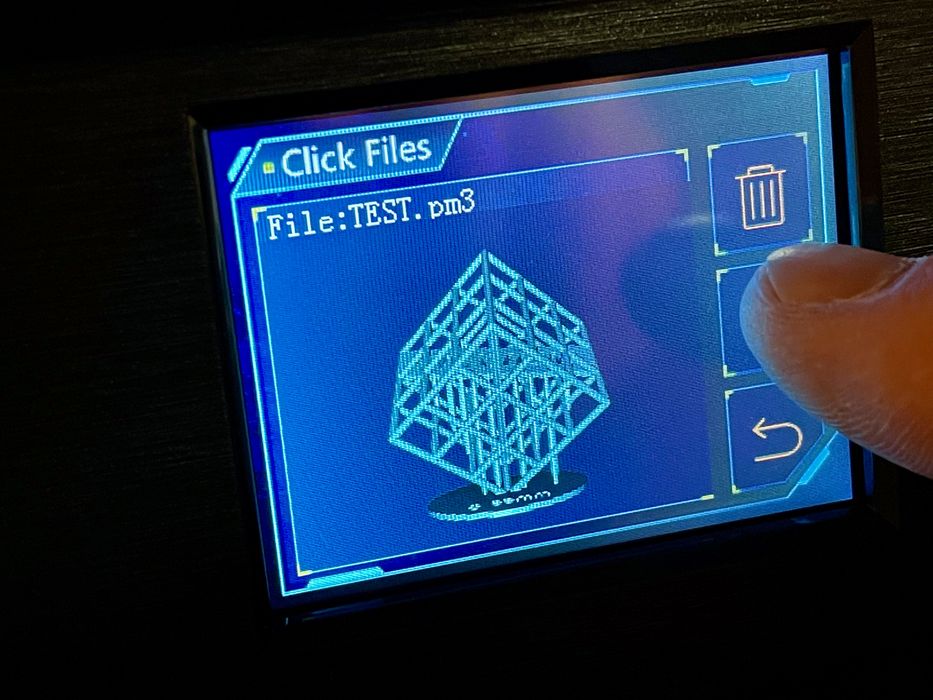
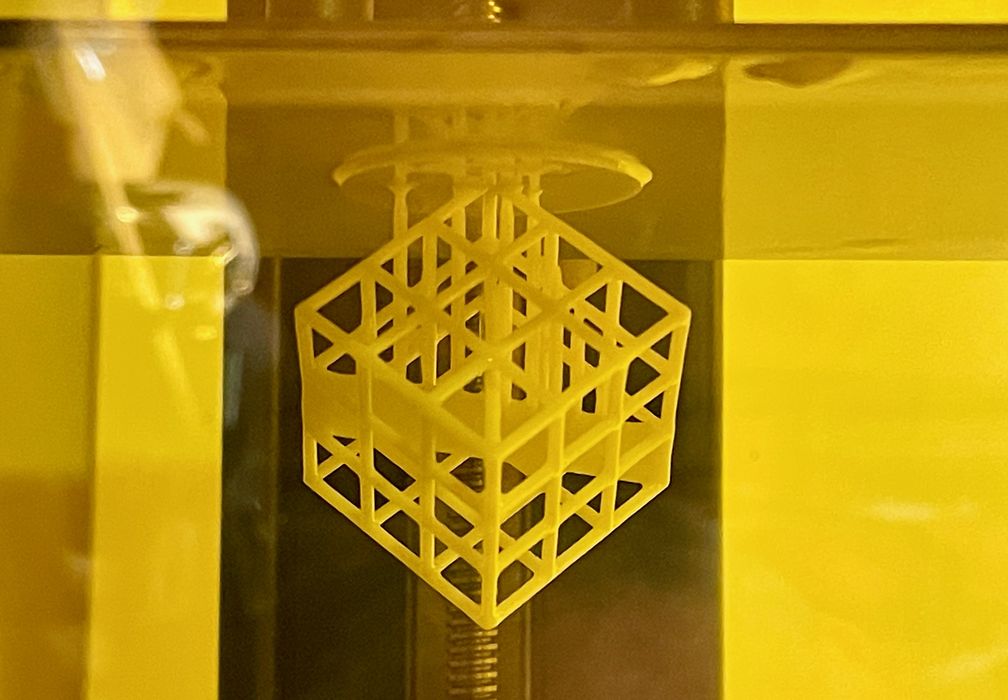
While Anycubic includes a short test job on the included USB stick (print shown above), you’ll soon want to print your own 3D models. This is done via Anycubic’s Photon Workshop software.
PhotonWorkshop is a proprietary system made by Anycubic that services all of their resin 3D printers, including the M3. It’s available for free download from their website , and is easy to set up. It runs on both Windows and Mac OS.
Using PhotonWorkshop is mostly straightforward. Multiple models can be loaded onto the build plate and configured for printing, although all models must use the same print parameters.
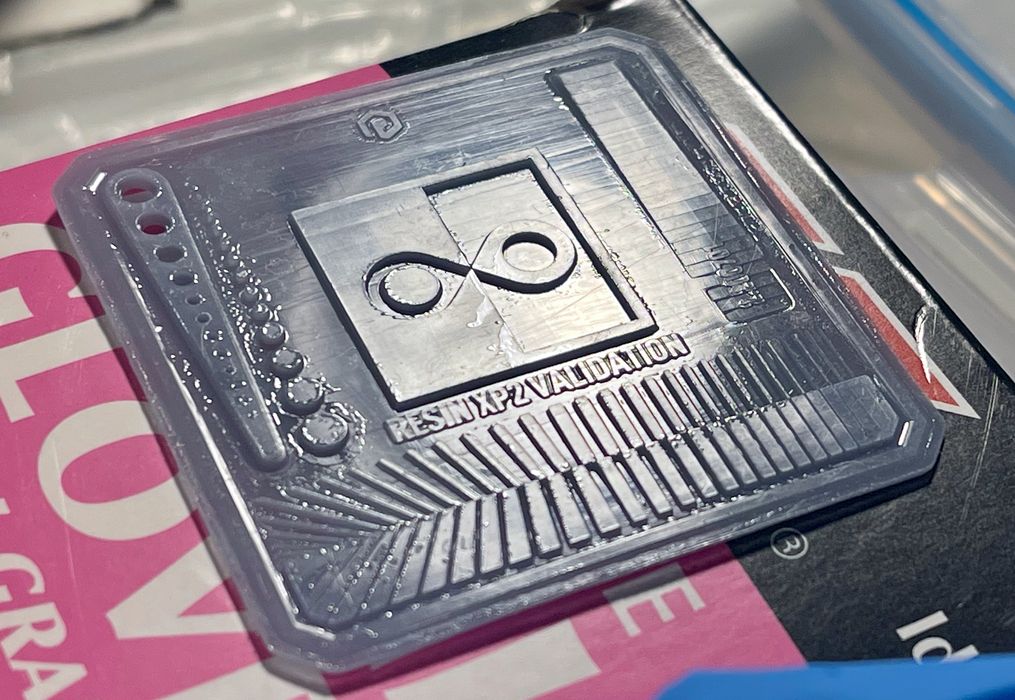
One of the first 3D models I always print is the validation matrix, which is used to calibrate the resin. Basically you have to find out the optimal exposure time for each layer. If it’s too low, then not enough material will be solidified and gaps will appear in your print, particularly between layers. If too high, the print will lose details as structures will swell up from excess polymerization.
The validation matrix includes some features that make it easy to identify the optimal exposure time for a given resin, and it prints in only a couple of minutes. It’s best to try several different exposure times and compare to find the best result. For example, in my testing of Anycubic’ standard grey resin, the exposure time was a mere 1.8s.
That’s the easy part of setting up a print job with PhotonWorkshop. The far more challenging aspect is getting the support structures configured for a given 3D model. The software has both automatic and manual support generation available, and for simple parts the automatic generation should be effective. However, for more complex geometries it’s likely best to add the supports manually and carefully. Remember, the supports must hold up any isolated sections during printing and also hold up the weight of the entire object as it prints.
PhotonWorkshop provides an estimated print time that seemed reasonably accurate in my testing.
Slicing time is dependent on your computer power, but it is decently fast to prepare a job. Exporting to the USB stick is also done at the touch of a button. The software is good, but could use a more sophisticated automatic support generator that can handle complex 3D models.
Anycubic Photon M3 Print Results
Assuming you get your exposure times and support structure configuration just right, it is possible to obtain 3D prints of outstanding quality on the M3.
I printed the Ameralabs benchmark a few times and I can’t get over the incredible detail seen in this print. You really can’t appreciate how fine the details are unless you use a microscope, and that alone tells you the quality potential of the M3.

The Ameralabs benchmark came out extremely well, as you can see in this image. There are tons of fine details present, although the model is designed to fail in a way that shows you the maximum resolution possible.
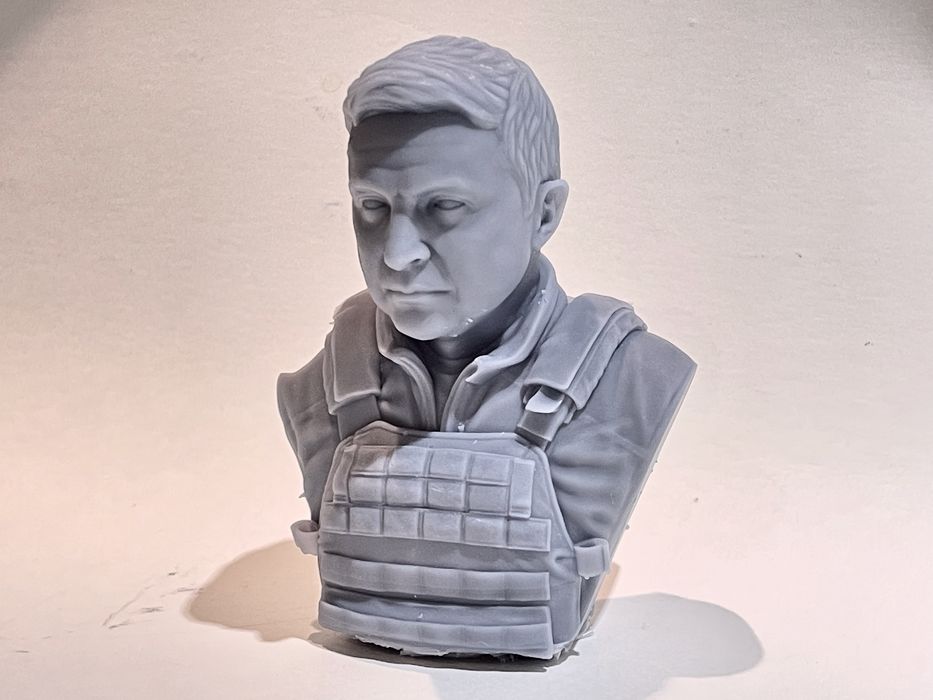
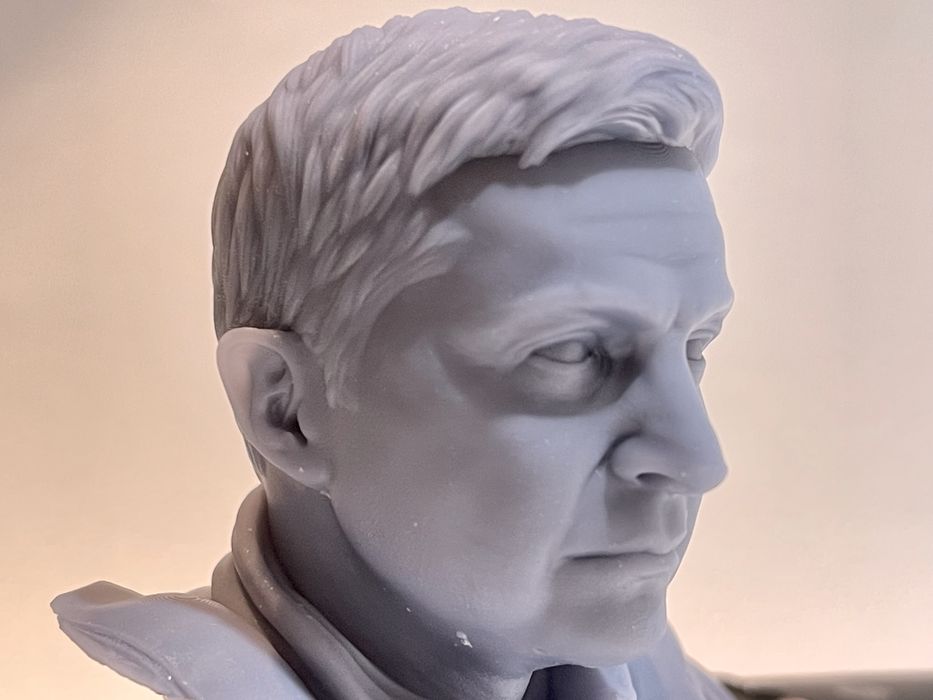
The big test was our Design of the Week from March 28th, the outstanding bust of Volodymyr Zelenskyy made by Prusa Research. This 3D model has an incredible amount of detail, so I was very curious to see how it turned out on the M3.
Anycubic Photon M3 Final Thoughts
The Anycubic Photon M3 is a very good resin 3D printer. It doesn’t have quite as many advanced features as you might see in more expensive models, but does have more than enough to produce high quality 3D prints.
This is even more impressive when you realize the price of the M3 is only US$299. That’s only the price of a few bottles of resin!
If you’re looking for an inexpensive, yet effective resin 3D printer that can produce excellent prints, the Anycubic Photon M3 could be the machine for you.
This is part two of a two-part series. Part one is here.