
Our busy lab managed to give the Anycubic Kobra desktop 3D printer a thorough workout.
This is part one of a two part series. Part two is here.
Kobra Specifications
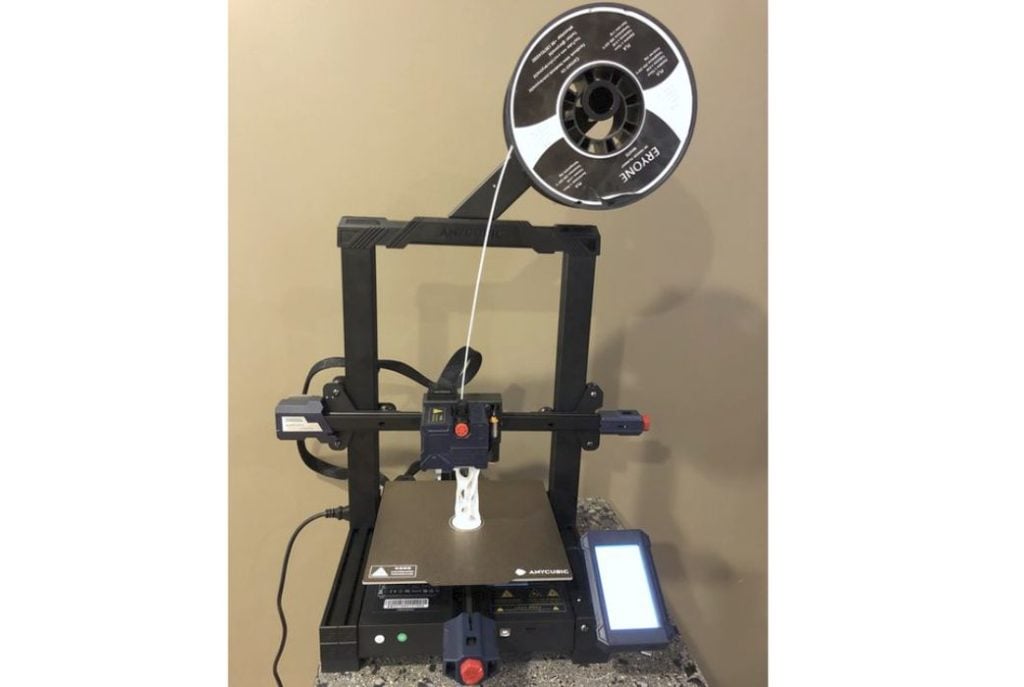
The Kobra is a very inexpensive, yet powerful desktop FFF 3D printer. It does not have an enclosure, and instead uses the familiar open gantry approach, which actually lowers the purchase cost somewhat.
The build volume of the Kobra is typical for desktop 3D printers, at 220 x 220 x 250 mm, easily large enough to handle almost any commonly 3D printed objects.
The Kobra’s hot end includes a standard 0.4mm brass nozzle, which can be swapped easily if required. The hot end can be heated as high as 260C, while the heated print surface can reach 110C. That’s a bit higher than most heated print surfaces on inexpensive machines, which tend to top out at 80-100C. This added heat should greatly assist when printing warp-prone materials like ABS.
These temperatures allow the Kobra to successfully handle PLA, ABS and PETG, the most common materials.
The Kobra’s extruder is different from most of the inexpensive 3D printers in that it uses a direct drive instead of a Bowden drive. This allows the machine a much better chance of handling flexible TPU filament, which is notoriously challenging to print, and basically impossible on Bowden setups.
The Kobra uses the standard i3-style motion system, in which the print surface moves in the Y-axis. Notably, however, theKobra uses only one threaded rod for the Z-axis; more expensive units sometimes have dual threaded rods. However, we found the machine to be quite sturdy as it uses strong aluminum alloy extrusions.
To control the Kobra there is a monochrome touch panel located on a box attached to the bottom of the frame. This panel is a 4.3” LCD touch screen that can display graphical information. We’ll go over the Kobra’s menus a bit later.
There is an optional feature to automatically detect when the filament runs out. This instantly puts the machine in pause to allow the operator to swap out the filament and continue the job.
One of the major features of the Kobra is that it includes the Anycubic LeviQ automatic leveling system that uses 25 points of measurement on the print surface (5 x 5 pattern). This feature alone easily differentiates it from many other inexpensive devices that don’t have an automated leveling system.
The presence of the leveling system all but ensures the first layer of each print goes down successfully. This is the most critical portion of every print job, and should make Kobra print jobs far more reliable than other manually-leveled devices. This is particularly important as the Kobra has a removable spring steel print surface, which can, over time, change its shape subtly — this would be caught by the leveling system.
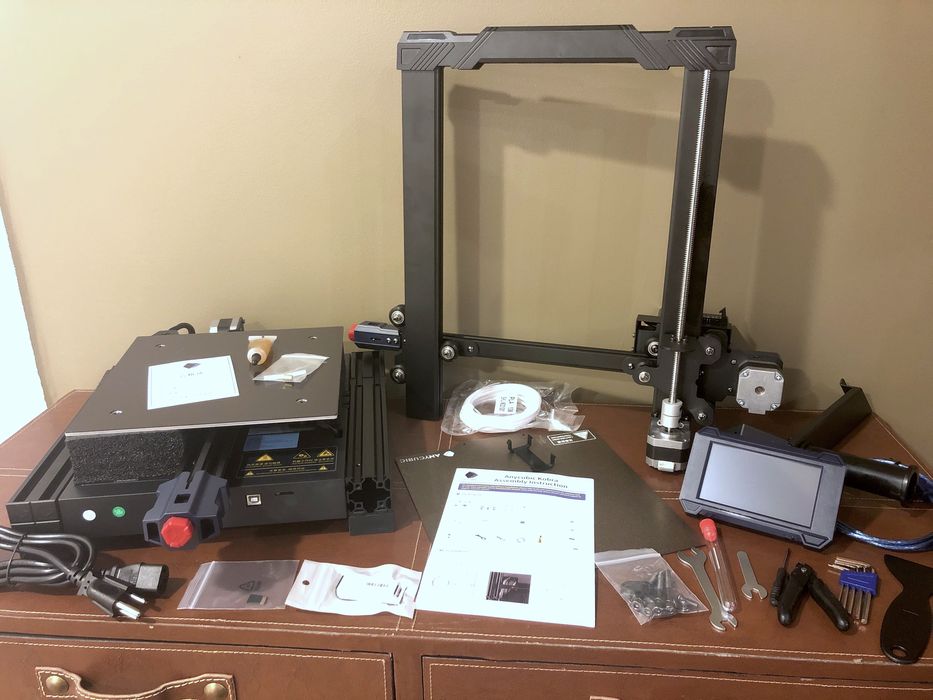
Kobra Unboxing And Contents
As are most desktop 3D printers these days, the Kobra is shipped in a flat pack to optimize shipping costs. This means there is some assembly required, but don’t fear, it’s not that hard to do.
Packing is quite good, and the days of receiving a damaged 3D printer are mostly gone — unless the shipper goes out of their way to inflict maximum impact on the box. But in our case there were no issues, and no shipping damages occurred.
The Kobra is equipped with a small set of tools that may — or may not — be required during assembly and operations. This includes some wrenches, Allen keys and a small screwdriver. Also included are a pair of snips to cut filament and a needle-like tool for clearning jams in the nozzle. There is also a spare PTFE tube, should that require replacement in the hot end, and a small plastic scraper to help remove prints from the magnetically attached spring steel print plate. A very small tube of grease is included for future maintenance on the lead screws throughout the motion system.
While some machines come with a spool or more of material, the inexpensive Kobra includes only a small coil of PLA. This is about sufficient for basic testing, but you really should consider buying a few separate spools of your chosen material when you buy a Kobra, otherwise you will be out of filament quickly.
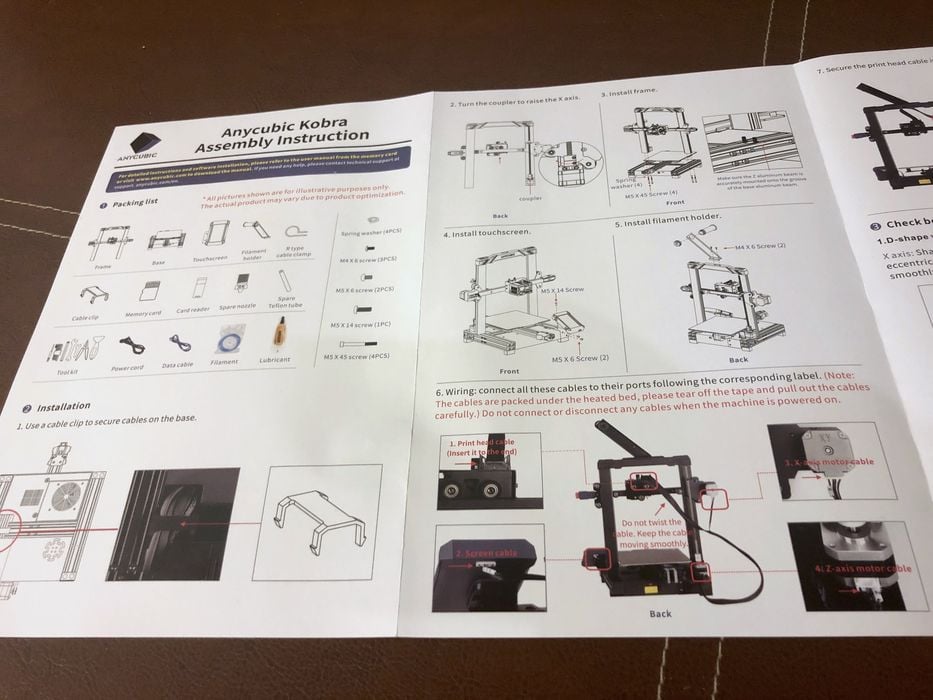
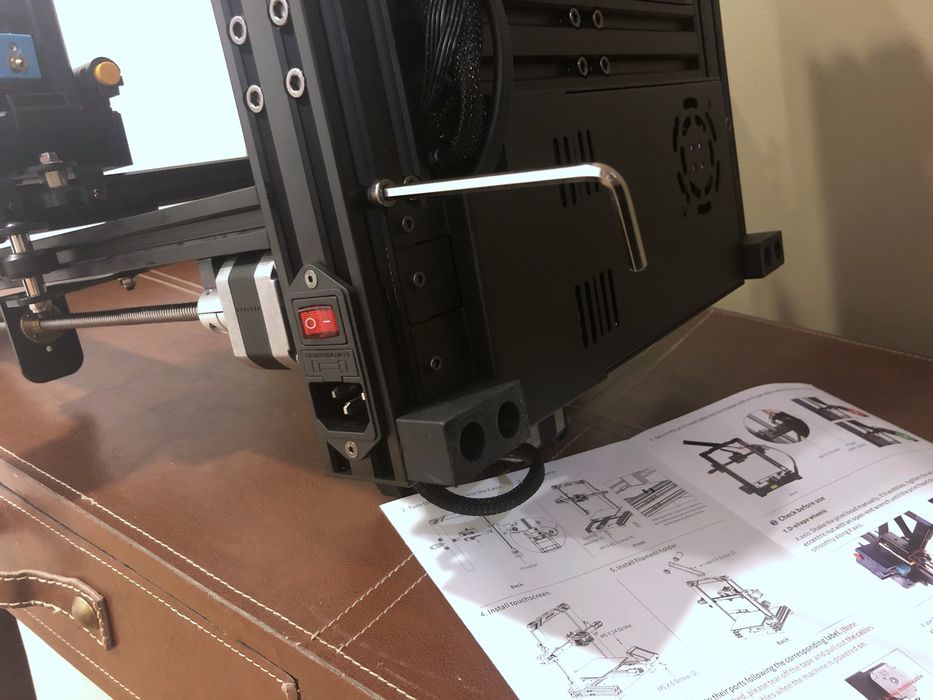
The instructions for assembling the Kobra were actually quite detailed and extensive, unlike some other machines we’ve seen. This is surprising, as the Kobra is a very inexpensive machine, but apparently Anycubic did not skimp on the printed instructions.
Kobra Assembly
In the old days the prospect of building a 3D printer from a kit was daunting. However, these days it’s usually much easier, and Anycubic has made the assembly process straightforward.
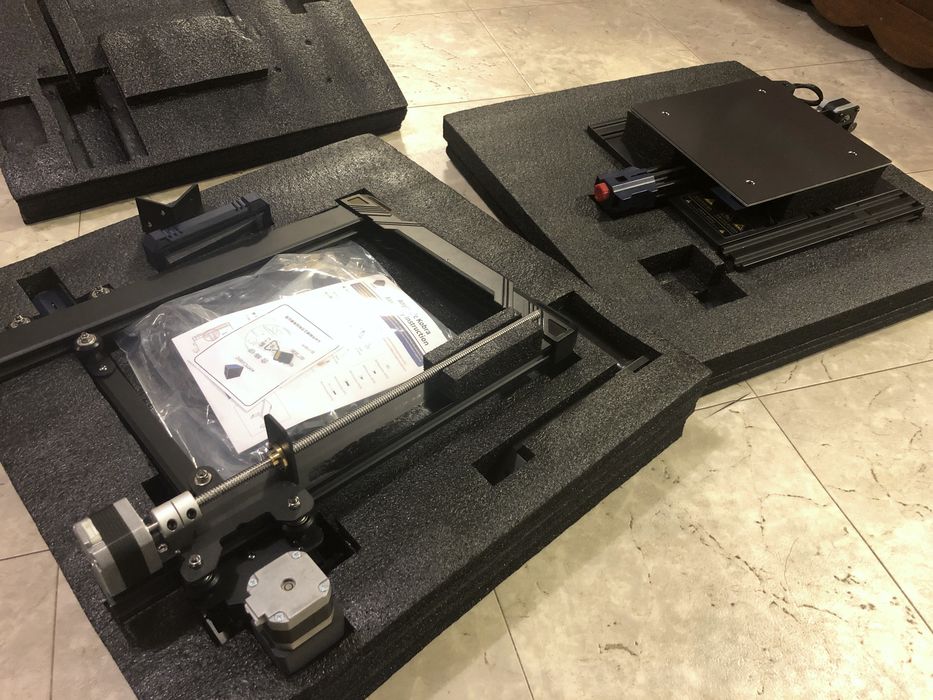
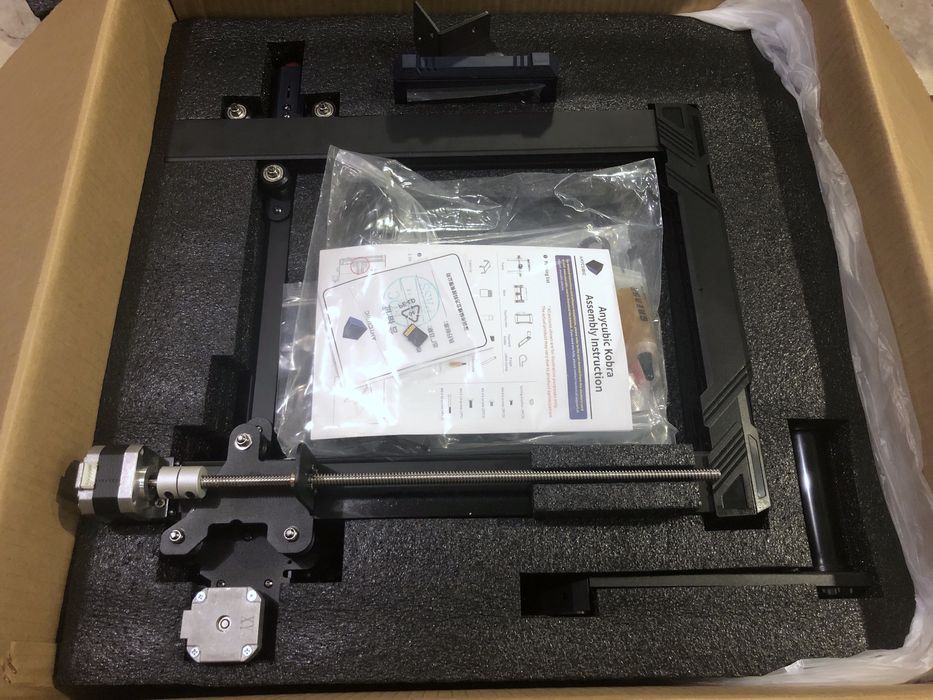
In order to flat pack the machine, it’s basically been split into two parts: the base and the gantry, which must be attached to the base. After that, it’s a matter of attaching all the necessary cables, which are loose from each part.
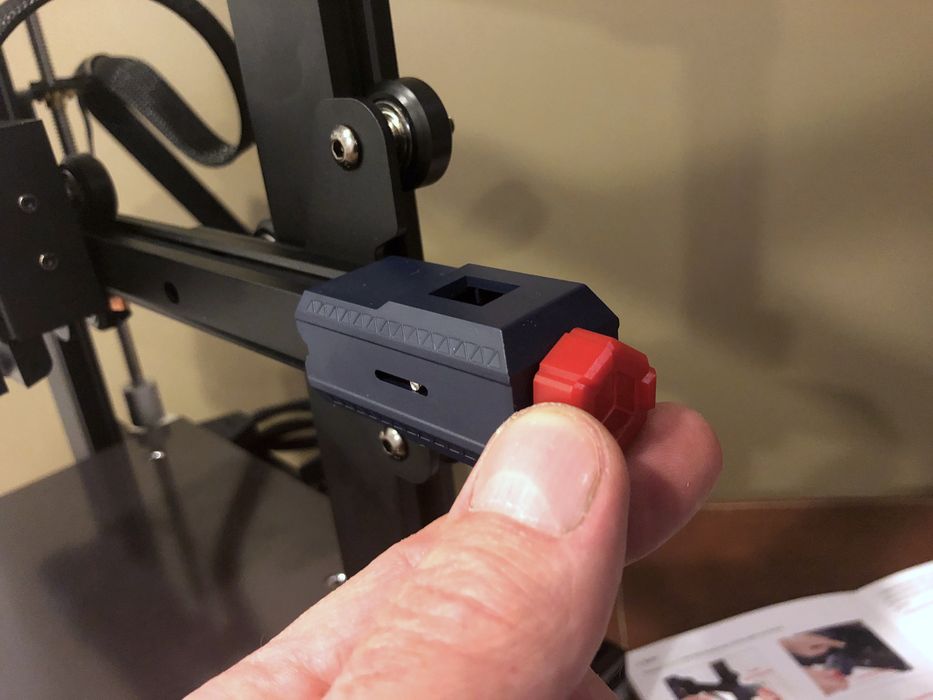
Anycubic has included a handy clip to hold the loose cables during main assembly, which is something we haven’t seen on other devices.

We found the process of attaching the two main parts together with four bolts quite simple, mainly because there were grooves milled into the base’s aluminum extrusions. This allowed for a very accurate alignment of the two assemblies.
The next step was to attach the control panel, which is a separate box, and the spool holder to the top of the machine. No problems with those.
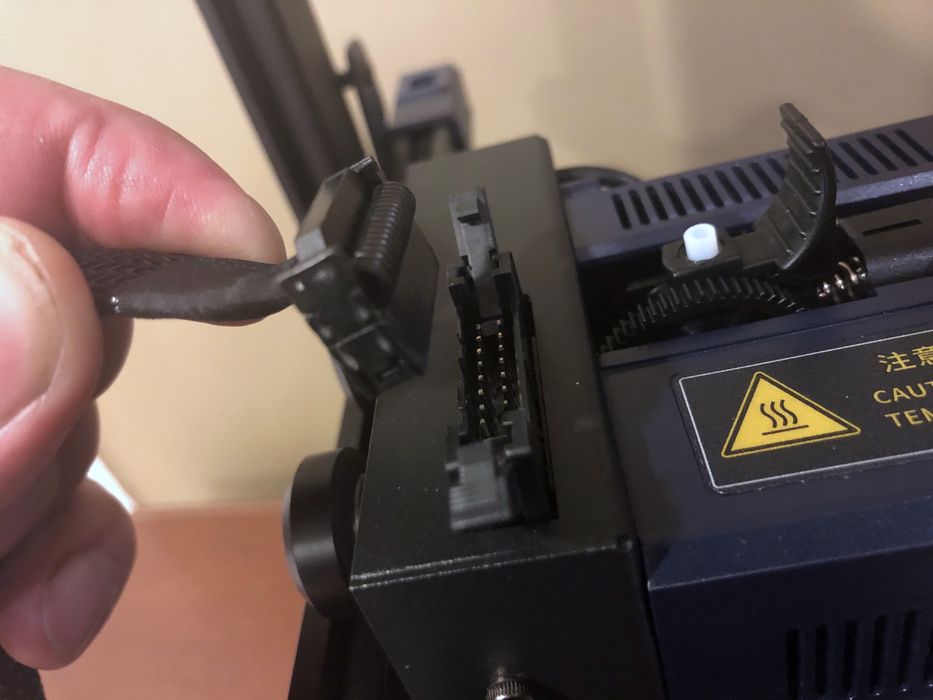
At this point the cables must all be attached too the proper connectors, which we found to be easy to do, due to the excellent labeling by Anycubic. After they are attached, a cable clamp ties up the main cabling to the extruder to prevent it from interfering with the print.
At this point the machine was fully assembled, but there’s a few things that must be done before starting a job.
We checked all wheels and drive belts to ensure they operated properly. We found some minor play in the Z and Y axes, but were easily dealt with by rotating the eccentric nuts on the loose wheels until things firmed up.
We found that the belts were actually properly tensioned right from the factory. However, had they required adjustment, Anycubic provides accessible tensioners on the X and Y axes.
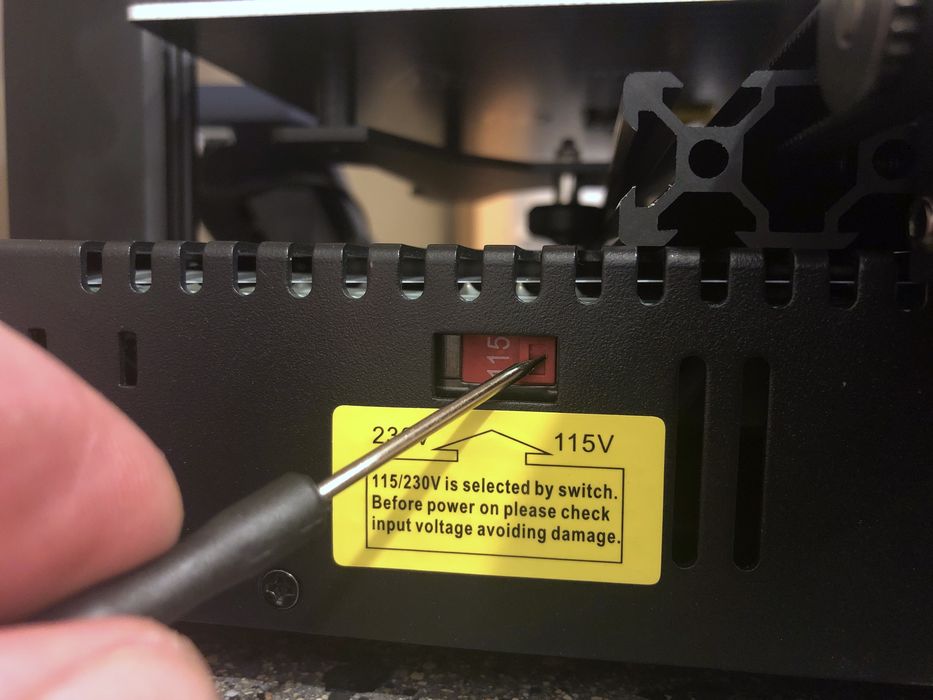
Finally, there’s a very important step: ensure the power system’s voltage is set properly. This is done via a switch on the power supply. At this point we were ready for power up.
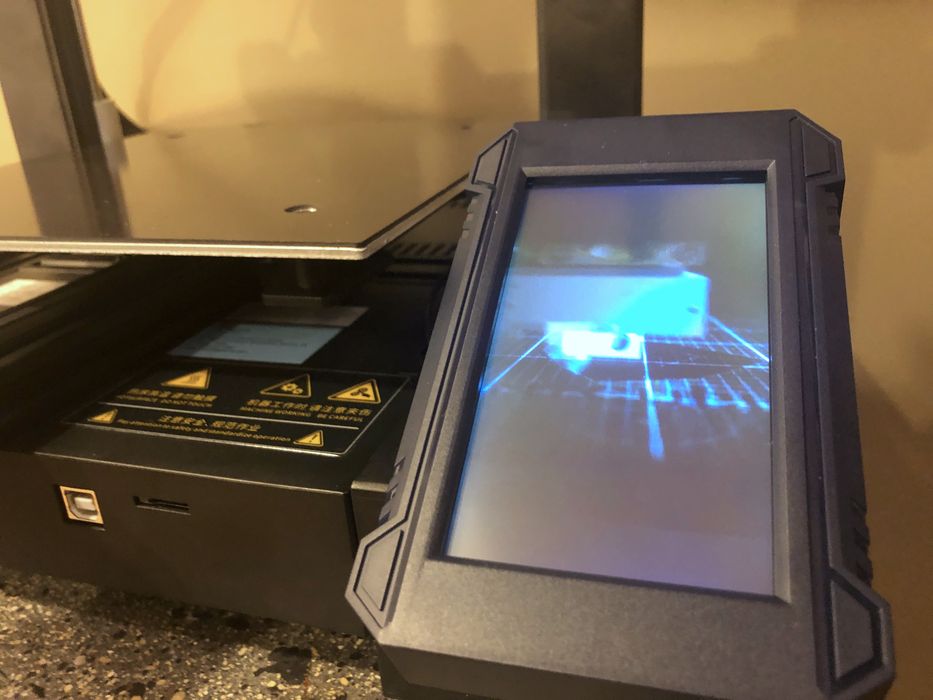
Like all Anycubic devices, the Kobra 3D printer greets the operator with a melody and video on the touchscreen at startup. I’m not sure this is a necessary thing, and wonder if Anycubic could provide an option to turn off the melody.
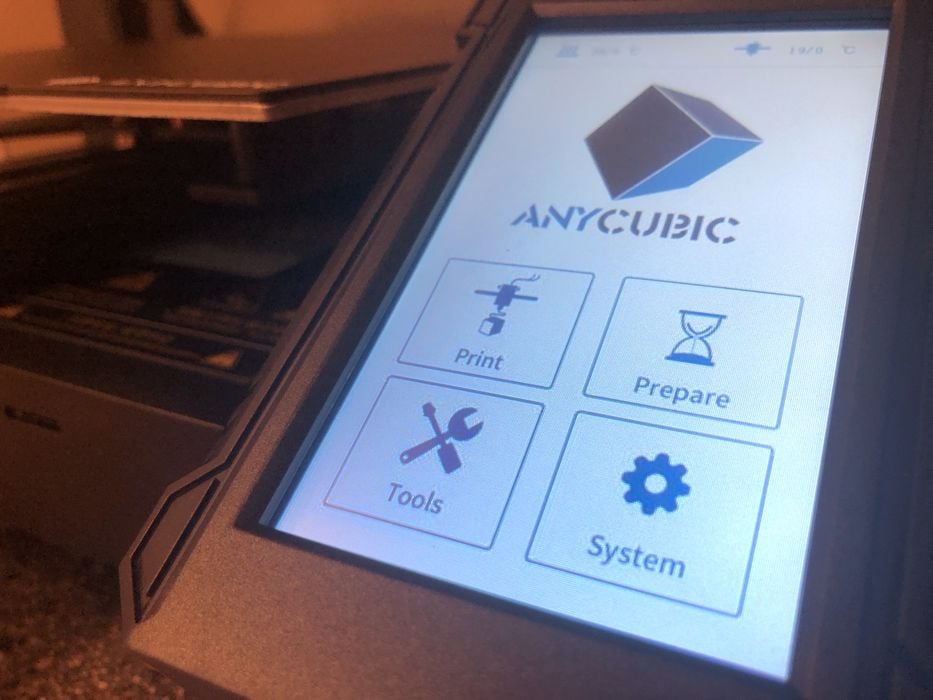
The screen itself was quite bright and very easy to follow. Anycubic has done a good job in organizing the menus, so it’s easy to find most functions. Their interface is similar between their 3D printer models, so if you have one, you’ll know how to operate another.
One curious function is called “Voice”, which at first we thought would enable/disable human voice responses. However, it turns out that it mutes or enables the system “BEEP” sound. Sadly there were no actual HUMAN voices to be found.
This is part one of a two part series. Part two is here.