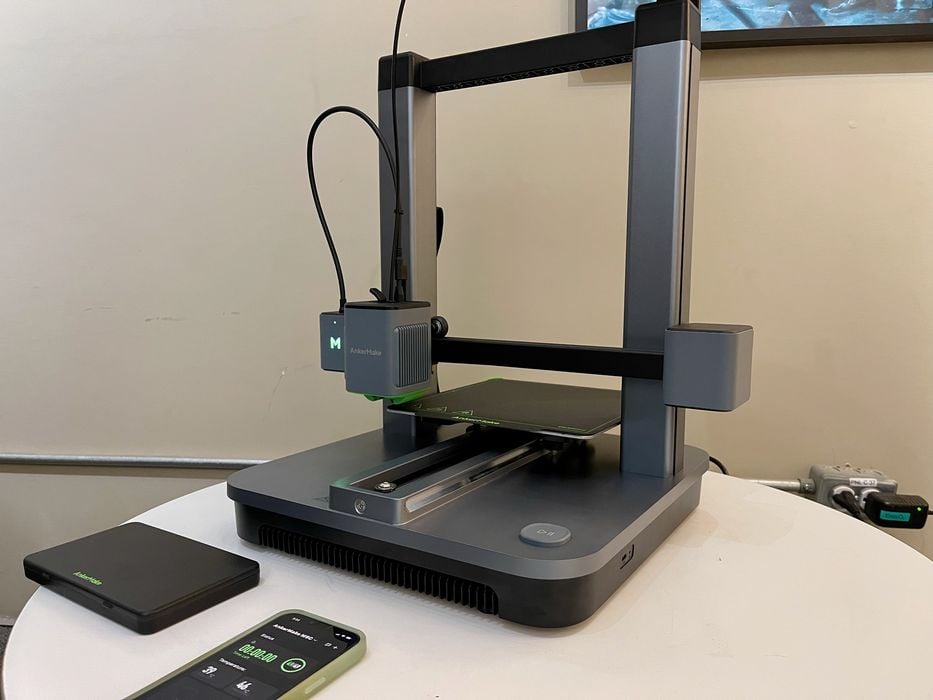
We were able to test an unusual 3D printer designed for ease of use, the AnkerMake M5C.
This is part one of a three part series, please read parts two and three.
AnkerMake M5C Background
AnkerMake is a brand of Anker, a large Chinese company that’s been around for a dozen years. Starting from producing laptop batteries in 2011, the company quickly diversified into chargers, portable power solutions and conferencing gear. Eventually in 2022 they branched into 3D printing with the launch of the M5 desktop FFF 3D printer via a Kickstarter campaign.
The campaign turned into the most-funded 3D printer project on kickstarter with funding reaching almost US$9M. The M5 was later shipped November 2022.
Almost a year later, the company launched an improved version of the device, the M5C, and that’s the machine we’re looking at today.
AnkerMake M5C Specifications and Features
The M5C is a desktop FFF 3D printer without enclosure. It’s a high speed device, and is able to handle a variety of materials.
The build volume is a healthy 220 x 220 x 250 mm, and a standard all-metal 0.4mm nozzle diameter on the hot end is able to reach 300C. The extrusion system is designed for 1.75mm filament.
The print surface is a standard magnetically attached spring steel plate with adhesive coating. It’s straightforward to give it a twist after prints complete to pop off the model. The print surface can be heated to 100C, enabling the ability to print materials like ABS and ASA. AnkerMake lists the following materials as supported:
- PLA
- PETG
- PET
- ABS
- TPU
- PA
- PLA-CF
- PETG-CF
- PA-CF
However, note that the nozzle is made of brass, so the hard CF (Carbon fiber-filled) materials may erode the nozzle over time.
One of the highlights of the system is its rapid print speed. The machine produces accelerations of up to 5000mm/s/s, and print speeds of up to 500mm/s, and has a volumetric capacity of 35 cubic mm/s. However, practically achieved speeds are somewhat slower. Nevertheless, the machine is able to produce a #3DBenchy in only 17 minutes.
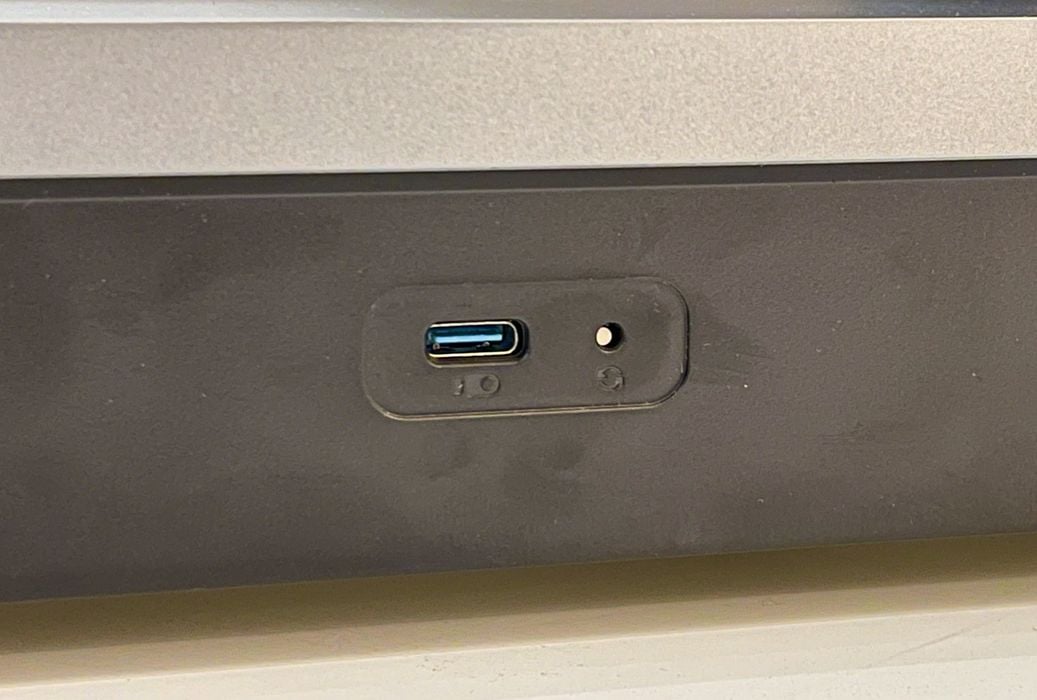
The machine, as you will see, is contained within a WiFi / software ecosystem, but there is a USB-C port for direct access if necessary.
The primary feature of the M5C is its ease of use, and that’s created through an ingenious combination of hardware, software and process. They call it “One-Click Printing”. Operators are able to quickly select precision, standard or fast print modes, for example.
Multicolor 3D printing is possible with the M5C with the optional V6 Color Engine. It’s a separate ad on that holds up to six spools of filament and provides automatic swaps during print jobs. We didn’t test this feature.
One unusual feature is on-board storage of 8GB, which is used to store GCODE files downloaded to the printer from the cloud.
With that, let’s get started on the M5C!
AnkerMake M5C Unboxing and Assembly
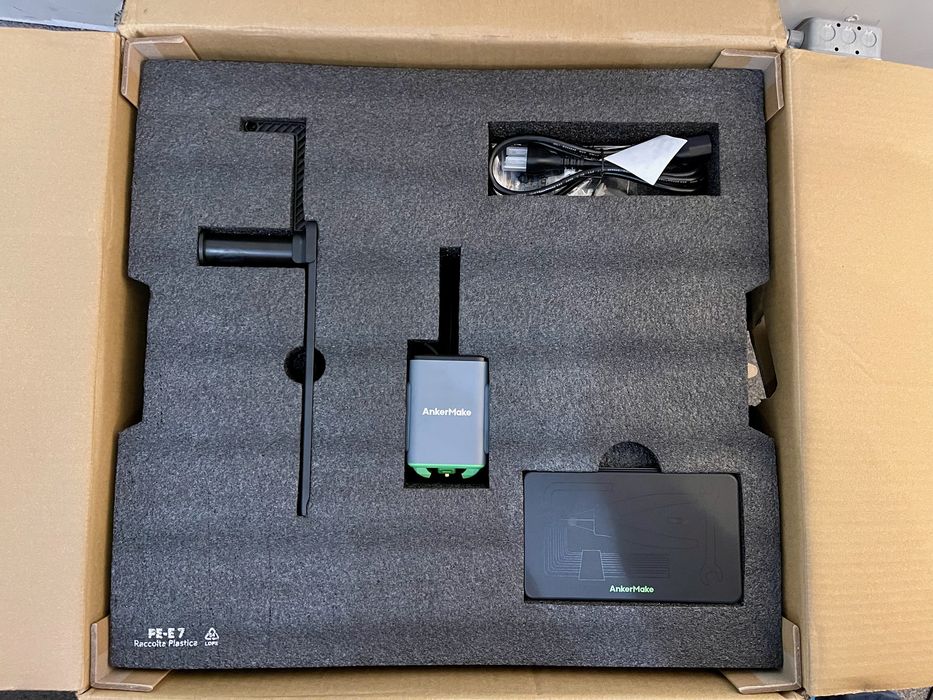
We found the M5C to be superbly packed, with form-fitting foam safely surrounding all parts. No parts were damaged in the shipment.
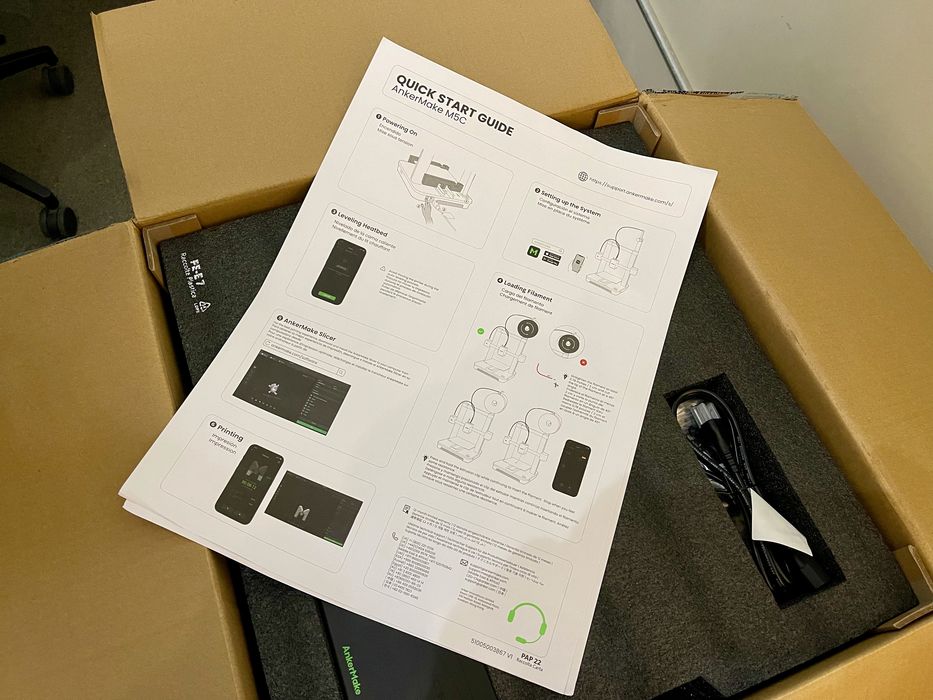
We were pleased to see there was a Quickstart instruction card included at the top of the box. This item was actually more readable and usable than some we’ve found with other machines.

The package includes a toolkit, as do many desktop 3D printers. However, here the tools are mounted in a nice closable box.
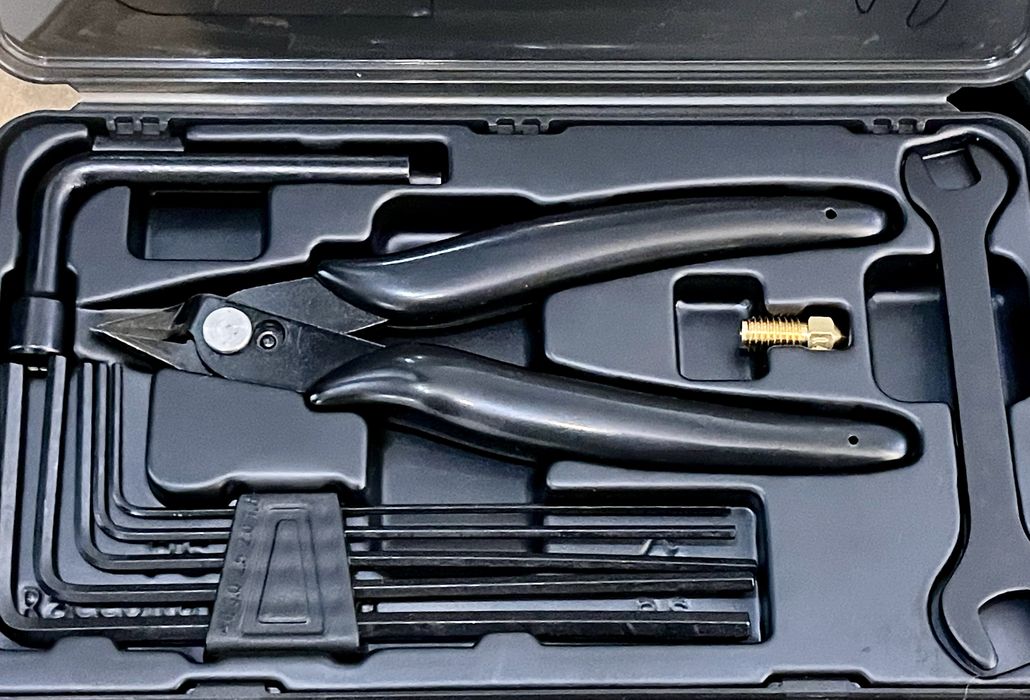
Here’s what you get in the toolbox. Note that there is a spare nozzle included, which might be useful if you print too much carbon fiber material.
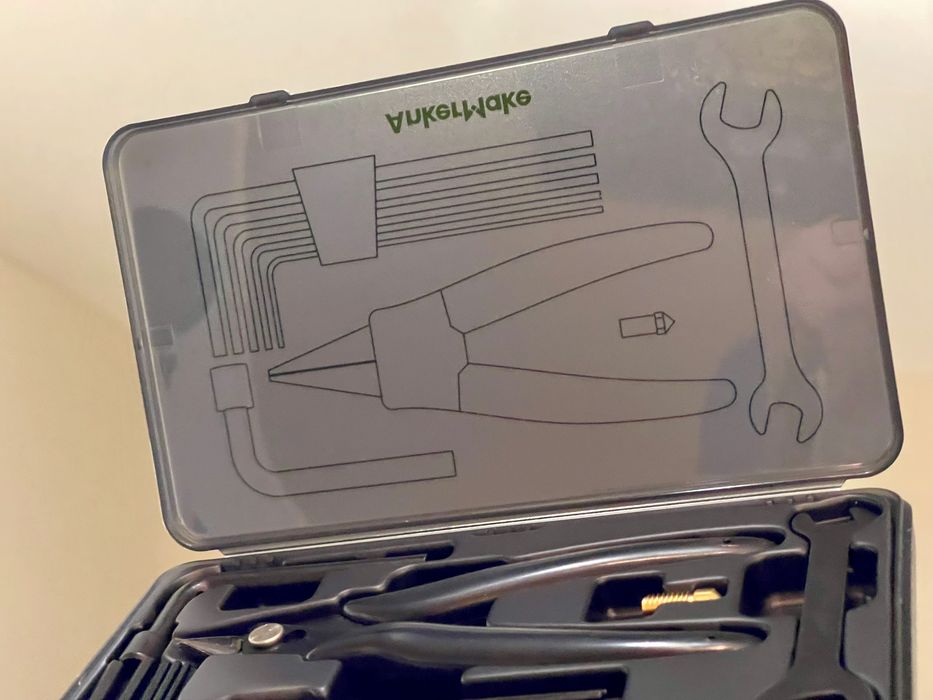
But wait! When we opened the toolkit we saw something interesting: the box lid has outlines of the parts that are visible when held up to a light. This is one of the nicer toolkits included with 3D printers we’ve seen.
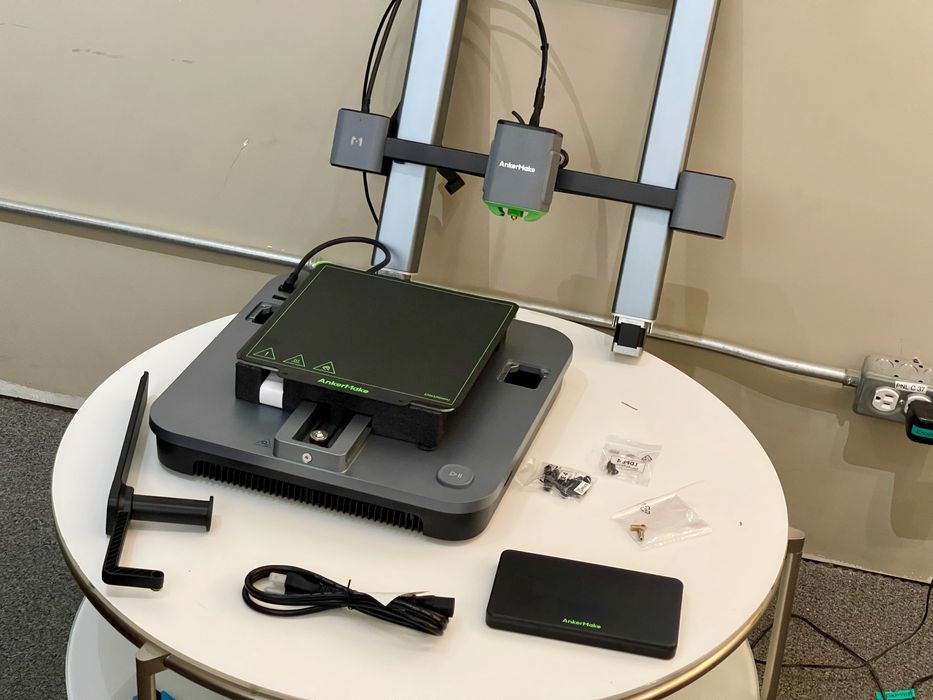
There are a surprisingly small number of parts included with the M5C, and this follows the strategy of ease of use: it’s also easy to put the machine together.
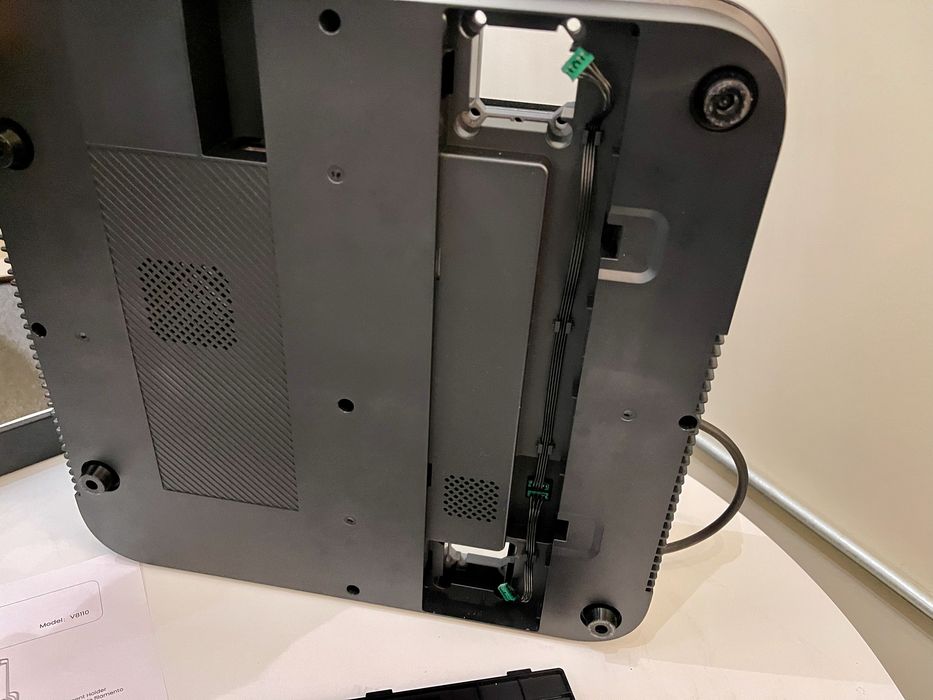
Here we see the bottom of the M5C, and you’ll notice two holes that are designed to accommodate the gantry. This is an unusual design that we haven’t seen from other manufacturers.
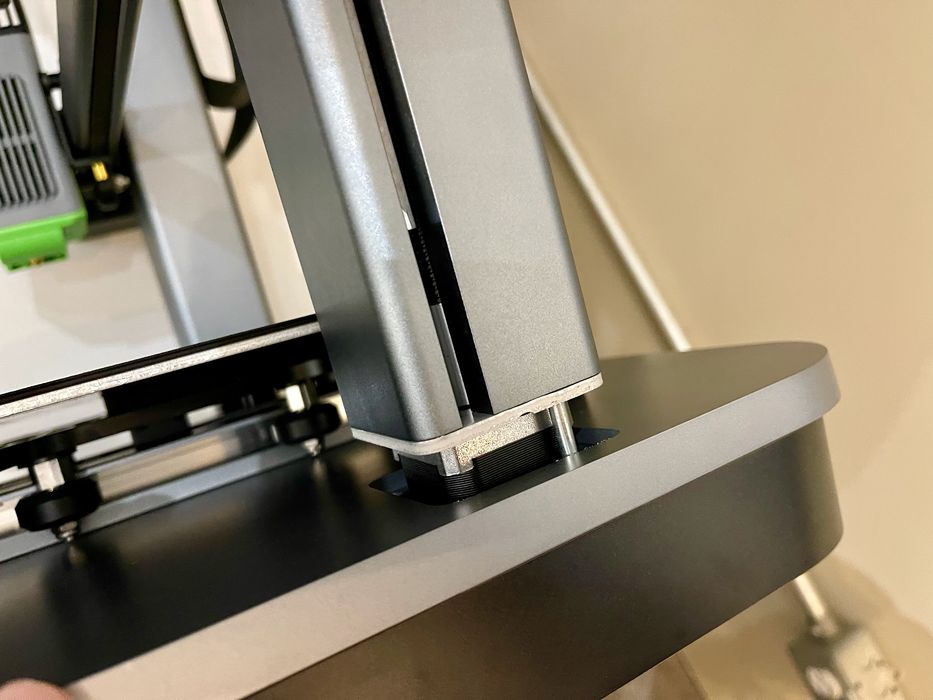
The gantry is inserted into the two holes and very securely mounted with bolts. The resulting frame is quite rigid, which is important for high speed operations.
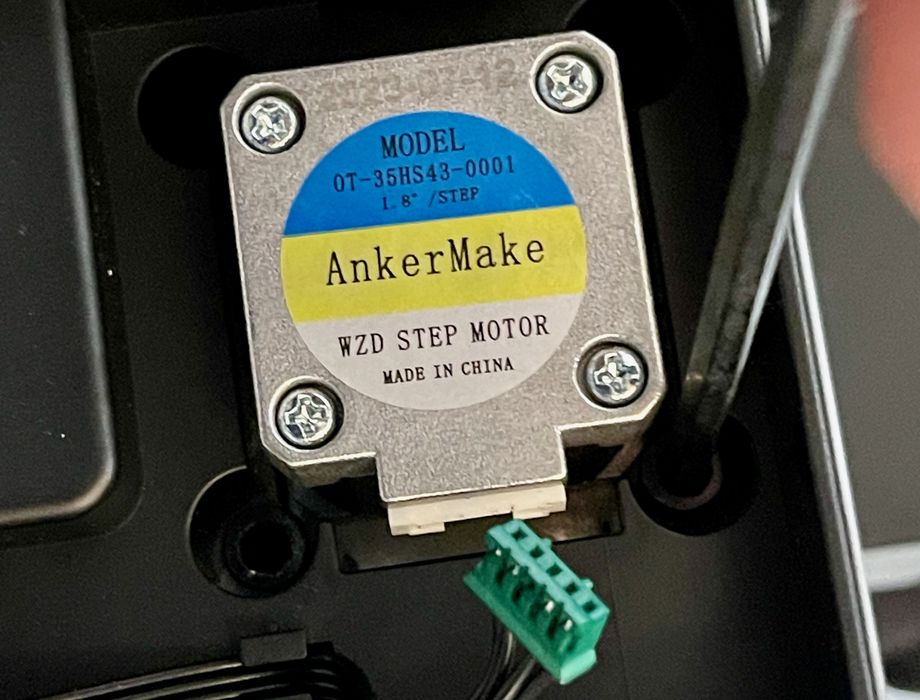
The Z-axis stepper shown above is peeking through the gantry hole, which is an unusual position. Normally motors are visibly mounted, but in the M5C design they are hidden inside the frame.
Of course, the stepper motors must be hooked up, and this is one of the few assembly tasks to do.
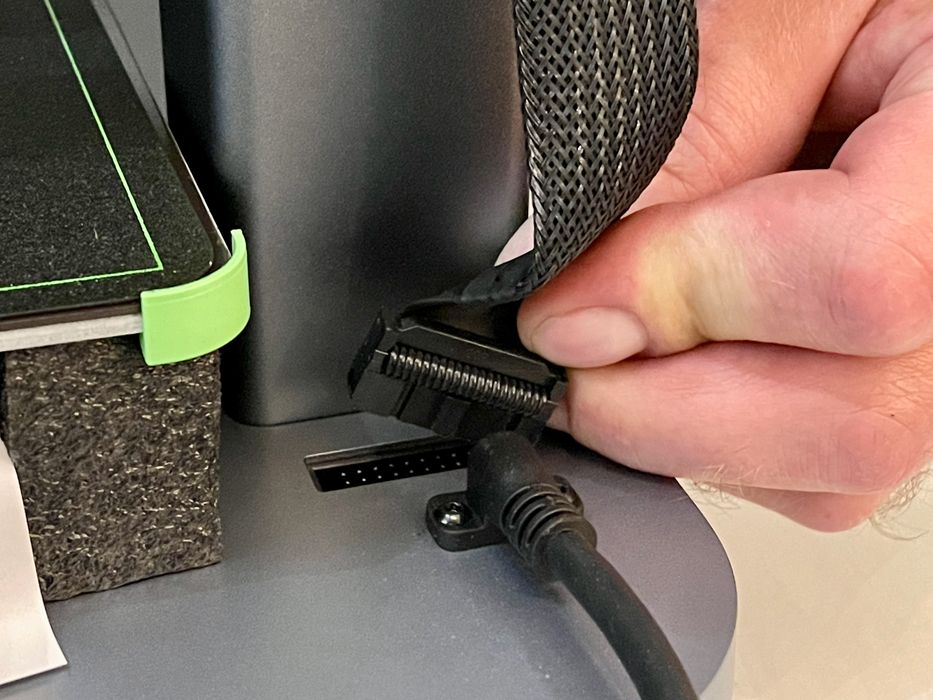
There’s also a ribbon cable to plug in to connect the electronics in the gantry to the base unit.
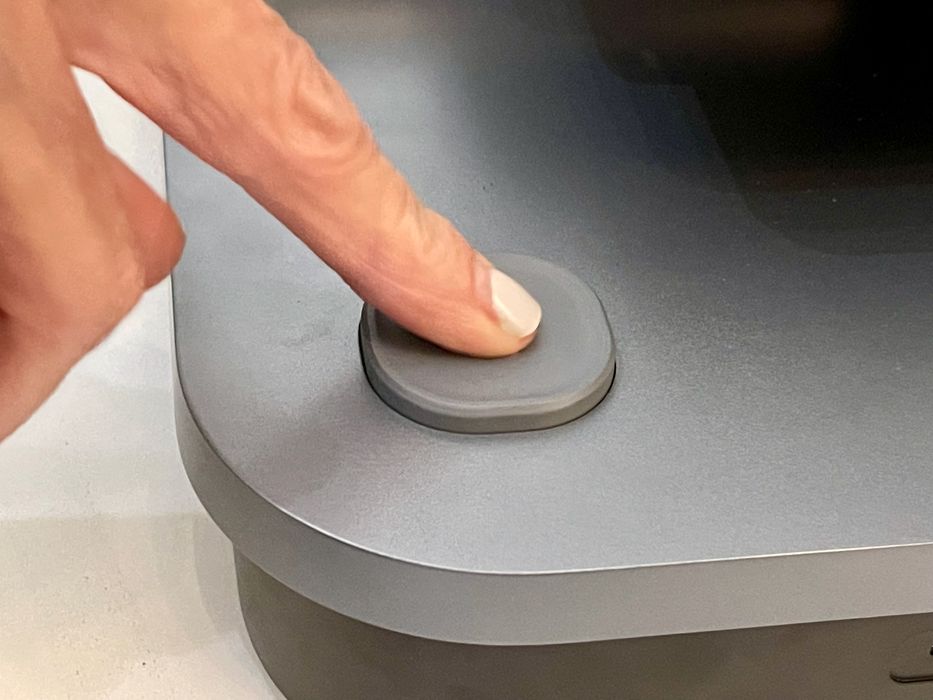
That’s about it, and we were ready to power on the M5C.
This is part one of a three part series, please read parts two and three.
Via AnkerMake
