

I tested Scanamaze, a new handheld 3D scanning app.
For some reason there are a quite a number of 3D scanning apps appearing recently. It seems they could be taking advantage of a confluence of supporting factors, including:
- Powerful new smartphone processors
- Embedded 3D sensors in smartphones
- New 3D processing frameworks from manufacturers (esp. Apple)
- Easy cloud processing configurations
I’ll be looking at several of these apps, but today we’re examining one called “Scanamaze”. Scanamaze is available for both iOS and Android platforms, and can be found in the respective app stores.
The core 3D scanning technology used by Scanamaze is photogrammetry, where a series of images of a subject from all angles are combined by software into a usable 3D model. This is a well-understood technology that’s been around for a long time. The usual process would be to take a bunch of images and feed them into a separate software tool for processing.
That workflow is changing with new apps like Scanamaze. Here the app does the processing for you, and there’s no need for separately handling folders full of images.
Scanamaze guides you through a scanning process, which is again quite different from the normal “just use your camera” process.
Scanamaze offers three modes of capturing images for photogrammetry:
- Manual, where you touch a button to trigger an image as you walk around your subject
- Auto, where the app automatically triggers an image periodically as you move about the subject
- Video, where images are rapidly captured on video and decomposed into separate images later by the software
I found all modes to be very easy to use. One might think that the manual mode might be less useful, but I found it to be convenient. For example, if I had trouble walking around a subject and had to reposition myself, I simply didn’t trigger an image while repositioning. I’m not sure that would work well if in auto mode.
All modes provide some feedback on scanning progress, such as counting the images captured. Normally you’ll need a hefty number of images to obtain a reasonable quality scan. By “hefty”, I mean at the very least 50 and preferably over 100.
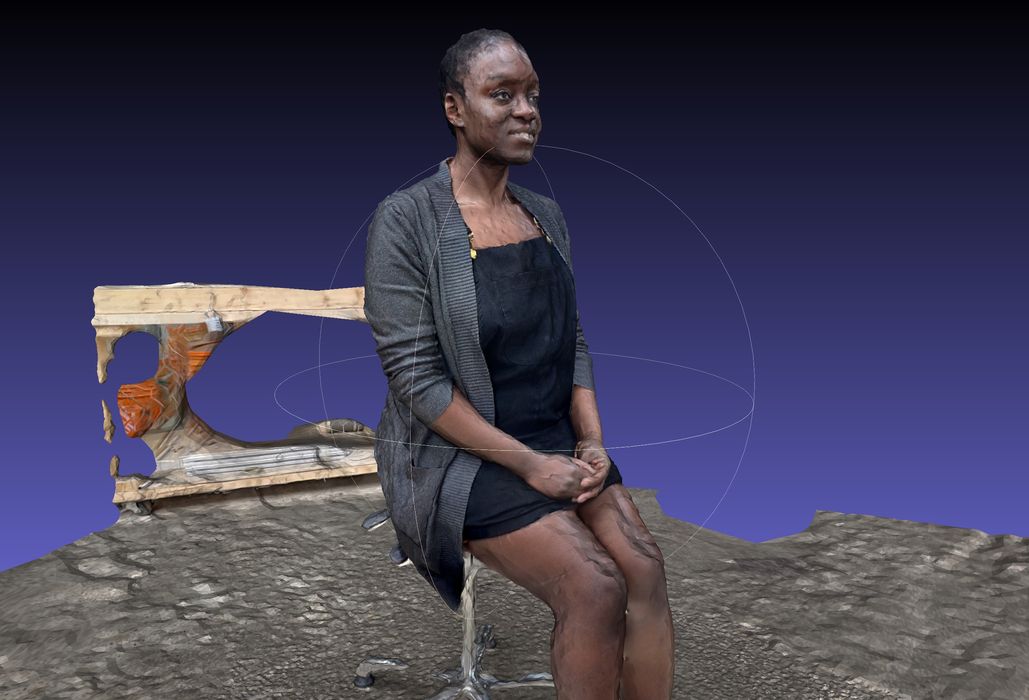
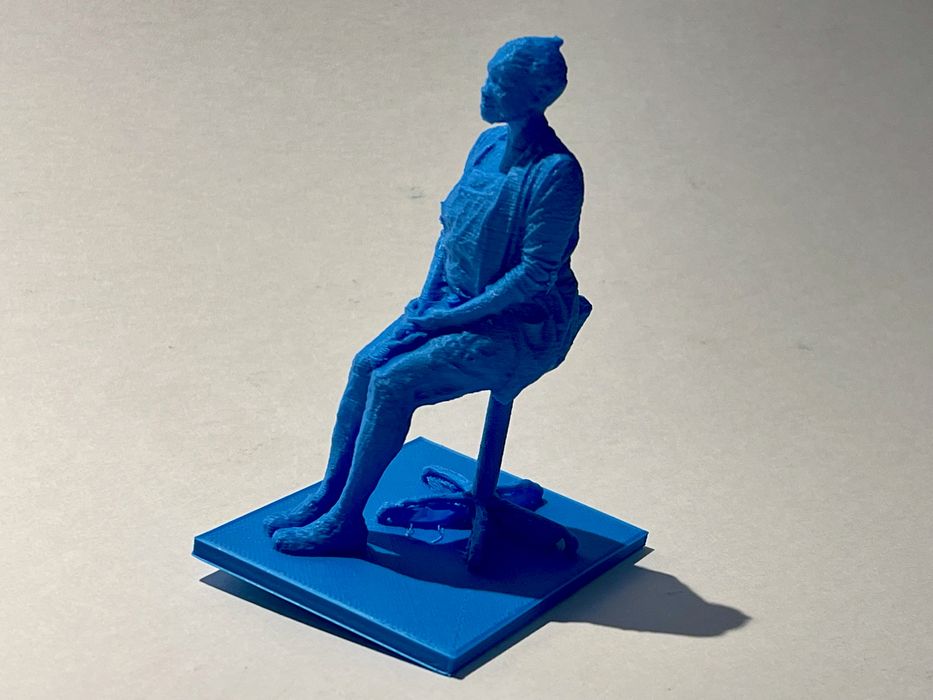
The scan obtained at top used 120 images, and was captured in only a couple of minutes. Thankfully, the subject in this scan was very cooperative.
In the end, I recommend using the Video mode because it seems to capture far more images than you could manually, and seems to be faster to use. Just walk around the subject, even quickly, and you’re done.
Once the scan is complete, you indicate so by hitting the stop button. At that point you are required to name the scan for upload.
I have to say the forced naming is quite important, as many other similar apps simply generate a “license plate” filename. These are quite difficult to distinguish later on, and you find yourself opening up scans just to figure out what they were about. With Scanamaze you identify the file properly right away.
The file is uploaded to a cloud server, where the images are processed.

This is where the monetization angle of Scanamaze appears. While the app AND processing is available for free, it is possible to purchase “Priority Processing” for about US$1.
Presumably this increases the speed of the photogrammetry processing, but if you don’t need speed, then you must wait for the processing to take place at a lower priority. In fact, your scan will actually wait for uploading, and once uploading it seems to process at normal speeds. In other words, the priority processing seems to jump you to the top of the upload queue.
How long do you wait? In my tests it wasn’t particularly long. Normally I’d start the upload and then do other things. I’d return in less than an hour and inevitably found the processing to be complete. Sometimes the scan is processed in only ten minutes.
I suspect there are situations where the priority processing could be important, particularly if one is in a rush for one reason or another.
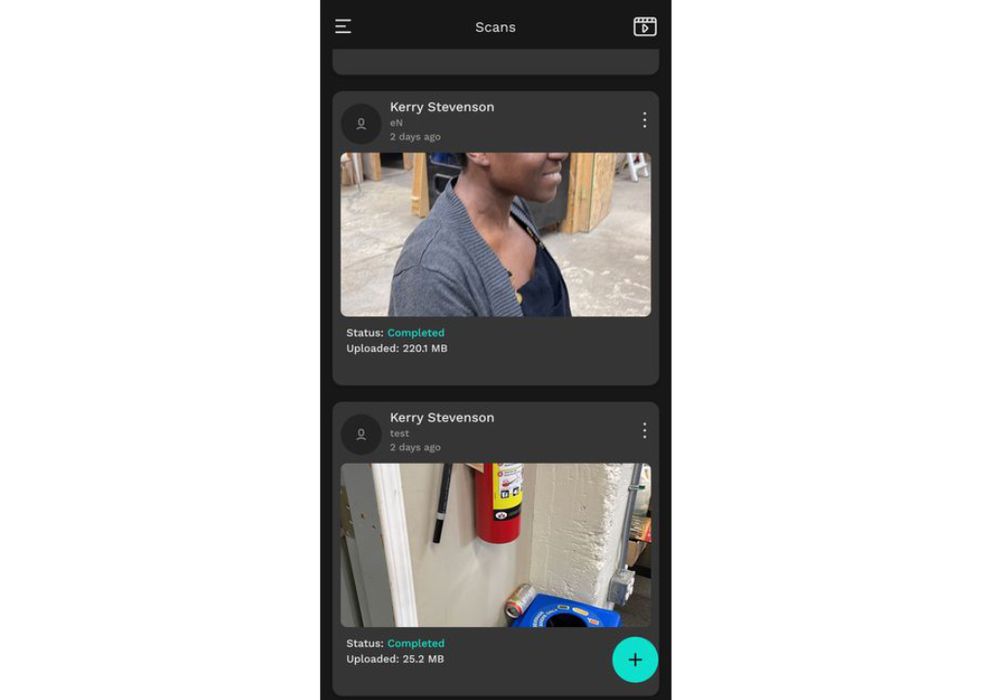
Once the processing is complete, the new scan appears in your list of completed scans in the app. From there you can open them to view them in 3D, with the ability to twirl, scroll and zoom. Scanamaze also offers the ability to instantly post the result to Facebook, Instagram and Twitter.
Scanamaze also provides a general feed of great scans on their site, and asks your permission to add your scan to that feed. There’s no obligation here, but if you had a cool scan you might consider enabling permission.
When viewing the scan in 3D mode it is possible to create a spinning video of the scan for other uses. This can be shared in similar ways.
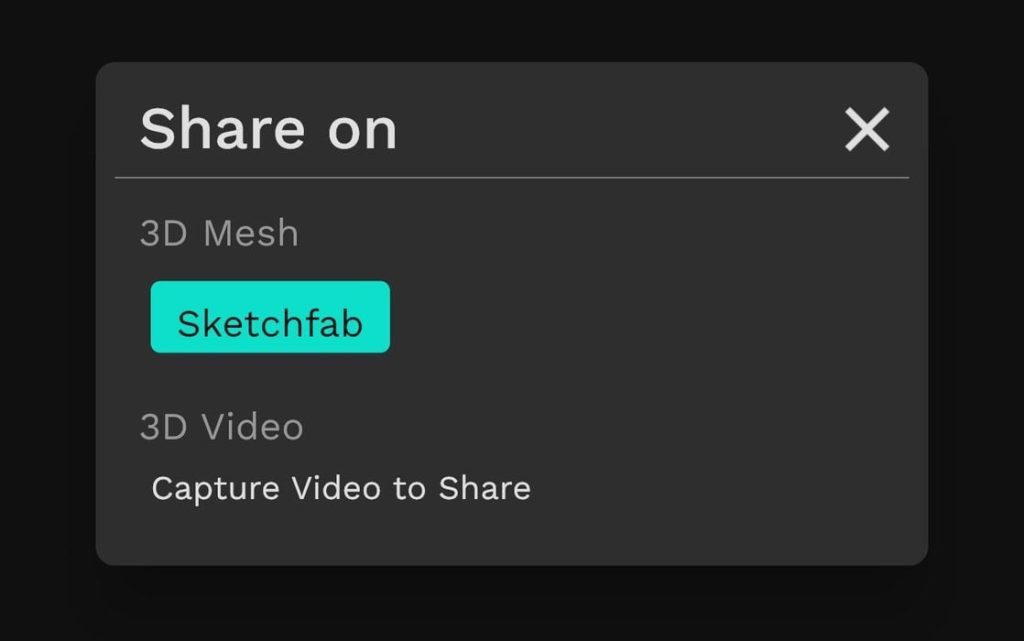
One interesting feature is the ability to share the 3D scan directly to Sketchfab, the online repository of 3D models. Sketchfab is often used as the backend for embedding 3D models in other applications and web pages, so this could be quite important for those making many scans. I’m thinking a product sales site with lots of 3D product views may find this a critical feature.
But what about exporting to a 3D printable format?
In the app there doesn’t seem to be any way to do an export to STL, OBJ or any other usable format. At that point I was ready to give up on Scanamaze.
But then I received an email from Scanamaze. The email said: “Your 3D Model is Ready”, with a link to “download the mesh”.
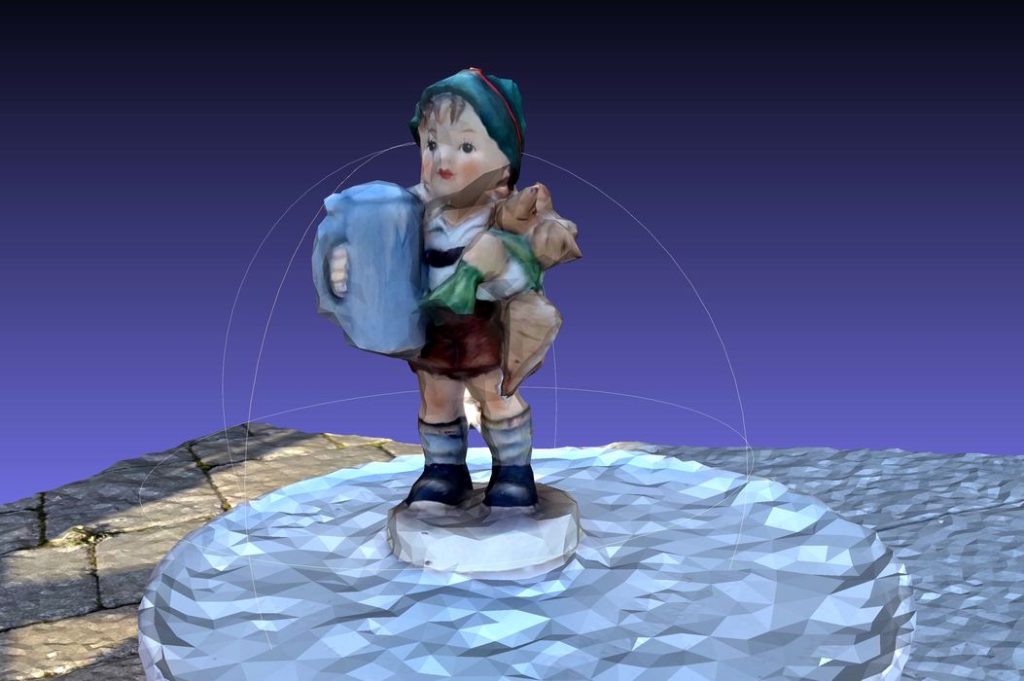
I did so, and found I was then in possession of a zipped folder containing a .OBJ file with color textures. Opening this in Meshlab showed me this result:
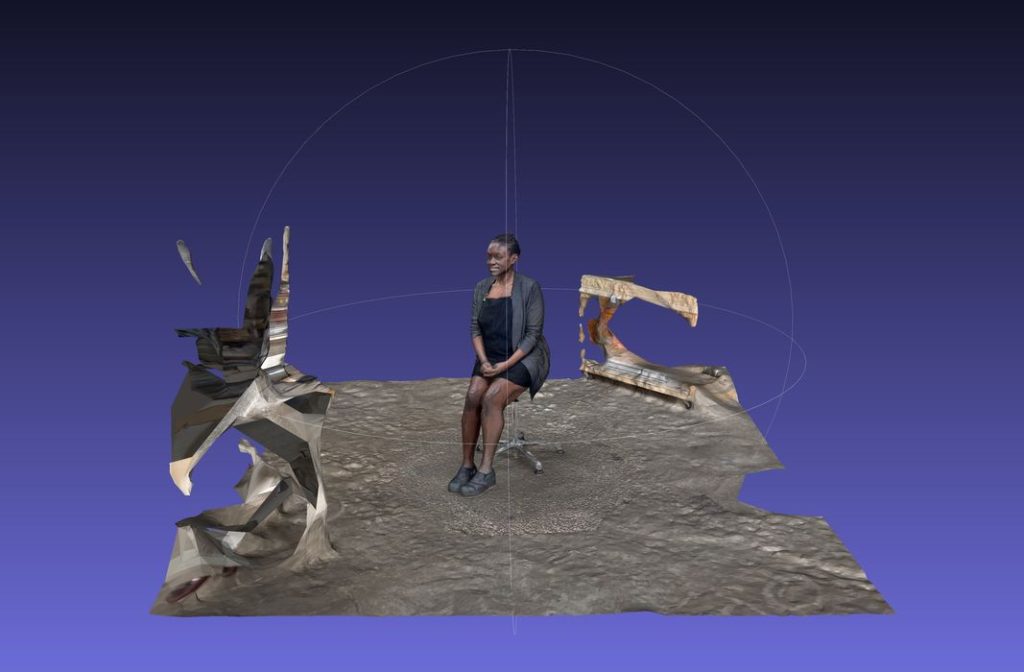
The scan was pretty decent. The only areas where it fell short were on the shiny portions of the scene, most notably the chair that had chrome components.
After some simple edits to remove the extraneous stuff and fix the chair, this file was indeed 3D printable, or at least editable and exportable to printable formats.
There were some issues with the scan, as is typically the case with the photogrammetry process.
In particular, the chair support didn’t come out well at all, likely because it was highly reflective. Reflective surfaces tend to confuse photogrammetry because the system can’t properly identify where the light is coming from.
In the end, this 3D model wasn’t quite 3D printable because of that effect: the chair would not support the person. However, with some editing and adding a cylinder to support the chair, I was able to successfully 3D print this scan, and it turned out not too bad:
The surfaces were a little bit rough, which I confirmed later when scanning some flat objects. Photogrammetry usually doesn’t reproduce flat surfaces properly, even in the best conditions.
The app is likely best used for larger objects, as small objects tended to have some rough detail. It seems that Scanamaze always uses the same capture volume, which is about the size of a medium-sized room. That means that small objects are only a very small piece of the scan you obtain.
Nevetheless, I found Scanamaze to be quite useful as a handy 3D scanner in your pocket. You know what they say, the best scanner is the one you have.
If you’re looking for a very inexpensive (basically free) tool for casual 3D captures, you might consider looking at Scanamaze.
Via Scanamaze