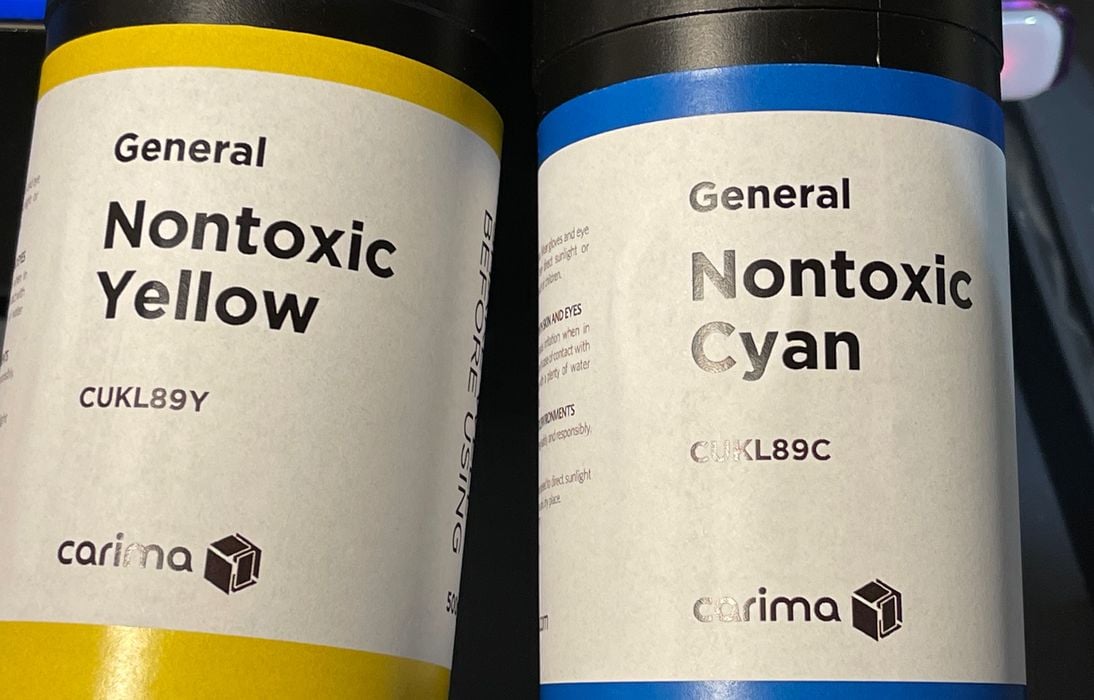
We were provided the opportunity to test Carima’s CMYK non-toxic 3D printer resin.
This is part one of a two part series, please read part two.
Carima CMYK Background
Carima is a Korean company that produces a line of professional DLP-style resin 3D printers for healthcare, jewelry and other applications. They also produce a wide array of sophisticated 3D printer resins for their equipment or other machines, including: dental, jewelry, ceramic, engineering, functional and general use.
One of their most unusual products is “CMYK Resin”. It’s unusual for two properties:
- It is a full color mixing kit that can be used to create almost any resin color
- The resin is said to be non toxic!
The non toxic property is highly unusual, because 3D printer resin is basically toxic due to the photoinitiator compounds within each mixture. As a result, resin 3D printer operators typically (or should) rigidly use PPE when handling resin and wet prints.
The use of PPE is pretty annoying, especially when one is used to using FFF 3D printers that have no significant toxicity. Thus I was extremely interested to hear that CMYK Resin was “non toxic”.
Carima said:
“The liquid resin has been tested and classified as non-irritant and no harmful chemicals substances were detected, which makes it suitable for educational, use, and printing children’s toys.”
That’s quite a statement, and I have a theory as to how this works as you’ll see below. Meanwhile, this is the company’s statement on toxicity that you can find on their website:
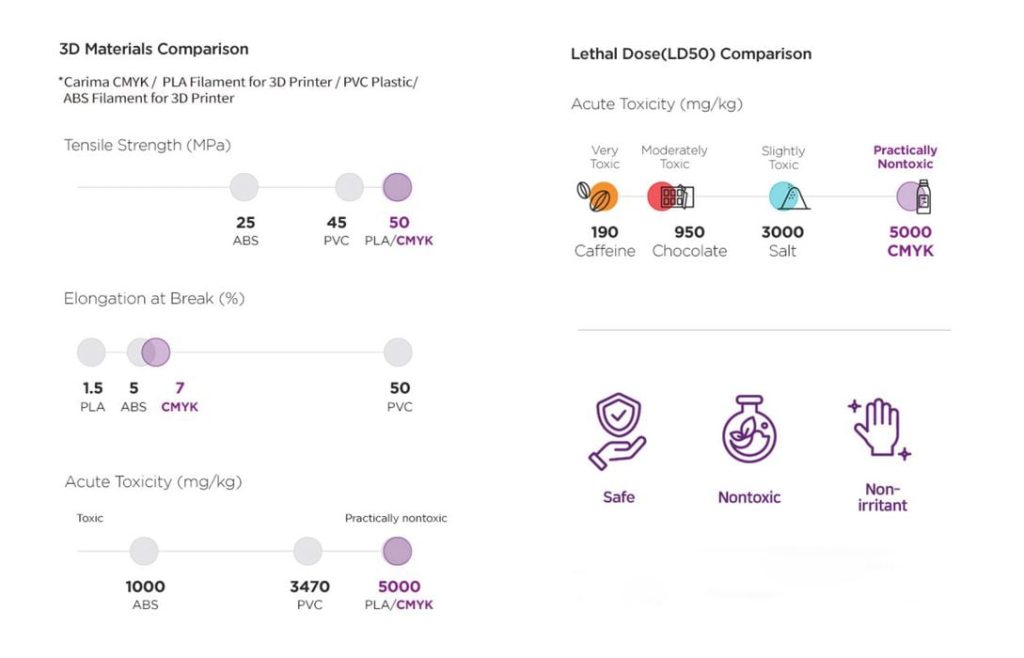
Looks impressive, and it’s actually true. They’ve measured the toxicity levels and they are as they say. However, there’s a bit more to the story.
Carima CMYK Unboxing
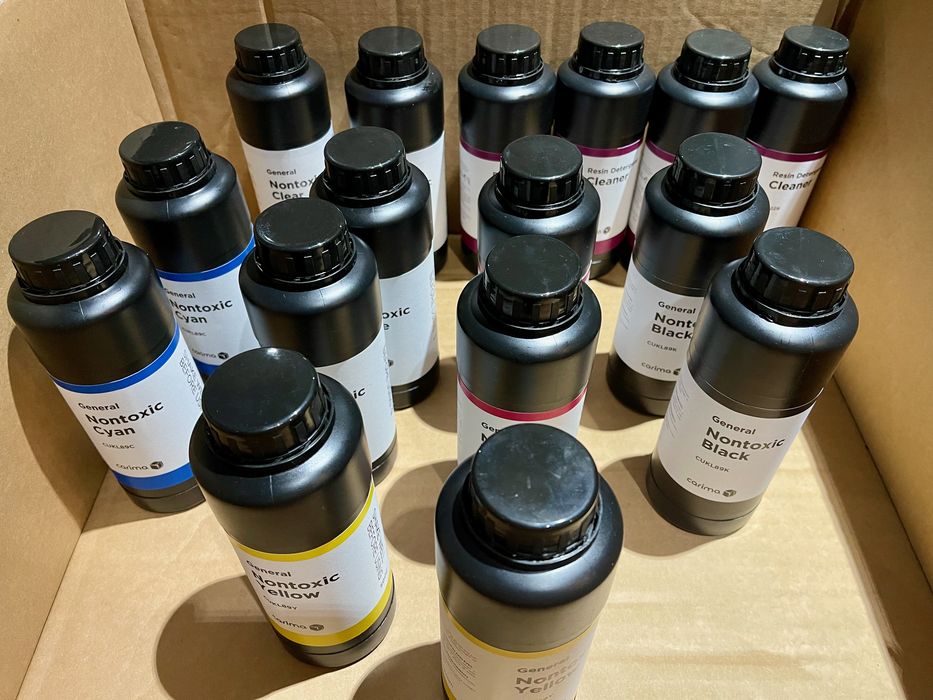
Hold on, “unboxing” resin?
Yes. The CMYK resin product deserves a bit of an explanation about unboxing.
Because this is a color mixing system — as opposed to a single resin — there’s more to the story here. Carima said:
“Carina’s CMYK resin, consisting of five colors, is a nontoxic, mixable material, allowing users to freely combine colors.”
In other words, you’re not buying a bottle of resin, you’re buying a set of different resins that you can mix together. My shipment included 14 x 500g bottles! The bottles contained:
- Magenta resin
- Cyan resin
- Yellow resin
- Black resin
- White resin
- Clear resin
- Detergent
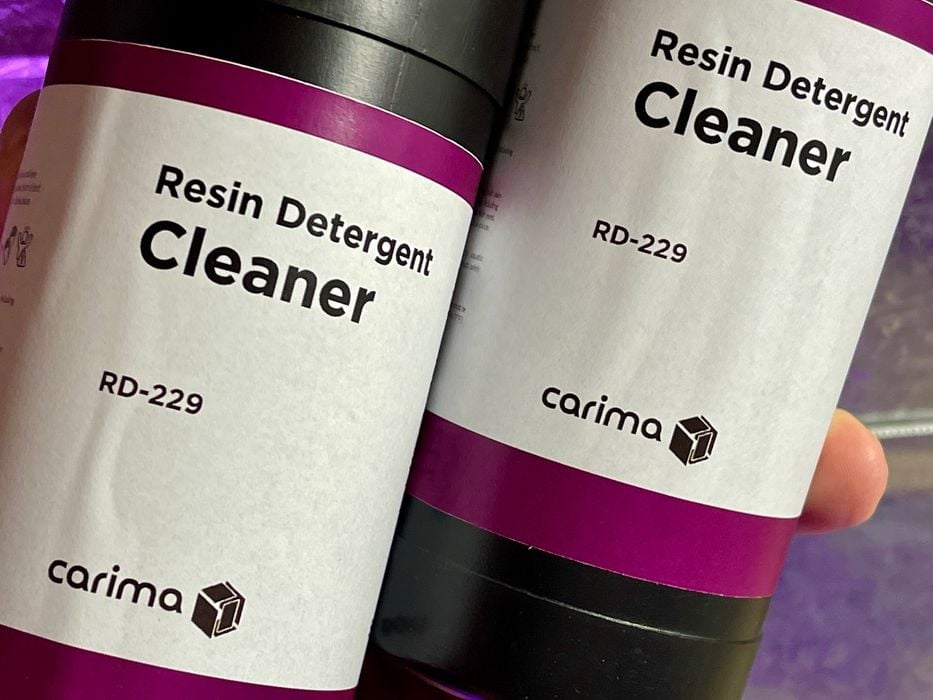
The detergent is basically a non-toxic rinse for the materials, to be used in the same manner as IPA would normally be done. It’s a perfectly clear liquid that actually doesn’t smell at all, but I really don’t know what it’s made from.
The idea is that you can combine different ratios of the colored resins to produce any color you want. However, as I discovered, that’s a bit harder than you might think.
Carima CMYK Color Mixing
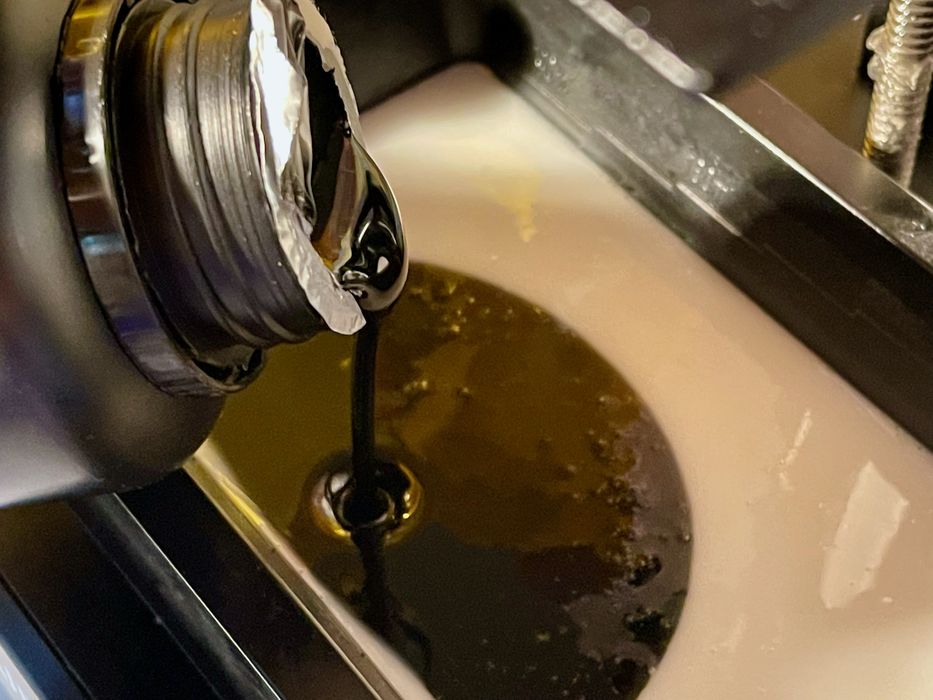
My first attempt at mixing colors was pretty basic. I decided to create “grey” by mixing some black and white resin.
I poured what I believed to be a small amount of “white” into the tray, and then added a smaller amount of black as above.
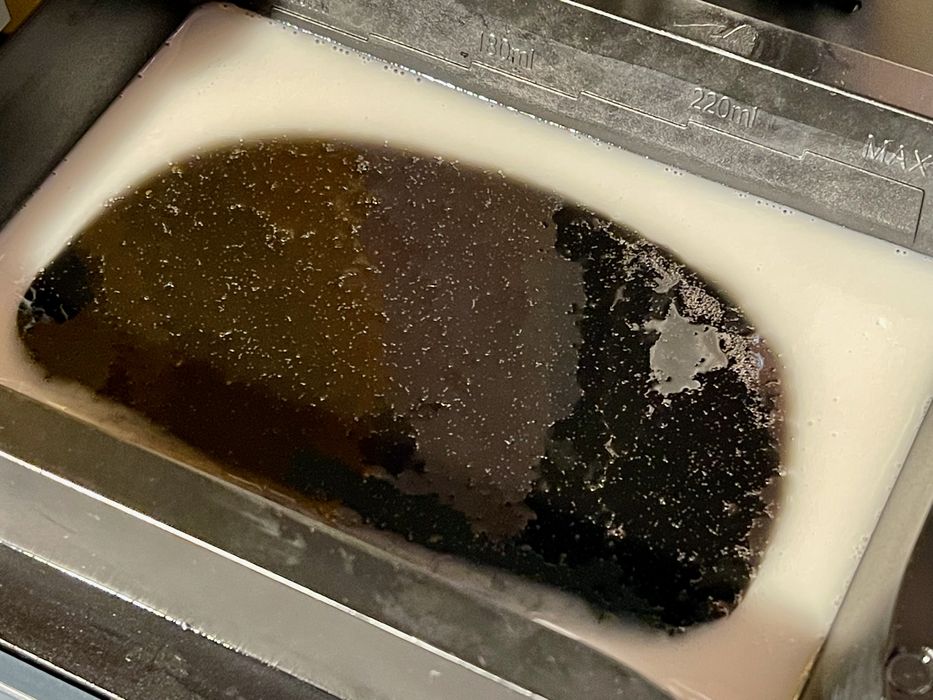
So far, so good. As you can see, the colors don’t mix automatically. You have to take some effort to do so.
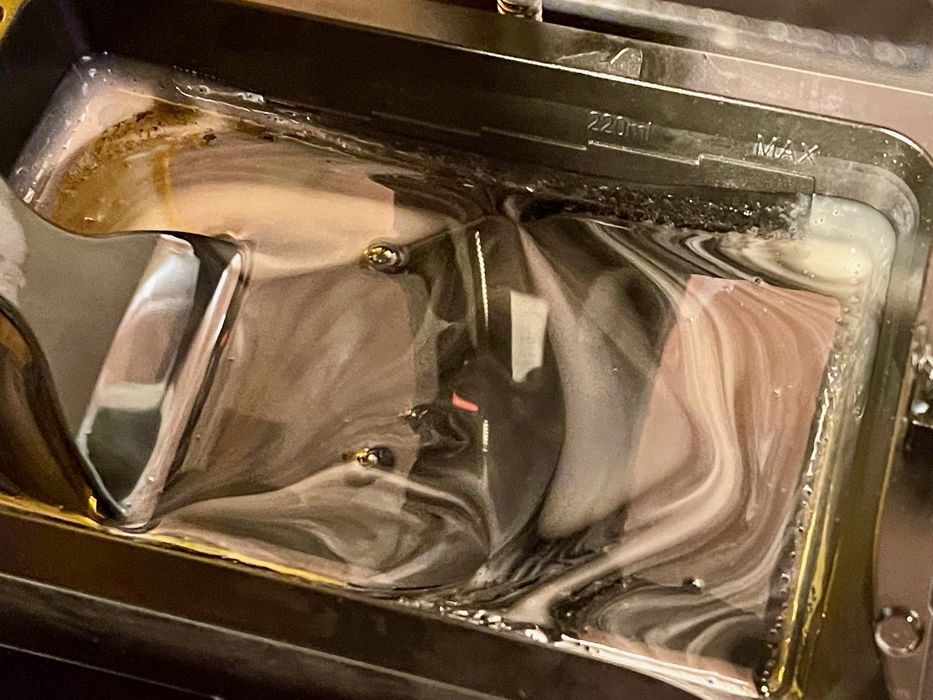
This is where you make good use of those plastic scrapers provided with your 3D printer. Surprisingly, it takes a relatively long time to properly mix the colors, as you must run the scraper around quite a bit. Be sure to get the corners, as this resin doesn’t really flow very much.
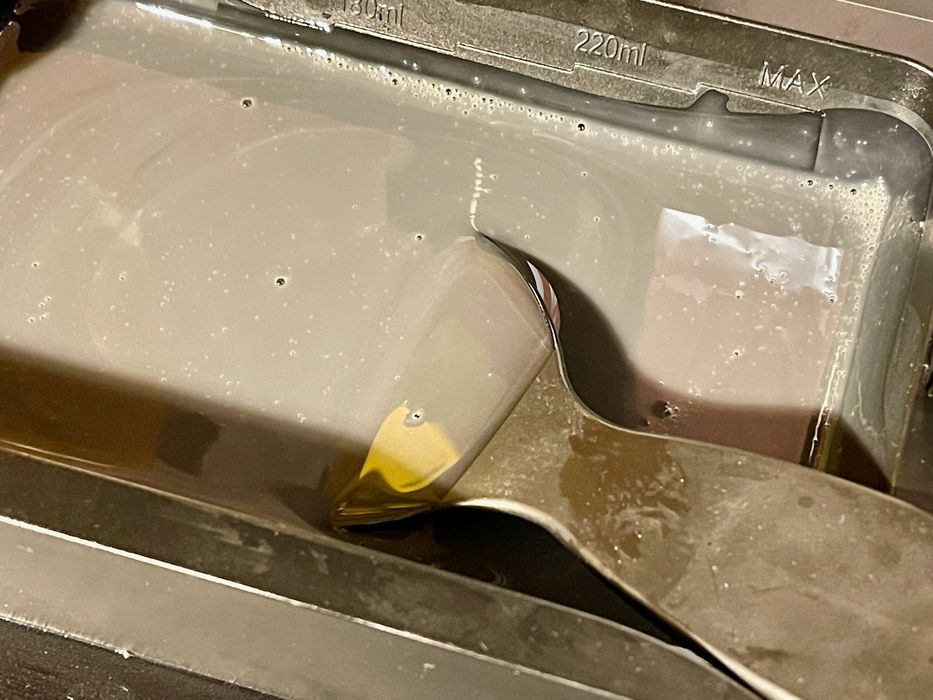
Finally, I ended up with this grey resin. At this point I realized that if I wanted to have a specific shade of grey, the mixing should have been done far more precisely. However, I had grey!
Carima CMYK Calibration
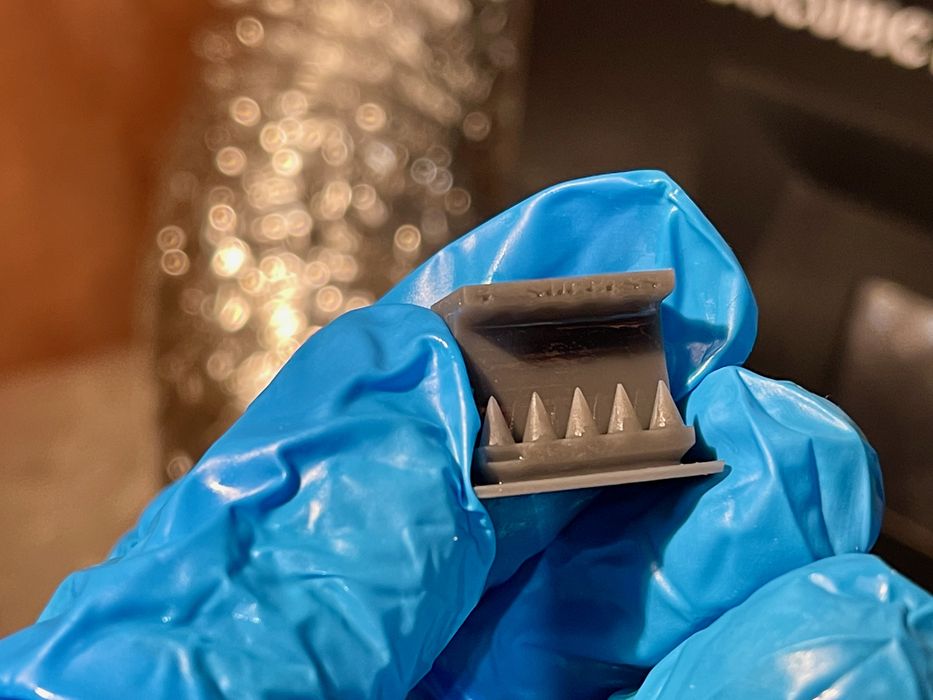
The next step was to calibrate the resin. This is the process of identifying the proper exposure time for the resin / printer combination, which is going to be different for every material.
While some resins have an exposure time on the label, you should always ignore it and calibrate on your own equipment.
The machine I was testing on was the fabulous Anycubic D2 DLP machine. Not only does this machine produce exceptional quality prints with its DLP engine, it’s also a very fast printer. Typically I use exposure times of only 1.2s or so.
The machine also has a very small resin tank, which is ideal for this application where you’re mixing small amounts of resin.
For calibration I avoided the usual Matrix test and instead have been using the “Cones of Calibration”. This is a new calibration model made by Tableflip Foundry, and it works really well.
Basically you have to repeatedly print the model, adjusting the exposure settings to make sure the cones on one side are just barely connected, while on the other side they do not touch.
I was conservative on my first run, using an exposure of 2.0s, far more than usual for this particular 3D printer.
Nothing happened. The print plate was blank.
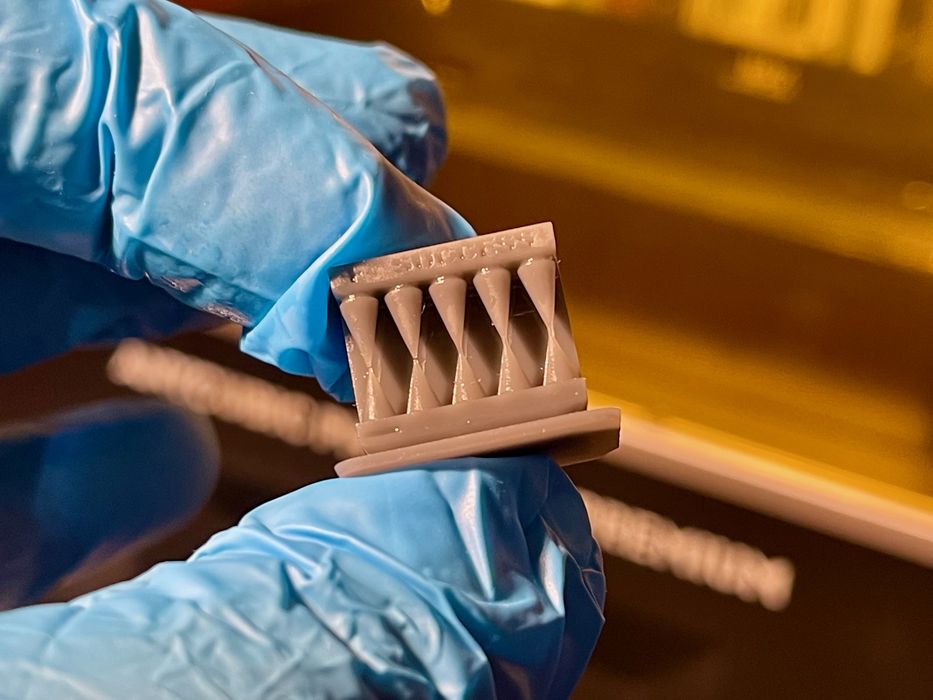
Very confused, I then went on a spree of increasing the exposure time more and more. And more. Eventually solid objects started to appear, and by the time I finished calibrating the resin, my correct, calibrated exposure time was a whopping 6.5s. This is literally 6x the normal exposure on this machine. You can see the result above.
This is part one of a two part series, please read part two.
Via Carima

