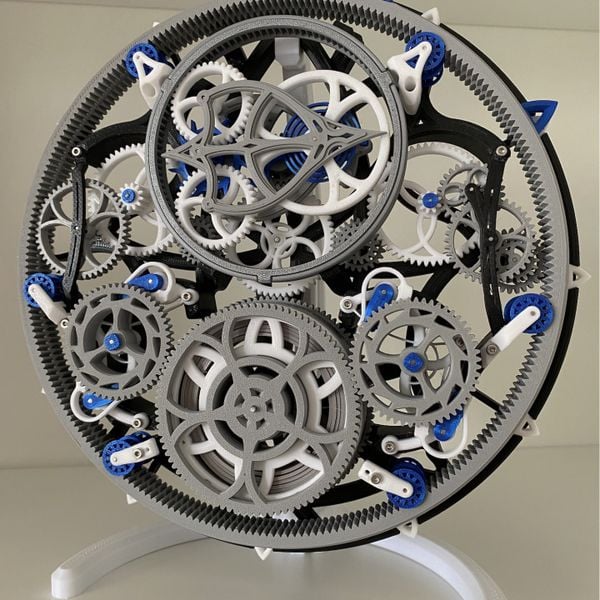
This week’s selection is the Tourbillon Mechanica by Dan / @Mechanistic.
This is an incredible 3D printed mechanical project that you can print and assemble yourself, if you’re up for a very complex challenge.
The mechanism is a classic modification for the “escapement”, a mechanism used in clocks and watches to produce periodic movements. The modification, the “Tourbillon”, allows for use in different orientation.
The problem with classic escapements is that they are affected by gravity. Imagine, for example attempting to run a grandfather clock sideways. Clocks aren’t quite so gravity-sensitive, as they have more complex movements. However, gravity does affect them.
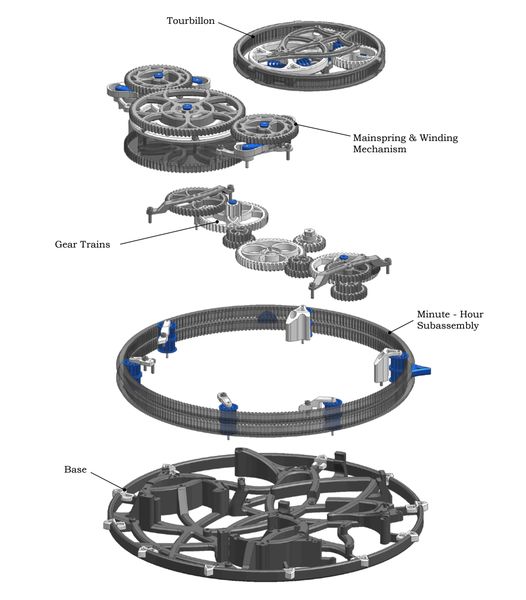
The Tourbillon modification puts the mechanism inside a rotating cage. This then presents a different gravity orientation constantly, allowing the movement to “average out” its pulses more evenly over time.
Today such mechanisms are found only in exorbitantly expensive wristwatches. They are the utterly complicated “engines” inside today’s best mechanical watches.
Dan designed and published this 3D model, which is quite impressive because although he is a mechanical engineer, he had never tackled clock design previously. Dan explains some of the design challenges:
“As someone who had absolutely no experience in designing a clock movement, striking a balance between design for form and function is very challenging. Maintaining symmetry is more challenging as it seems due to the big difference in hour and minute gear ratios yet having too many gears in the system would increase the total friction for the mainspring to overcome. Time setting mechanism is also difficult to be implemented without disturbing the design symmetry and introducing too many assembly challenges considering that this is my very first attempt.”

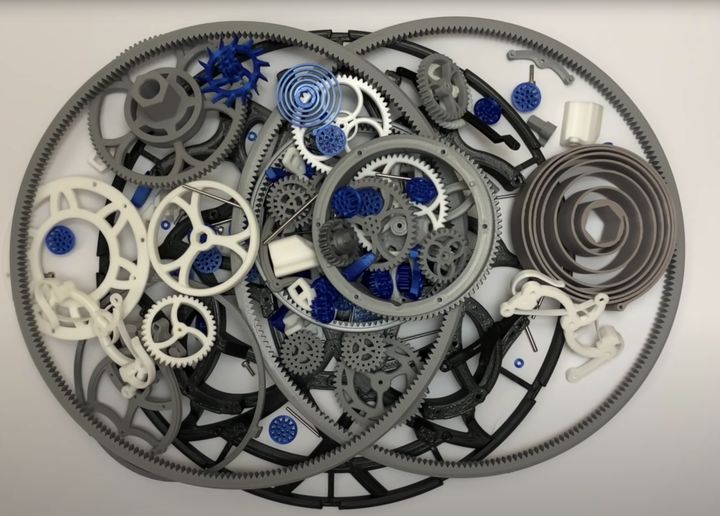
The design includes over 100 3D printed parts necessary to make it function. Some parts are large and many are quite small. Once assembled, the 3D printed spring will drive the mechanism for about 10 minutes. If you opt for a steel spring, it can run longer, up to 20 minutes.
According to Dan, the total print time for all the parts should be approximately 110 hours, or about a week if you’re dedicated and don’t lose too many to failure. The total amount of material suggested is only 350g, which tells you something about the complex geometry of the many gears and structures in this parts set.
There are a number of non-3D printed parts required as well, mostly being assembly pins that Dan shows how to make on your own.
Dan has published a detailed video on the assembly process:
This is a great video to watch, even if you don’t intend on building the Tourbillon Mechanica, because Dan shows a variety of techniques for cleaning up parts before using them in any mechanical assembly.

There is also a massive 36-page e-book explaining in fine detail all required steps to produce the parts and assemble a working Tourbillon Mechanica. The 3D printing instructions are very clear, and require the use of differently-sized nozzles (0.3, 0.4 and 0.5mm). This may seem overkill, but in fact for a complex mechanism such as this you want the parts to be near-perfect: part errors are magnified each time they interact with another part.

There’s one notable challenge: the largest part is the base, which requires a significant plate size (220 x 220 mm) on your 3D printer. It’s quite possible some readers may not have a 3D printer large enough for that part. However, Dan explains that it is possible to 3D print the base on the popular Prusa i3 print plate (normally 250 x 210 mm) by tweaking the printer configuration settings.
If you’re up for this project, you can download the entire package from MyMiniFatory — but it is a paid download (US$25), which is not surprising given the complexity of this model.
Via MyMiniFactory
