
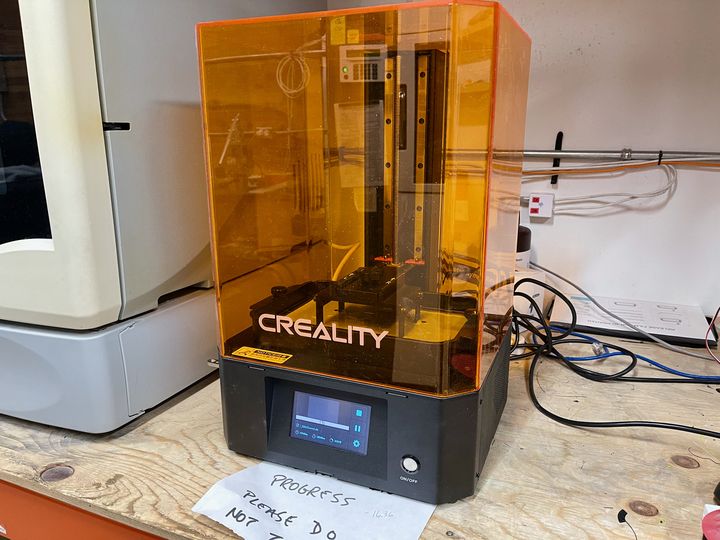
I had a chance to try out the Creality LD-006 desktop 3D printer. In this post we look at post-processing the prints and wrap up the series.
This is part three of a three-part series on the Creality LD-006 desktop 3D printer. Please read parts one and two.
Creality LD-006 Post-Processing
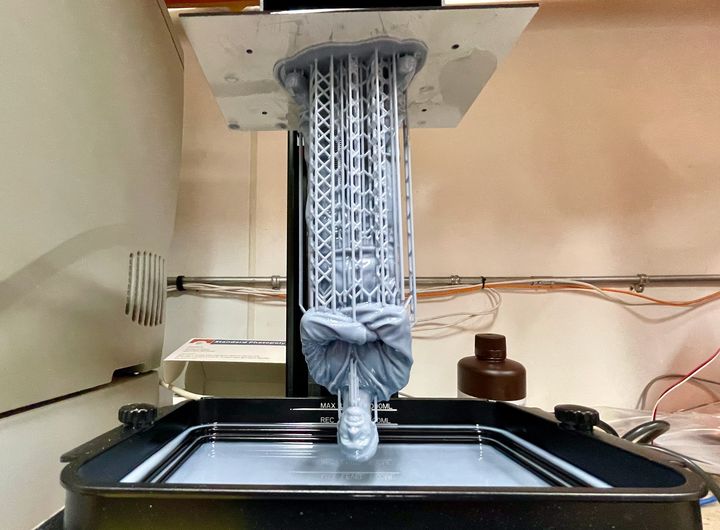
After the job completes, the build platform is raised to the top for easier removal. I did find one aspect that Creality might consider adjusting when doing so.
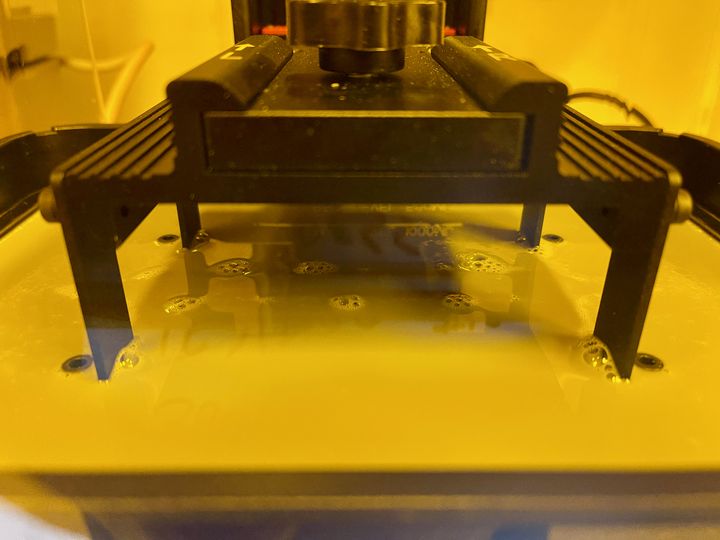
As seen above, the build plate often gets submerged in the resin. It’s particularly deep if you’ve put a lot of resin in the vat for a long print job.
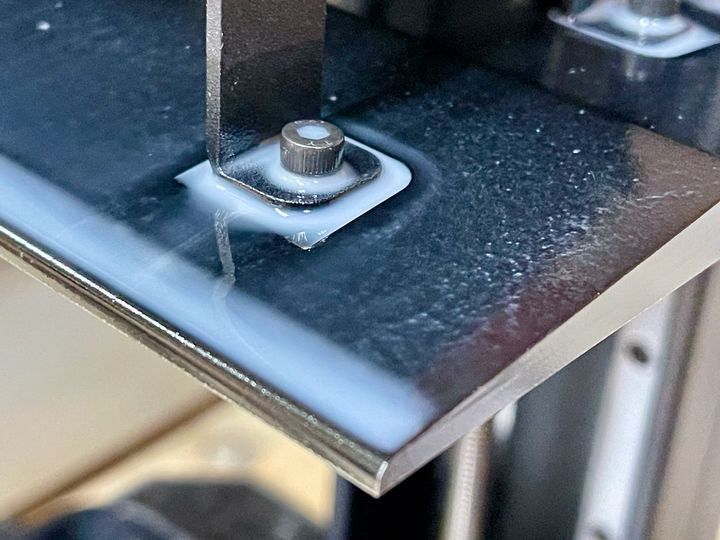
The problem is that the bolts and attachments on top of the plate are resin magnets. As you can see here the resin tends to collect in the nooks and crannies of the plate’s top. These will remain even if the job sits overnight, and will not drip off.
One idea for Creality to improve the machine would be to put some kind of cover over the top so that all the resin safely drips away after the job completes. This would definitely reduce the possibility of drips and thus increase safety.
Completing a print operation requires prying the print off the build plate with the metal scraper. I strongly recommend being exceedingly careful, as the prints tend to stick very well. This can result in a (possibly) wet print unexpectedly flying across the room. Pro tip: Always use a raft to simplify print removal.
Prints will have to be washed afterwards, either in IPA or fresh water depending on the resin type, typically before support removal should be done. Finally, they must be full-cured using a UV light source, either natural from the sun or with a dedicated UV light curing station.
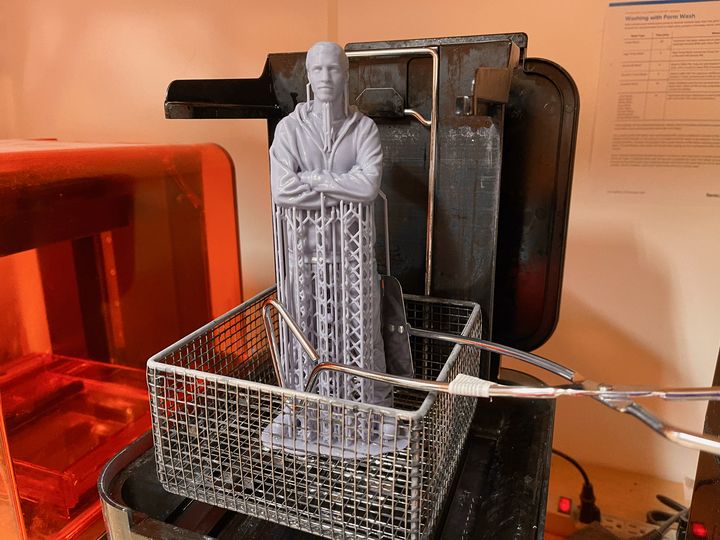
One unexpected problem I found was that the very large prints from the LD-006 did not fit in my wash and cure station! The huge 250mm height on the build volume meant that some prints had to stick out of my IPA bath, as seen here.
The solution is pretty straightforward, though. Simply run the cleaning cycle twice and turn the print upside down.
My curing station had a similar problem: I had to remove the turntable to allow the prints to just barely fit inside. I had to turn them manually a few times to ensure all sides were exposed.
The moral of the story here is to consider the size of your washing and curing equipment when you purchase a LD-006.
Creality LD-006 Print Results
Having done multiple prints on the LD-006 I am pretty impressed with the print quality, even on larger objects.
I should point out that larger objects can take a considerable time to complete, even with the LD-006’s quick layer time. I had one job that took over 36 hours, and the LD-006 completed it perfectly.
Let’s take a look at some sample prints.
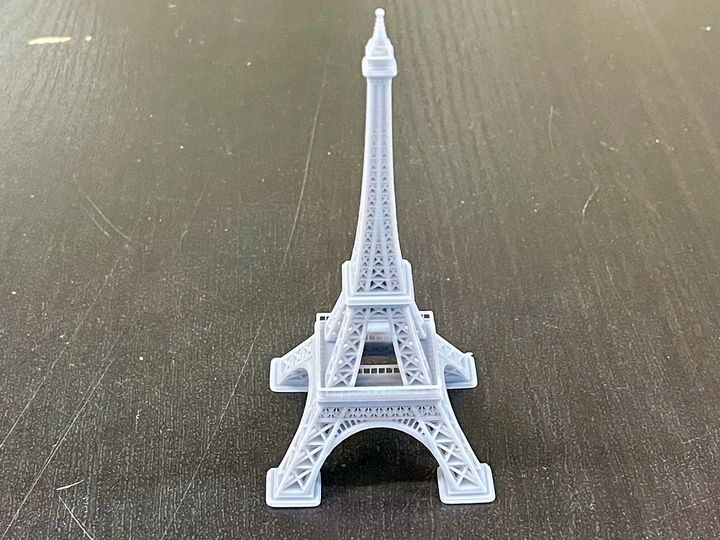
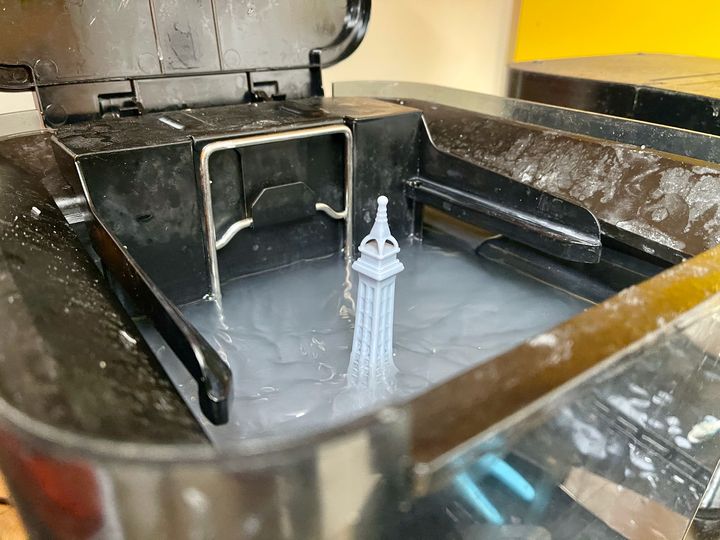
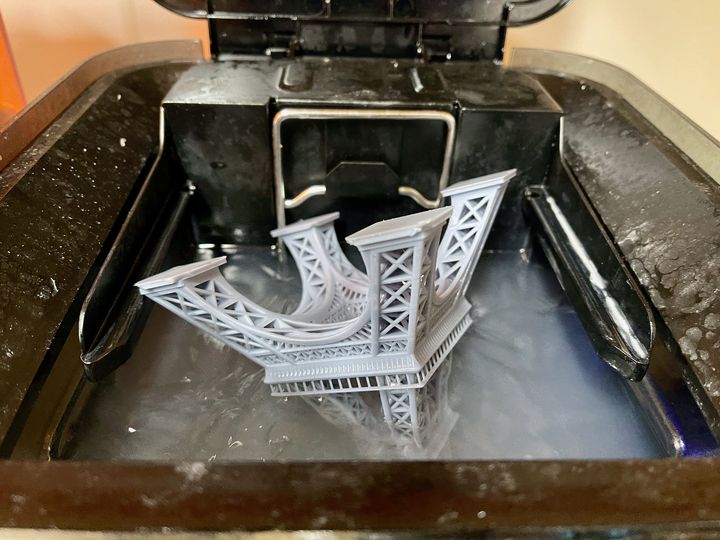
This large Eiffel Tower model turned out near perfect. The railings are finely detailed, yet quite strong.
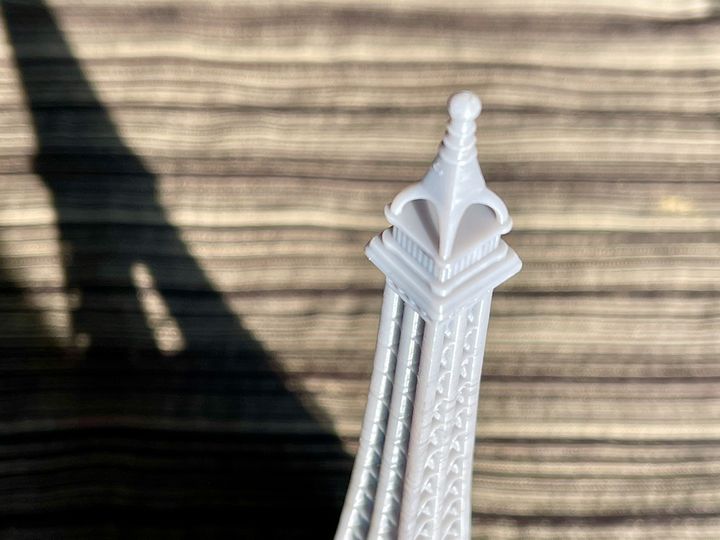
The top of the tower shows good detail as well.
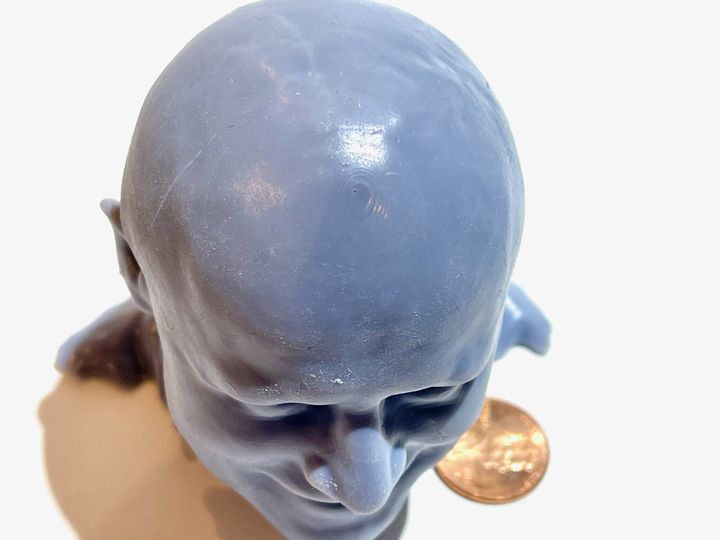
This is the top of a 3D printed head scan, and the weird view is to show the layer lines, which are effectively invisible. However, if you look very, very closely in the light you just might make them out. Basically all of the prints I made had no visible artifacts, aside from support stubs that could be filed down.
This was one of the larger prints completed in my testing, and again it turned out very well. However, it particularly suffered from the “way too big for the wash station” problem:
Finally, one test I performed turned out quite extraordinary. This was the “Tower of Pi for DLP/SLA” by Thingiverse contributor Daniel Hilkert.
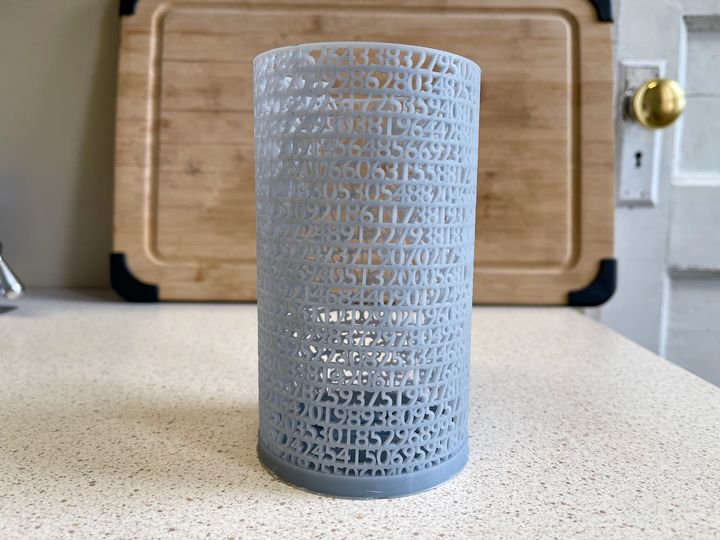
It’s an incredibly detailed model that takes the infinite digits of Pi and spirals them into an attractive vase. Here you can see some detail from the print, and note the black bits are due to my lousy cleaning process:
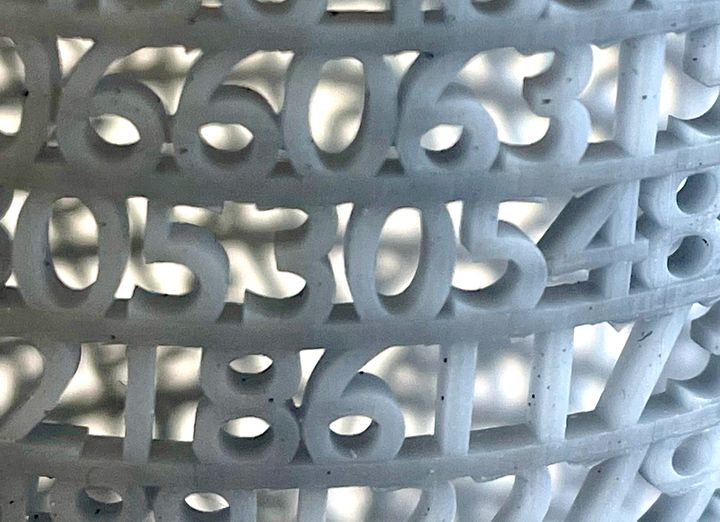
The LD-006 handled this complex 3D print very well.
Creality LD-006 Thoughts
After using the LD-006 for a while I like it very much. It’s an easy-to-use and very reliable machine, although it could use some help with print profiles for more resins.
The LD-006 prints small items in high quality quite rapidly, yet can also handle very large prints of the size you’d typically see on FFF 3D printers. This makes it a very versatile machine.
If you’re seeking a resin machine for your workshop, please consider the Creality LD-006.
This is part three of a three-part series on the Creality LD-006 desktop 3D printer. Please read parts one and two.
Via Creality
Un grand merci pour l’article et meilleures salutations.
Laurent