A new approach to inspection could make metal 3D printing more financially and environmentally friendly.
Metal additive manufacturing offers a new way to create complex geometries in parts that would be impossible to machine, but it also introduces news challenges for quality engineers. That’s why Argonne National Laboratory is working with 3D printing startup Phase3D on a novel approach to inspecting 3D-printed parts.
Typically, inspections in additive manufacturing come at the end of the build process, with test parts subjected to micrograph analysis, computed tomography or optical scans to check for porosity and other defects. Phase3D founder and CEO Niall O’Dowd is working on a better approach via in-process inspection.
“By inspecting parts at the time they are printed and reducing the overall materials used compared to conventional machining, we can improve processes and reduce greenhouse gas emissions,” says O’Dowd in a recent article published on the Argonne National Laboratory website. Fewer defective parts mean less of the waste that hurts the environment and the bottom line.
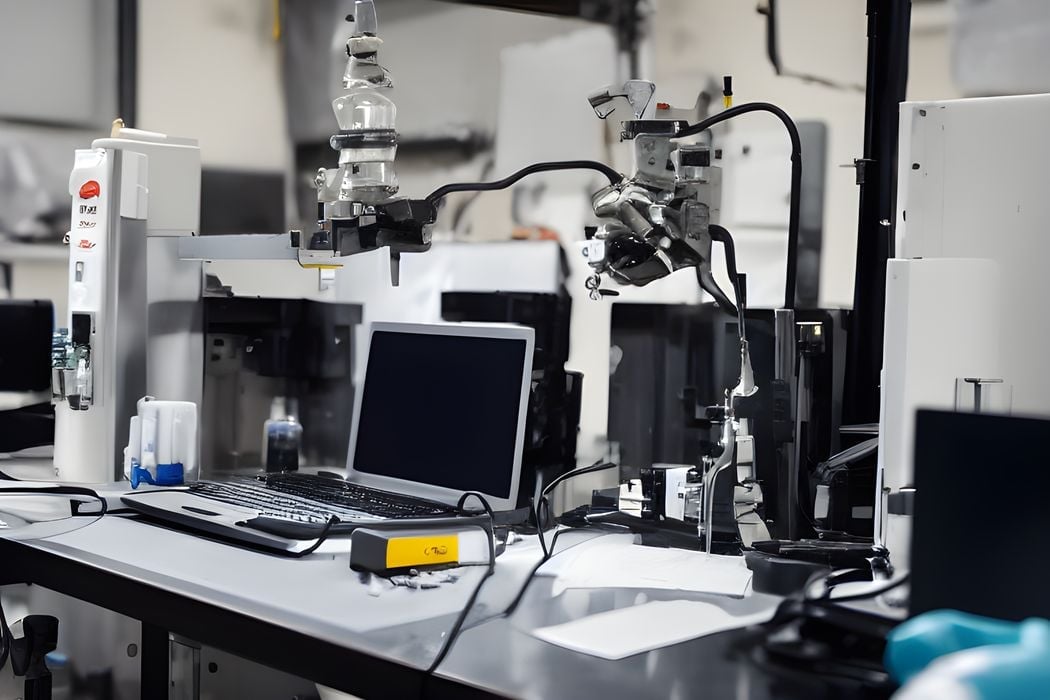
Phase3D’s technology measures the height of each build layer using structured light, whereby light patterns are projected on an object and the reflected light is analysed for deformations that suggest a defect in the object. By measuring each build layer in this manner, the manufacturer can identify minute aberrations on the fly, pause printing and adjust their printer settings before continuing the build.
O’Dowd has been working with Argonne principal materials scientist Xuan Zhang as part of the research center’s Chain Reaction Innovation program. Together, they have been deliberately introducing defects as small as 20 microns into test builds for metal additive manufacturing to evaluate Phase3D’s in-process inspection technology.
“What we really want to achieve is a so-called ‘ideal build,’ where everything is perfect and there shouldn’t be any performance issue,” said Zhang in the same article. “We are testing novel technology that monitors the printing process and catches anomalies that may impair the part’s performance. Then, we want to fix them.”
O’Dowd answered Engineering.com’s questions about Phase3D’s novel approach to inspection via email:
Engineering.com: How would you compare the inspection of 3D-printed metal parts with the inspection of parts produced through more traditional manufacturing processes?
O’Dowd: A challenge for inspecting 3D-printed (or additively manufactured, AM) components comes from the intrinsic fact that in AM, the part material is highly correlated to the geometry of the part. That’s in contrast to subtractive manufacturing (milling, lathing, etc.) where the stock material can be evaluated before printing. AM components of different geometries exhibit different microstructures and internal defects, meaning critical parts must be evaluated on an individual basis.
Read the rest of this story at ENGINEERING.com
