Artec 3D released a new system that is quite different from their traditional equipment.
The new offering is the “Metrology Kit”, billed as a “3D optical measuring system”. It’s intended for industry and production applications requiring notably high accuracy.
How accurate? Artec 3D said the Metrology Kit can achieve accuracy of up to two microns, or 0.002mm. That’s extremely fine.
The difference here is that the Metrology Kit is based on the photogrammetry process. Photogrammetry involves taking a series of optical images from different angles, and then using sophisticated software to integrate them together and form a 3D representation of the subject.
Photogrammetry is quite accurate and popular among those wanting to avoid the cost of expensive handheld or tripod-based 3D scanning gear.
However, Artec 3D equipment uses other scanning processes, most notably structured light. In that process a standard light pattern is blasted at a subject, and the distorted view provides insight into the contours of the subject’s 3D form.

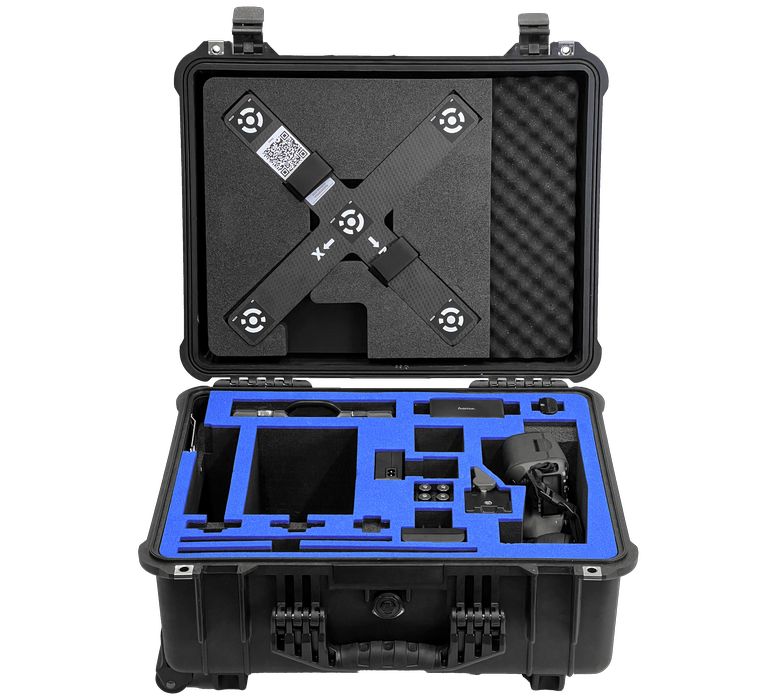
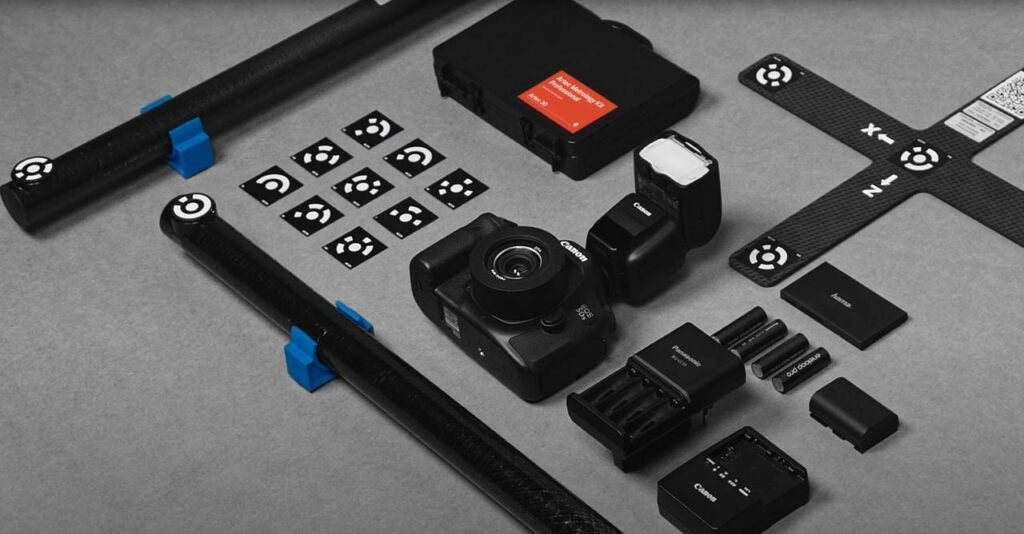
The Metrology Kit would appear to be normal photographer’s equipment until you look closely. While there his a Canon EOS optical camera with flash attachment, there are also optical scanning targets and scale bars present.
This is quite different from the typical Artec 3D hardware, and is much more like photogrammetry gear: a camera and some measurement aids.

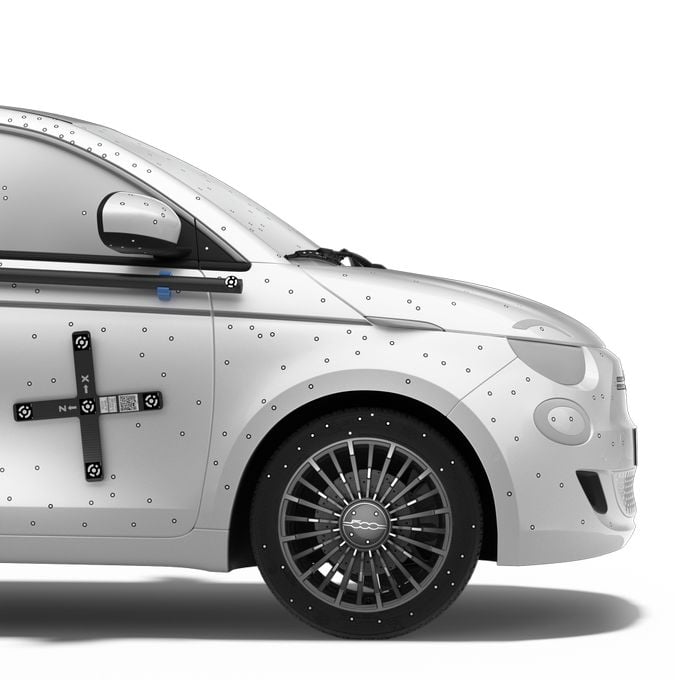
The targets are magnetically mounted on parts and provide a way for the photogrammetry software to recognize the positions in 3D space. The bars can be used to precisely calibrate length.
What’s interesting here is that the software for the Metrology Kit seems to be bundled into Artec 3D’s standard software, Artec Studio. In other words, that tool now seems to do photogrammetry, too.
Artec 3D said the Metrology Kit can be used on its own to provide highly accurate measurements of parts, even if they are in motion. That could make the solution ideal for use in production lines.
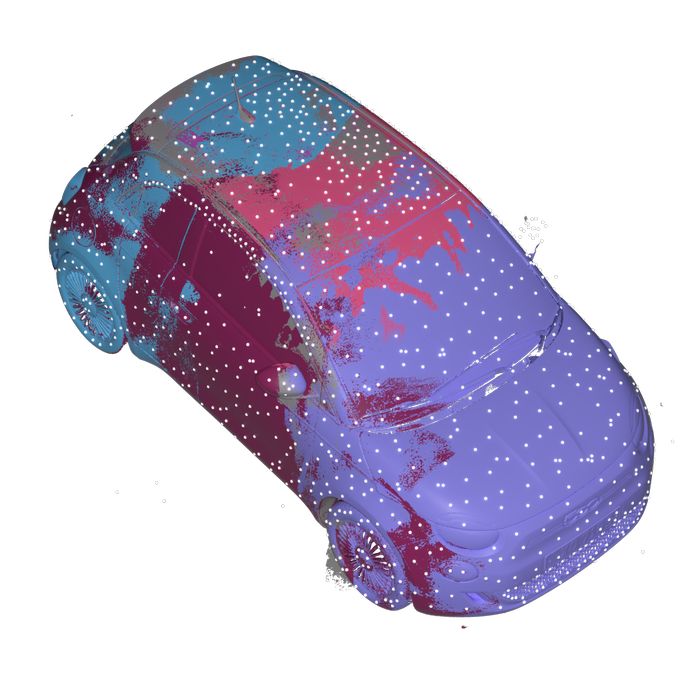
What’s even more interesting is that due to the fact that the software is all in Artec Studio, it is apparently possible to supercharge normal 3D scanning operations by adding in the results from the Metrology Kit. This is where you can fully leverage the accuracy of this system.
Artec 3D said:
“The Metrology Kit is both DaaKS and VDI certified and provides point-based accuracy (RMS) up to 0.002 mm + 0.005 mm/m and length measurement accuracy up to 0.015 mm + 0.015 mm/m.”

Artec 3D believes these specifications and certifications could allow use of the Metrology Kit in several unique application areas, including:
- Automotive, where part quality can be reviewed in near real time on production lines
- Robotics, where positioning can be used to program robotic movements
- Large scale objects, where precision measurements of large objects can be obtained
- Deformation, where distortions of objects from intended geometry can be detected
- Unstable locations, where the flexibility of the Metrology Kit allows precision operations in spite of conditions
Manufacturers requiring highly precise part production might find the new Metrology Kit of interest.
Via Artec 3D
