
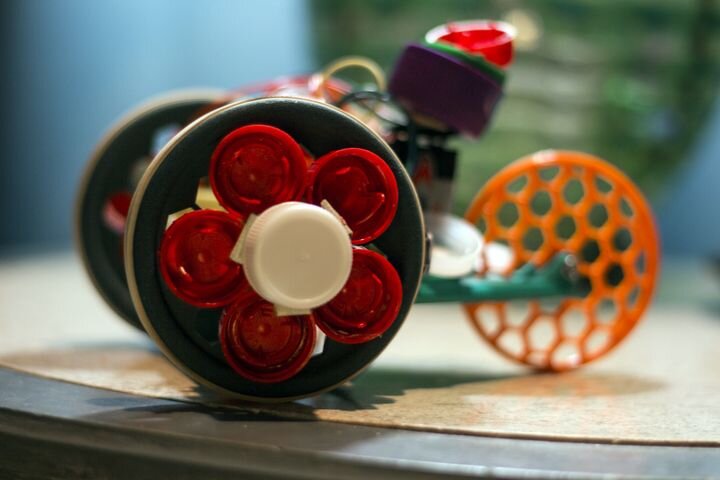
![A 3D printed windup car [Source: YouMagine]](https://fabbaloo.com/wp-content/uploads/2020/05/image-asset_img_5eb0953f69894.jpg)
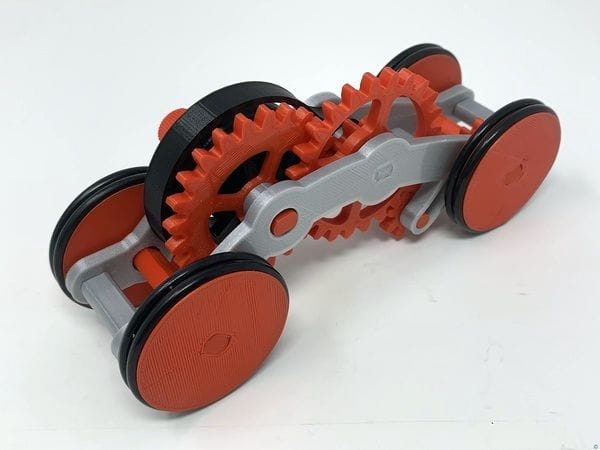
This week’s selection is the 3D Printed Windup Car project by maker Greg Zumwalt.
Oklahoma-based Zumwalt submitted an interesting project to YouMagine that is not only the 3D model of the parts for a 3D printed windup car, but also the precise manner in which it was designed using Autodesk Fusion 360.
The level of detail provided by Zumwalt for his design process is considerable. In fact, he’s published no less than a four-part video series documenting the entire process. Here’s the first video in the series:
And the remainder in order:
Windup Car Design
A windup car is quite a bit different from your typical car 3D model in one very important aspect: it is powered and moves. Yes, you must wind it up, and somehow it must be able to store and release that energy to drive the vehicle forward.
In order to do so, there is a series of gears to collect the energy and transfer it to a spring. The spring is later triggered to transfer power to the drive wheels.
What’s fascinating about this project is that Zumwalt explains in some detail the nature of the gear train for this car. It’s not just a random set of gears; no, instead their nature has been precisely calculated through a series of engineering equations to compute the optimum gear dimensions and characteristics.
If you go through the equations, you can see how Zumwalt ensures the gears will fit together tightly and thus achieve an efficient transfer of energy.
![Parts required for the 3D printed windup car [Source: YouMagine]](https://fabbaloo.com/wp-content/uploads/2020/05/image-asset_img_5eb0953fbcbec.jpg)
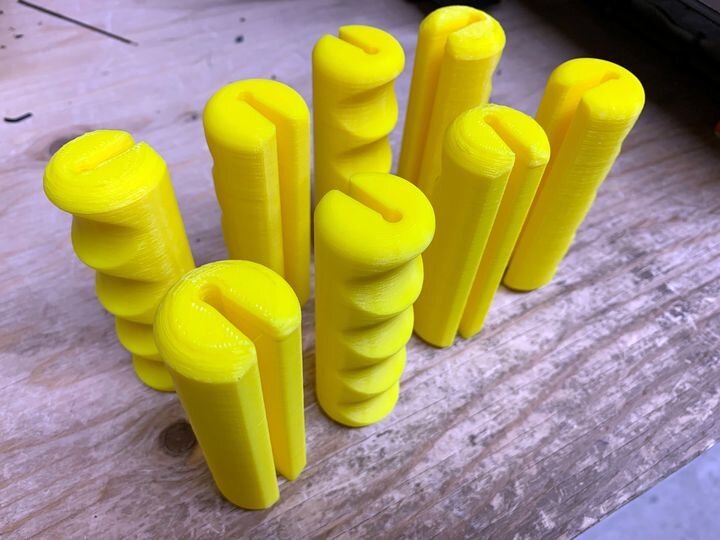
The 3D printing part of the project involves producing 16 prints representing 12 unique part designs. Zumwalt recommends using PLA or in some cases Tough PLA (or similar) for certain parts expected to be heavily used.
Post-Processing 3D Printed Parts
Even though the design parameters were carefully calculated, there is still a lot of work to do. Zumwalt explains:
“Prior to assembly, I test fit and trimmed, filed, sanded, etc. all parts as necessary for smooth movement of moving surfaces, and tight fit for non moving surfaces. If you decide to make your own Windup Car, depending on the colors you chose, your printer model and your printer settings, more or less trimming, filing and/or sanding may be required.
I carefully filed all edges that contacted the build plate to make absolutely certain that all build plate “ooze” was removed and that all edges were smooth. I used small jewelers files and plenty of patience to perform this step.”
![Assembling the 3D printed windup car [Source: YouMagine]](https://fabbaloo.com/wp-content/uploads/2020/05/image-asset_img_5eb095401242a.jpg)
This is one project where you should invest significant time and care to produce the highest quality parts you can in order to make the best possible functional outcome.
Via YouMagine and Instructables


This week’s selection is a 3D printed Coronavirus!