![The Kodak Portrait 3D printer reviewed [Source: Fabbaloo]](https://fabbaloo.com/wp-content/uploads/2020/05/image-asset_img_5eb097252ffec.jpg)
This is part 1 of a 4 part series reviewing the Kodak Portrait 3D printer.
Part 2, Kodak Portrait 3D printer Basic Operations, is here.
Part 3, Kodak Portrait 3D printer Advanced Operations, is here.
Part 4, Kodak Portrait 3D printer Final Thoughts, is here.
We’ve finally obtained a Kodak Portrait 3D printer for direct testing in our lab. We’ve been following the development of this interesting 3D printer for a couple of years, and over that time the machine concept has changed somewhat. But today they’ve delivered a rather powerful device that could be of great interest to professionals seeking 3D printing capabilities.
The Kodak 3D printer includes a number of very interesting features, including the ability to reliably 3D print a wide variety of common 3D printing materials in a unique dual extrusion mode, as well as a very powerful cloud-based interface. We’ll get to all those in good time, but let’s start with the unboxing and setup.
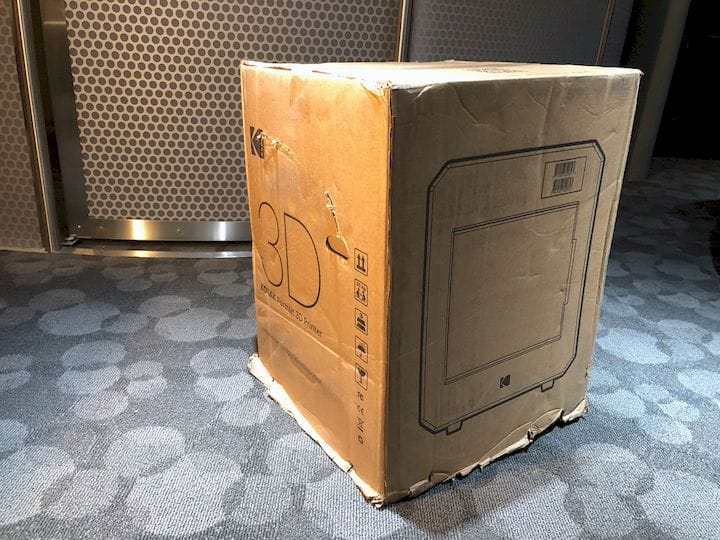
I found the machine to be extremely well-packed and I would not expect to see damages on any shipped device; ours had none. However, the machine is actually quite heavy, and they even recommend having two people lift it out of the packaging.
![The Kodak Portrait 3D printer is very sturdily packed when shipped [Source: Fabbaloo]](https://fabbaloo.com/wp-content/uploads/2020/05/image-asset_img_5eb09725897cf.jpg)
Unboxing The Kodak Portrait 3D Printer
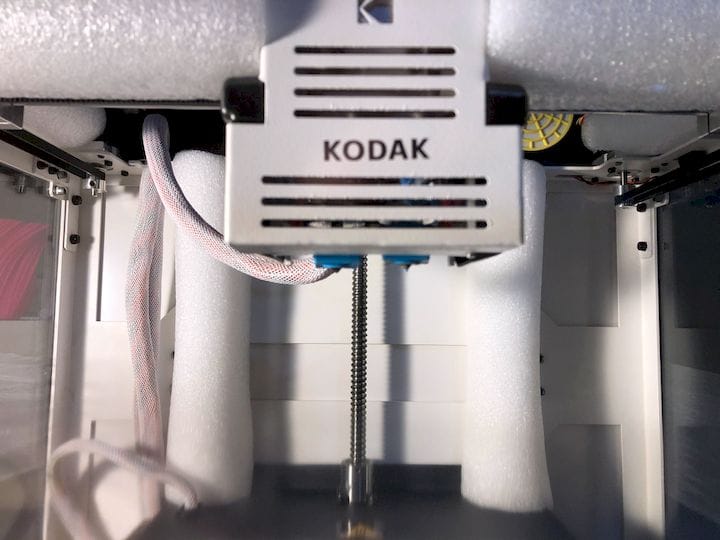
Preparing the machine for power on is relatively simple, although you need to pull off a number of styrofoam chunks that have kept the motion system stable during shipping.
The Portrait comes with a very nice toolkit containing the usual tools. But there are a couple of unique items. Two are for maintenance: there are lubricants that can be applied during the machine’s lifetime. This is unusual, as we don’t often see equipment coming with lubricants.
![A very nice toolkit is included with the Kodak Portrait 3D printer [Source: Fabbaloo]](https://fabbaloo.com/wp-content/uploads/2020/05/kodak-portrait-3D-printer-toolkit-open_img_5eb09725cf18e.jpg)
Another very interesting feature is a cloth cover. I’ve never seen such a thing for a 3D printer, and you can use it to cover up the machine when not in use (which at the moment is definitely not the case in our lab). The cover would keep dust off the machine, but it is entirely enclosed anyway, so the dust would only be cosmetic in effect. I wish some non-enclosed 3D printers would include a dust cover.
There are some brief instructions included with the machine, but I think I would have benefited from a bit more detail, particularly when loading filament. I got it wrong before eventually figuring out how to set up the filament.
The machine arrives assembled, although there are a couple of things to do with a screwdriver. You must attach a pair of spool hangers on the rear of the machine, and you’ll require a Phillips screwdriver to do so. While the supplied Kodak toolkit includes a lot of things, they don’t include a Phillips screwdriver for some unexplained reason. This would be a good addition to the kit, as it would then include absolutely everything you need to get started.
You must also attach a filter fan to the side of the device. This and the spool hangers “stick out”, and if pre-installed they would materially alter the shipping volume. That’s why you’re doing it. However, attaching the filter fan and hangers is straightforward.
![Two spools of filament are included with the Kodak Portrait 3D printer [Source: Fabbaloo]](https://fabbaloo.com/wp-content/uploads/2020/05/image-asset_img_5eb0972617b4b.jpg)
Powering Up The Kodak Portrait 3D Printer
Before powering up, I decided to prepare the filament canisters, which are an essential part of the Kodak Portrait system. These are sealed containers that keep dust and humidity away from the filament during printing. They should provide a boost to reliability and print quality, but you do need to spend some extra effort setting them up.
They are three-part acrylic units that include a PTFE tube to deliver the filament to the extruder. You must be extremely careful to ensure that your filament does not fall off the spool inside the canister, otherwise you will cause a print failure when the filament snags during printing later on.
I found the Kodak spools to be a bit aggressive on sizing: a fully loaded spool has filament to within a few mm of the spool edge, making it quite easy for the filament to spring off when you’re not looking. This means you must maintain tight tension on the filament during the canister loading process. I even had one scenario in which I had loaded it properly, but a slight reversal of the filament into the canister resulted in the filament popping off the spool. I’m hoping Kodak alters the design of the canister/spool slightly to reduce this effect.
To actually load the filament, there are some careful considerations. The Kodak Portrait 3D printer is a dual extrusion device, equipped with two extruders and two hot ends. However, unlike virtually every other dual hot end device I’ve seen, these are two DIFFERENT hot ends.
One is an all-metal unit that’s capable of handling almost all materials, particularly the higher-heat materials like ABS, Nylon, etc. The other nozzle is a lower-temperature unit that is designed to handle flexible materials, as it has a smooth, plastic filament path. This means you can easily 3D print any common material without regard to changing the extruder or hot end components, as you must do on some other devices.
There’s something else interesting about this dual extrusion arrangement: the not-in-use nozzle is lifted clear of the printing activity. It’s accomplished by a mechanical switch.
To activate the switch, the X-axis simply slides to one side or the other, causing an arm to flip the switch and activate the other nozzle. It’s a pretty ingenious approach and seems to work well, as you will see.
Finally, powering on the device is straightforward, but this is a cloud-powered device. While it can operate locally, all of the fun stuff is accessible by Kodak’s cloud service. You must register your printer with the cloud by entering a token generated by the machine into your online account. This pops up immediately when the machine powers up.
![Upon powerup, you must register your Kodak Portrait 3D printer with their cloud service [Source: Fabbaloo]](https://fabbaloo.com/wp-content/uploads/2020/05/kodak-portrait-3D-printer-register_img_5eb097265b408.jpg)
We had an issue with the networking, however. There was some problem with WiFi that prevented connection, hence the error message on the above image. Kodak engineers informed us they are aware of the problem and are expecting it to be repaired in the next software release. For the meantime, we simply plugged in an Ethernet cable and the machine worked normally. Registration was almost instantaneous.
![Simple calibration activities required on the Kodak Portrait 3D printer [Source: Fabbaloo]](https://fabbaloo.com/wp-content/uploads/2020/05/image-asset_img_5eb09726a4a02.jpg)
After power up, there are a couple of simple calibration routines to execute. One sets the Z-axis gap and is very easily done. Another sets the X-Y alignment between the two nozzles. It’s easily done through the touchscreen — no mechanical effort is required. For us this required three iterations to get it perfect. There seems to be no leveling procedure required.
Next, we’ll try some basic printing operations.
Part 2, Kodak Portrait 3D printer Basic Operations, is here.
Via Kodak 3D Printers


