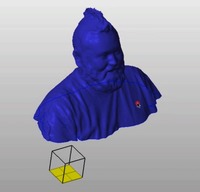
 If you ever try to do 3D scanning at home using the rudimentary tools now available, you’ll quickly realize it isn’t particularly easy. Sure, the capture part of the job is relatively straightforward, but the clean up phase is often quite difficult.
 Typical raw scans contain not only stray data points and somewhat inaccurately shaped surfaces, but also the model usually is full of holes. Holes are not good when you’re trying to 3D print a model, since the printing software will be confused. Repairs are necessary.
The repair process can be very tedious and often requires use of obscure features in several software tools. How can you learn the right way to repair a messed-up scan? A great place to start would be to watch Tony Buser’s 23 minute video tutorial, which takes you through the entire repair process. You’ll see screen capture and narration explaining precisely how to get the job done. Tony makes use of several free or open source 3D software utilities that you can easily use at home.
Via Vimeo


Great tutorial, I guess I would like to do it also., better learn other things 🙂