
We performed an extensive test on the new Photon Mono M5S resin 3D printer from Anycubic.
This is part one of a three part series, please read parts two and three.
Photon Mono M5S Background
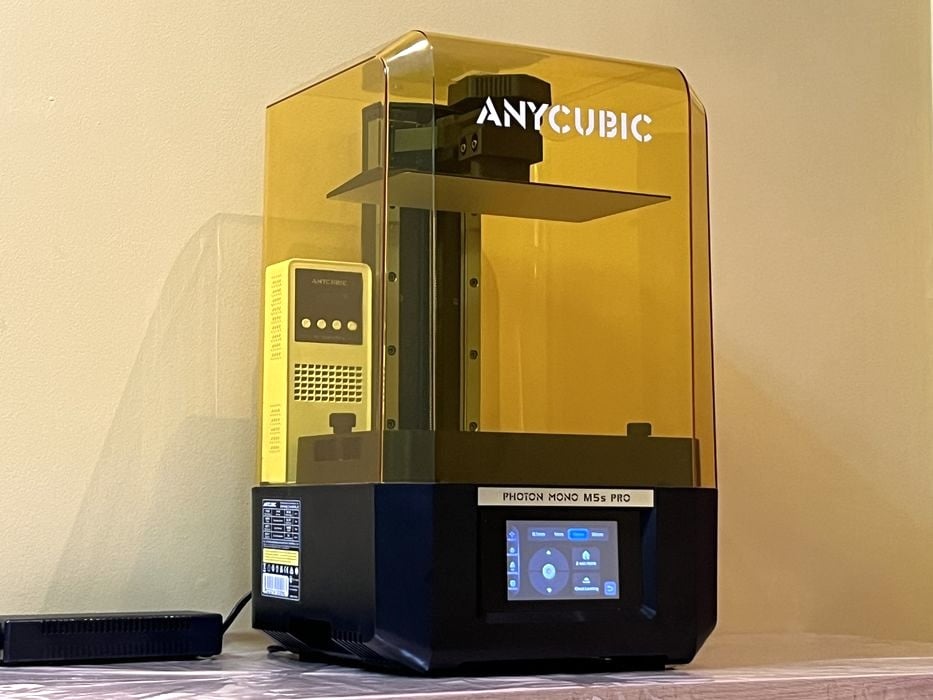
Founded in 2015, Anycubic has been busy developing and marketing quite a number of 3D printers using both filament and resin materials, with each device being better than the last. This time we tested the latest in their resin printer lineup — the 14K HD Photon Mono M5S Pro, the first in the Photon series to sport a leveling-free build plate, in addition to incorporating several other interesting features that increase the printers performance.
Photon Mono M5S Specifications and Features
A quick check of Anycubic’s website gives us the specifications of the new Photon Mono M5S Pro. The printer features a LED matrix UV light source combined with a 10.1” monochrome LCD having the huge resolution of 13312 x 5120 pixels. This, combined with the light engine, can deliver XY resolution of only 0.0168 x 0.0248 mm — a printing precision comparable to the thickness of one human hair.
The printer employs dual linear rails for stability, and has an average print speed up to 105mm vertical per hour — but this is specifically when using Anycubic’s high-speed resin and using the parameter settings of 0.1mm layer height and 2mm shell thickness. Either way, it’s a pretty fast 3D printer.
The M5S Pro has a build volume of 200 x 224 x 126 mm, and the new leveling-free laser engraved aluminum alloy build platform “adopts a brand new leveling-free solution that through the floating platform technology and internal sensors, will make necessary adjustments to ensure that the print is uniform and falls within an acceptable range to achieve a better result.”
A new resin detection system has also been added that can detect the level of resin in the tank. There’s also a system to avoid tank screen damage by employing a clever mechanical algorithm during the descent of the platform. Anycubic explains this additional capability:
“Intelligently calculate and adjust the peeling height in real time according to the model shape, as to improve the printing success rate and printing speed.”
All of this is paired with a third-generation high-speed ACF film, offering reduced peeling force and boots print job success rates, while at the same time lowering the peeling height and increasing lifting speed.
Anycubic has also included an Air Heat & Pure filtration unit under the lid. This is a combination of an air heater and a carbon based air purifier module. They have cleverly integrated it with a firmware based preheat feature that allows the heater to activate for a set amount of time before a print starts, so the build chamber can preheat to temps of up to 40°C, ensuring that the resin is well above 20°C for the duration of a print, an especially handy feature for low temperature environments.
Heated chambers in low-cost resin 3D printing is a relatively new development, but it is quite welcome: hotter resin flows more easily, making layer changes more rapid and reliable.
For preparing prints, Anycubic recommends using their branded Photon Workshop software for job preparation, and/or their Anycubic app. Jobs can be transferred directly to the 3D printer via WiFi, or just walked over with the supplied USB stick and launched a job with the built in 4.3″ TFT touchscreen.
Photon Mono M5S Unboxing and Assembly
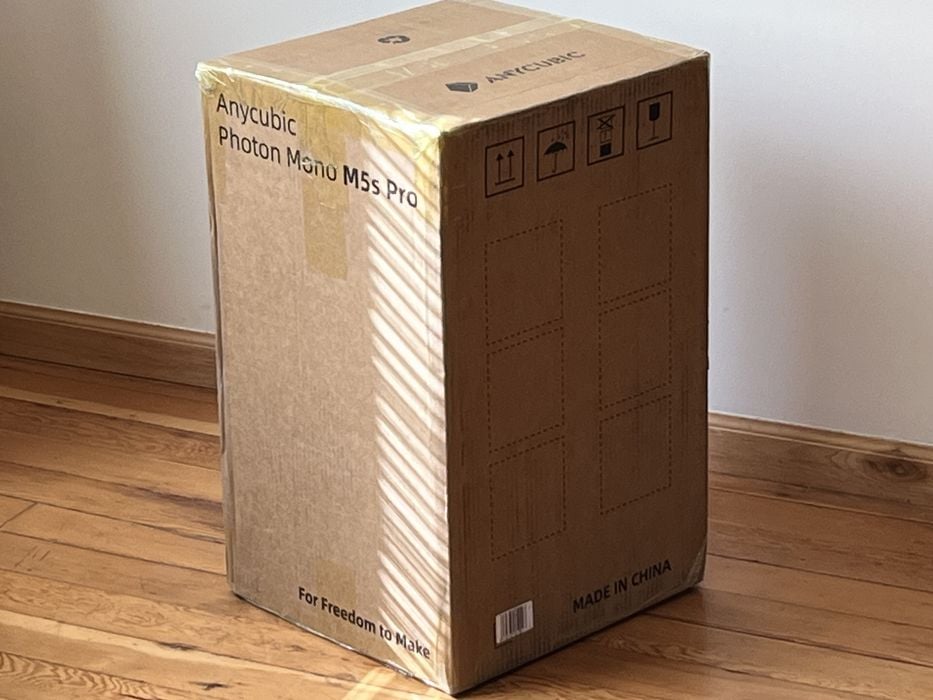
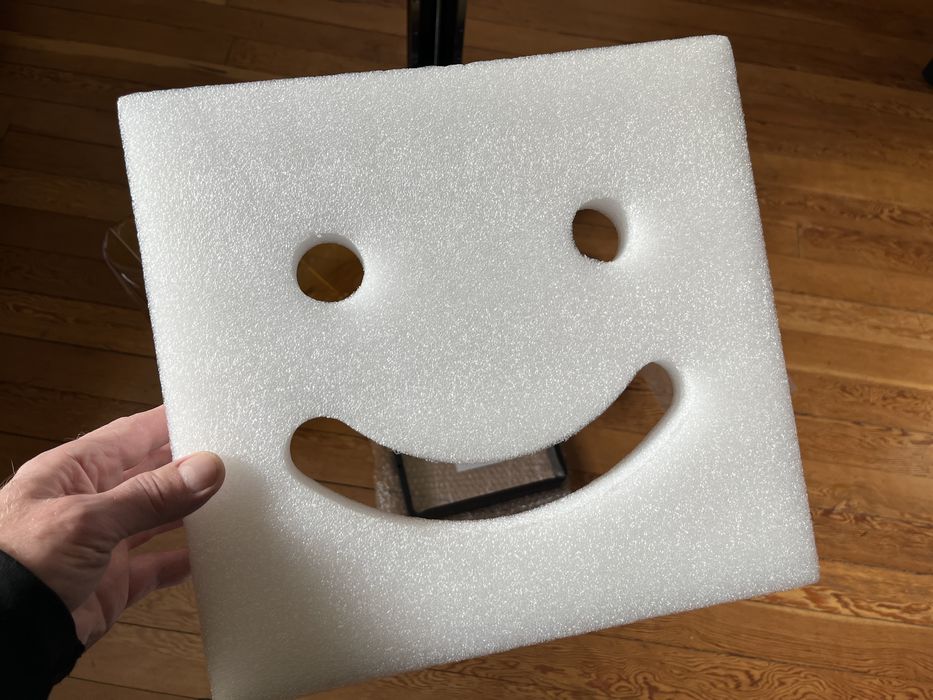
As usual, the Photon Mono M5S Pro arrived in a sturdy dual layer cardboard box, packed efficiently with custom-cut foam inserts protecting delicate components and each layer containing a part of the printer.
We especially liked how Anycubic made it easy to unbox the printer by putting everything into a single sturdy bag ready to be lifted up and out of the box all in one go.
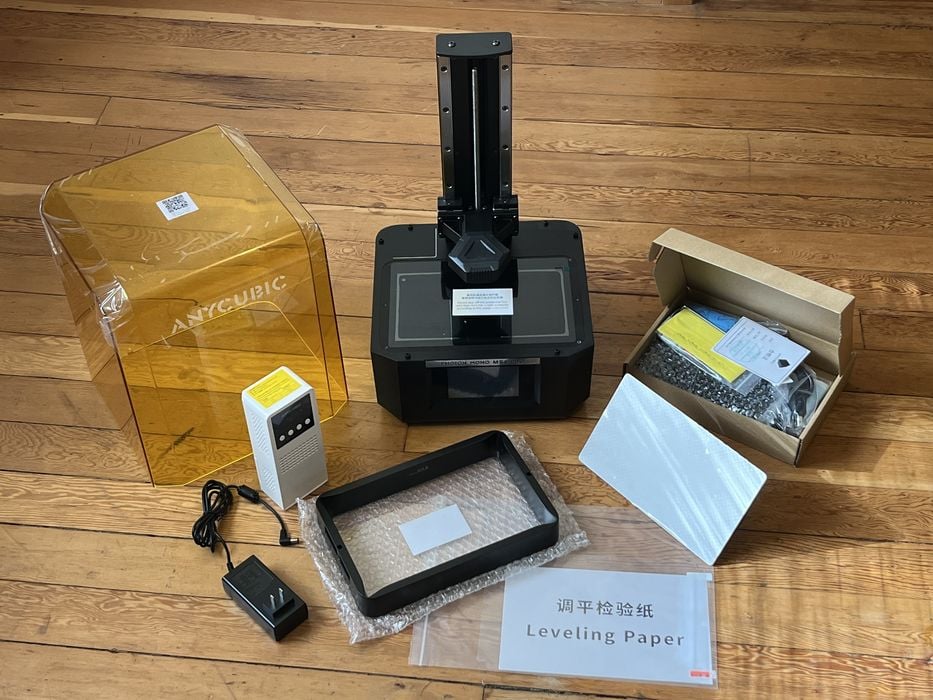
When we had everything unpacked and spread out on the floor, we took stock. We saw the printer’s base, UV protective lid, resin tank, build platform, leveling paper, Air Heat & Pure module, power adapter, and a box of goodies.
We realized there was no spare release film for the resin tank, suggesting Anycubic has added confidence in the M5S Pro’s reliability features.
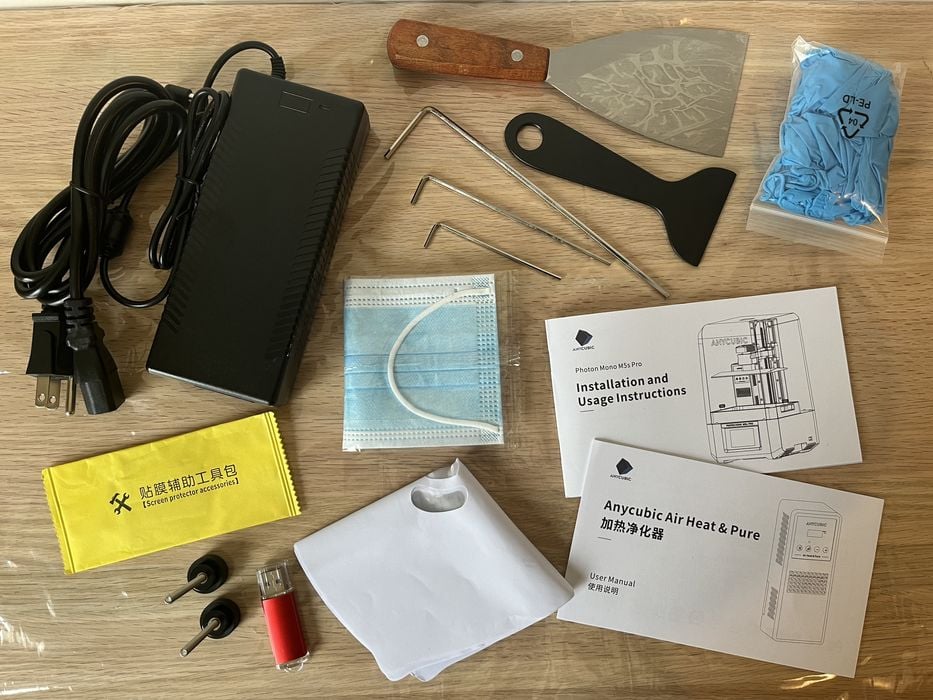
A small box contained the power supply and cord for the printer, hex wrenches for assembly, thumb screws to hold down the resin tank, metal & plastic spatulas and paint filters for managing resin, gloves and a mask for our safety, a package labeled screen protector accessories, printed user manuals for the Air Heat & Pure and the Photon Mono M5S Pro, and lastly a standard USB thumb drive.
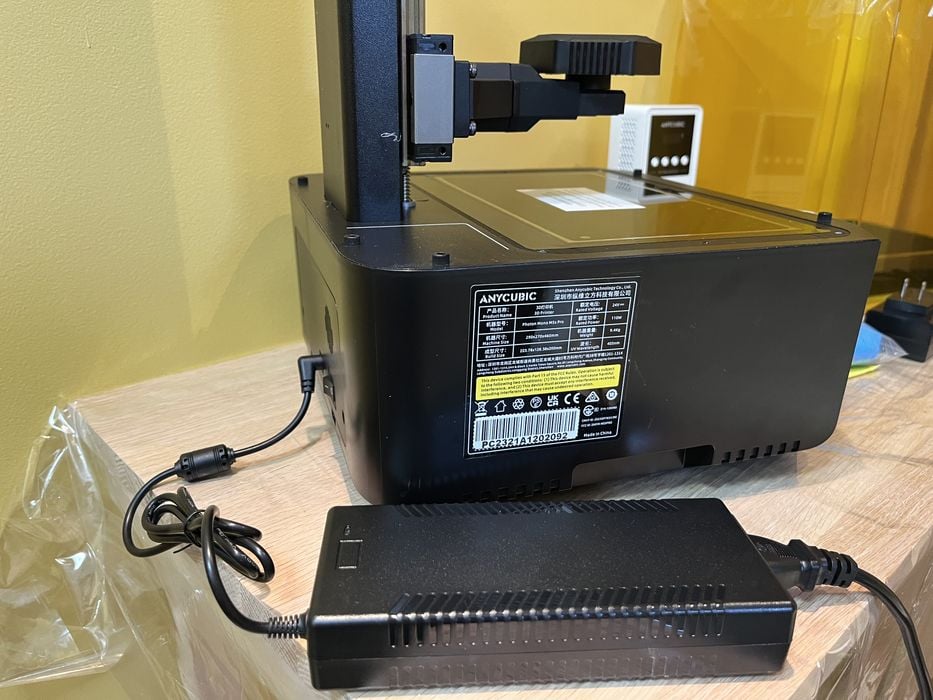
Assembling the Photon Mono M5S was straightforward, as the machine arrives mostly assembled.
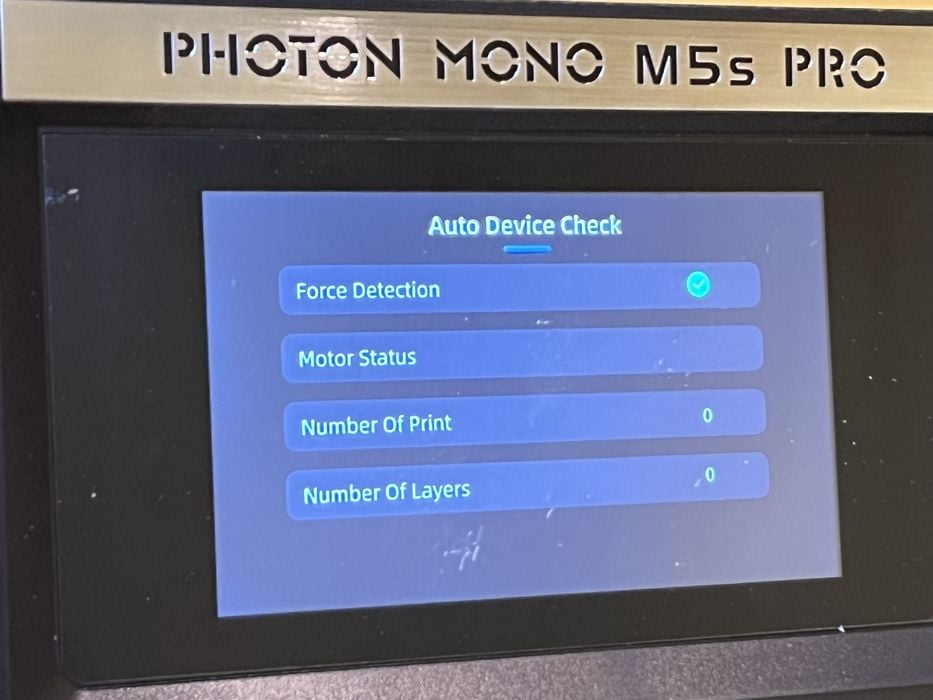
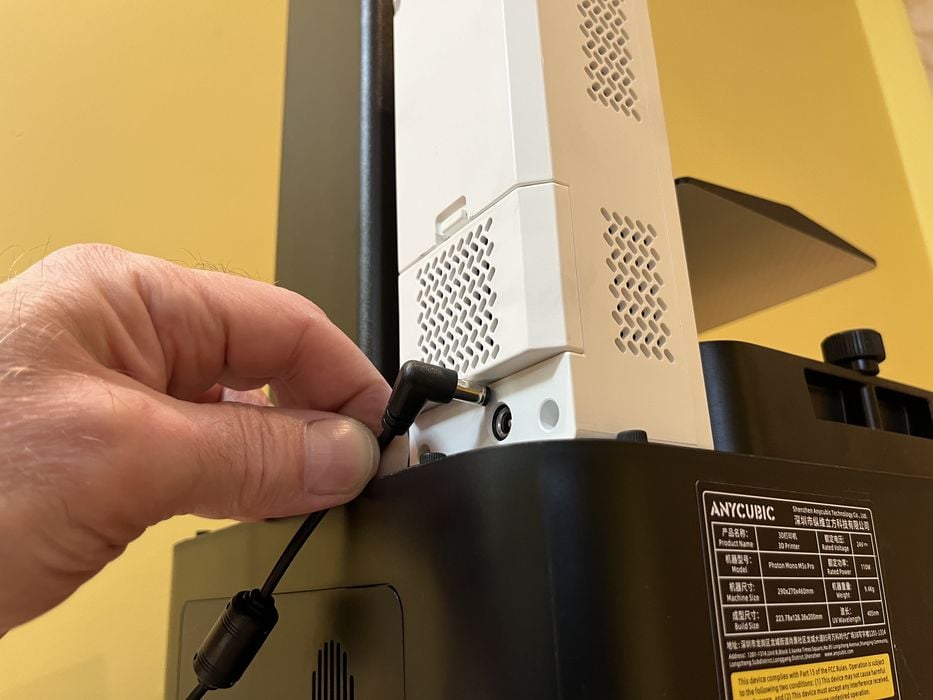
We plugged the power supply into the base of the printer and powered up the Photon Mono M5S, waited for the Auto Device Check to complete, and then raised the Z-axis so we could install the screen protector.
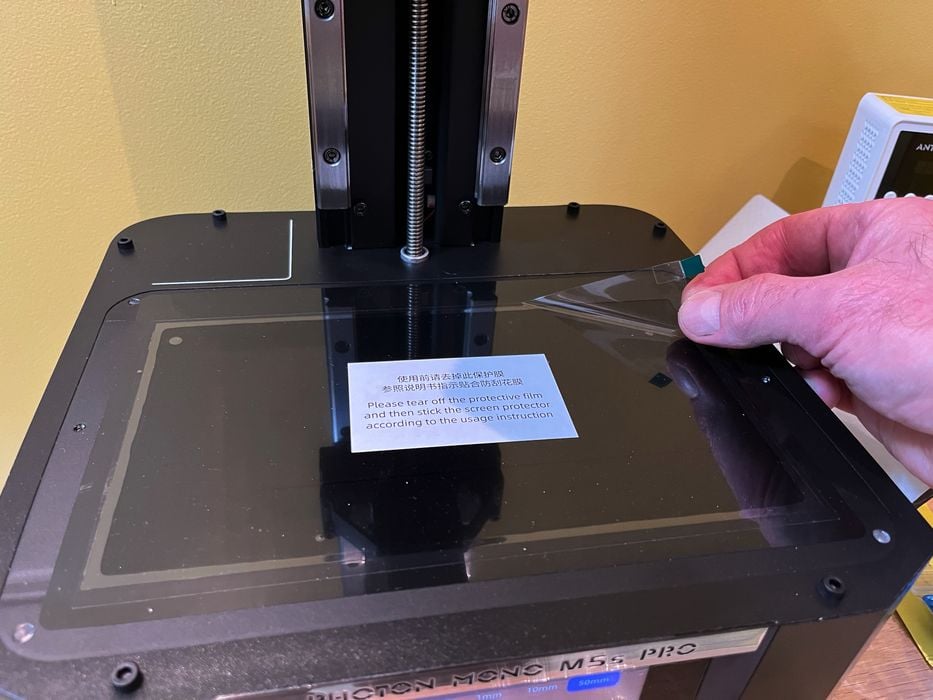
This process began with peeling the factory protective film off of the LCD screen and cleaning the screen. The screen protector itself consisted of a protective film sandwiched between two removable sheets of plastic mask labeled Front and Back.
The application process was simple and just involved peeling the plastic mask off of one side of the screen protector film and placing the film on top of the LCD. Then, using the locating holes as positioning reference, we pressed the film down and into place, carefully squeezing out any air bubbles as we went and peeling off the remaining plastic mask once the screen protector was firmly in place.
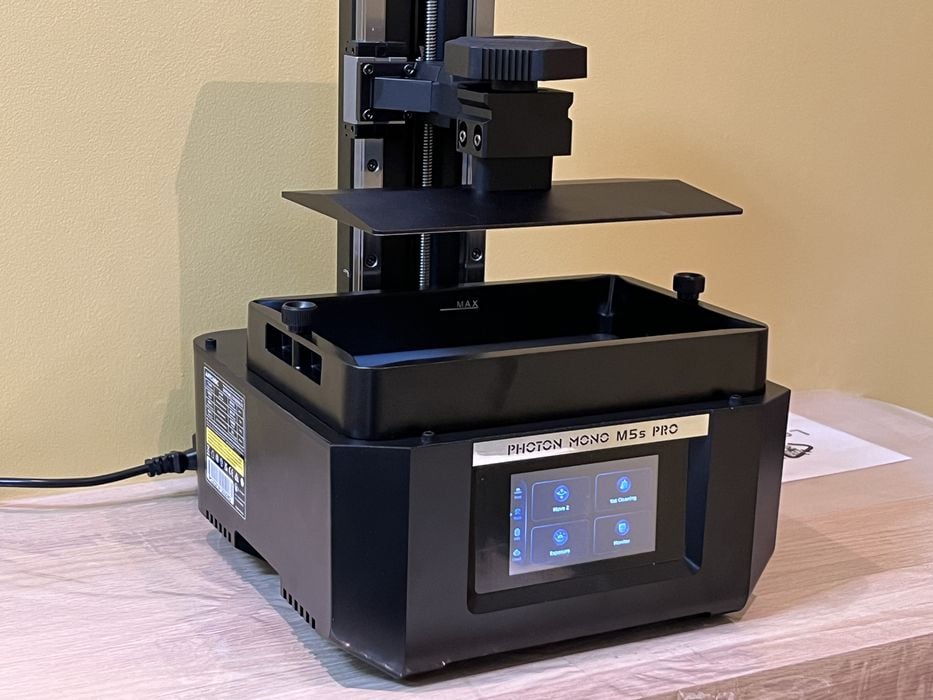
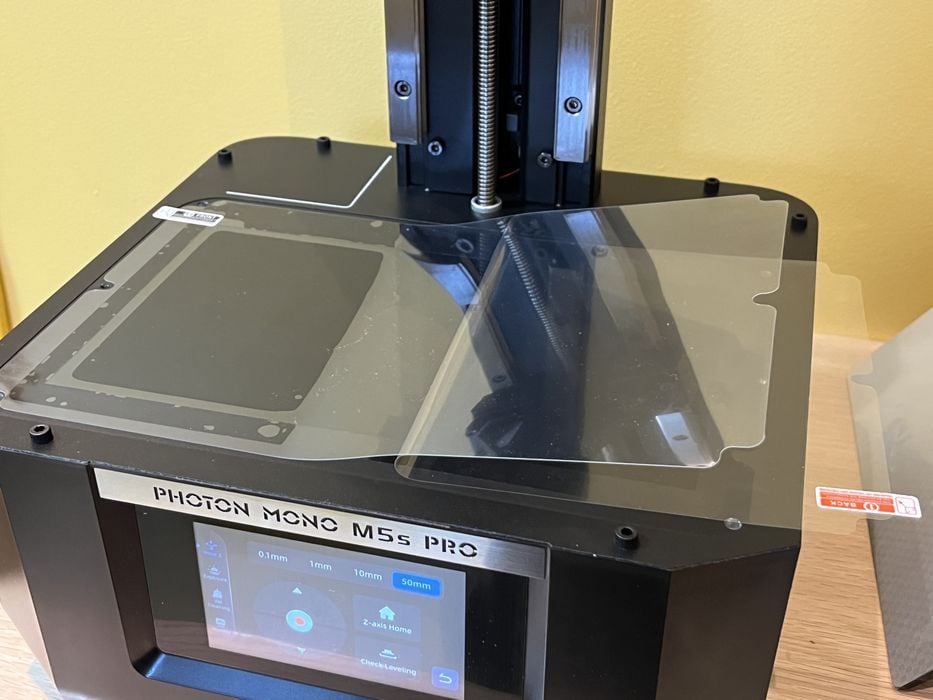
When that was all done, we slid the build platform onto the platform carrier and tightened the knob to lock it in place.
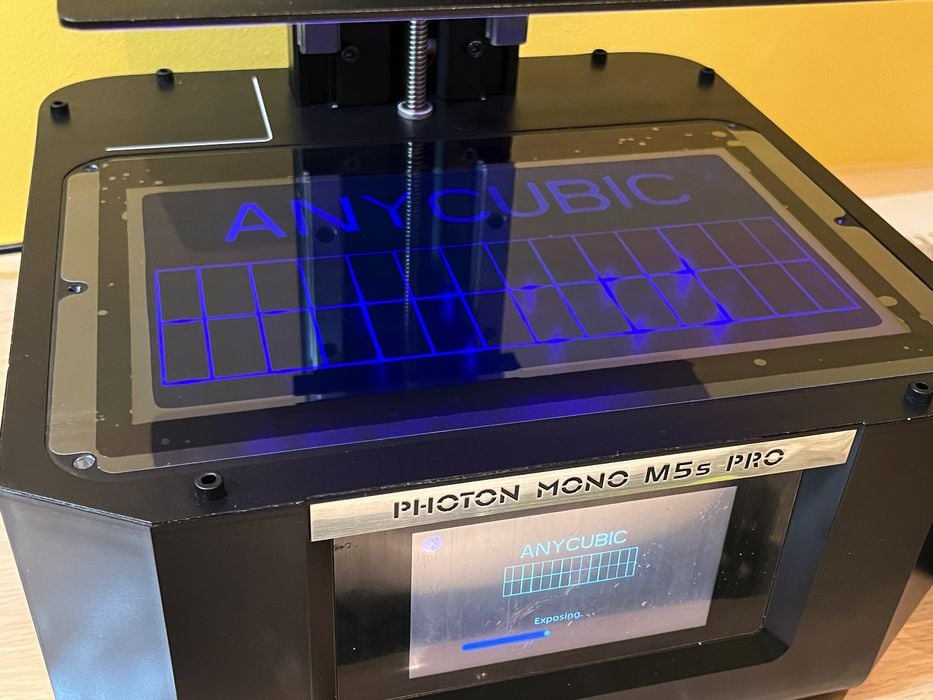
Anycubic then had us perform a LCD and light engine test to confirm that both were operating correctly. We chose an image pattern in the firmware to display and when we were happy with what we saw, we installed the resin tank into place using the locating holes, installing and tightening the two knobs to lock it in place.
Next we installed the Anycubic Air Heat & Pure module.
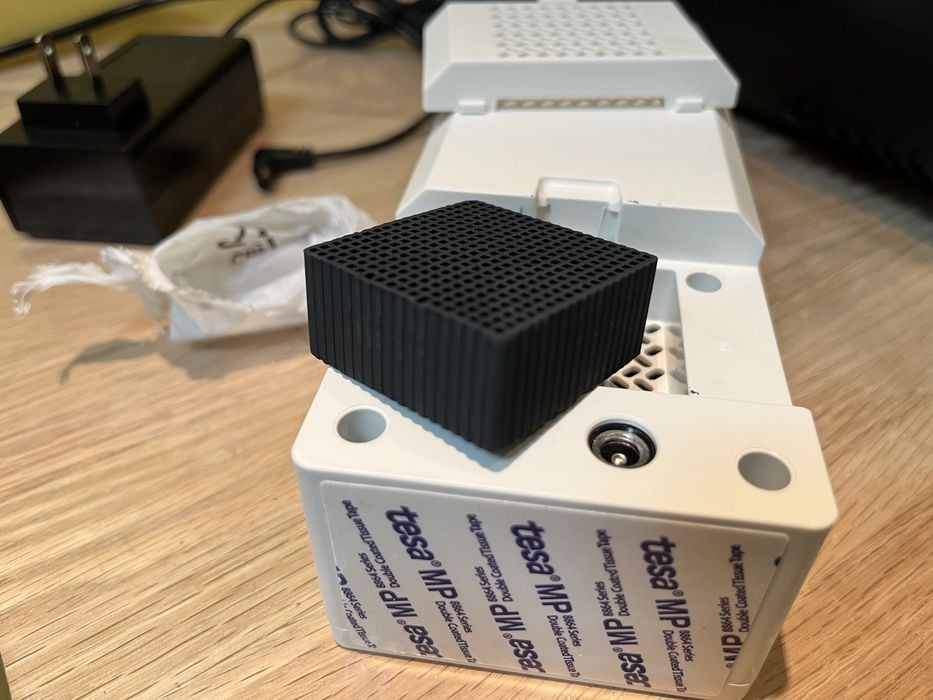
First we removed its rear cover to unwrap the small package of carbon and reinsert it, and then peeling the adhesive strip on the bottom, we installed the module on the printer deck using the positioning line as location reference and then connected it to its power adapter.
This handy accessory would allow us to keep the temperature under the lid stable and above 20°C, which would in turn heat up the resin and ensure optimal printing.
In addition to heating, this module would also help to remove some of the odor from the resin.
The heater portion of the module can be used in conjunction with a feature in the firmware named, Delay Start. When this feature is enabled, the heater will activate when a print is launched and then delay any imaging until the countdown is over, allowing the heater unit enough time to bring the resin temperature up to an acceptable level.
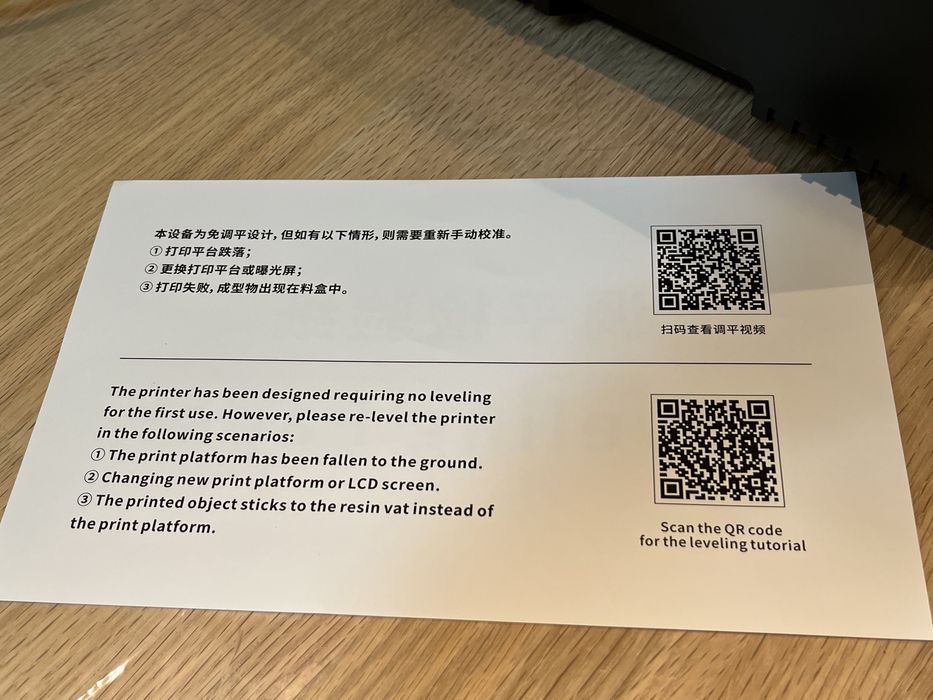
Not mentioned in the instruction manual was the removal of protective films on the build plate and printer lid, nor was there any reference to the use of the included leveling paper. But removing the films should be an obvious task and clear instructions were printed on the back of the leveling sheet reading, “the printer has been designed requiring no leveling for the first use. However, please re-level the printer in the following scenarios: 1) the print platform has been fallen into the ground. 2) changing new print platform or LCD screen. 3) the printed object sticks to the resin vat instead of the print platform.” A handy QR code was included for a leveling tutorial if required.
We placed the lid on the printer and just like that, assembly was complete.
This is part one of a three part series, please read parts two and three.
Via Anycubic