

This is part 2 of our short series on the Ultimaker 2 Extended. Today we’re talking about software.
Included with the Ultimaker 2 Extended is Cura, an open source software tool suitable for either generating GCODE to be stored on the SD card for transport to the printer, or directing the printer directly via its USB interface.
Cura is actually free for anyone to use, and due to its open source nature, several other manufacturers have adopted it (via some public modifications) to be the operational software for their machines, too. What we’re trying to say here is that Cura is a popular tool with plenty of support available.
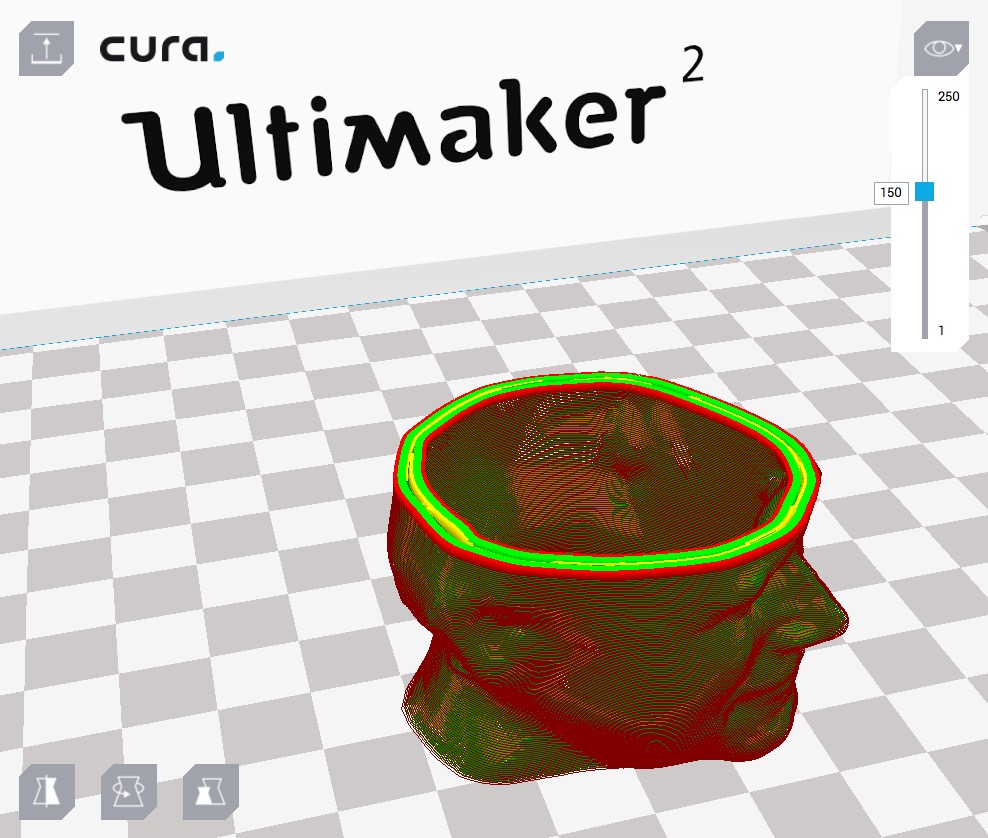
Cura has a peculiar feature that we haven’t seen in other slicing tools: it employs real time processing. Here’s how it works: every time you change ANY slicing parameter, it immediately re-slices the model.

You’ll see this progress bar frequently as you twiddle the settings, seeking the optimum configuration.
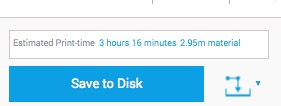
Once the slicing finishes, and it’s relatively quick, you will see an immediate report on the results, including the estimated print time and amount of material to be used.
This is one thing we definitely did not like about Cura: it reports the material used in units of length. While we’re certain the report is accurate, we have few ways of verifying that we actually have that length left on the current filament spool. Often we ended up performing arithmetic to compute the weight of plastic required, then weighing the spool on our handy digital scale (which EVERY 3D printer operator should have!) You can’t just look at a spool and know how many meters of filament remain without unwinding it.
Real time processing may use a lot more processing than required, but remember that your computer is likely idle anyway, so the extra processing buys you a bit of human time because you don’t have to hit the “slice” button and wait for results. They’re just always there, ready for you.
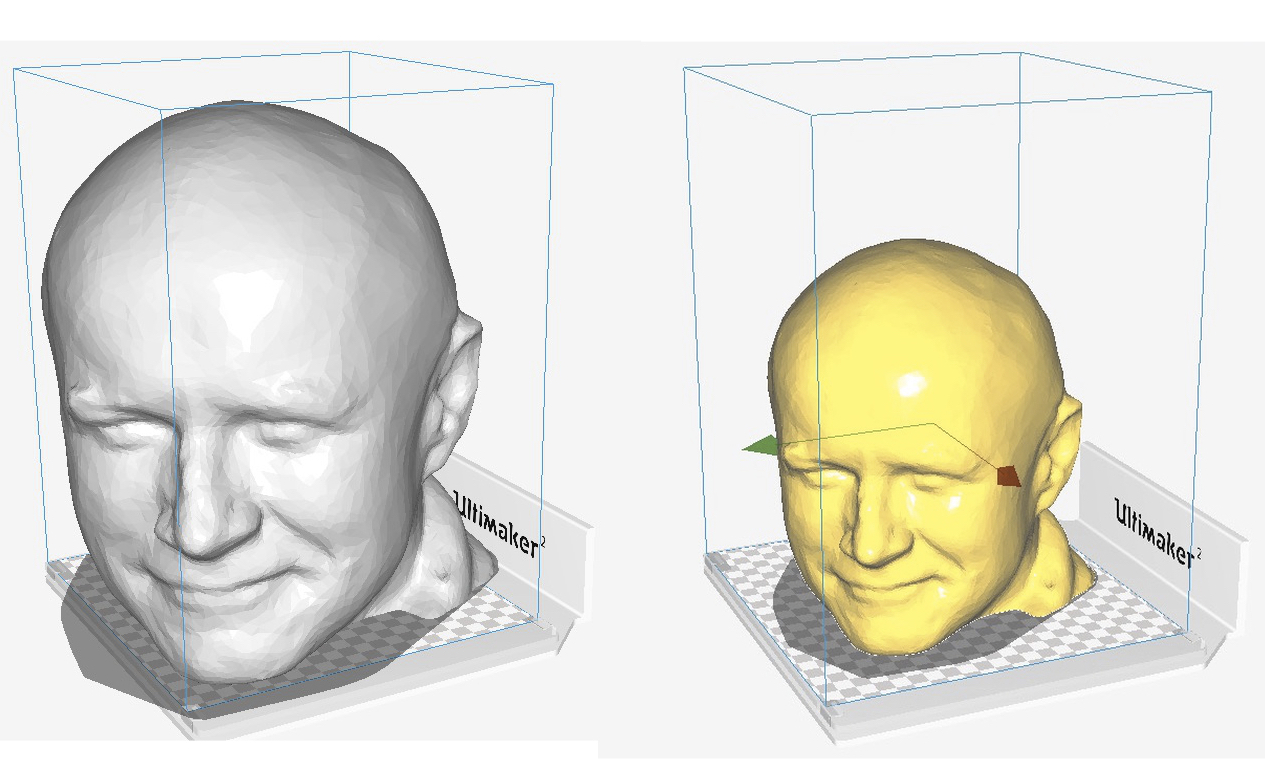
Cura provides easy ways to view the model on the platform, and you’ll need to do this to ensure you’re printing correctly. Here we see our test “Robert” head on the platform. On the left it’s sized incorrectly – it’s too big to fit within the Ultimaker 2 Extended print volume. You can tell because the object isn’t highlighted. Meanwhile, a quick resize (which is easily done, by the way) results in a model that fits and is now highlighted.
Cura takes a very interesting view on “simplified” vs. “advanced” slicing controls. Most slicing programs offer only two modes: “Simple”, where there’s practically nothing to set, or “Advanced”, where you’re faced with bajillions of controls. There’s often no happy in-between mode.
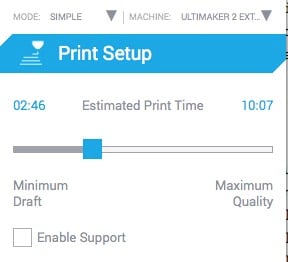
But in Cura, you can build your own! On the side panel there a “Simple” mode, shown here, but you really want to be in “Advanced” mode all the time. The simple mode shows only a slider bar where you choose the ratio of speed to quality. It figures out the rest.
Meanwhile, the advanced panel is a little different. It shows several tabs that can be opened up. But the really interesting part is that you can control which fields show up in these tabs.
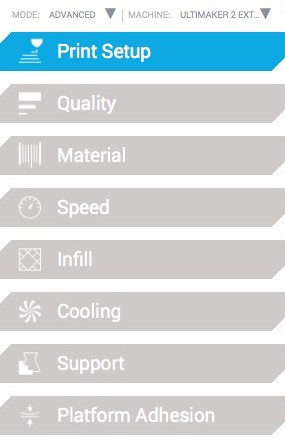
The typical scenario in simple mode is one of: “Argh, if only I could adjust this ONE parameter! But I can’t see it!” This is so easily solved in Cura by just toggling on just that field! Gradually your “advanced mode” will include ONLY the fields you’re interested in adjusting. It’s a brilliant design.
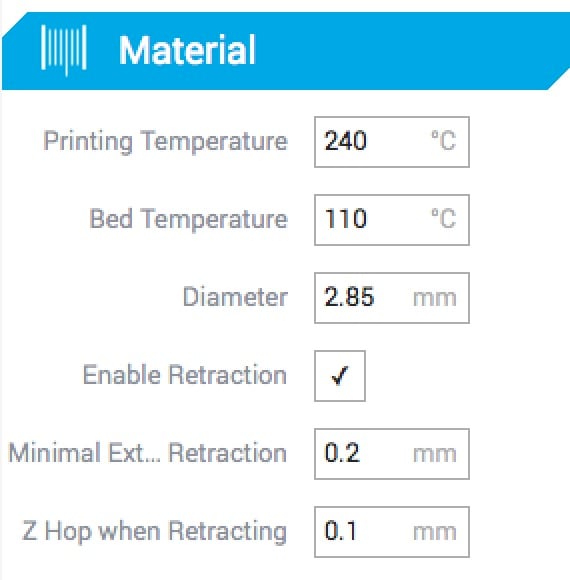
For example, here we see a customized tab for “Material” aspects. Depending on your needs you can include (or exclude) any parameter. Make the tool as complex or as simple as you like.
There are some quirks with Cura, however. We found a few wacky things such as: dragging a complex model sometimes throws it unpredictably off screen. It’s still there, but you can’t see it and your subsequent work will be confused by this invisible model.
Cura is a bit different and it takes a bit to get used to it. However, we also tested Simplify3D with the Ultimaker 2 Extended and found that it worked very well – but it is a paid, third-party product that you won’t find in your Ultimaker box.
Next up in our Hands On Series with the Ultimaker 2 Extended: Operations.
Posts in this series: