New research explores a method of inspecting ceramic 3D prints in a non-destructive manner.
Ceramics could be termed an up-and-coming material in the 3D print world. The material provides for extremely hard surfaces, almost complete resistance to chemicals and extreme thermal capabilities.
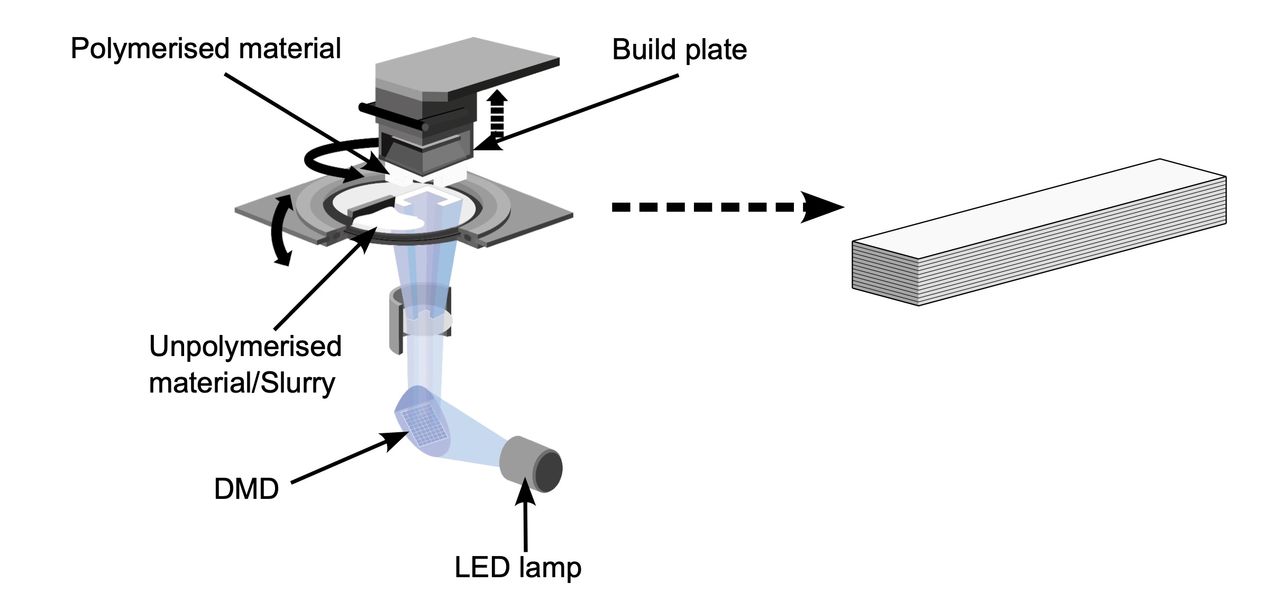
Because of these very unusual properties ceramics are used in a wide variety of industrial applications. However, the ability to 3D print ceramics is relatively rare. Only a few machines can print ceramics, and even fewer in the higher resolutions that are required for some applications.
Because of these reasons ceramics is still emerging as a major material in 3D printing.
As its use increases there will be more production applications. These will inevitably include many involving extreme environments and therefore the parts may be of a critical nature. It’s important to ensure the parts are completely free of defects.
Up to now there haven’t been many effective and inexpensive methods to perform inspections of 3D printed ceramic parts. Now, however, the researchers have developed a method of doing so.
Their approach is to use mid-infrared optical coherence tomography, “MID OCT”. This system, which uses a MIR supercontinuum laser, is able to scan parts to a depth of 0.7mm. It’s indeed possible to scan below the actual surface of the parts.
They are able to identify flaws in multiple embedded layers using this approach.
Note that 3D printing ceramics often requires multiple steps. These would include printing the green part, preconditioning the printed part, debinding the green part, sintering the brown part, and the final completed part.
The most interesting feature of the new inspection approach is that it can track defects throughout all four of these part stages with some accuracy. That’s something that has never been done previously.
At this stage they have demonstrated that the technology does work, but it remains to be integrated with a 3D printer.
There are other inspection methods, but as complex as this new approach appears, it is far less expensive than the other techniques. This suggests that it just might be possible to integrate inspection into a commercial ceramic 3D printer and associated post processing hardware.
While the method works only to a depth of 0.7mm, one can imagine doing an inspection pass after every few layers to build up a complete view of the internals of the part.
With all that data, and some fancy algorithms, it could be possible to make an accurate assessment of the parts quality.
The question now is, which ceramic 3D printer manufacturer might license this technology?
Via ArXiv (PDF)
