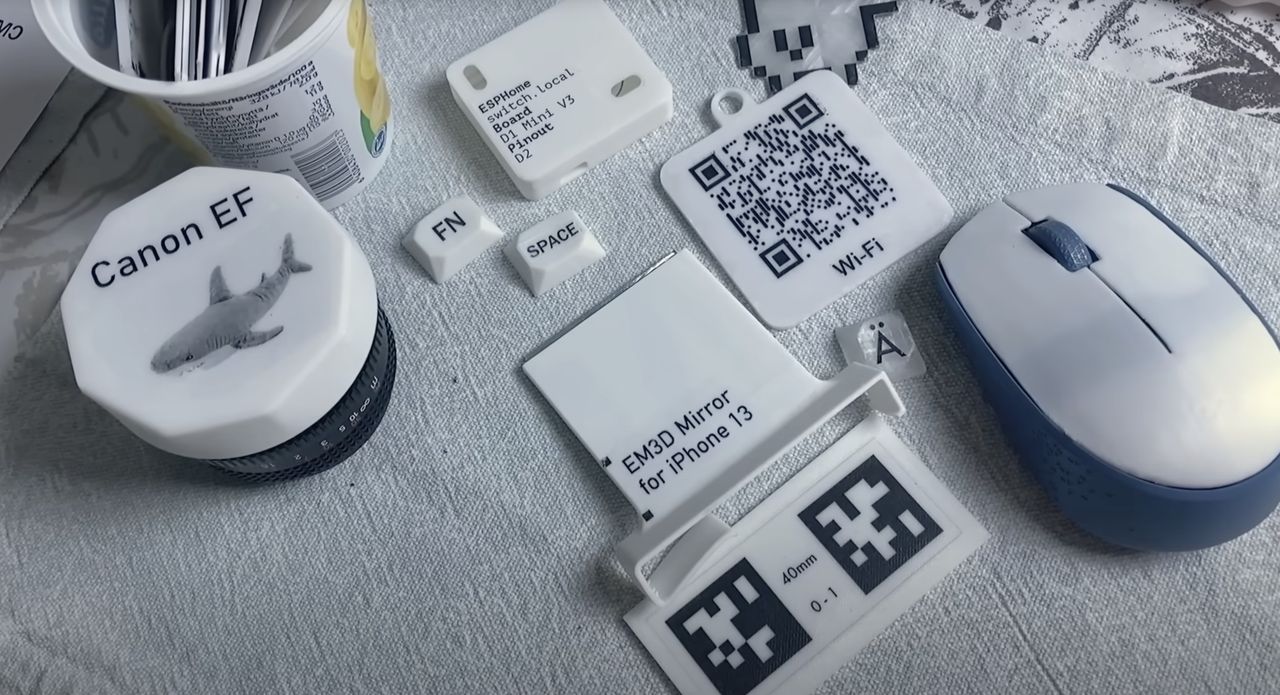
I’m looking at a new process to produce highly detailed markings on 3D prints.
YouTuber Squalius published a video explaining how to transfer inkjet prints directly onto flat 3D printed surfaces.
The process requires multiple steps, but should be doable by anyone with a 2D and 3D printer, along with some other materials.
The steps involved include:
- Designing the markings in a graphic tool
- Printing the markings on a 2D printer
- Cutting out the markings from the paper
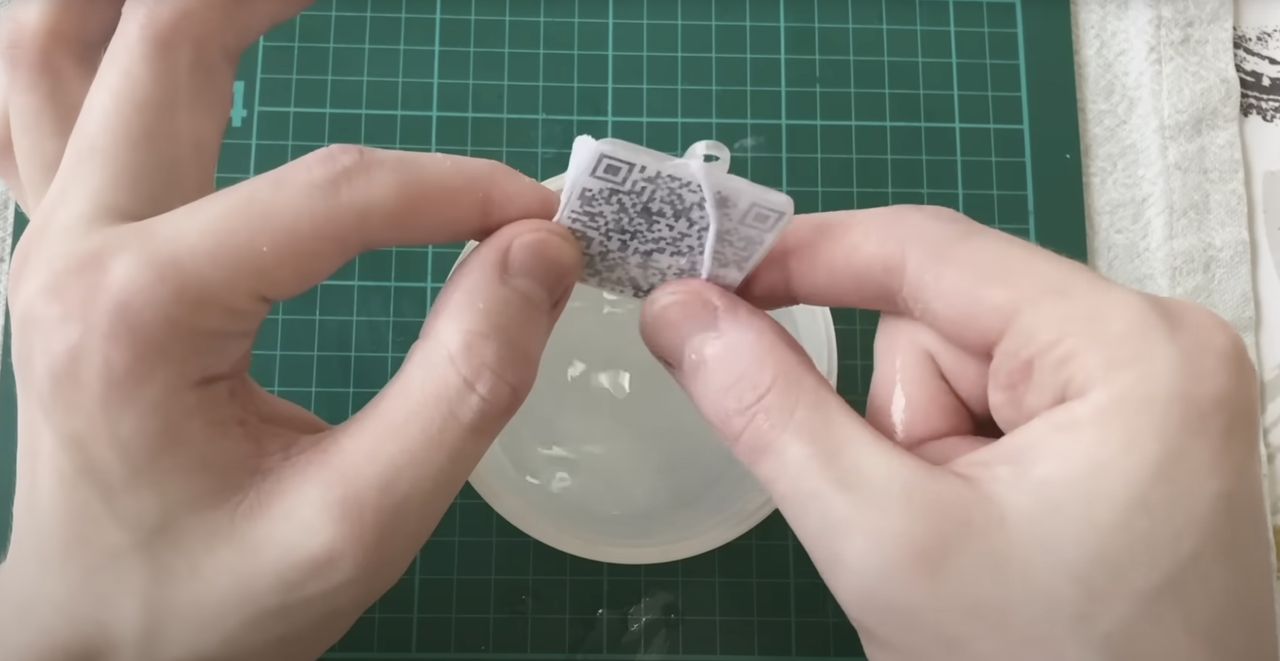
- Applying acrylic to glue the paper to the printed surface
- After drying, washing off the paper
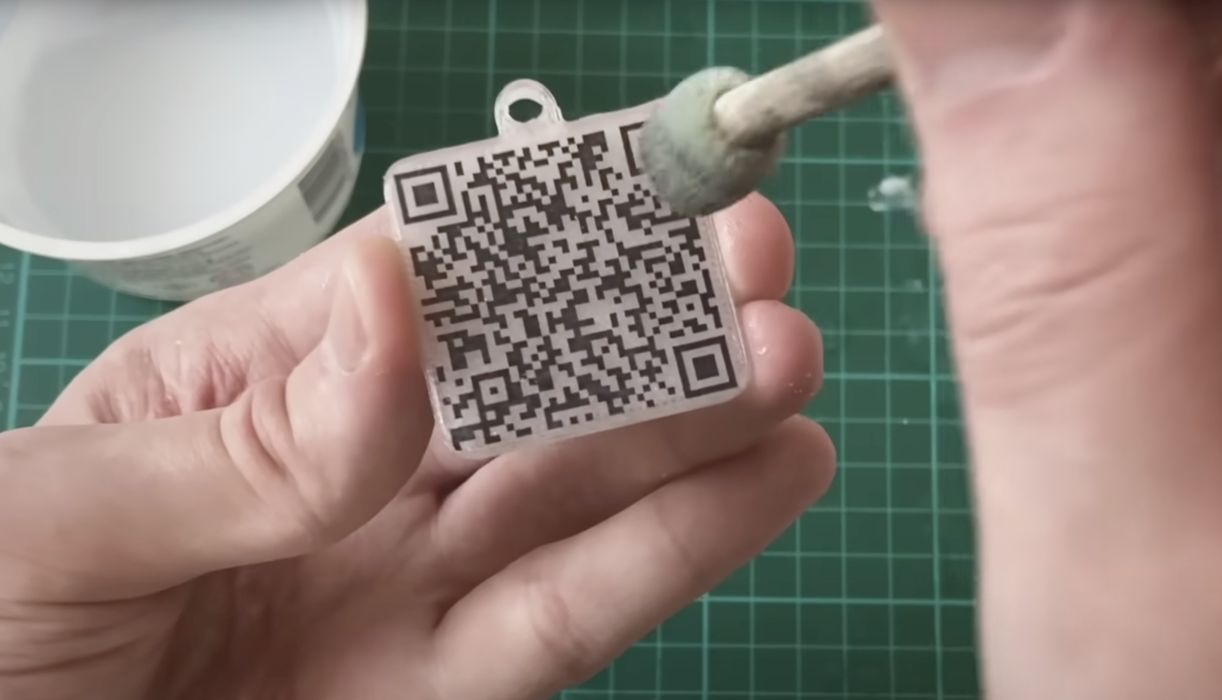
- Applying a protective varnish

In the video, the process appears to be quite straightforward and easy to do, although there are several steps.
This procedure overcomes the problem of 3D printer resolution. Typically embossed text is produced on 3D prints, which works only to a certain resolution. After that, the printer is unable to produce small enough walls, and the markings will be obscured.
In contrast, the Squalius method can achieve 300dpi, or whatever your 2D printer can produce. It also will work with multiple colors.

Squalius tested the procedure with FFF-printed PLA and PETG materials, which apparently worked well. It’s not clear whether this could work with resin 3D prints, which have a different chemistry and surface quality.
The markings can be scraped off with some effort, depending on the type of protective layer used. Squalius said in the video that they are looking for more chemically resistant protective materials.
What can you do with this process? Some ideas:
- Putting QR codes on parts and tags
- Labeling smaller parts with long serial numbers
- Adding graphic labels to clarify functions
The Squalius method seems to be quite usable, and easily done by desktop FFF 3D printer operators.
Via YouTube
