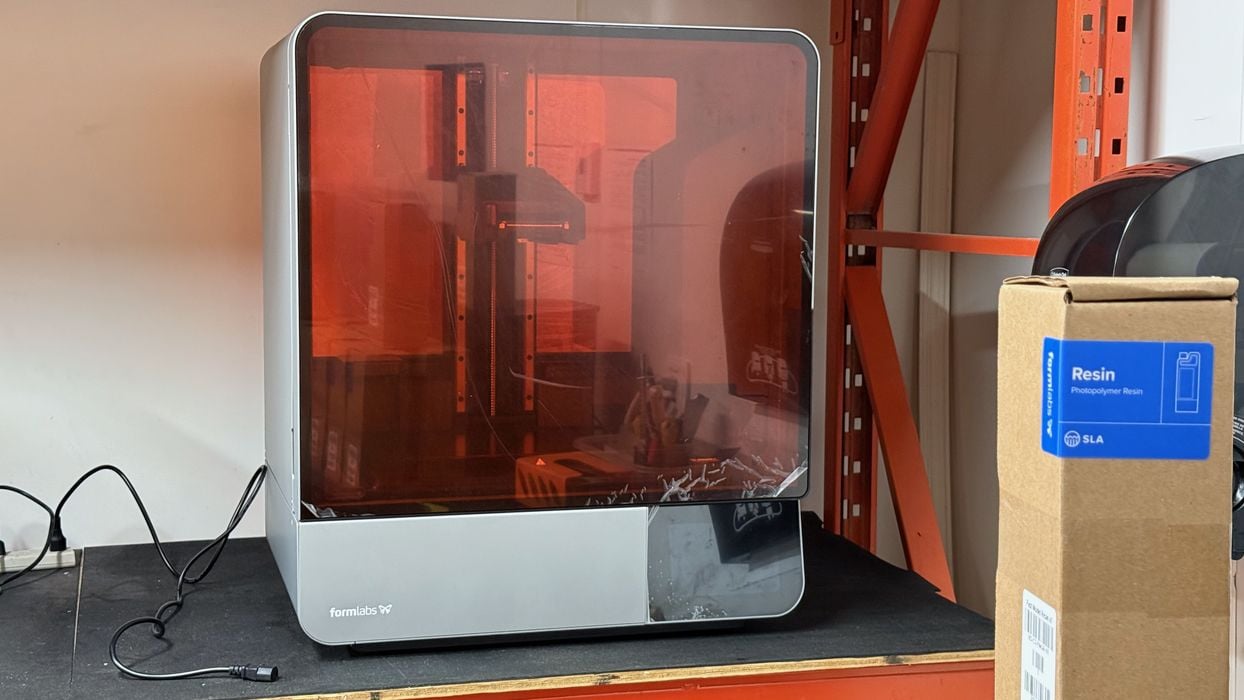
Our look at the Formlabs 4L 3D printer continues with Operations.
This is part two of a three-part series, please read parts one and three.
Formlabs Form 4L Operations
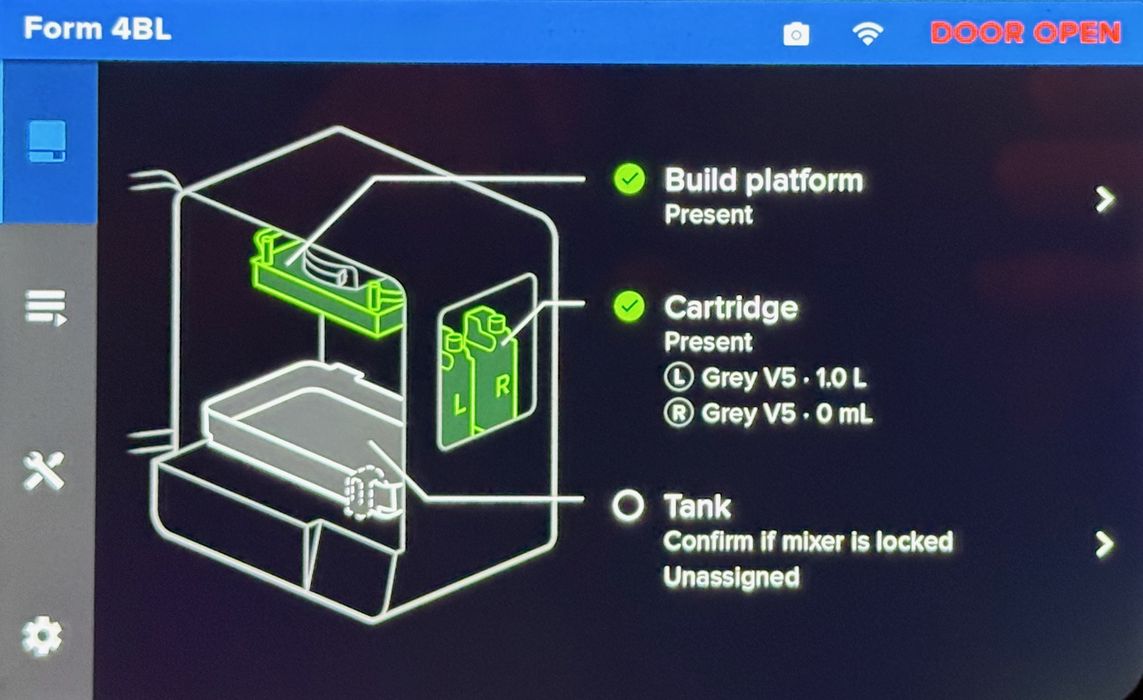
At this point, our 4L was ready to roll, except that it didn’t have any resin in the machine. Formlabs shipped us several resins for testing, including Grey, Black, Durable, and High Speed.
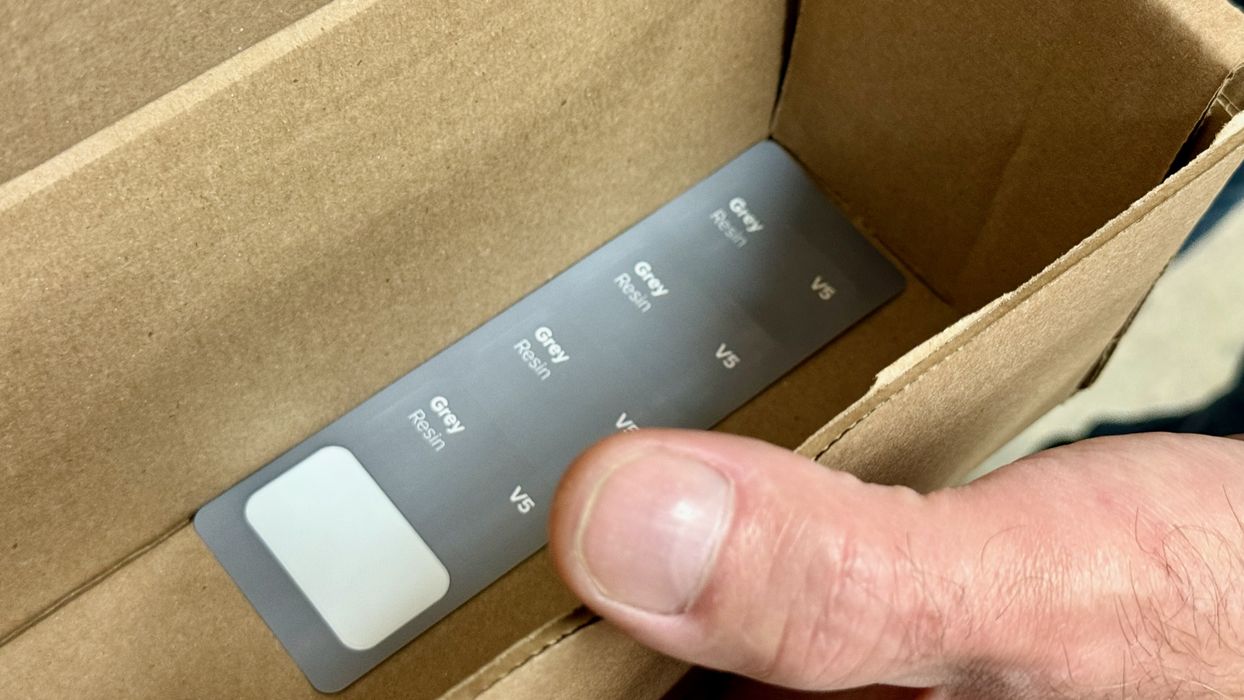
Recall that the tanks become matched with a material as soon as you introduce a material. To aid the operator, each resin bottle includes a few sticky labels that can be applied to the tank.
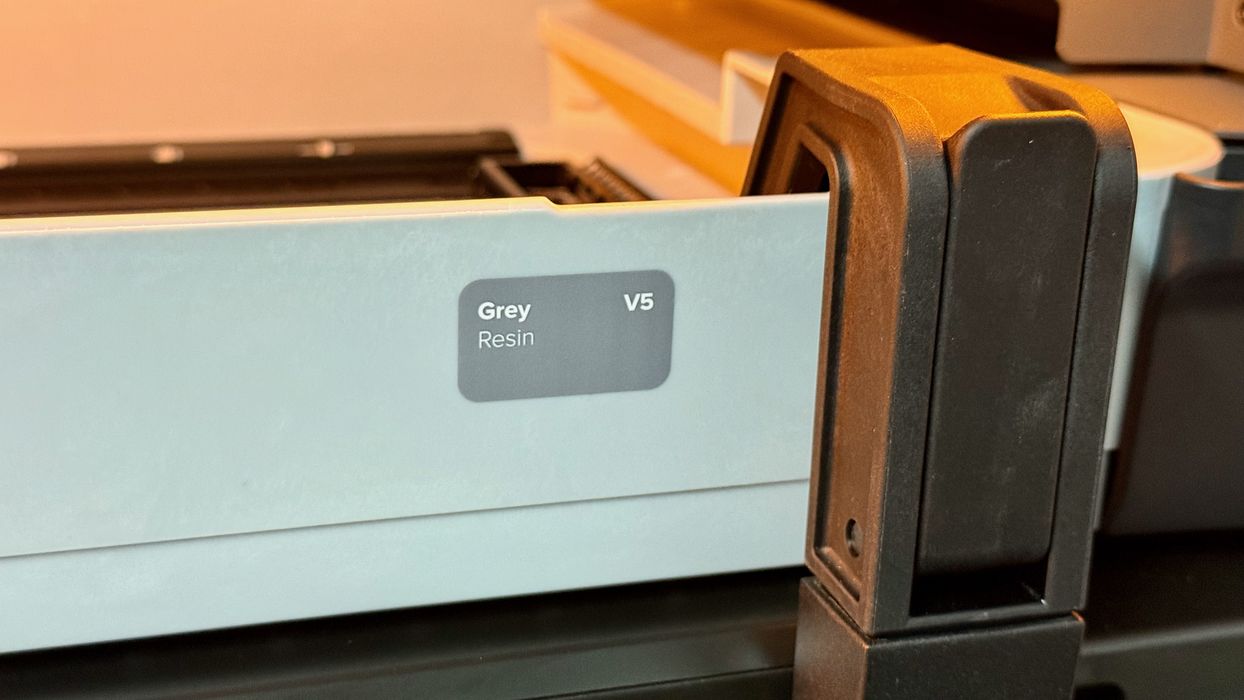
This is a visual reminder to operators that this tank can only be used for that specific material. Normally, the tanks will have some leftover resin in them, but in case they are emptied and cleaned, the labels will show the matched material.
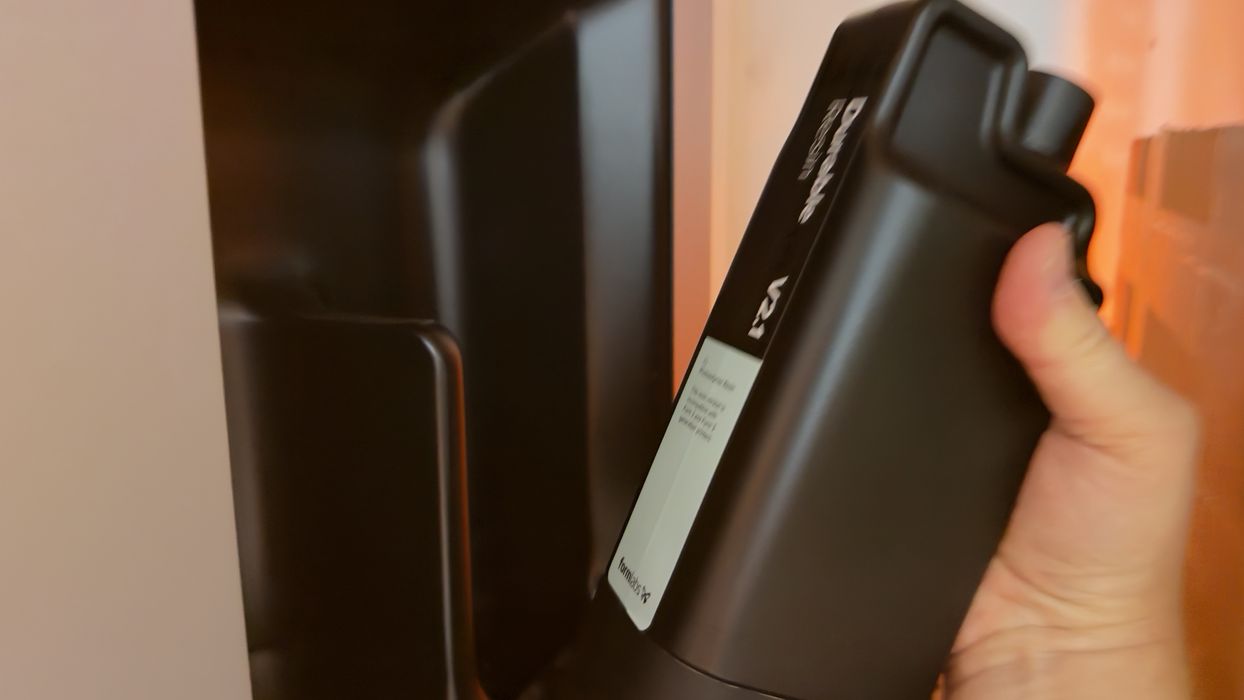
The 4L accommodates two bottles of resin on its right-hand side. These are really easy to mount; they just tip into the machine. However, the visual label on the bottle is facing inwards, so the only way to identify which material is loaded is to check the machine’s status on the front panel or via PreForm.
The bottles have a top vent that must be opened after mounting. Do not open the vent until mounted.
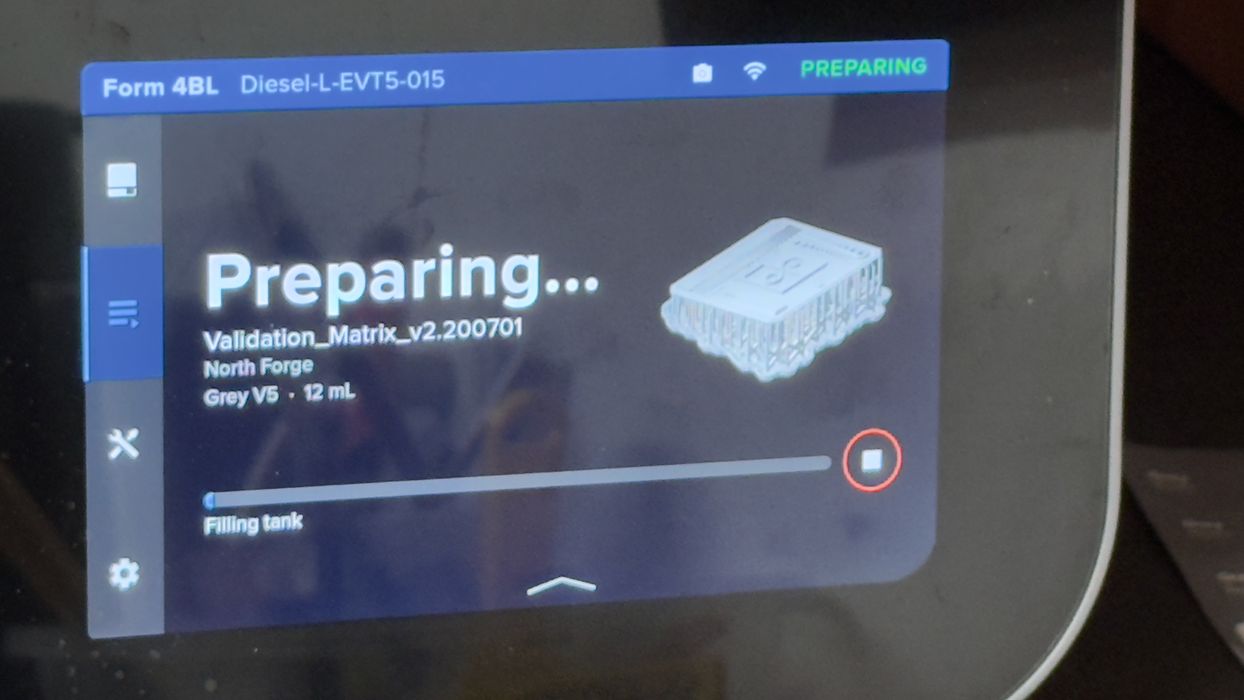
We prepared our first job on the 4L: the standard validation matrix 3D model we use on all our resin 3D printer testing, in grey resin. This isn’t something you’d normally print on a 4L, but you have to start somewhere.
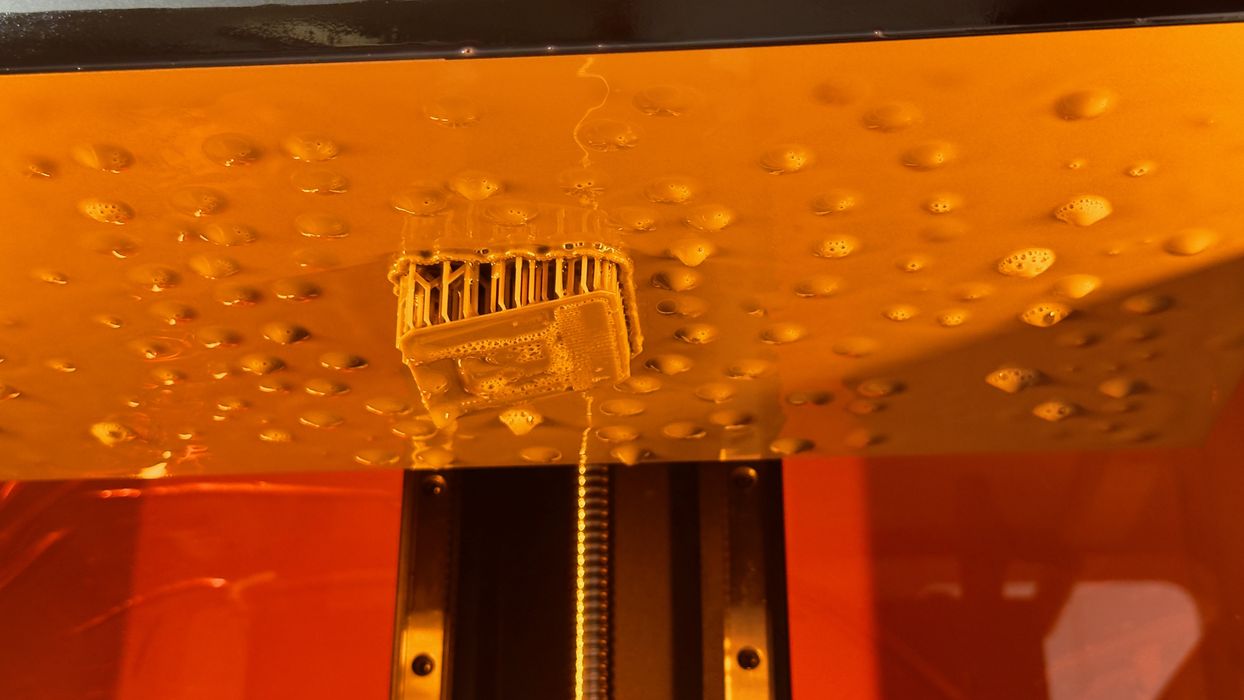
The print completed quite quickly, although longer than on other resin machines for a simple reason: we printed it at an angle. This was recommended by PreForm, and who were we to argue? On other machines, we print this 3D model flat to the surface. However, as you’ll see, this isn’t something you can do on the 4L.
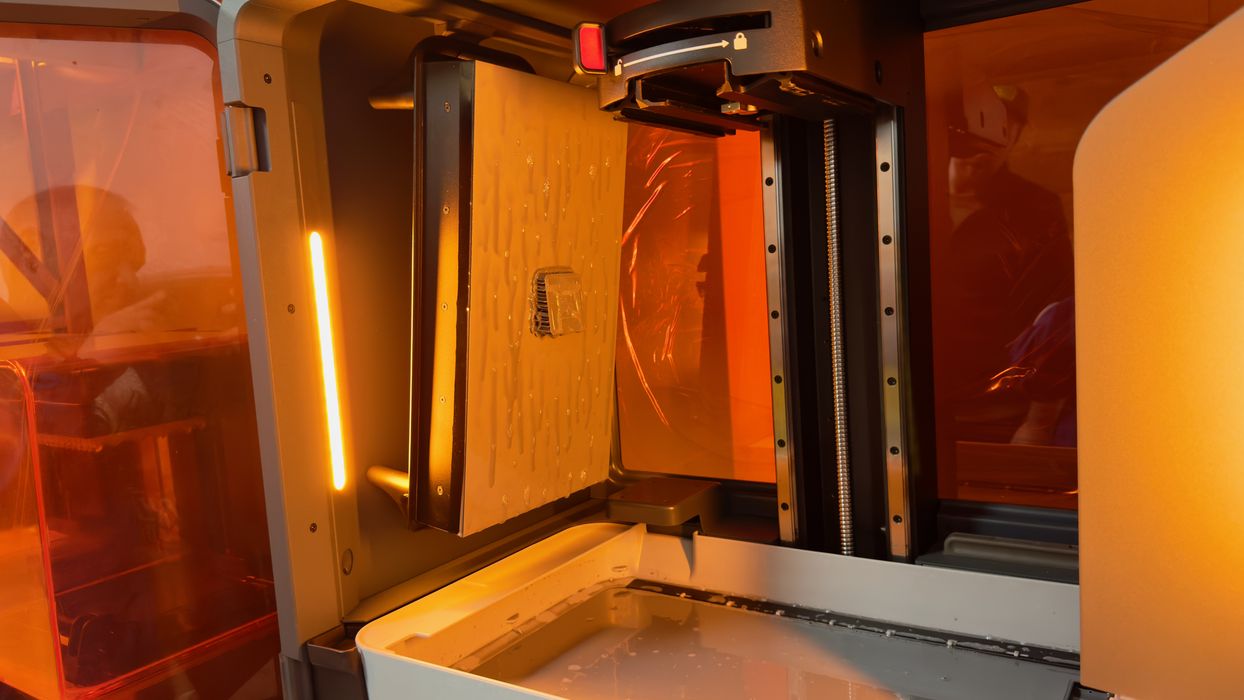
There’s a really interesting feature on the 4L: a plate hanger. After the job completes, it’s possible to unmount the plate and hand it on some hooks on the left side of the build chamber. The hooks are positioned so that the plate will drip into the resin tank. It’s also very convenient if you want to use a spatula to scrape off some loose resin into the tank.
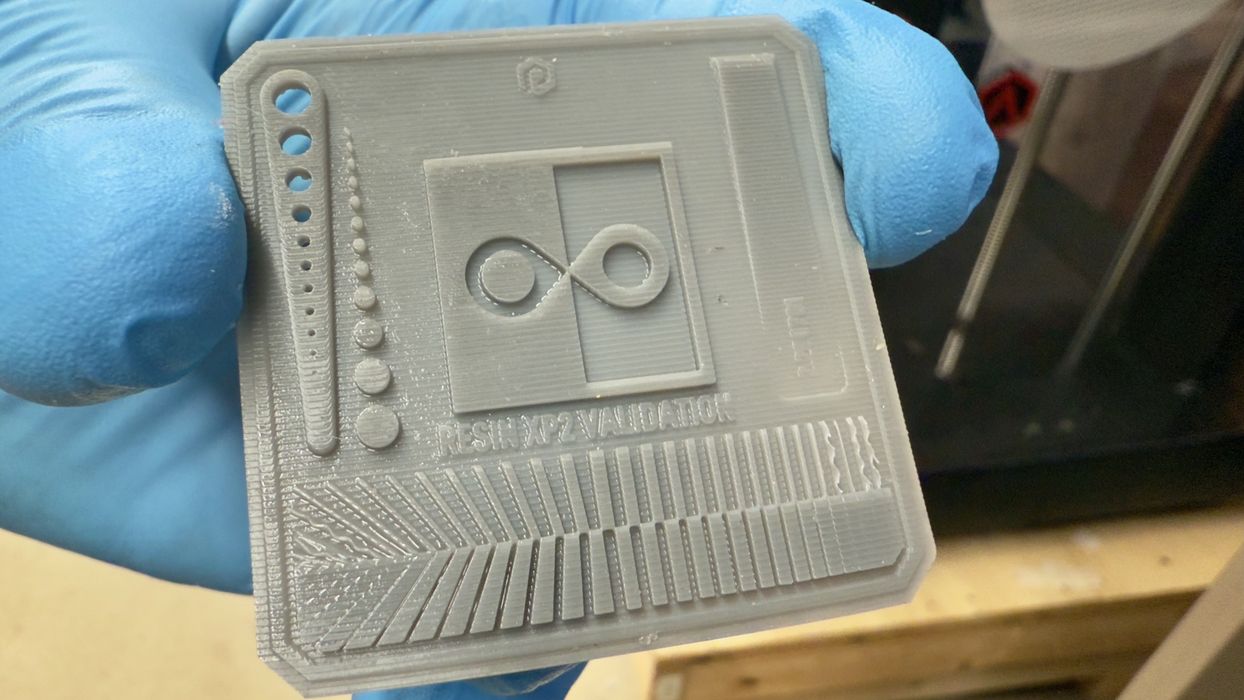
Inspecting our first print was surprising. Here you can clearly see a number of layer lines, which we normally don’t see on this 3D print. However, that’s entirely due to printing it at an angle. Printing it flat would not show the layer lines. Nevertheless, the print completed quickly and perfectly, confirming the print profile worked well.
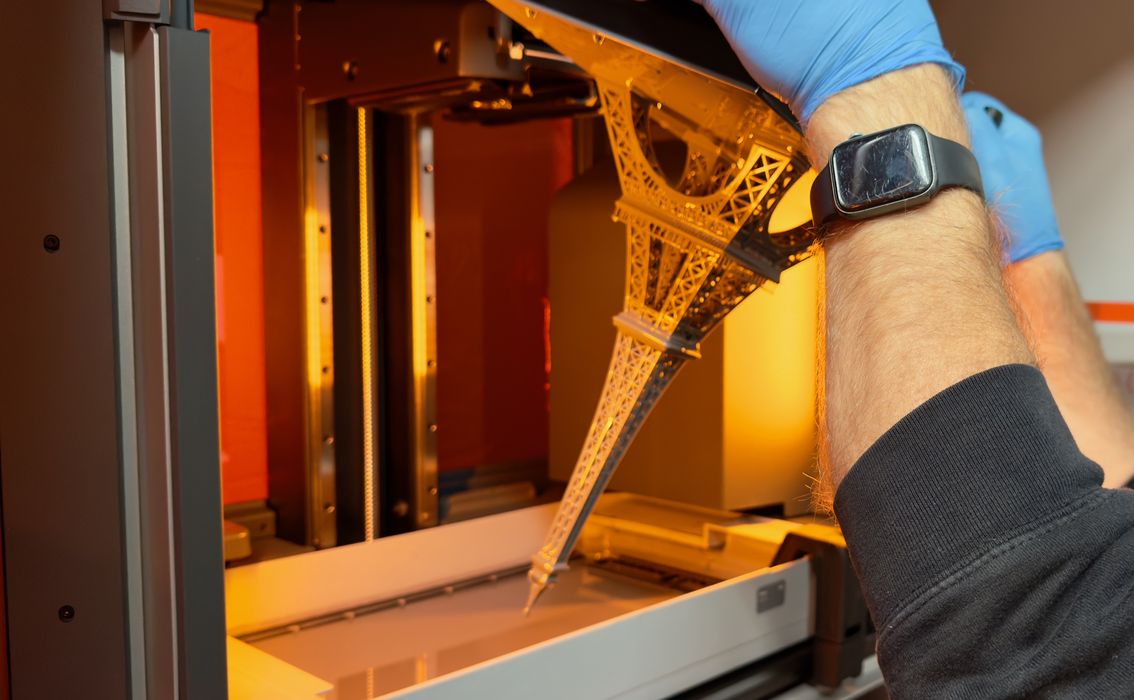
We continued printing a number of items, including some tall 3D models. We wanted to see how well tall items could be handled with the 4L. Here you can see that it can be a bit tricky removing very tall prints, as they might catch on the resin tank’s walls.
This particular print didn’t take up much space at the higher levels, and I do have some concern about printing something that’s tall and very wide. A print of that type might be challenging to remove.
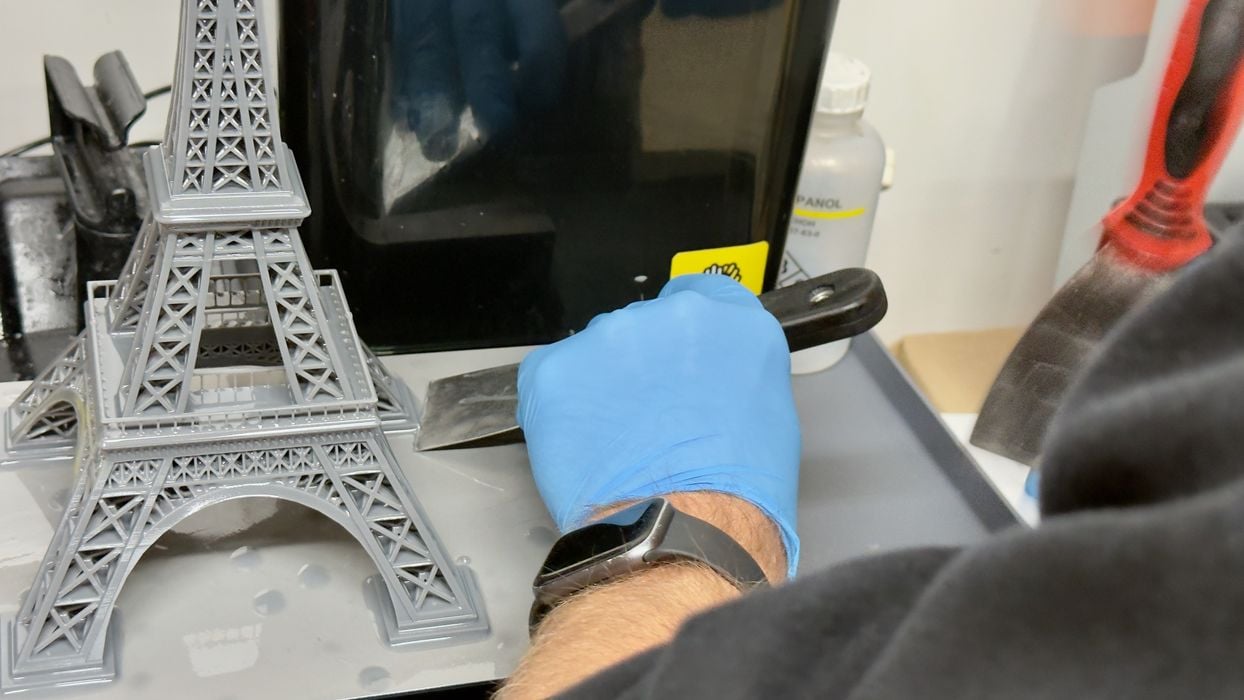
After printing, you must remove the print from the plate. Formlabs used to ship a removal tool with their equipment, but none are found with the 4L. So, you’re on your own. We ended up using a chisel and hammer. If that sounds like overkill, we can say that the prints stick very, very well to the build plate, and you do need quite significant force to remove them.
This is why you can’t really print something like the validation matrix directly on the print plate: it would simply disintegrate, or at least break into a chip or two, while removing it. The message here is that you must use a raft on all 4L prints.
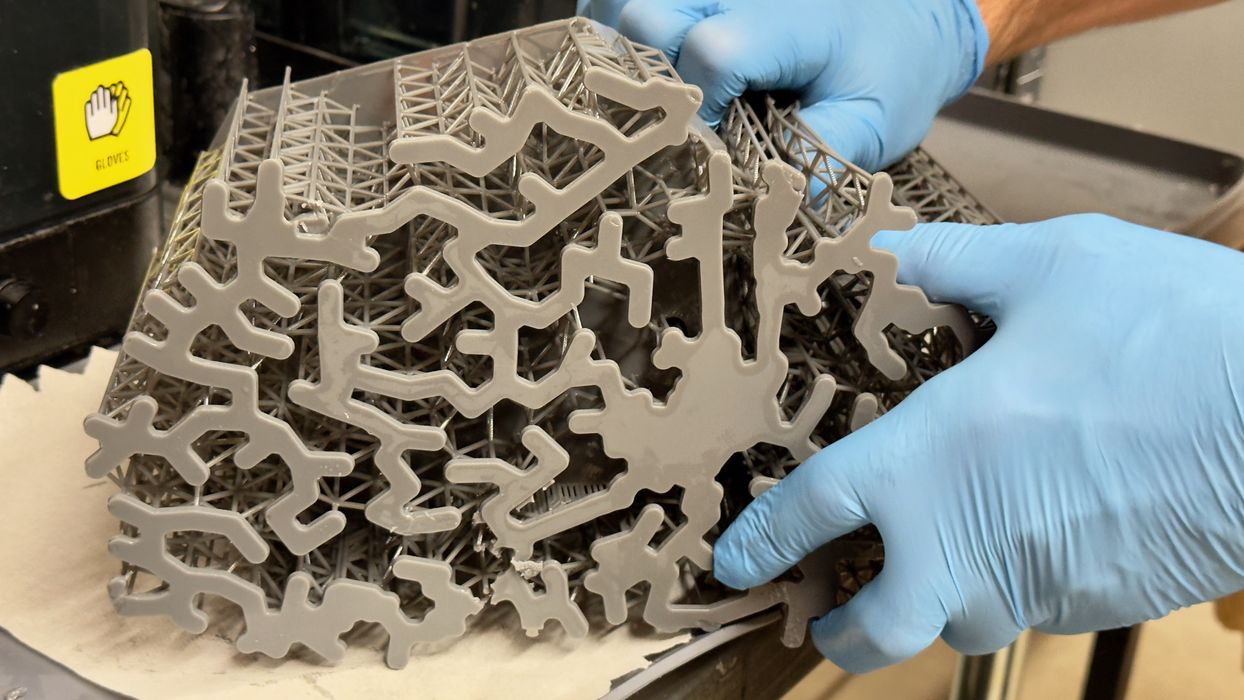
One suggestion we have is to use the sparse raft setting. Above, you can see how this is generated. There’s plenty of space between plate connections, allowing for easier removal.
After printing, the parts must be washed in IPA to remove the wet resin. You can use Formlabs’ Form Wash L for this, but you can also just use a large tub of IPA.
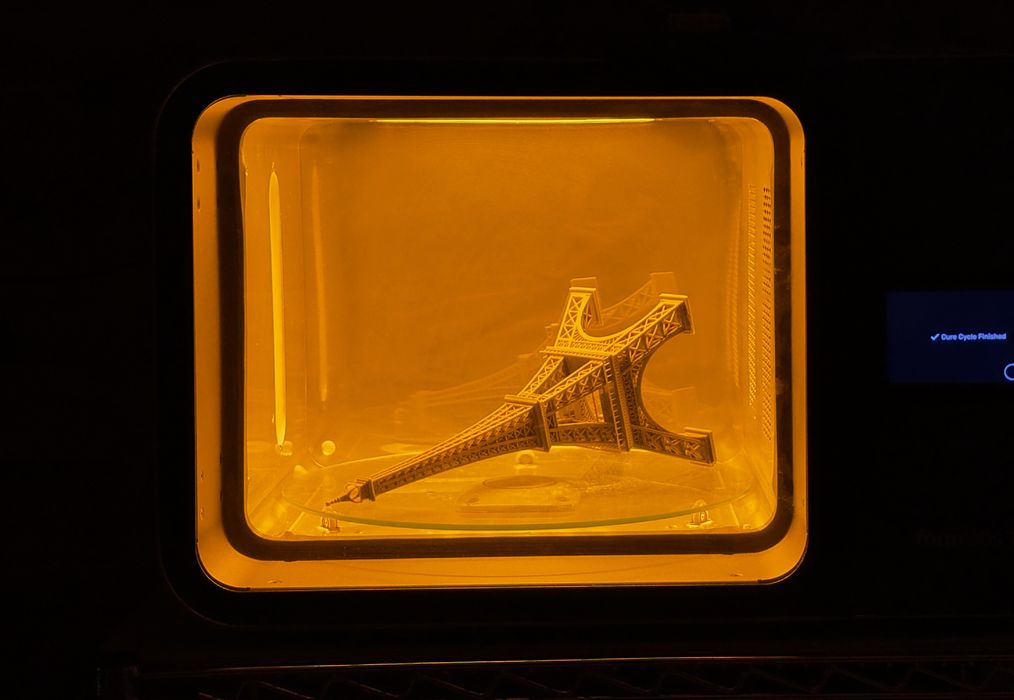
After washing, the parts must be dried before curing; otherwise, you’ll end up with unsightly shiny spots on the parts. Curing can be done in the Form Cure L.
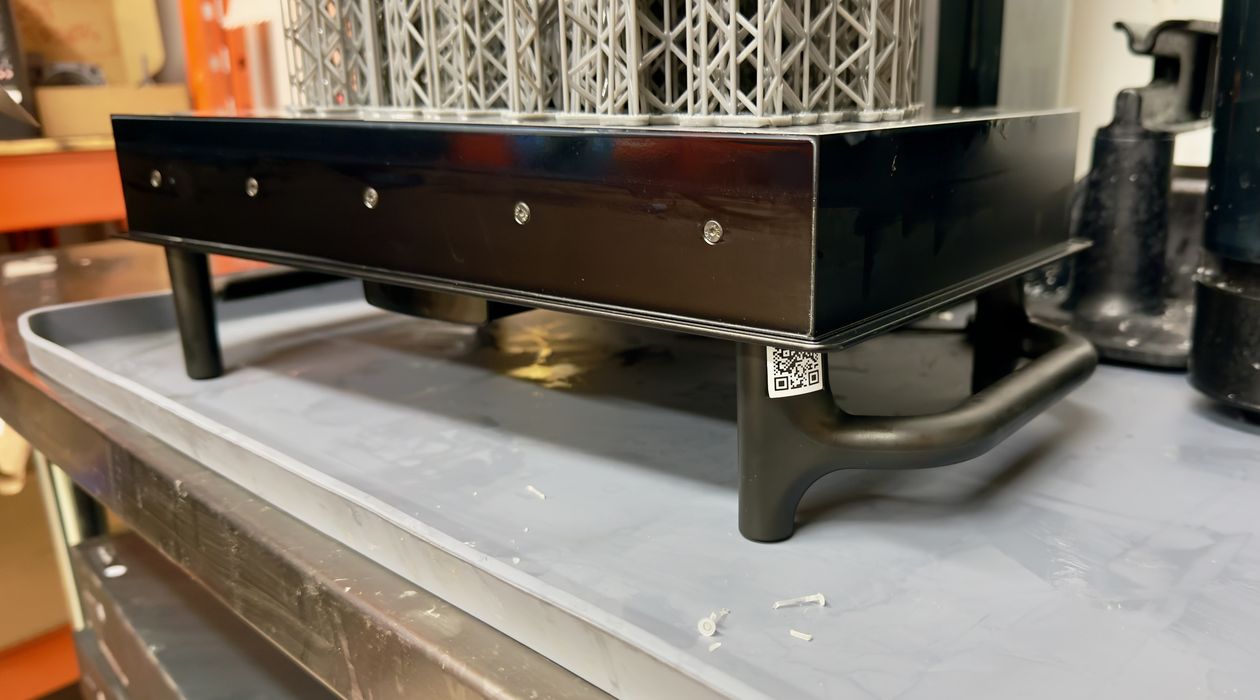
During post-processing, we noticed that the print plate has some handy legs on the other side. This allows the plate to be tipped upside down and presents the parts for easier chiseling. This is very useful due to the amount of force needed to release prints.
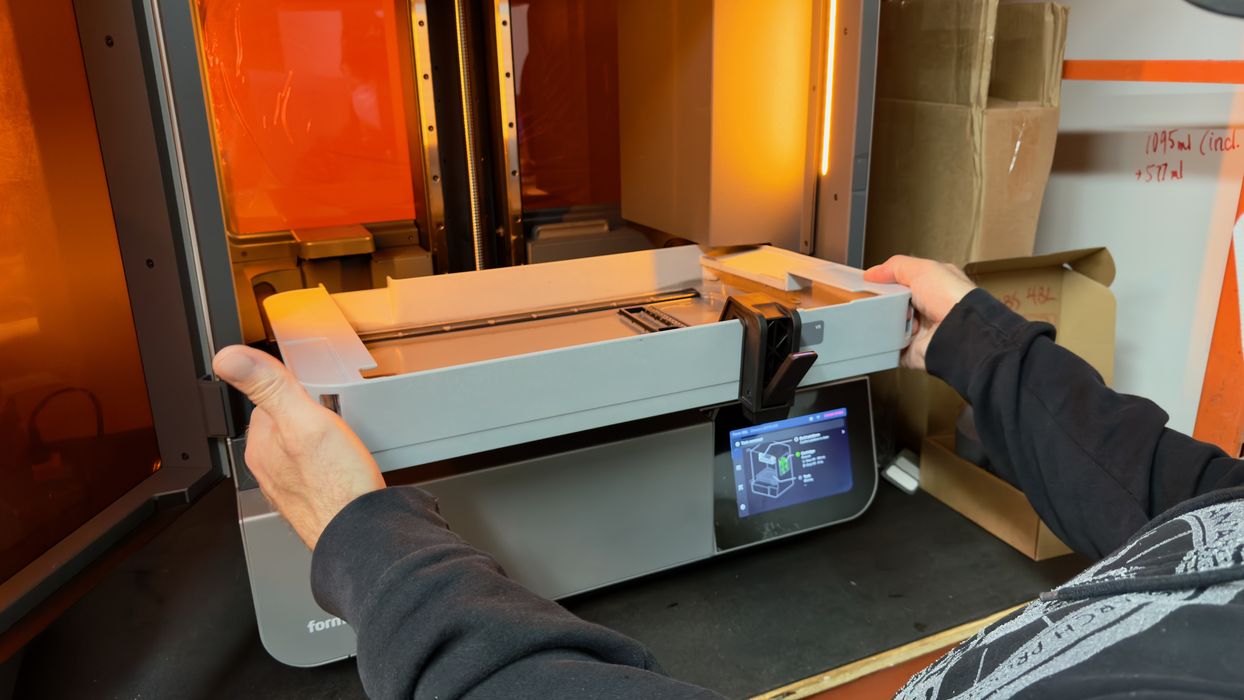
We moved on to a different material, and there’s a process for doing so. Recall that the tanks (and wipers) are tied to a material, so we had to remove them both, along with the now-empty resin bottles.
The tanks have a lid that covers them, and they can be stored safely for future use with that material again. We used their original cardboard box to keep them, but I suppose you can simply stack them. Just make sure you’ve labeled them properly – labels on the side if you’re stacking them.
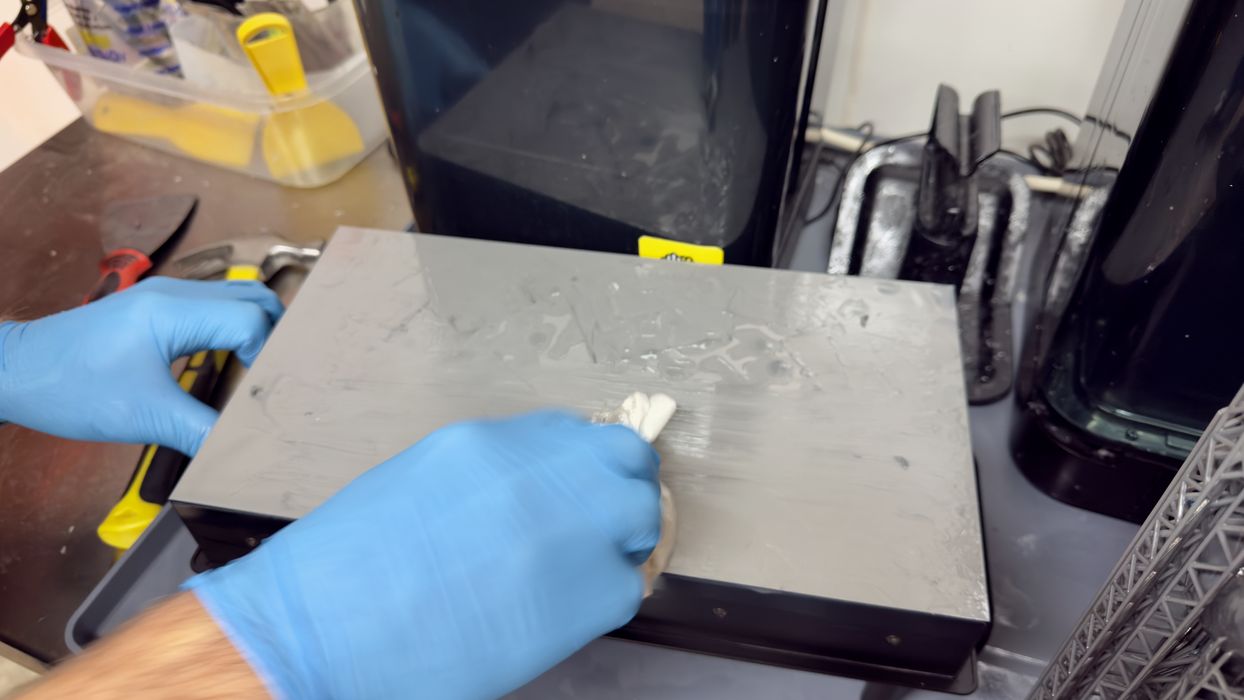
With the resin bottles, tank, and wiper changed, you’ve basically removed all the resin from the scene — except for one component: the print plate. This must be carefully cleaned of any residual resin. That can be done in the Form Wash L, or by hand as we did here. Wipe with IPA a few times, and dry.
Removing support structures is one of the most awful aspects of resin 3D printing. Typically, they need to be strongly attached to keep the part from falling during printing, but then they are hard to remove and leave surface defects on the parts.
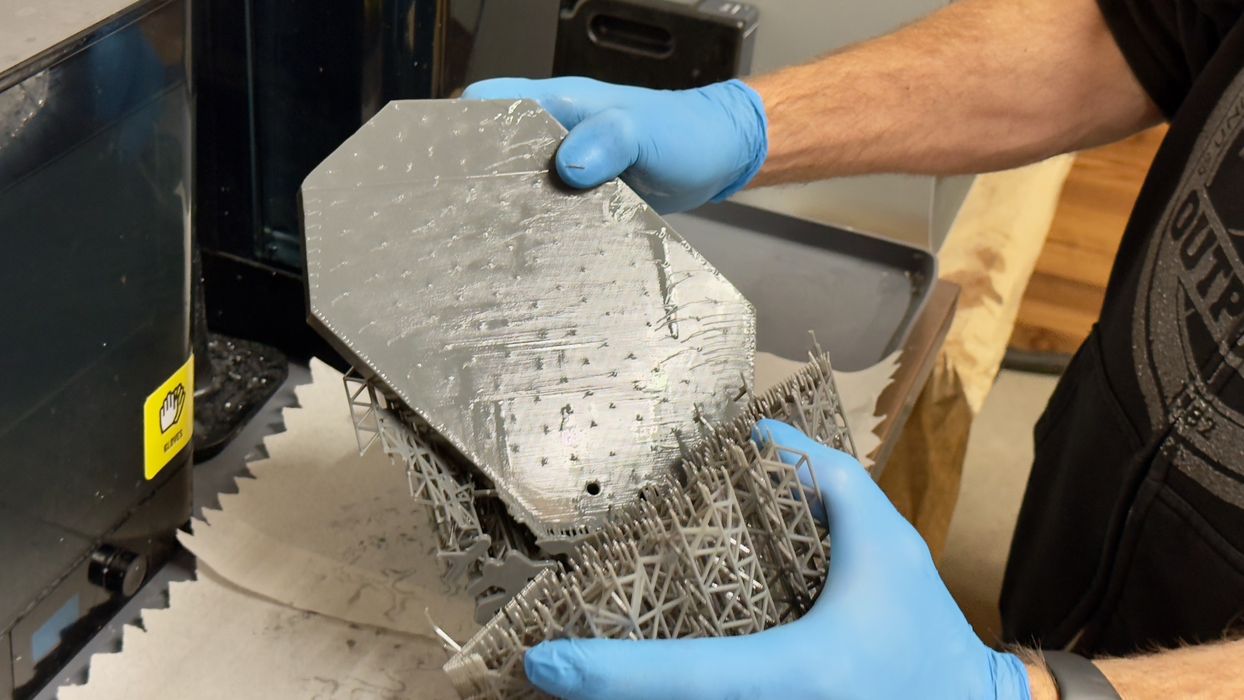
By contrast, supports on the 4L were usually quite easy to remove. This is a feature of the PreForm software that creates support tips that are somehow strong but easily come off. There’s something to be said about perfectly tuned print profiles.
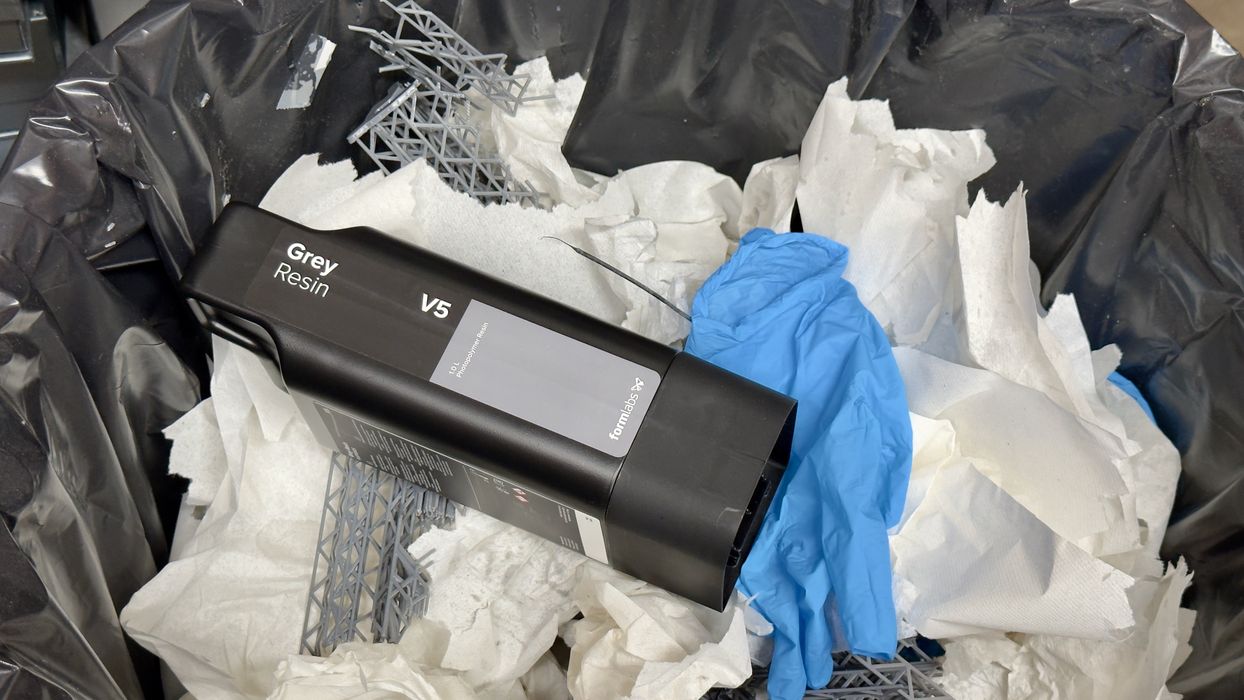
After changing the resin, we had to dispose of the empty resin bottles. We initially thought we’d recycle them, but an inspection of the bottle did not reveal a recycling stamp, as far as we could see. This means the bottle is not going to be sorted at a recycling facility and simply sent to landfill.
In addition, the bottles still have some resin inside, which you really don’t want to unleash on the environment. I’m hoping there is a procedure for dealing with empty resin bottles in a proper manner.
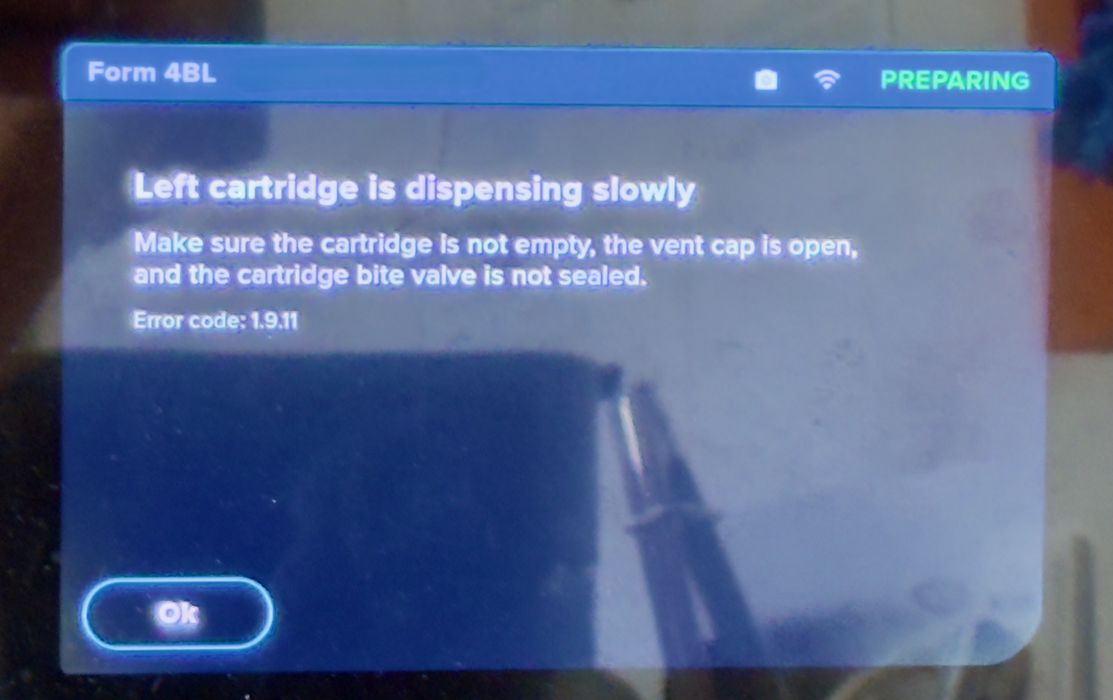
This was an interesting message. We had installed a new resin bottle and thought we’d opened the top vent. However, the 4L seems to monitor resin flow somehow and concluded that we hadn’t properly opened the vent. Upon checking, we actually hadn’t fully opened the vent — the 4L is able to detect and provoke the operator to resolve the situation.
I should point out that the proprietary resins used in the 4L have chipped bottles. This means the 4L can instantly know what specific material has been loaded and then ensure it matches the jobs being printed.
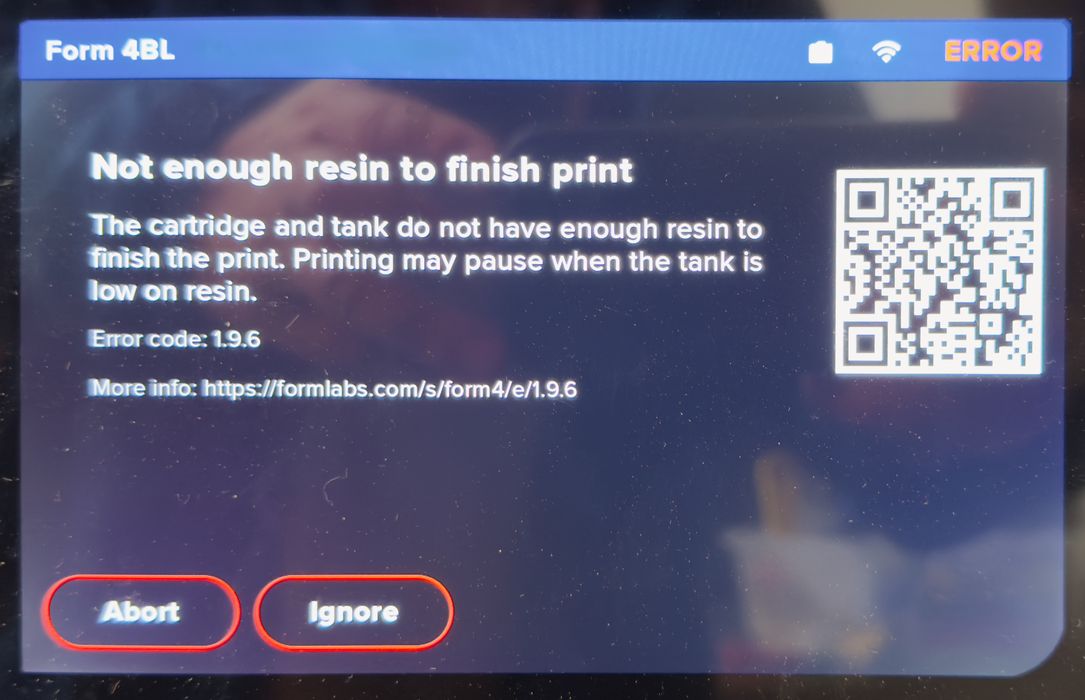
The 4L carefully keeps track of resin consumption, and it knows when you’re going to have to supply more material. Here you can see a warning where the amount of resin isn’t sufficient to complete the job. If you’re printing a very large item, you will get this warning — just be prepared to have another bottle ready to load when the time comes.
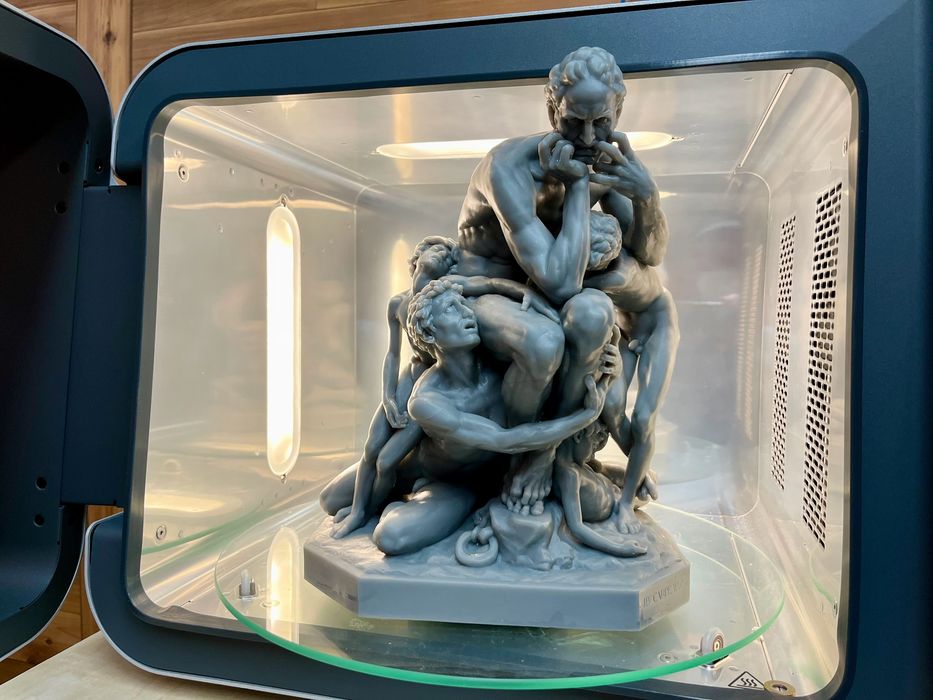
We printed a few rather large items to test the enormous build volume. This sculpture, “Ugolino and His Sons” by Jean-Baptiste Carpeaux and stored in MyMiniFactory’s Scan the World Collection, was ideal to test the large size, surface quality, and complex geometry capabilities of the 4L.
However, we found that Ugolino was actually too large to fit standing up in the Form Cure L. Sometimes you have to tip your parts on the side to fit, but I am suspicious that if you actually filled the build chamber, whether it would fit in the Form Cure L.
There’s just not a lot to say about the operation of the 4L: Formlabs has carefully engineered the entire experience from end to end, and it all just works. We had no print failures after printing quite a few objects, and using the machine was easy.
We were quite impressed with how resin is handled. Because of the use of bottles and tanks, the operator is only really exposed to resin when removing support structures — and that’s only if you don’t wash the resin off first. Formlabs seems to have examined the entire workflow and significantly reduced the risk of resin exposure.
This is part two of a three-part series, please read parts one and three.
Via Formlabs
