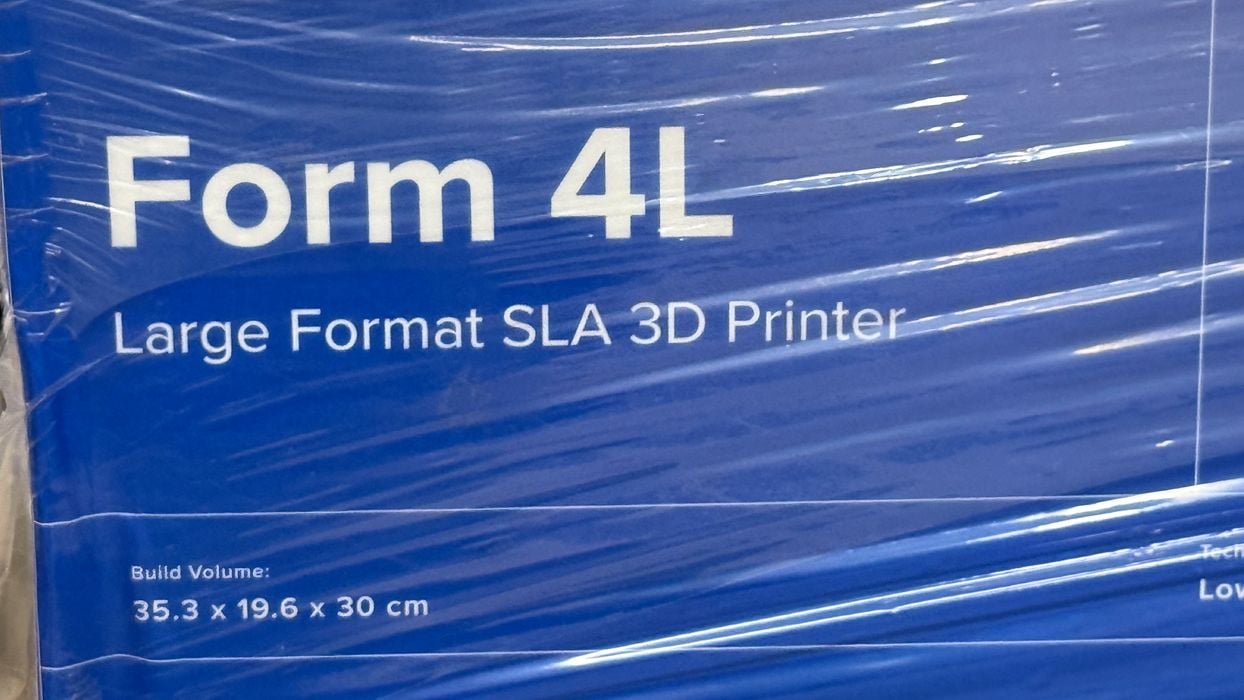
We’ve been testing the brand-new Formlabs 4L 3D printer in the past few weeks, and we’d like to tell you about it.
This is part one of a three-part series; please read parts two and three.
Formlabs Form 4L Background
Formlabs began over ten years ago with the introduction of the Form 1. It was the first desktop 3D printer that used the SLA process and enabled operators to produce very high-quality parts on the desktop.
Since then, the company has been incrementally improving its technology, first with the Form 2, then Form 3, and most recently with the Form 4.
The Form 4 broke their traditional approach of using a laser as the light engine. The Form 4 instead uses an LCD panel with a variation of the MLSA process. This dramatically increases the print speed because the entire layer is produced all at once, rather than having the laser tediously trace out all the solid portions.
Most recently, Formlabs introduced the Form 4L, a “stretch” version of the Form 4 that includes the same technology. We were fortunate to be able to test one of these rather large 3D printers and experience the new Form 4 tech in person.
Formlabs Form 4L Specifications and Features
The Form 4L is about the same exterior size as its predecessor, the Form 3L. However, the styling is quite a bit different. It has a massive build volume of 353 x 196 x 350 mm, making it able to print quite large parts — or alternatively, printing a large batch of smaller parts.
This is about 5X the volume of the smaller Form 4, but remember that the XY area governs how much can be printed because all parts must attach to the build plate.
Like all of Formlabs’ 3D printers, the Form 4L is managed through their excellent software system, PreForm. This enables dispatch of jobs through the network, as well as intelligent job preparation.
Print speed is a major feature on the 4L, as you can print jobs around 2X faster, with just the same level of quality, as you will see. In fact, the 4L can produce large objects much faster than can be done with FFF technologies. Formlabs said, “Large prints in under 6 hours”, and they are not kidding.
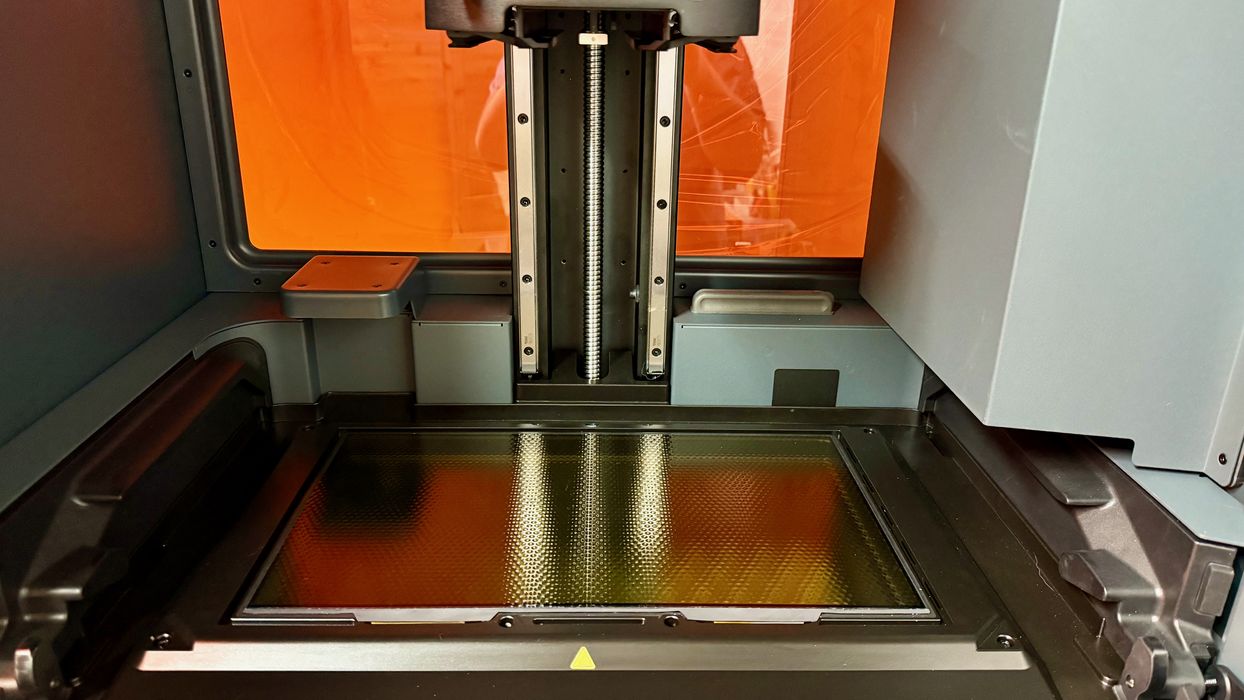
That speed is largely due to the powerful light engine in the 4L, which can deliver an incredible 16mW of energy per square cm, evenly across the entire build plane. The print speed is quite welcome for a device with such an enormous build volume — large prints can be done quite quickly.
There are a number of sensors on the 4L that aid in operations, including monitoring resin levels, checking material compatibility, ensuring proper operating temperatures, etc.
The 4L includes quite a long list of minor changes, all of which add up to a much more convenient experience for operators.
Formlabs Form 4L Unboxing and Assembly
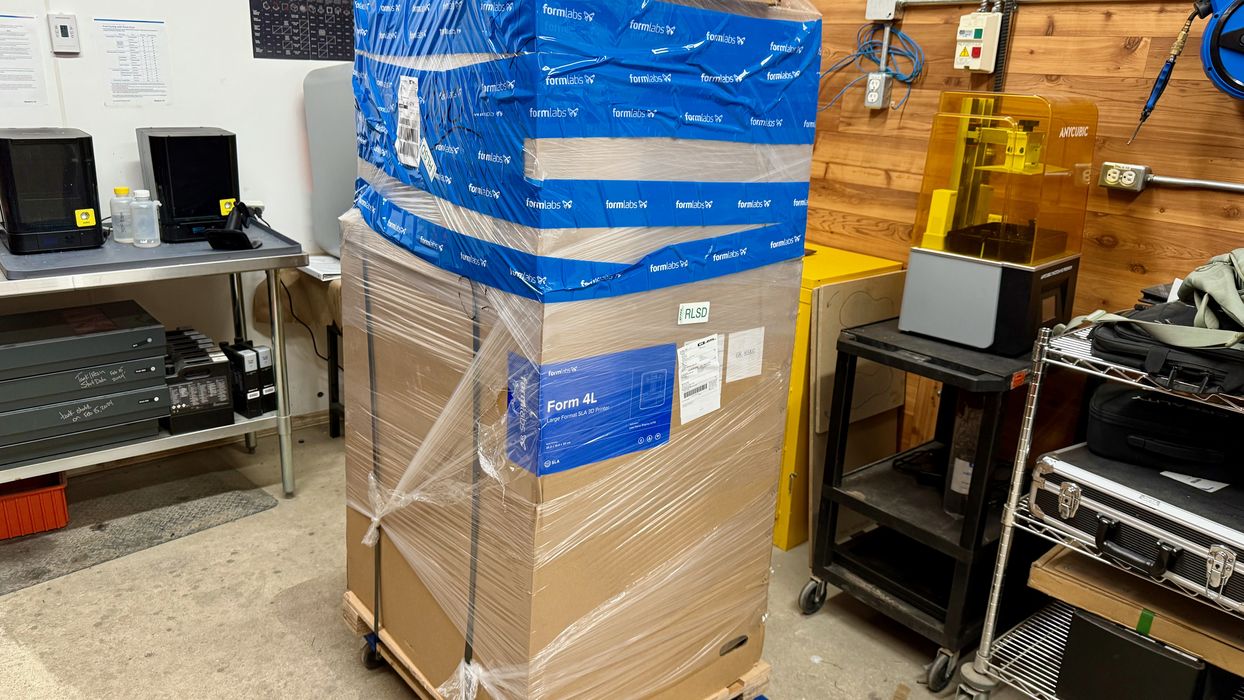
The 4L is pretty big, and you’ll likely need some help unboxing it.
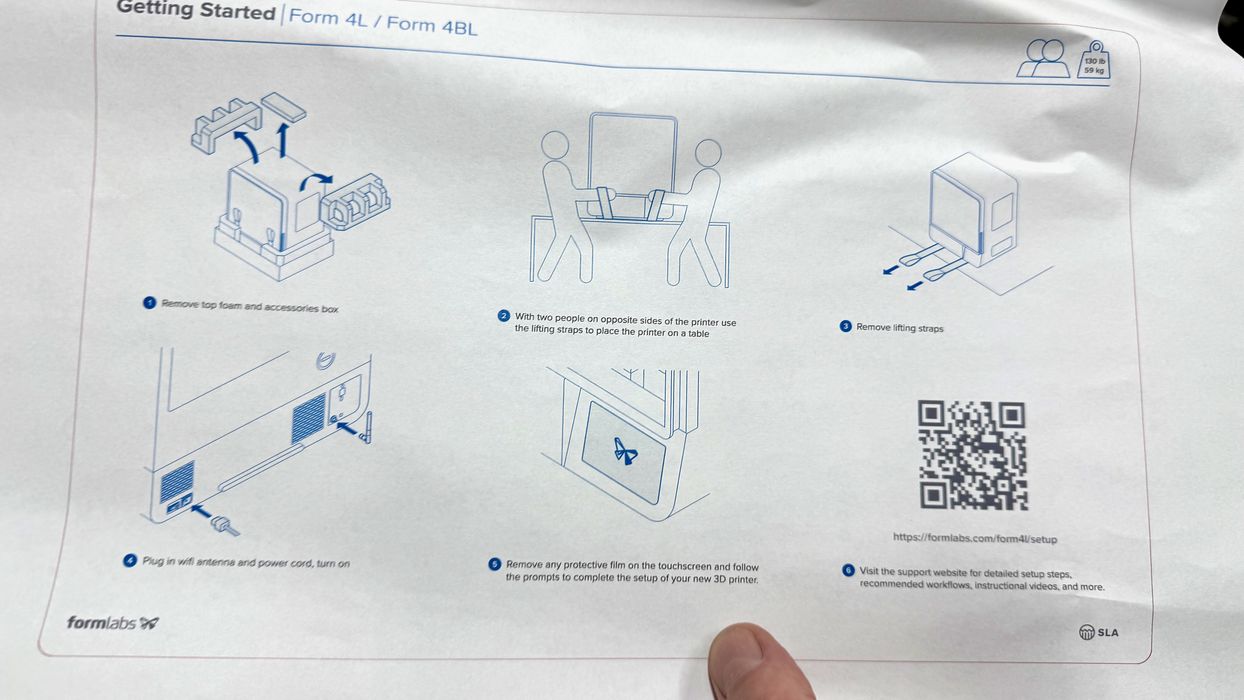
This was confirmed by the unboxing instructions, which recommend having two people use lifting straps to extract the 4L from its shipping crate.
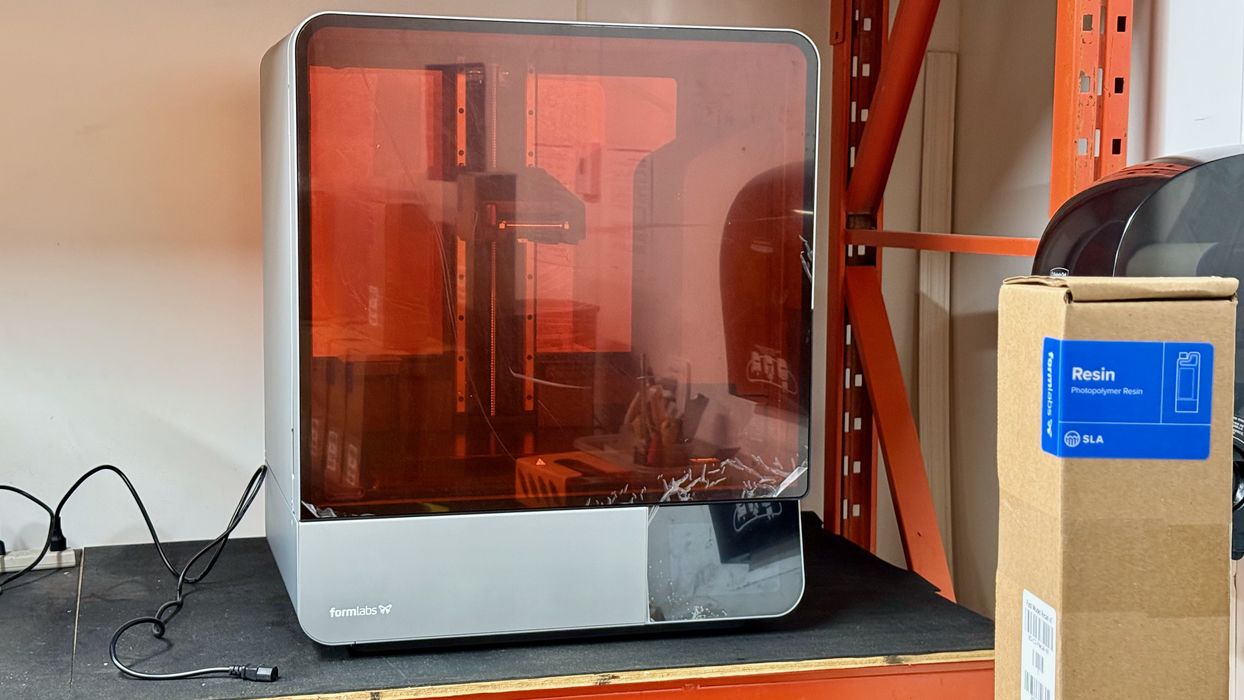
We landed the 4L on our test bench, and note the height of the machine: you may want to verify that there is enough headroom on your workstation to accommodate this tall 3D printer.
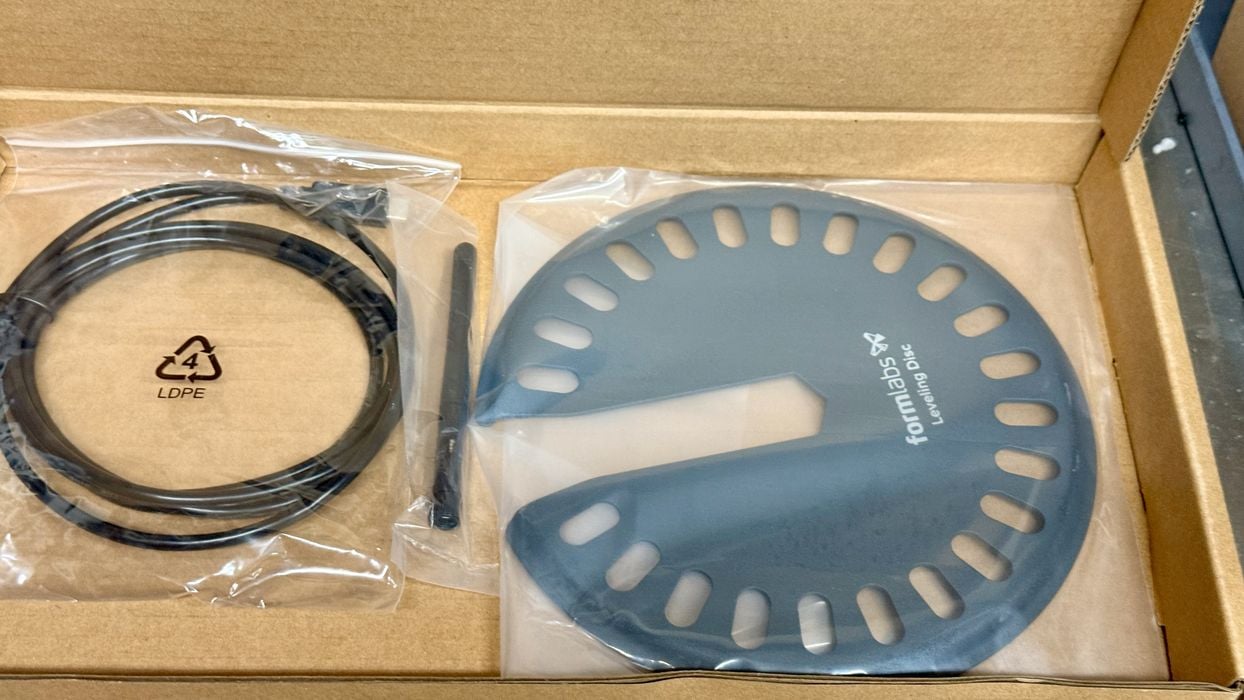
There aren’t a lot of parts shipped with the fully assembled 4L. Here we can see a cable, the WiFi antenna, and a single large leveling wheel.
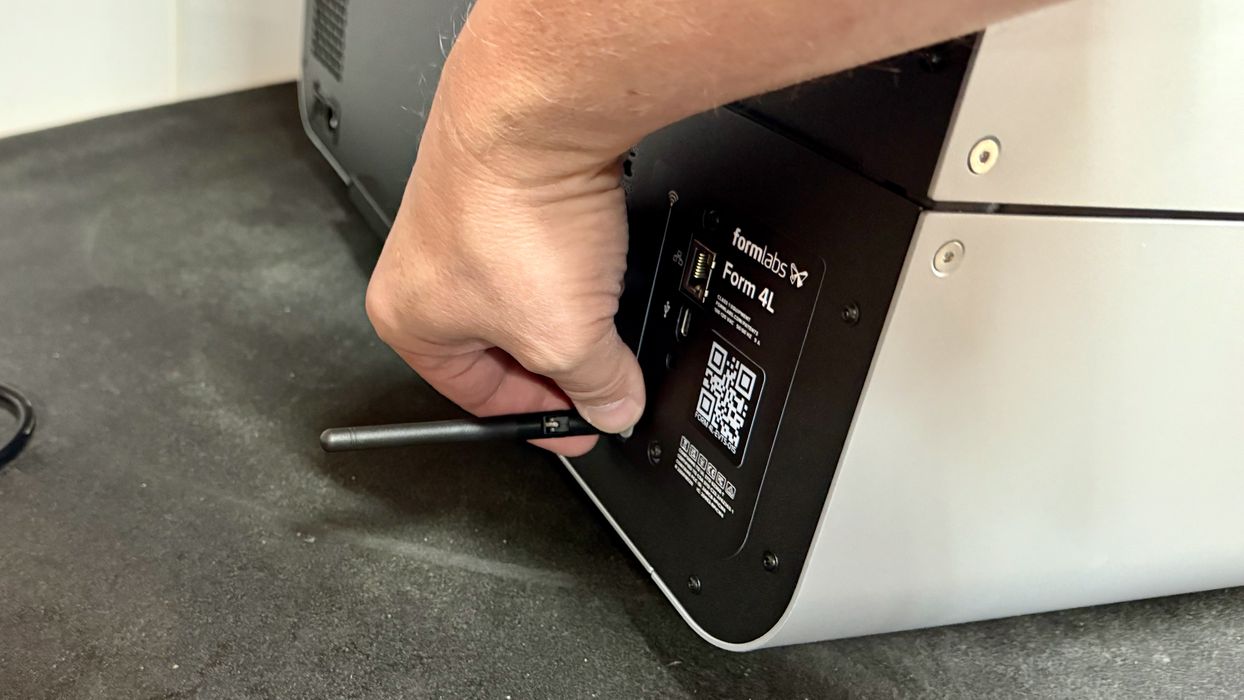
The WiFi antenna screws into the rear of the 4L, and it’s pretty important as much of the 4L’s operation takes place online.
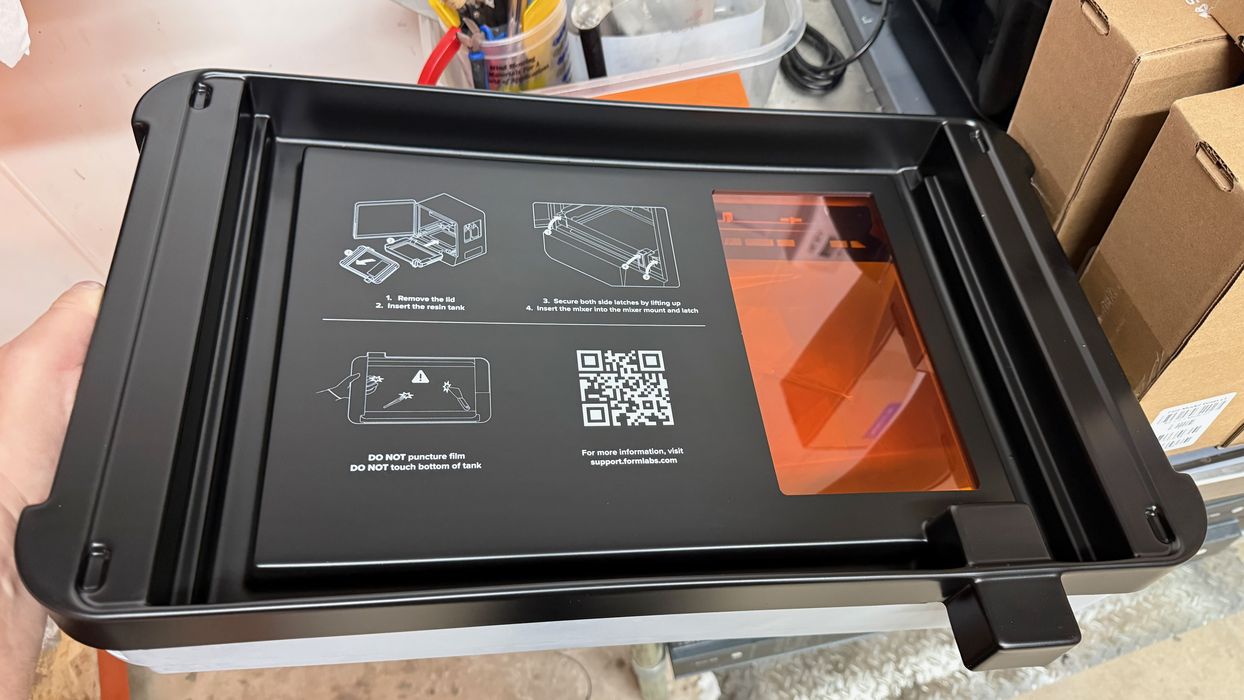
The resin tank is separate from the machine, and this makes sense: resin tanks are tied to specific materials after they are used. This means a 4L operator will end up with one tank for each material used.
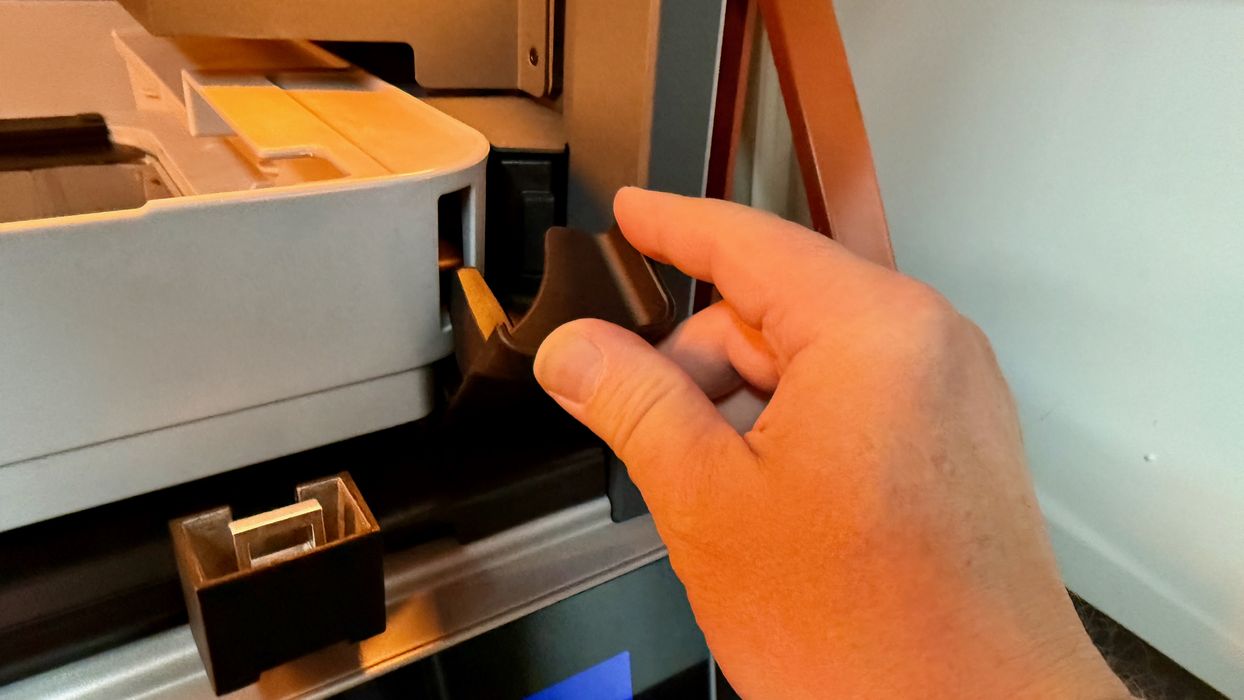
Installing the large resin tank is straightforward: it slides easily into the machine, and there’s no way to do it backwards. The tank is held in place by an easily flipped locking mechanism.
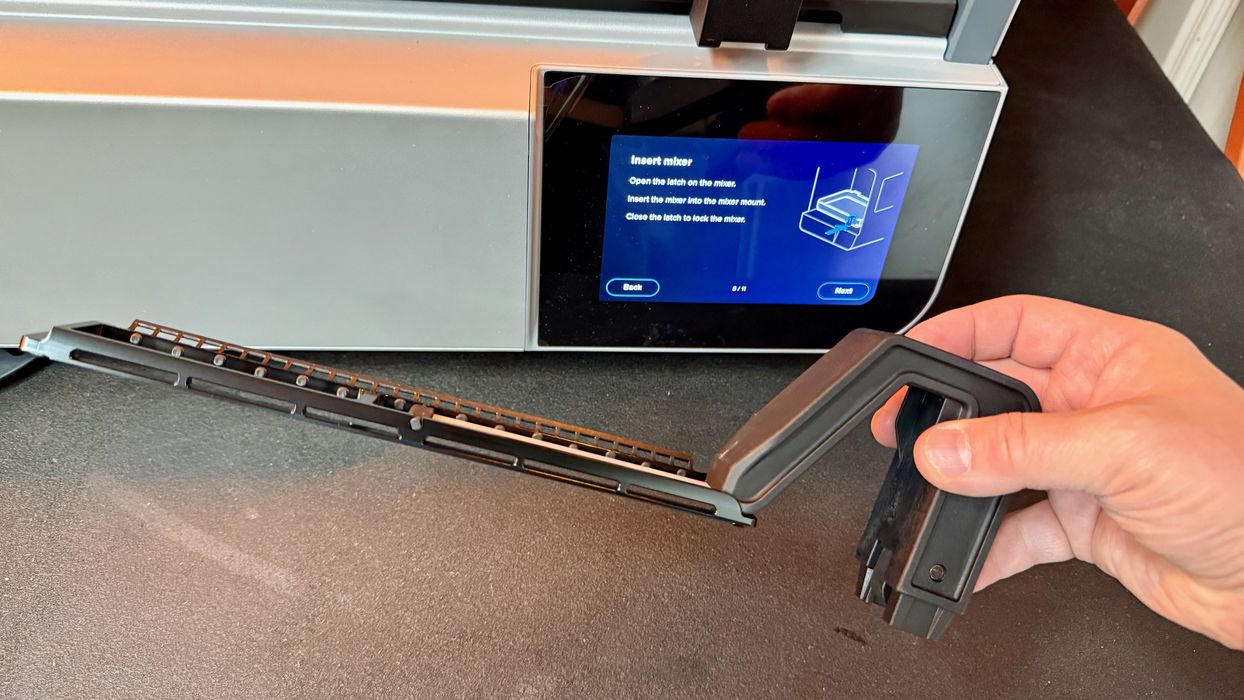
Each tank requires a wiper. This is used to stir up the resin and make sure it hasn’t settled out, improving print quality. It also detects stray bits that might have landed in the resin. These, like the tanks, are tied to specific materials.
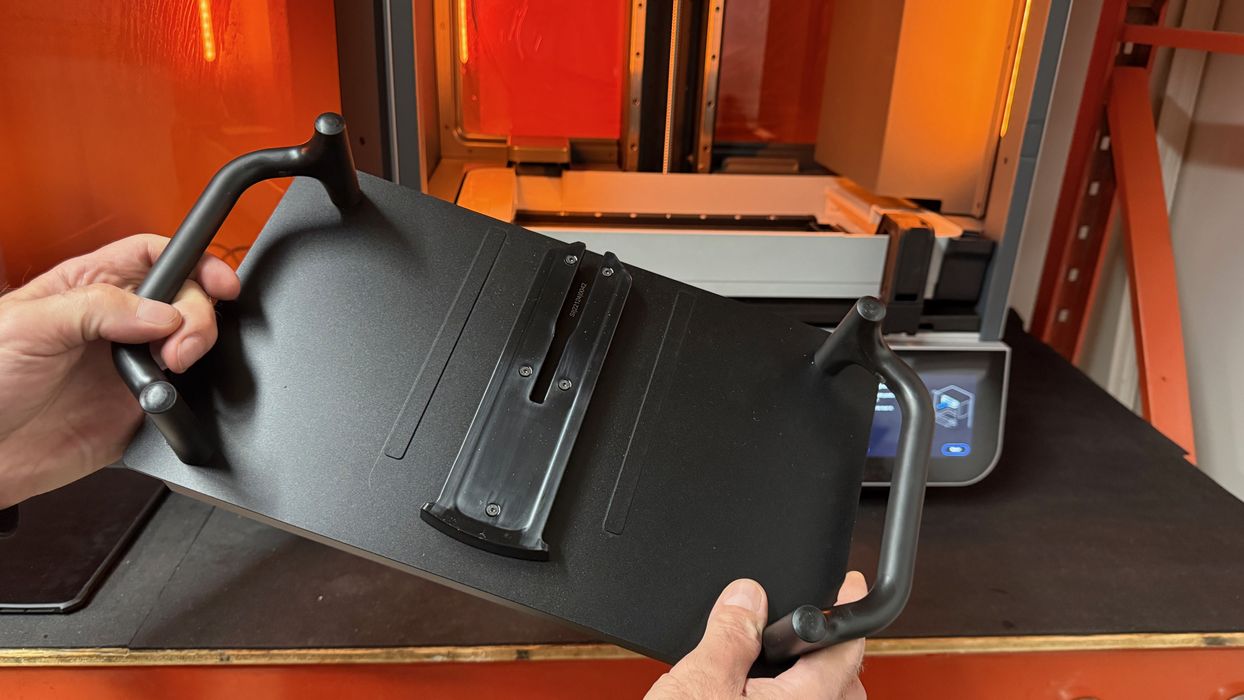
The 4L’s build plate is an extremely sturdy and reasonably hefty metal structure. Formlabs shipped us two of them to maximize throughput. The idea here is that you’d remove a completed plate for post-processing, but immediately install the second build plate to start the second print job.
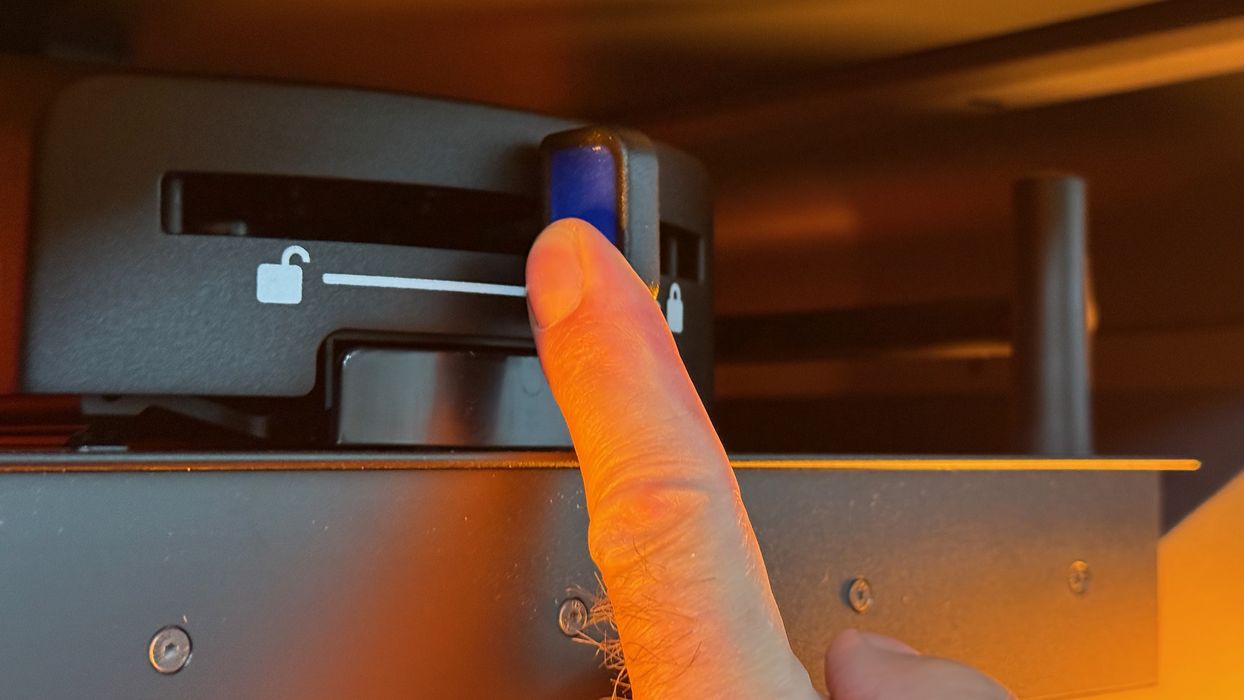
The plate is attached with a slide lock that has an adorable clunk.
There’s not much physical activity required to get the 4L ready for action. The most difficult step was lifting the heavy unit onto a table.
Formlabs Form 4L Setup and Calibration
To use the 4L, you’ll have to set it up as a 3D printer in your Formlabs online account.

However, we immediately encountered a problem. We were testing the 4L before it was officially announced, which meant that it wasn’t yet appearing in any of the configuration pages online. We had to wait until announcement day, after which the 4L appeared on the configuration pages. At that point, we were able to proceed in the normal fashion to set up a Formlabs device.
It’s quite straightforward to link the machine to your account. Codes are presented, and you confirm that you actually control the device.
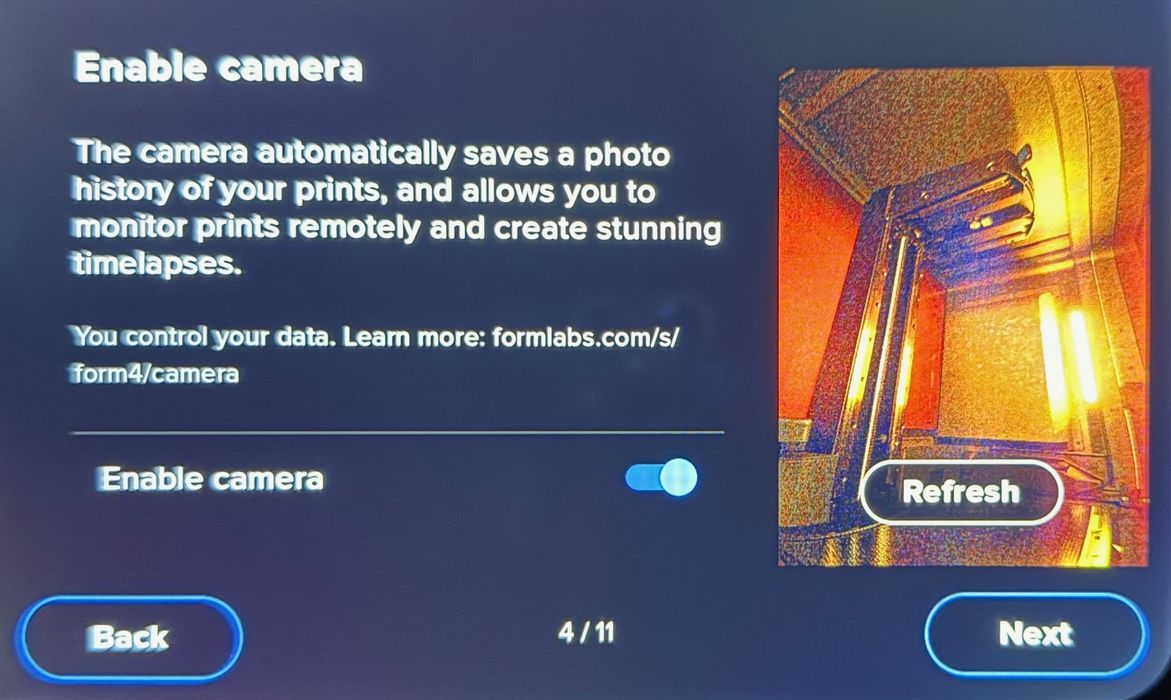
On the 4L, we saw this confirmation screen asking whether it could save images for timelapses, etc. This is a pretty common feature on 3D printers, but the interesting part here was that Formlabs is asking permission. That’s not something you see on most devices.
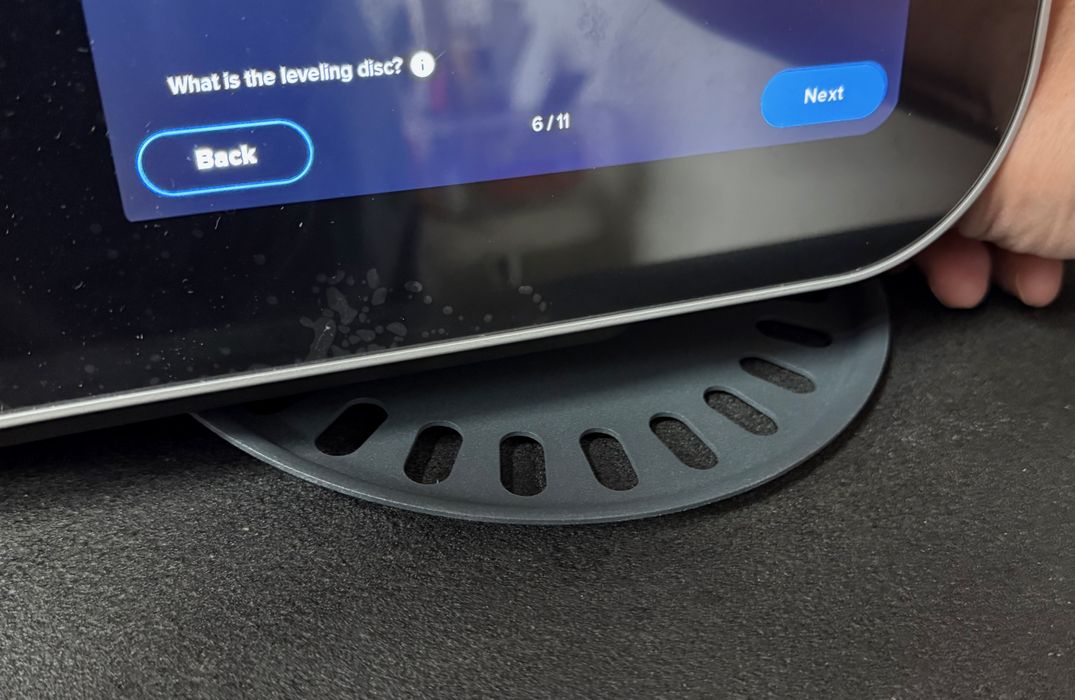
The next step was leveling the machine. It must be perfectly level, otherwise the resin in the tank will be tipped and that could be trouble as the resin level lowers. Leveling is done by sliding the adjustment wheel under one or more of the 4L’s legs and rotating.
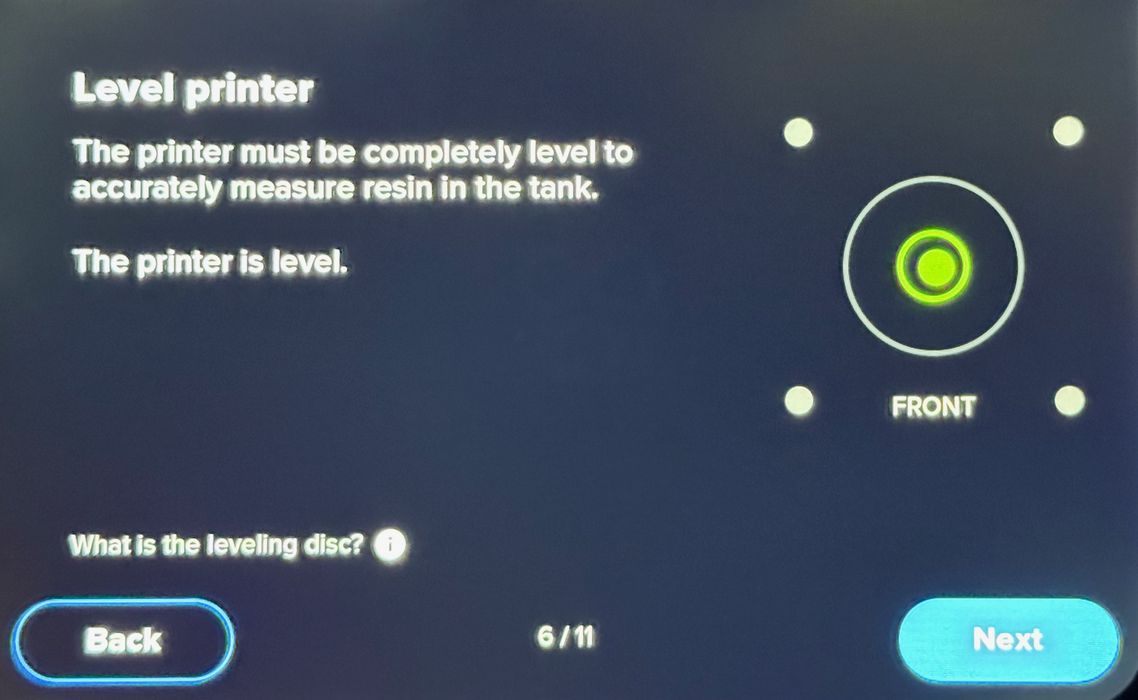
How do you know if the machine is level? The front panel shows a handy representation of your leveling progress, and it turns green when it’s good enough.
There’s not much more to calibrate on the 4L because the materials all have perfectly tuned print profiles in PreForm. It was now time to get printing.
This is part one of a three-part series; please read parts two and three.
Via Formlabs
