
Our look at the world’s fastest desktop 3D printer, the FLSUN S1, continues with setup, calibration, and operations.
This is part two of a three part series, please read parts one and three.
FLSUN S1 Setup and Calibration
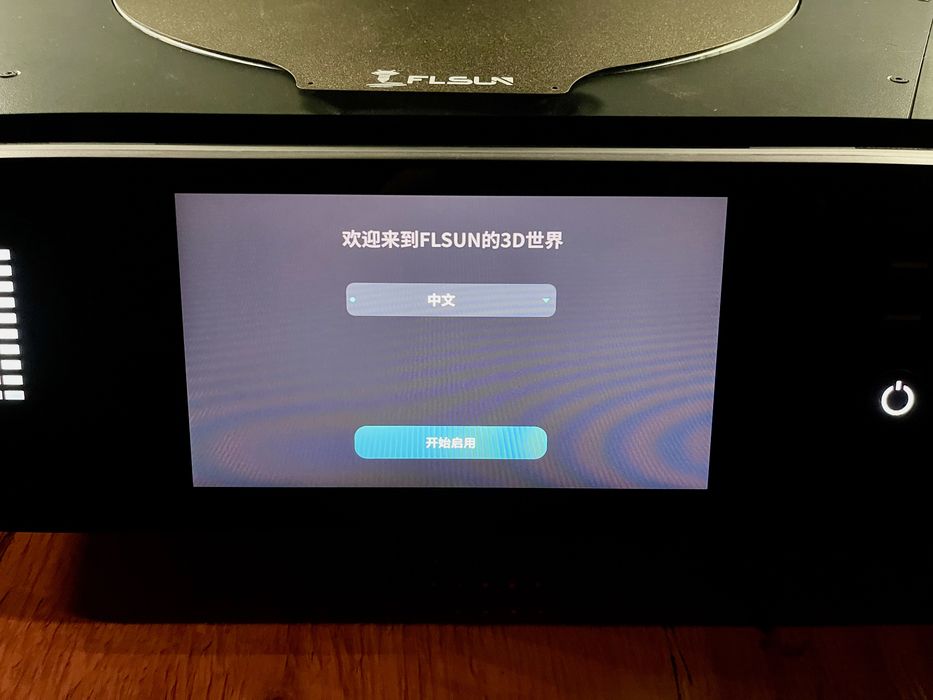
Upon powering up the machine we saw this display, which is entirely in Chinese. That’s ok, but there was no indication of how to proceed if you don’t know that language. It turns out there is a popup to select the language. It might have been better to display a list of languages where one could immediately recognize the correct button. While it is “probably” the language selection, is it really? This was the first of a series of awkward user interface strangeness we encountered throughout the testing.
Another one was the display of nearby WiFi networks during network setup. We noticed our preferred network SSID was not displayed — but we did see something similar, but misspelled. It seems that the display doesn’t have enough room for longer SSID names, so the software only displays the beginning and end, without indicating there are missing characters. For example, if your SSID was “MySpecialWiFiNetwork”, it would be displayed as “MySpecialFiNetwork”. Only the first and last nine characters are displayed.
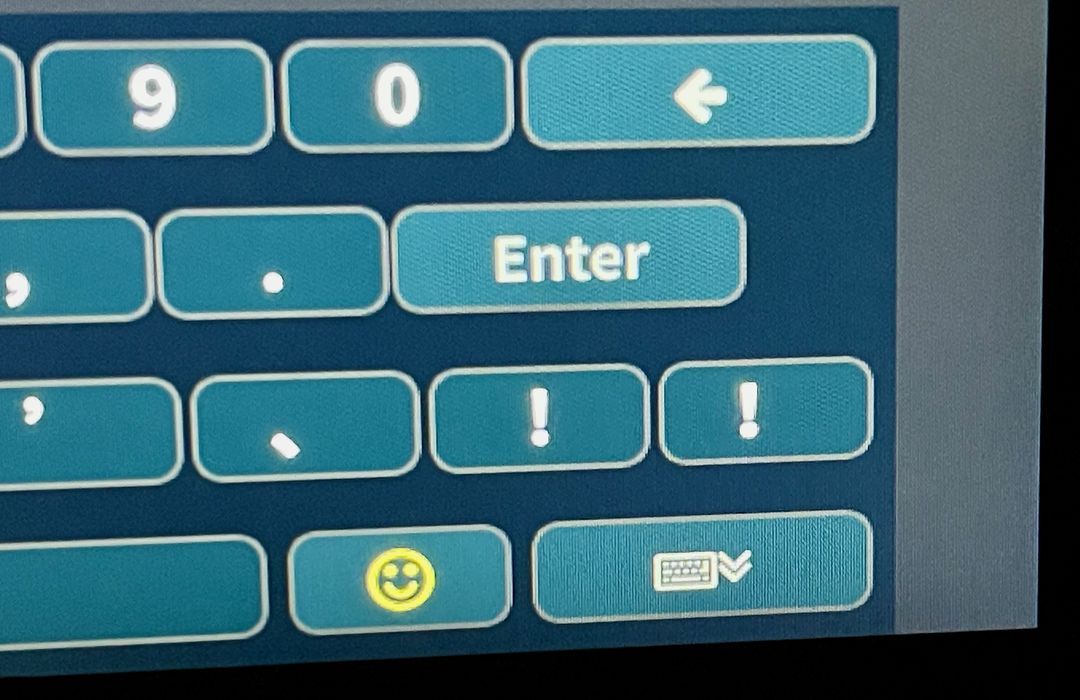
When entering the WiFi credentials we noticed this strange keyboard, where a character is repeated. I have never, ever seen a keyboard with the same character twice on any device.
These are not showstoppers by any means, but there were multiple of them as we used the machine.
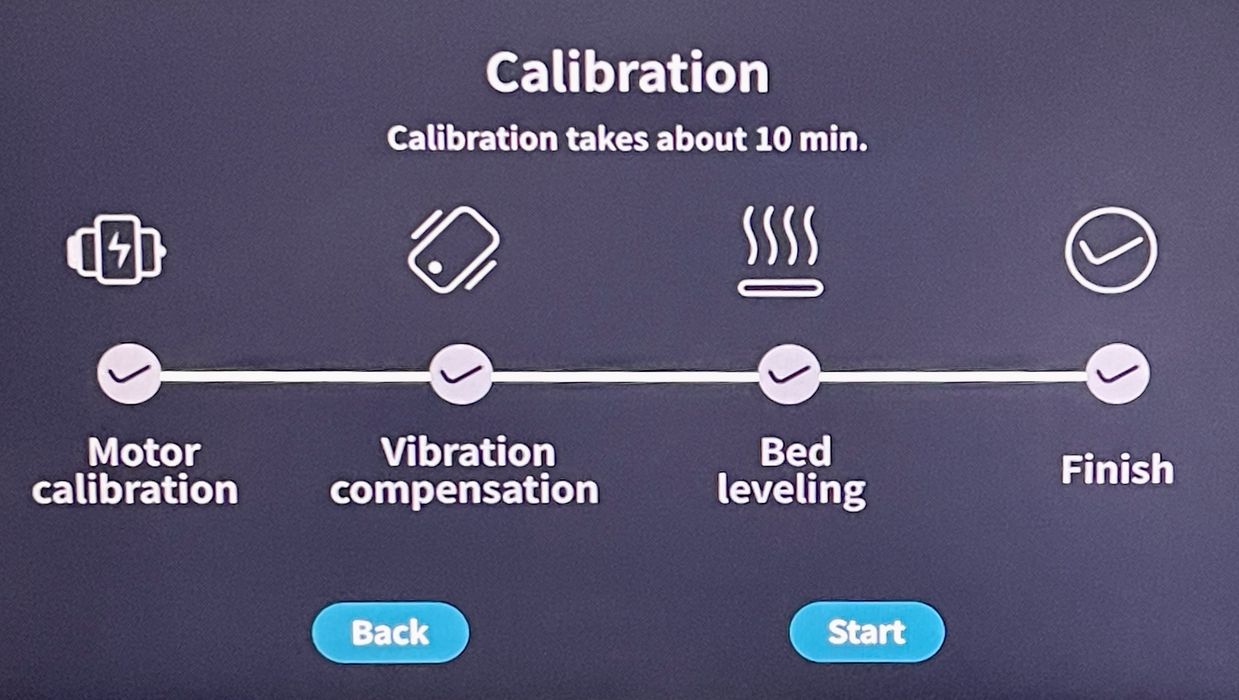
Calibration is fully automated on the S1, and you simply have to wait for it to proceed through its steps. It only takes a few moments, unlike some other machines that seem to take much longer periods. We had no troubles and it was among the easier calibrations we’ve done.
Loading our first spool was a bit awkward. The spool holder is far up top, so you’re reaching upwards. Then you must feed the end of the filament into the PTFE tube that leads to the extruder far below.
You must push the filament manually all the way to the extruder. The problem is that the spool fits tightly into the holder, and there’s no room for your fingers. This means you must push the filament with one hand while holding the spool outside the holder in the other hand.
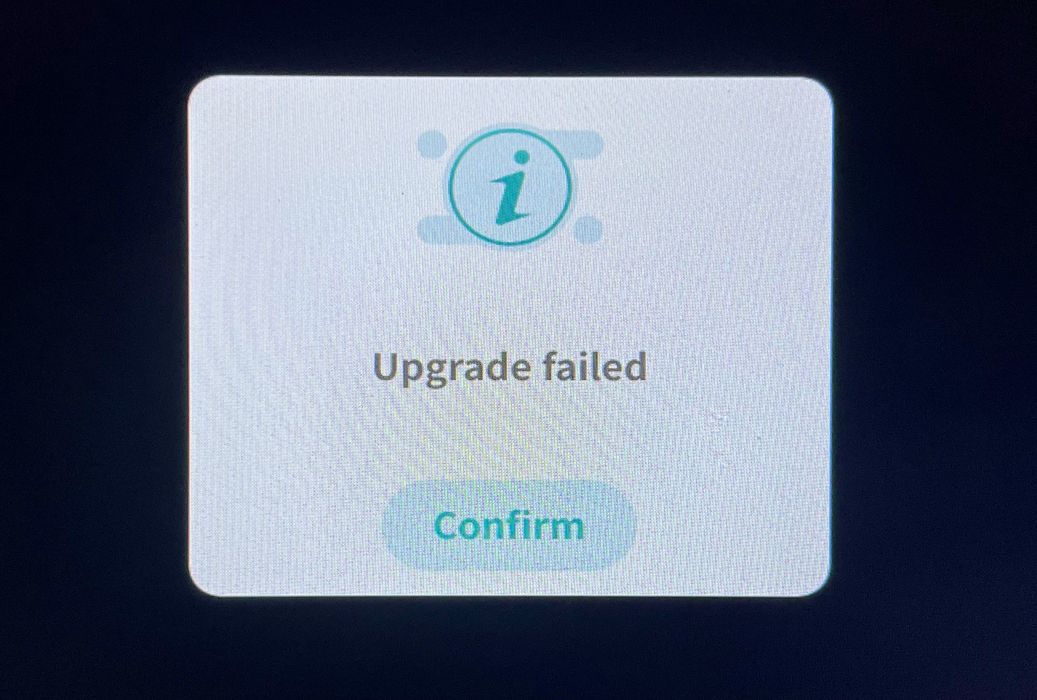
Upon boot up, the S1 informed us there was a firmware upgrade. This is quite common when launching a machine, as you never know how many upgrades appeared while it was being shipped.
Unfortunately our over-the-air upgrade failed multiple times. After contacting FLSUN it turned out that the version of the firmware we were using, 1.0.0.0, did not support over-the-air upgrades. FLSUN provided a firmware file for us to install manually. After that the firmware upgrades were enabled, and readers are unlikely to encounter this issue.
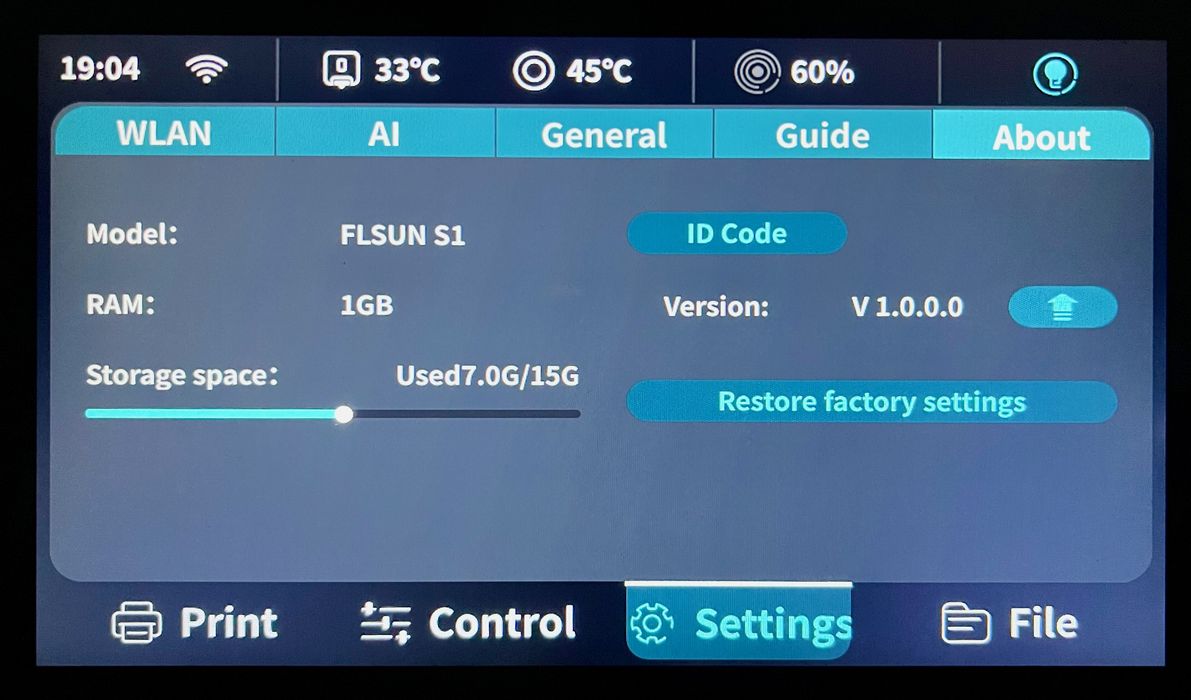
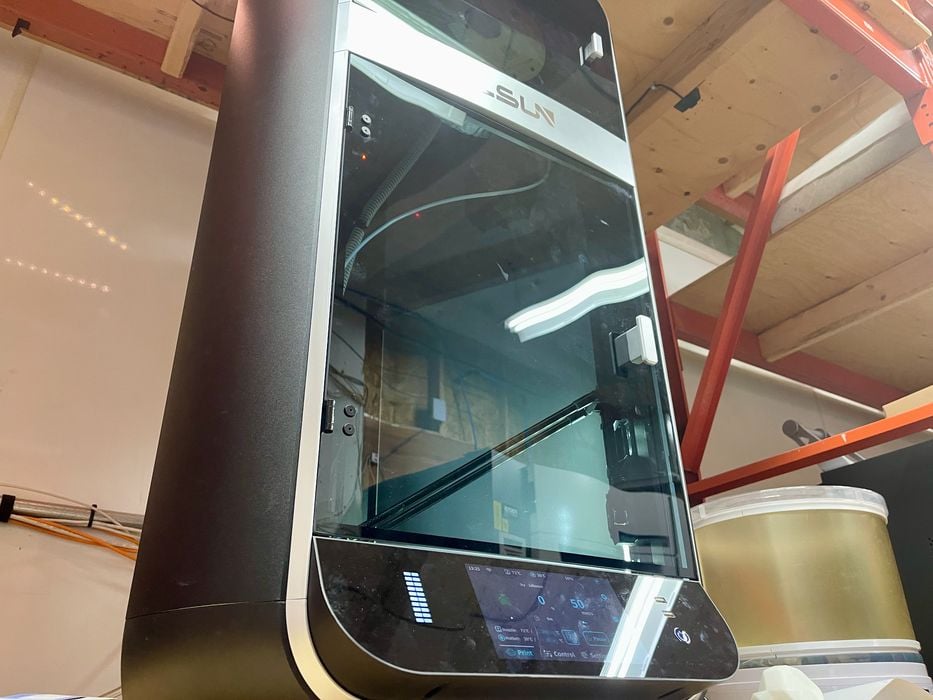
The front panel on the S1 is mercifully located at the bottom of the tall machine, and is very easy to read and use. It’s quite large as compared to most other control panels.
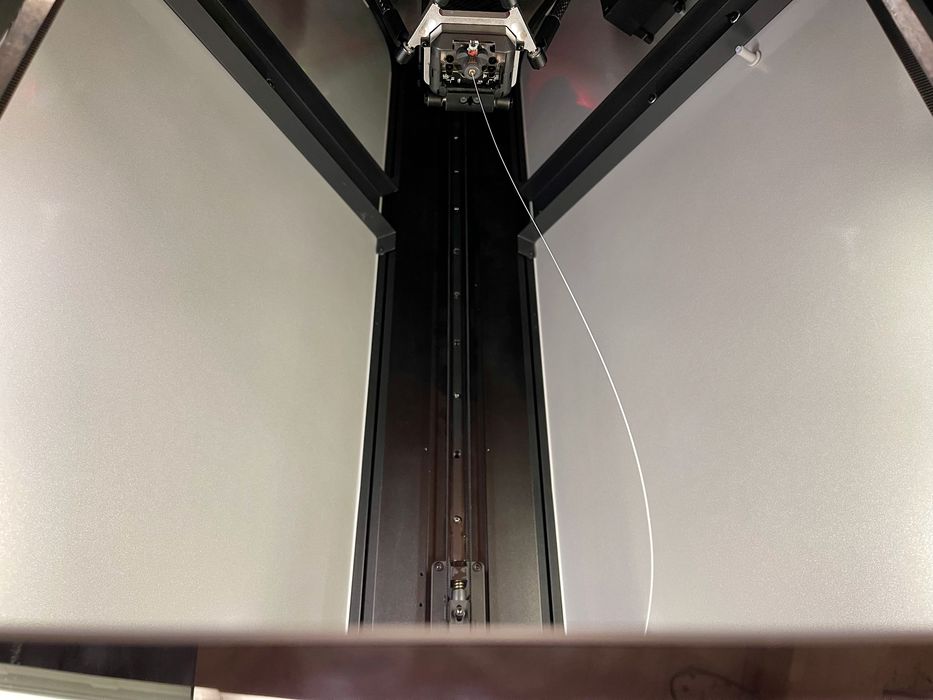
Did I say the machine is tall? It is quite awesome to look way up inside the machine during a filament extrusion.
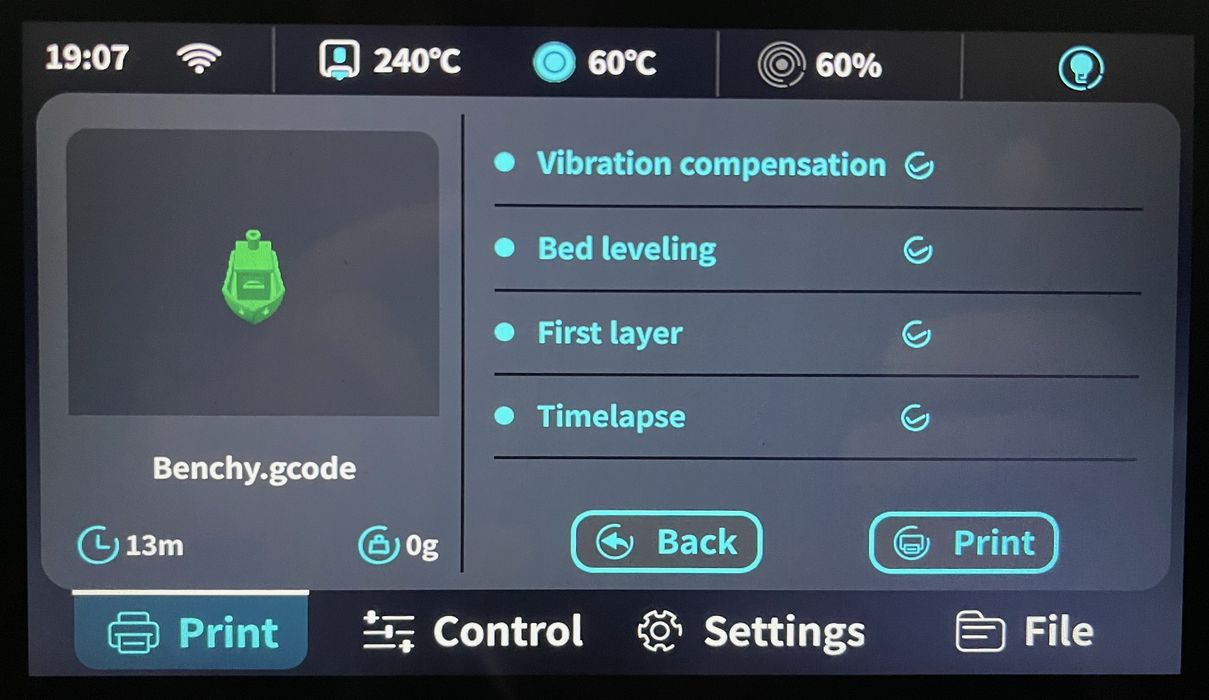
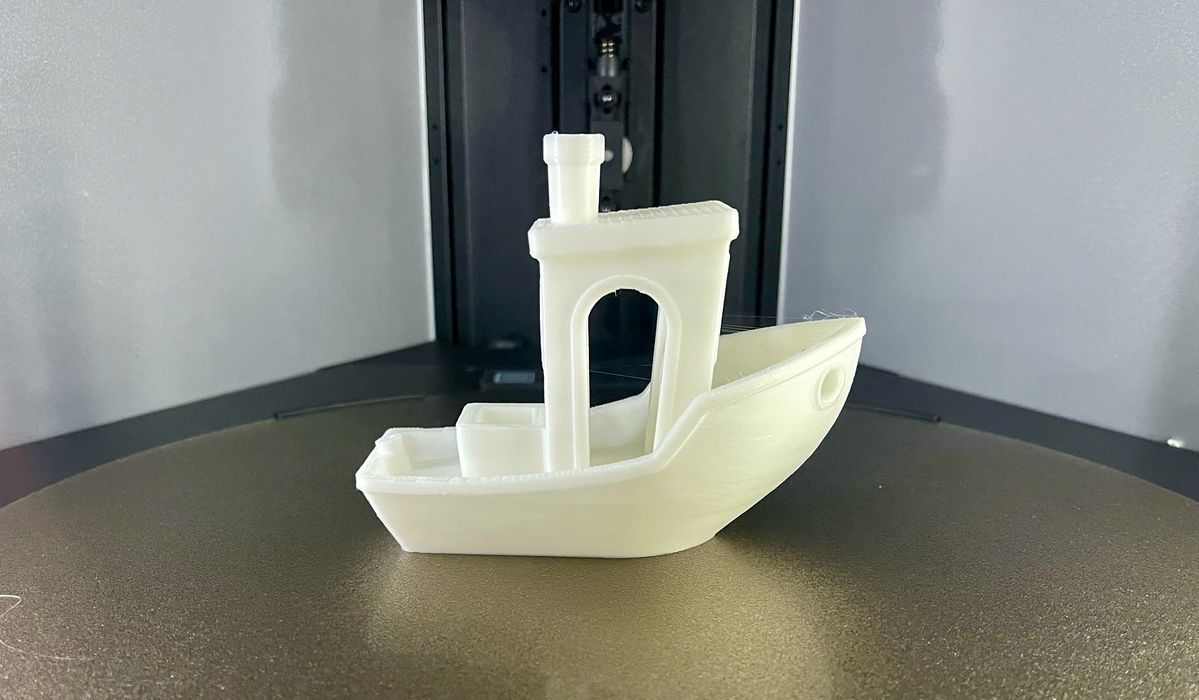
We attempted our first print, which was a pre-sliced #3DBenchy provided on the machine internal storage. This file supposedly prints the little boat in only EIGHT MINUTES!
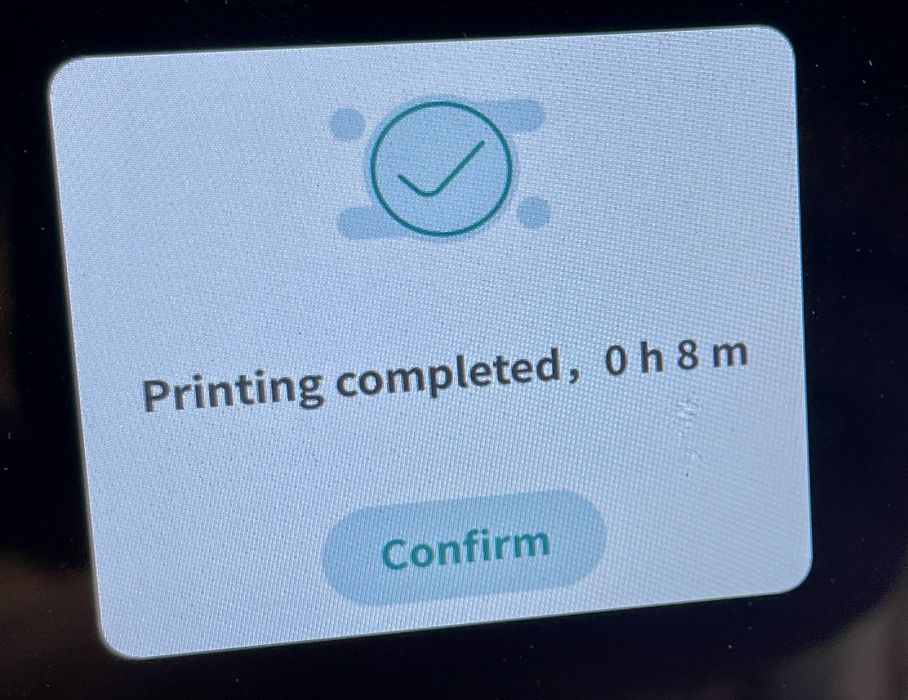
In fact, it DID complete in eight minutes, easily the fastest #3DBenchy print I’ve ever seen. The machine moves unbelievably fast, and it’s literally impossible to see what it’s doing at some points. The boat visibly grew as we watched.
The print was so fast that passersby were able to stop and see the entire job from start to finish, something that never happens with most 3D print jobs.
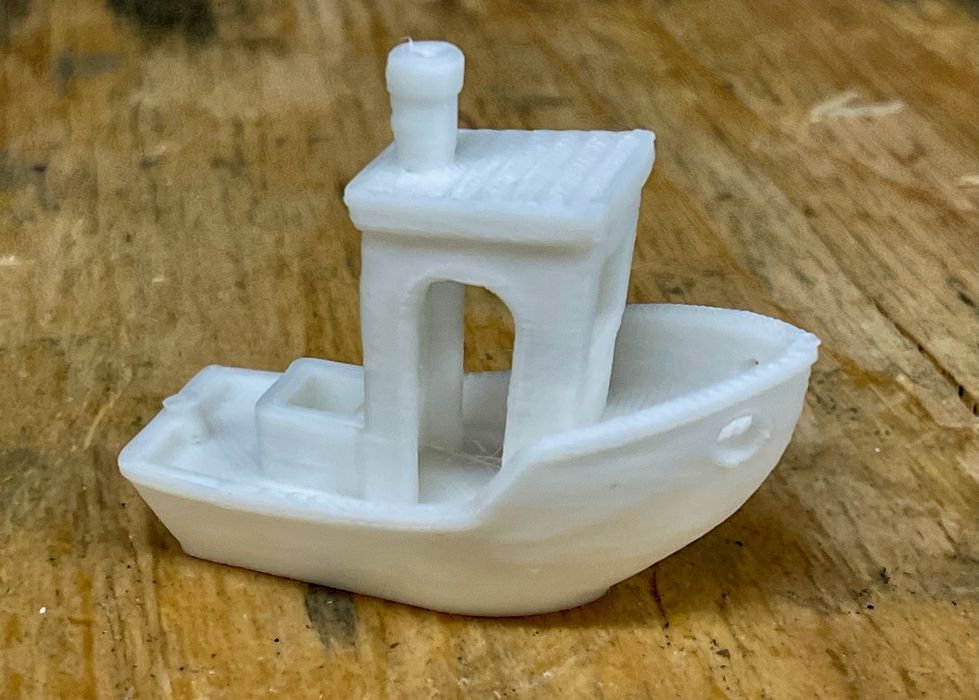
Did the #3DBenchy turn out ok? It did indeed. The quality wasn’t as perfect as I’ve seen previously, but it was better than good. The S1 is an incredibly fast 3D printer.
FLSUN S1 Operations
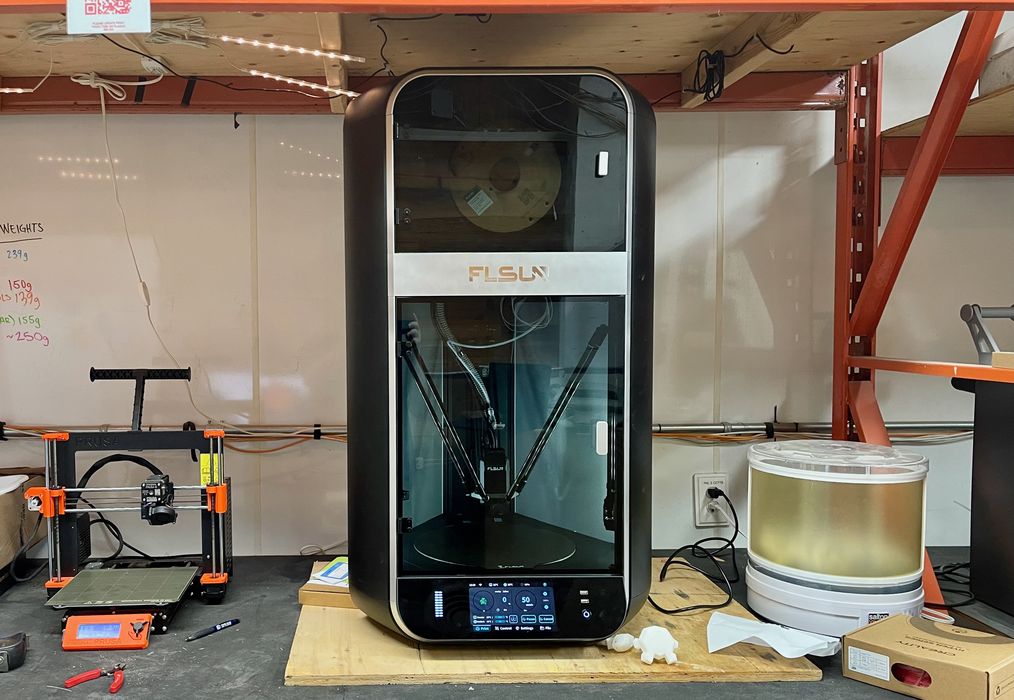
For a size comparison, take a look at the image above. The S1 is positioned beside a stock Prusa MK3S, which looks quite puny compared to the gigantic S1.
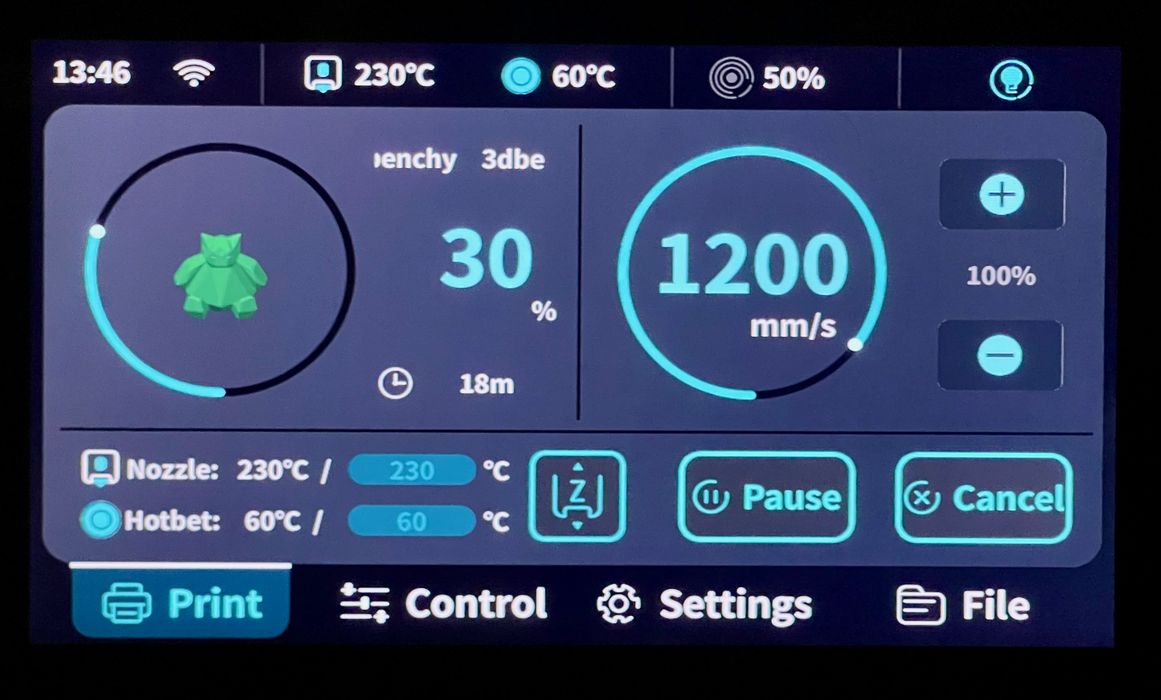
An interesting feature on the S1 control panel is a live display of the motion system’s current speed. It actually hits 1200mm/s frequently, although for many jobs there are slower speeds during cornering, first layers, etc.
We attempted to print a 2X #3DBenchy, and it completed without issue and with great quality. This print took only 51 minutes with our own slicing job.
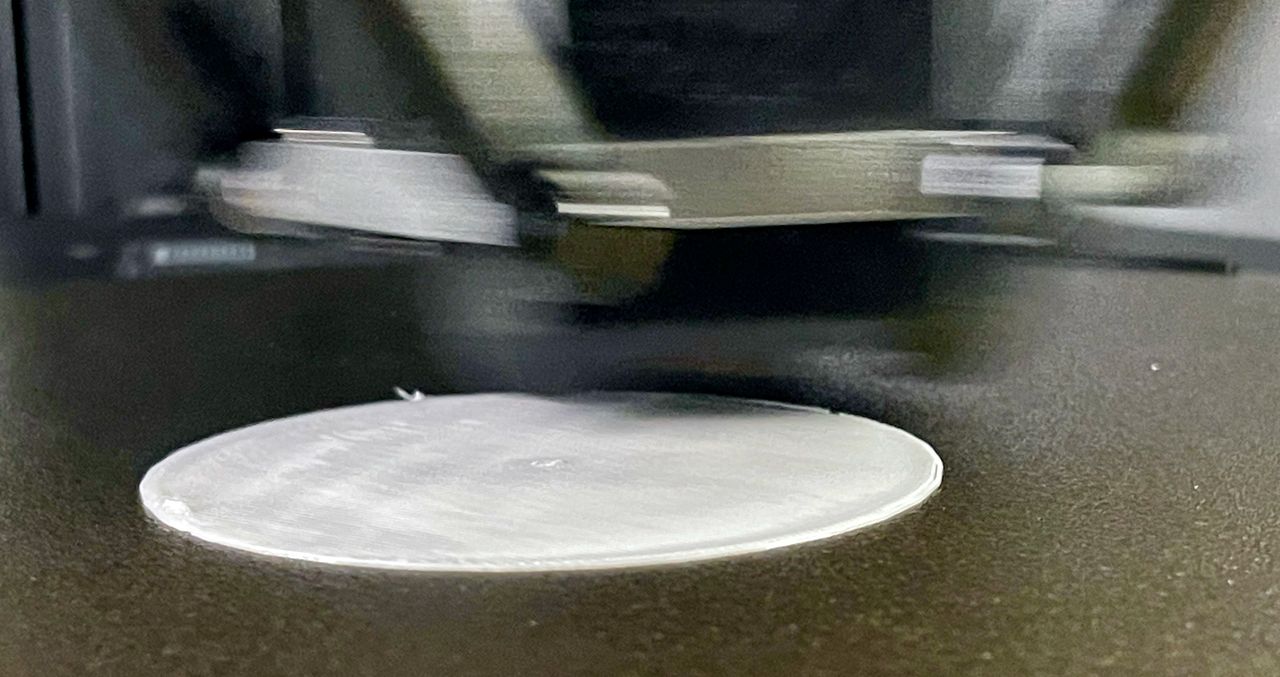
I cannot describe how fast this machine moves. It’s even hard to capture it in an image, as the toolhead is rocking back and forth at incredible speed.
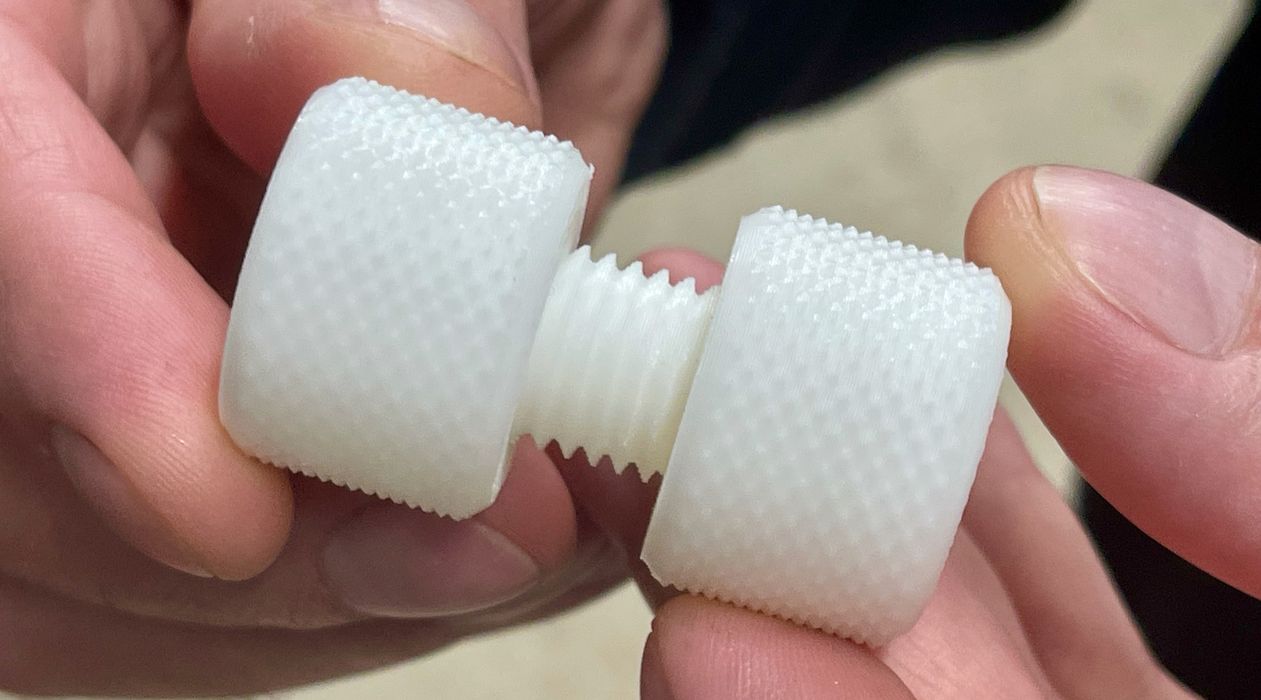
Here we printed a nut and bolt to see how well the print profile managed accurate dimensions. In fact, the nut and bolt fit together perfectly, and the PLA profiles seem quite good for the S1.
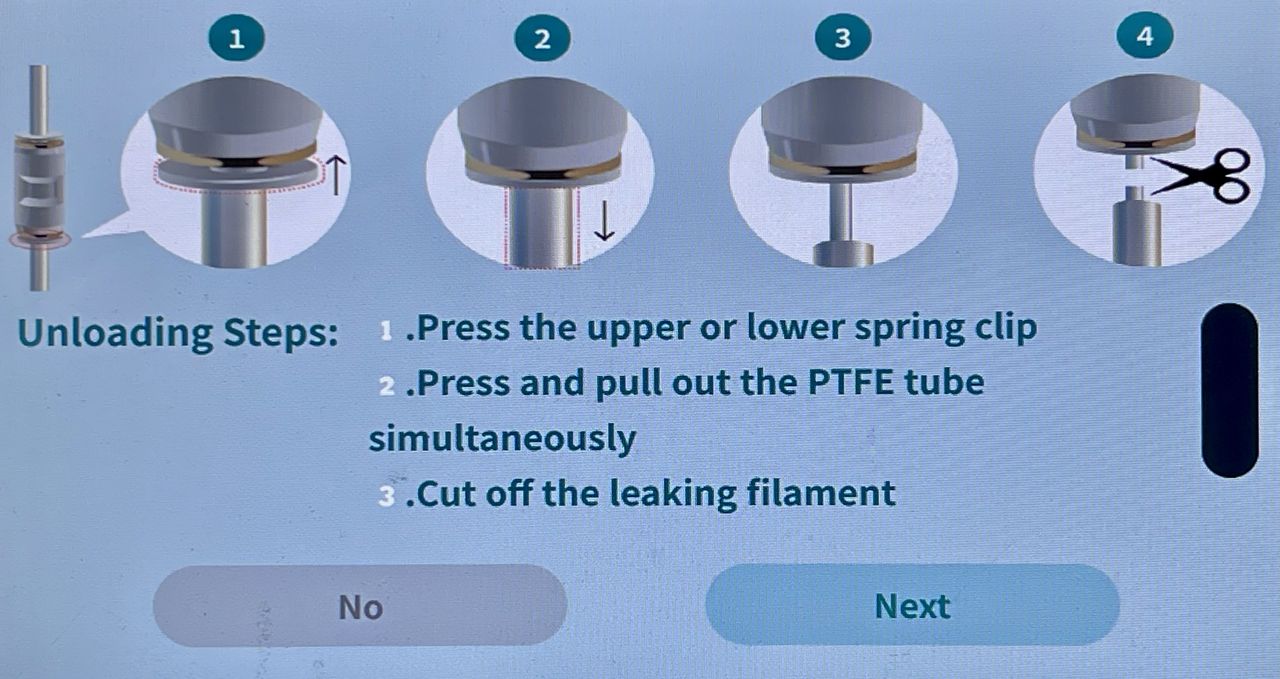
The filament change procedure is very, very strange on the S1. It’s unlike every other desktop FFF 3D printer I’ve ever used.
I didn’t notice this at first because the first time loading we simply pushed the filament all the way through to the extruder. However, to swap the filament you must remove the previous filament, and that’s when we saw the machine provide this unusual procedure.
We were baffled at first because the machine offers NO WAY to reverse the filament. Normally swapping the filament involves heating, then reversing out the old filament to clear the way for a new filament. This does NOT happen on the S1.
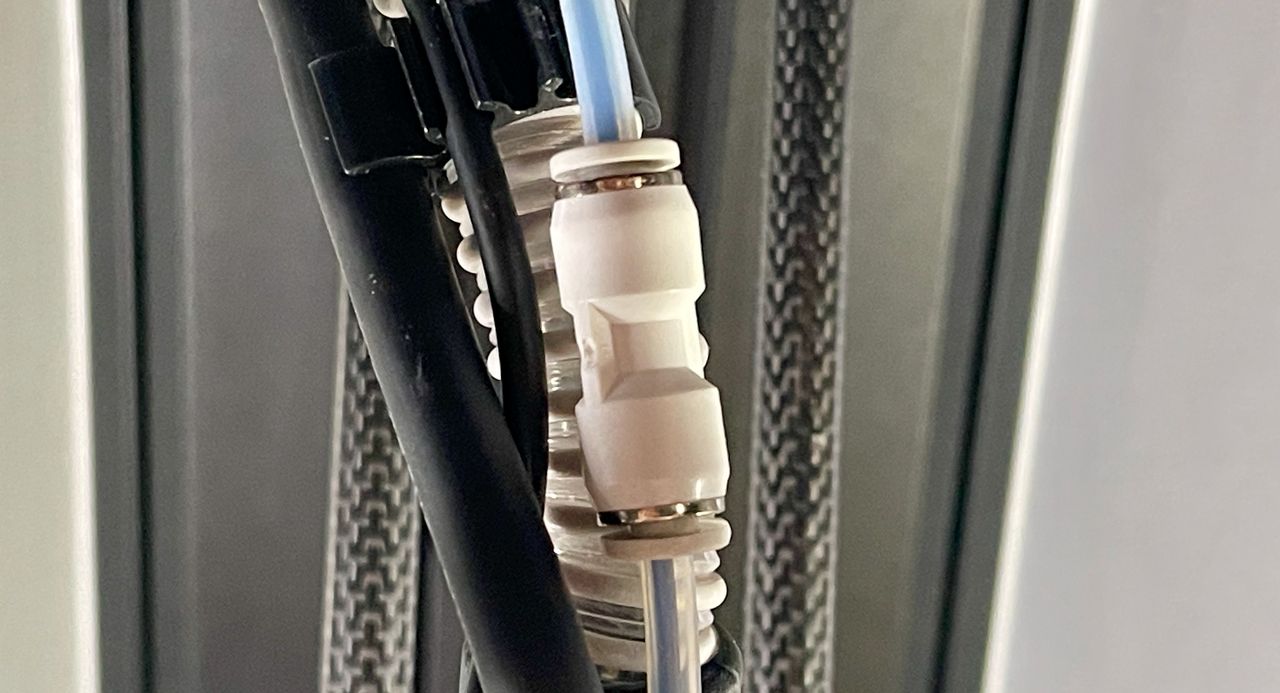
Instead you must follow this unusual procedure. Above the extruder the PTFE tube is split into two segments, connected by this double-ended joint. You must detach the lower end of the joint and cut (yes, cut with snips) the old filament. The S1 then slurps up the old filament, pushing it forward, not reversing it. Filaments ONLY GO FORWARD on the S1.
The next step is to reattach the joint and then the new filament simply flows down into the extruder as normal.
I have no idea why FLSUN chose this method, as it is different from every other machine, and doesn’t seem to offer any advantages as far as I can tell.
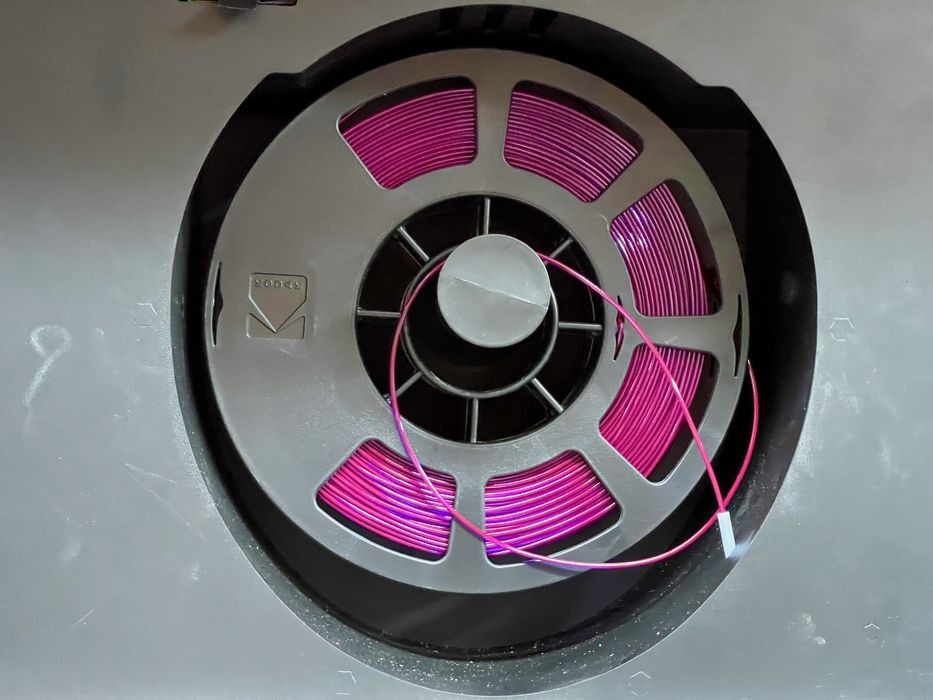
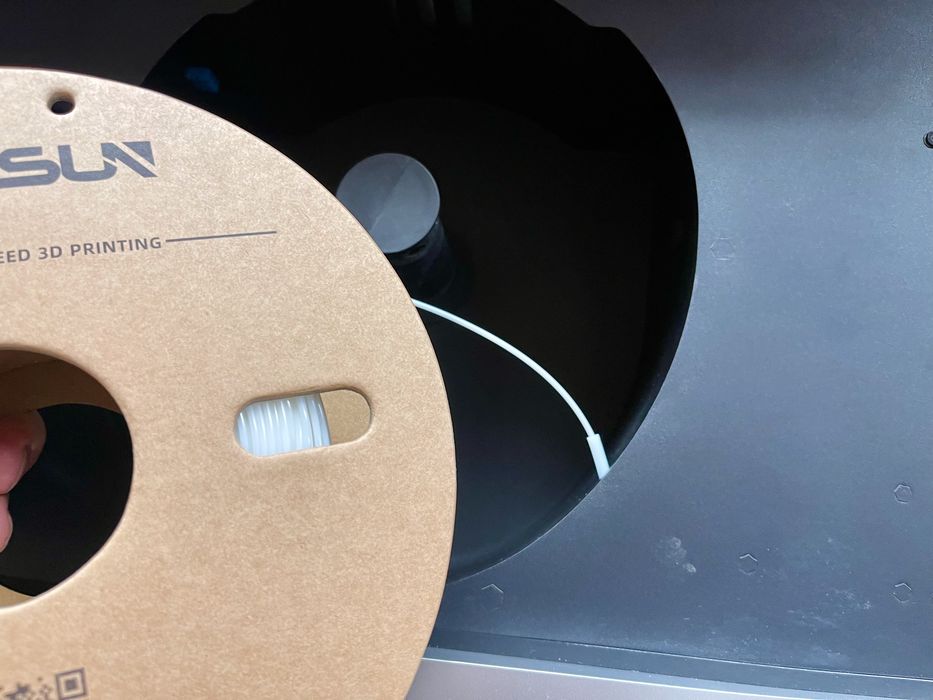
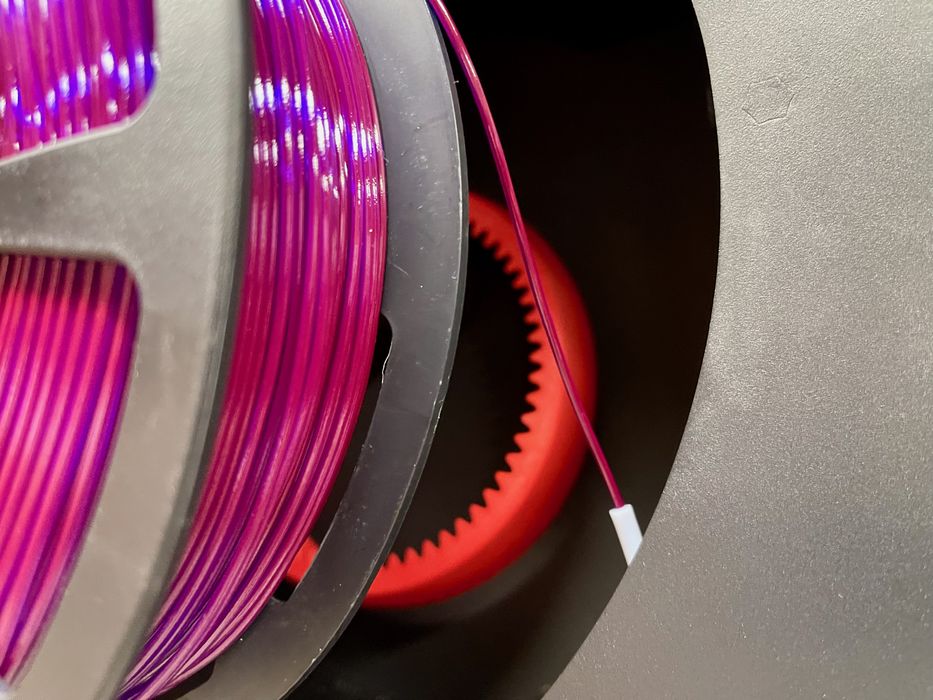
We encountered the problem above quite consistently when using non-FLSUN spools. These spools are usually slightly different in dimensions, and often have more filament on the spool. Because the filament is closer to the edge of the spool, it would jump off as shown.
We were able to watch this happening in real time. It seems that the input tube for the filament is at the front of the machine. Because the spool’s filament is laid all along with width of the spool, the angle of feed changes when the spool rotates. It seems that at certain angles the filament just leaps over the edge and causes a tangle, especially on full spools. We contacted FLSUN about this, but they said they never observed the issue. We found it happening on almost every full spool we used, but not on the FLSUN spool.
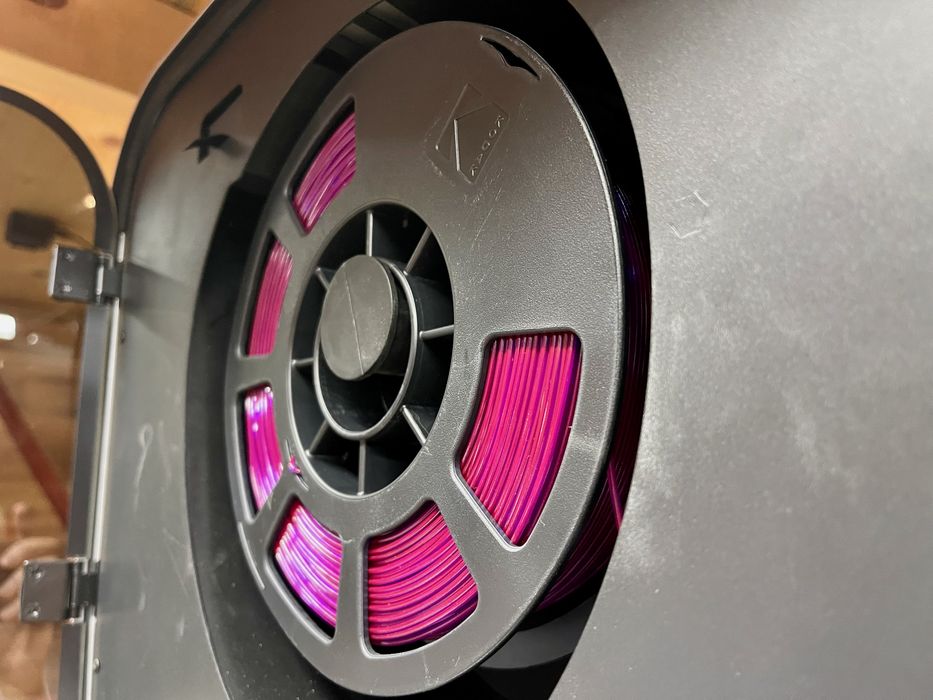
It turns out the fix is really simple. We printed a spacer ring to put behind the spool. This forces the spool to the front where it is closer to the input tube. FLSUN should consider moving the input tube to the middle of the holder, not the front edge. Note that spools are of varying width, so you may need a selection of spacers with different sizes.
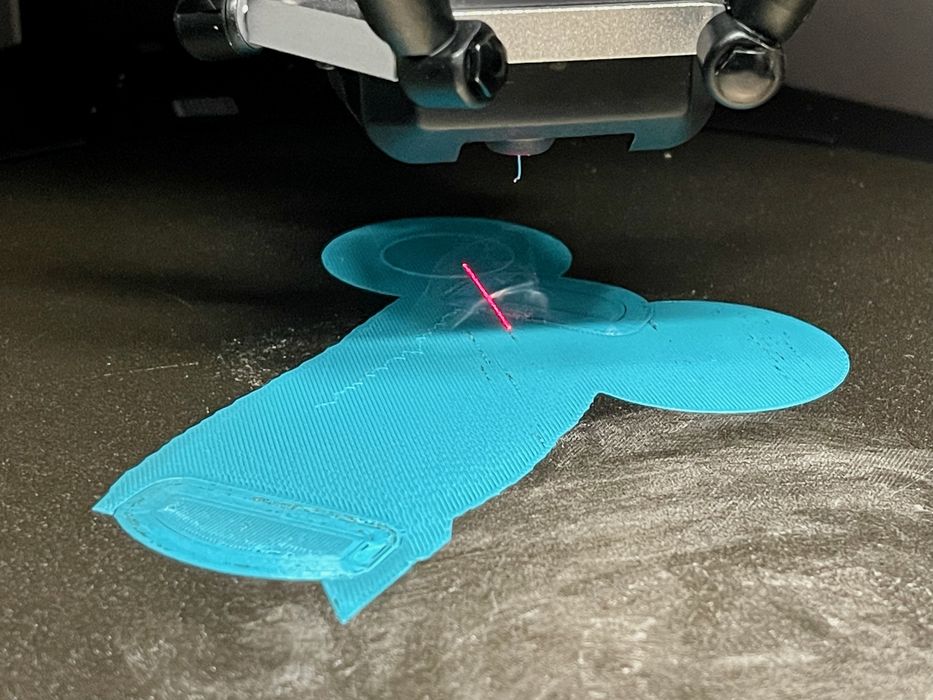
The S1 includes a laser system to detect first layer quality. It doesn’t seem to work in the same way as the Bambu Lab X1C, but instead illuminates a small portion of the print as shown here.

It does seem to work, as we did see a failure once, and it was successfully detected.
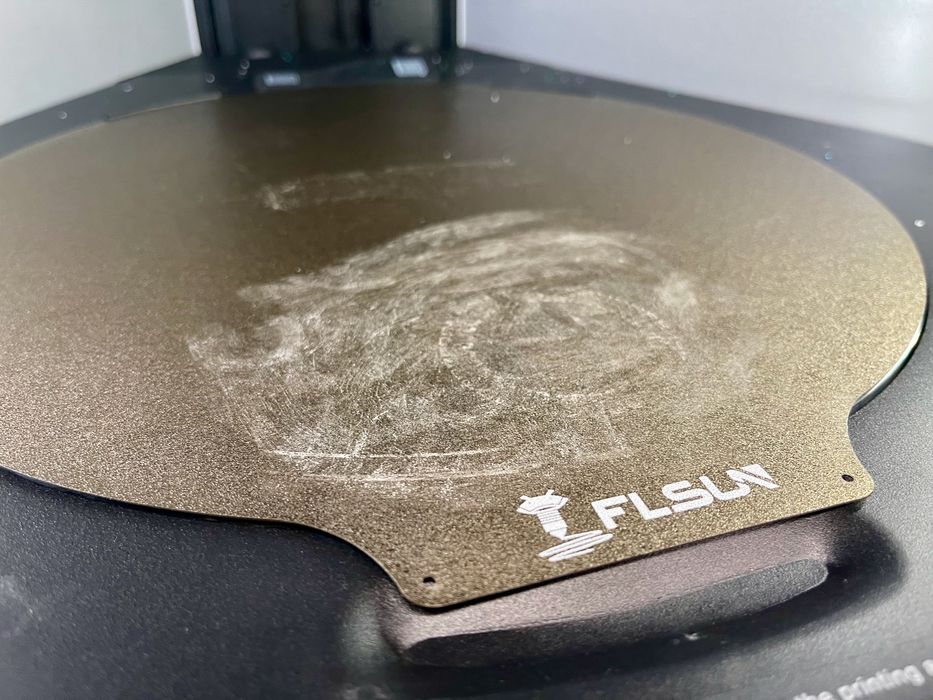
The AI detection, however, had some issues. Generally it worked well, detecting spaghetti prints, in particular. After some testing our print plate began to look like the above, with an amount of unremovable plastic “stains”. This was often incorrectly determined to be “debris on the print plate” by the S1. In some cases we were unable to print.
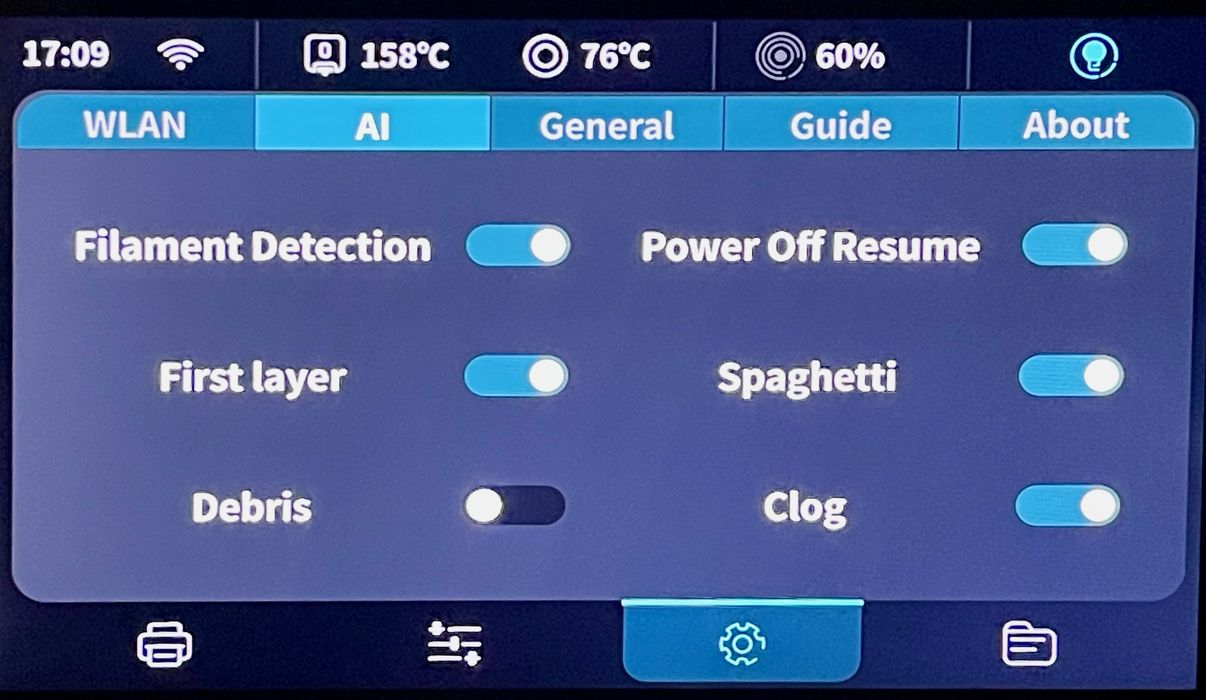
The solution was to turn off the AI detection. This allowed us to print, but lost us the ability to detect problems later in the job. This is something that FLSUN could upgrade in the future, as the AI function is in the firmware.
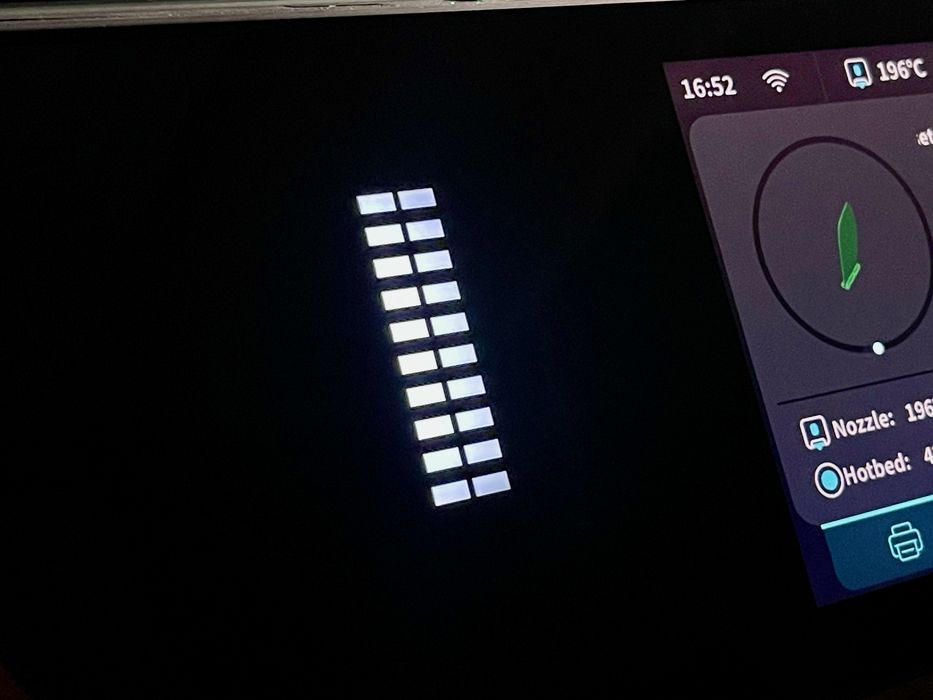
We noticed this column of lights on the left side of the control panel. I wondered what they were, but eventually realized they attempt to show the machine’s current status.
This is part two of a three part series, please read parts one and three.
Via FLSUN S1