
We were fortunate to test the world’s fastest desktop 3D printer, the FLSUN S1.
This is part one of a three part series, please read parts two and three.
FLSUN S1 Background
FLSUN was founded in 2015 in Zhengzhou, China with the goal of producing desktop 3D printers. Their first device appeared shortly thereafter, the QQ. This machine was quite different from most desktop 3D printers of the day, as it used a delta motion system.
Delta systems offer the possibility of faster print speeds due to the inherent properties of the motion system and the typically lightweight toolheads. That’s been the case ever since deltas arrived on the 3D print scene.
Since that time FLSUN has focused on delta motion-style 3D printers, culminating in their latest machine, the FLSUN S1.
FLSUN S1 Specifications and Features
There are plenty of specifications to get through, but there is one that is more important than all the others: print speed. While many desktop 3D printers boast of “high speeds” being 5X faster to around 500mm/s, the S1 is able to hit an astonishing 1200mm/s. That’s literally 2X as fast as the next fastest device, specifications-wise.
I must point out that this speed is NOT achieved through poor quality; any machine can be set to run at that speed, but the results are terrible. Instead, the S1 is quite capable of 3D printing at ridiculously high speeds and maintain outstanding print quality.
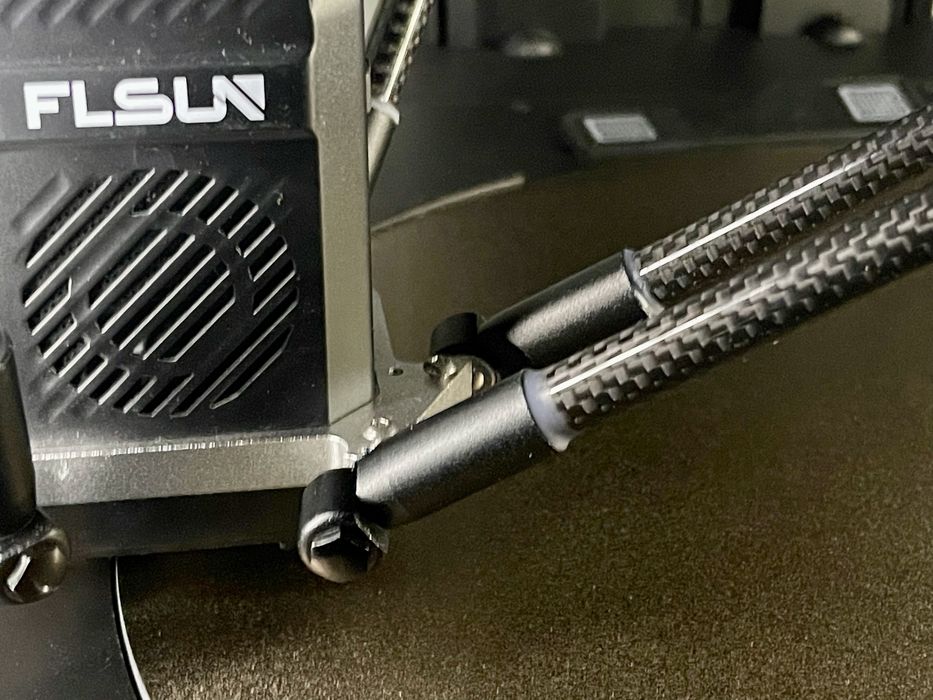
How does the machine hit that incredible speed? The delta motion system uses carbon fiber rods that are extremely rigid. This helps maintain precise position even when sudden directional changes occur.
The acceleration can reach an amazing 40,000mm/s/s, and the extrusion system has a capacity of 110 cubic mm, literally 3X most other high speed desktop 3D printers.
The cooling system is critical for high speed 3D printing, and the S1’s cooling system is unlike any I’ve seen on a desktop 3D printer. Instead of using a simple fan like everyone else does, the S1 has a CPAP-style system. CPAP is an abbreviation for “continuous positive airway pressure”. In other words, it has a turbine that produces very high pressure air that blasts freshly printed material so that it freezes near instantly. This allows the machine to easily continue printing the next layer on a perfectly rigid surface.
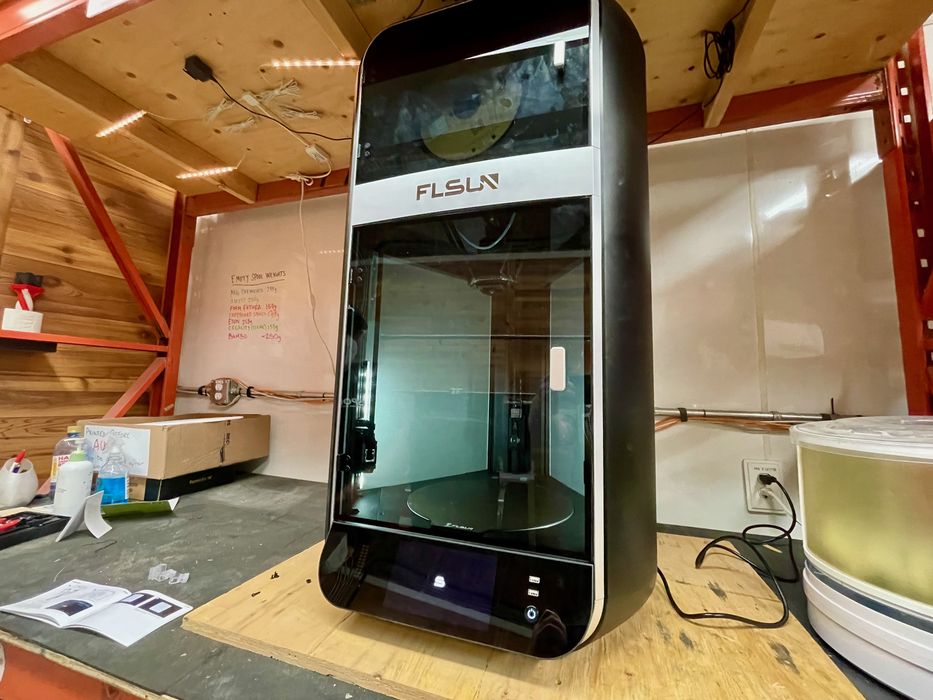
The S1’s build volume is also quite large at 320mm diameter by 430mm tall — delta systems have cylindrical build volumes, not cubic. The high speeds allow for quick printing of very large objects in reasonable times.
The hot end is able to hit 350C, enabling use of many different engineering materials, and we tried most of them on this machine, as you will see.
There’s an integrated filament dryer function, and an AI vision system to detect flaws when monitoring print jobs. The spool mount also can weigh the spool to ensure you have sufficient material to proceed. All calibration is entirely automated, and there’s not much to do to set up the device.
Did I mention the S1 is VERY tall? It’s literally over a meter tall, and we had to raise a shelf in order to fit it on our work table. If you’re considering an S1, check out your work area to make sure it will fit.
FLSUN S1 Unboxing and Assembly
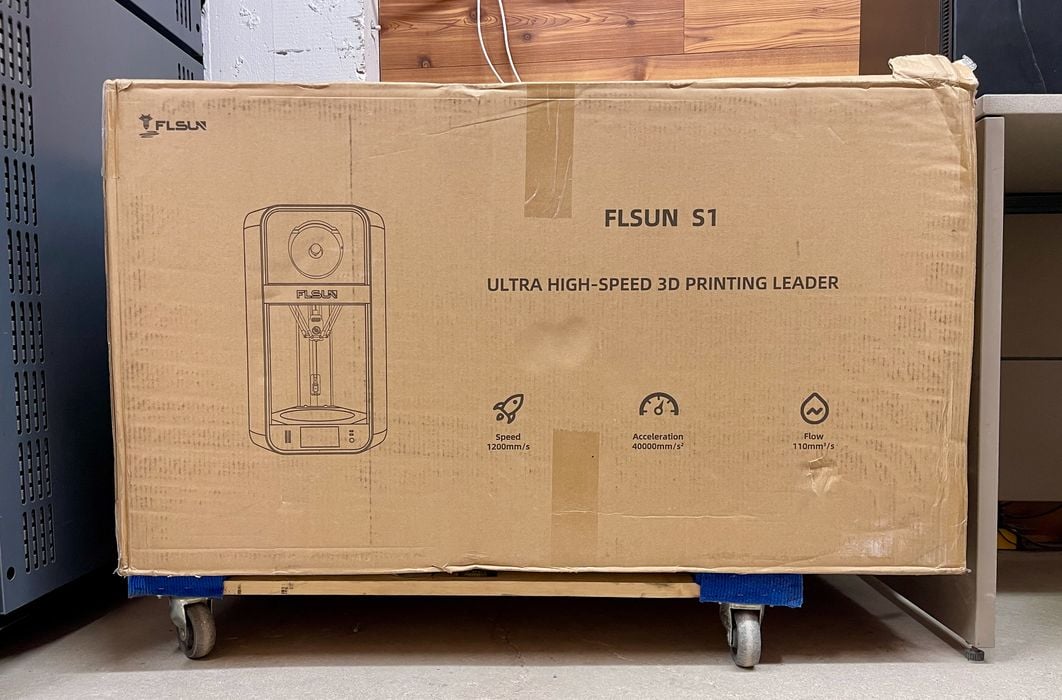
As this is such a large machine, it comes in a very big box. This is complicated by the fact that the machine is fully assembled, and FLSUN is unable to break it down into a smaller box as some other desktop 3D printer manufacturers do. The box itself weighs a healthy 51kg, so you may need assistance to set up the machine.
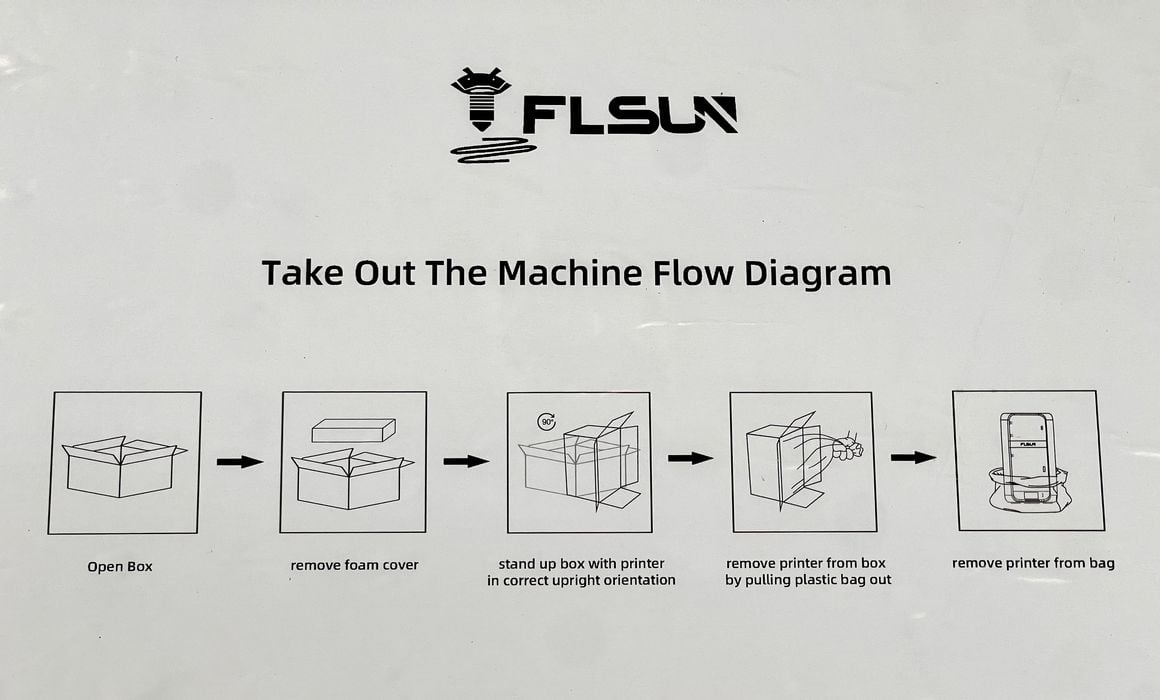
FLSUN includes these very handy instructions for easy unloading of the machine from its box.
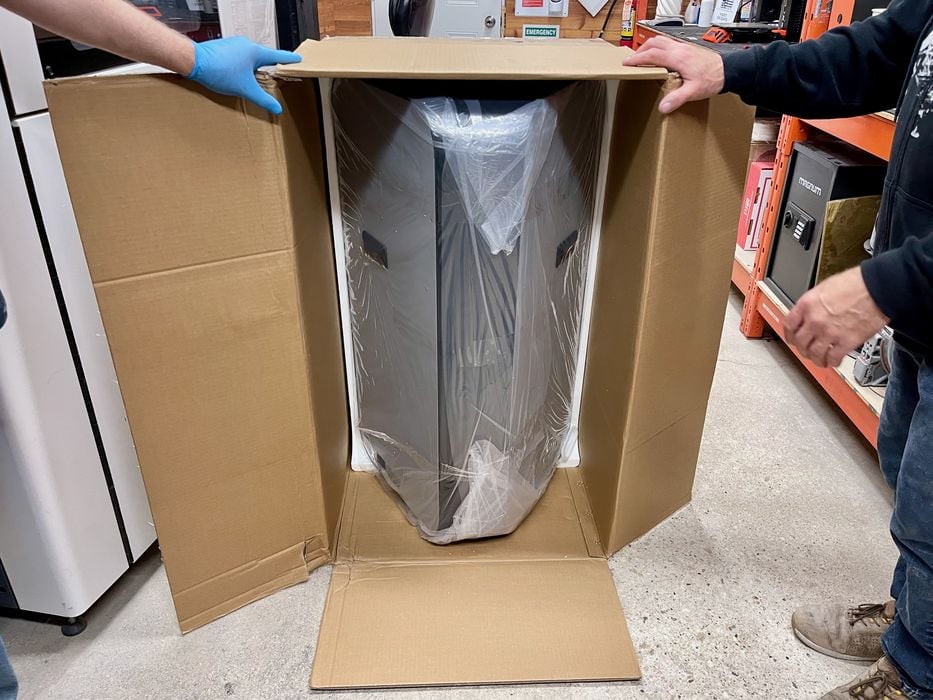
This allowed us to relatively easily remove the machine, but two people are really required for this. As above, we had to rebuild our shelf to accommodate this huge machine. A meter-tall machine on a table is quite high, and hopefully there isn’t much to do up there.
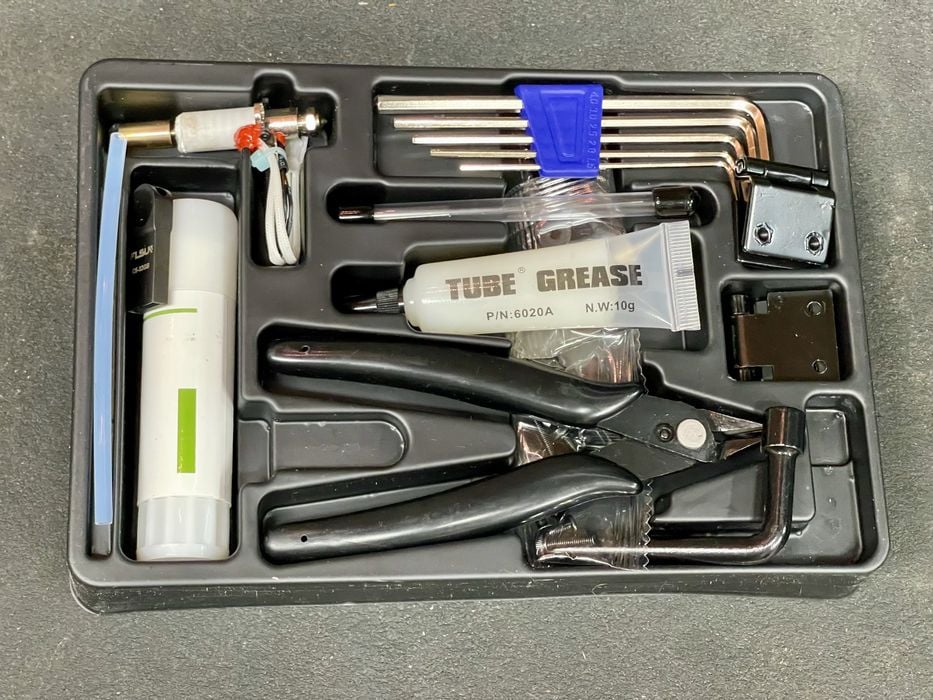
The machine ships with a good complement of tools, and we found most weren’t required for assembly. They are there in case of future maintenance activities.
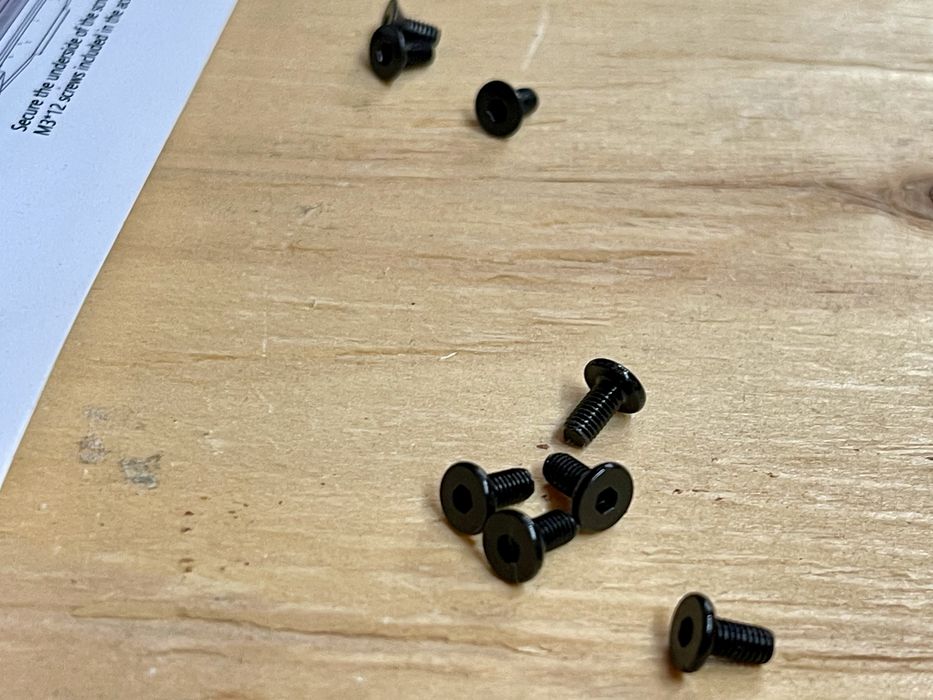
There were a number of bolts, but we had to determine where they were to be used. While the machine is mostly assembled, there are a couple of things to do.
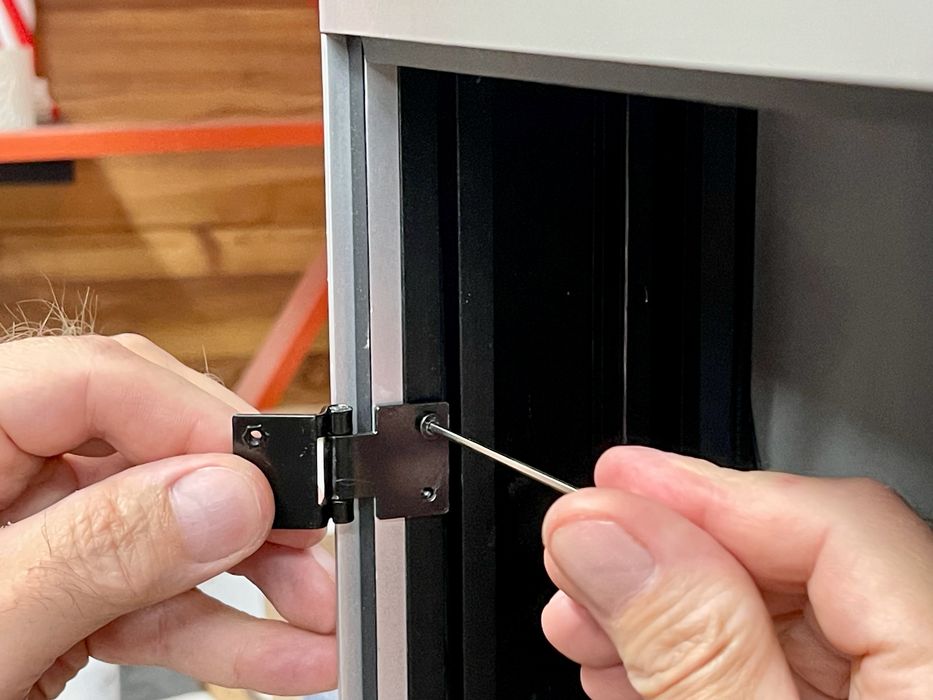
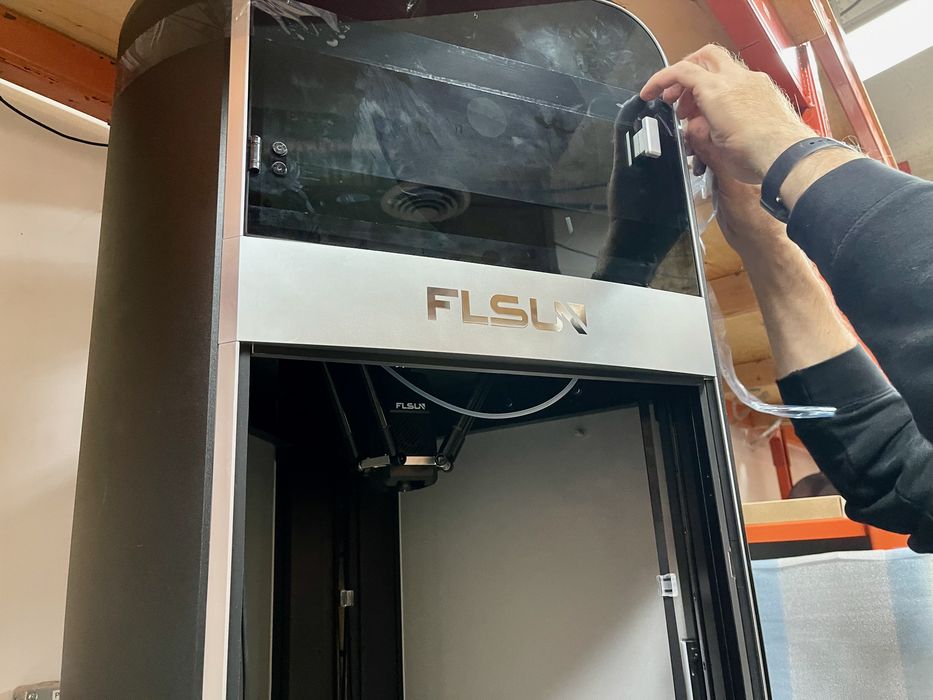
One is to attach the front door, which is made from glass. I presume it’s packed separately to avoid cracking during shipment. It attaches with a few bolts and uses magnets to keep closed.
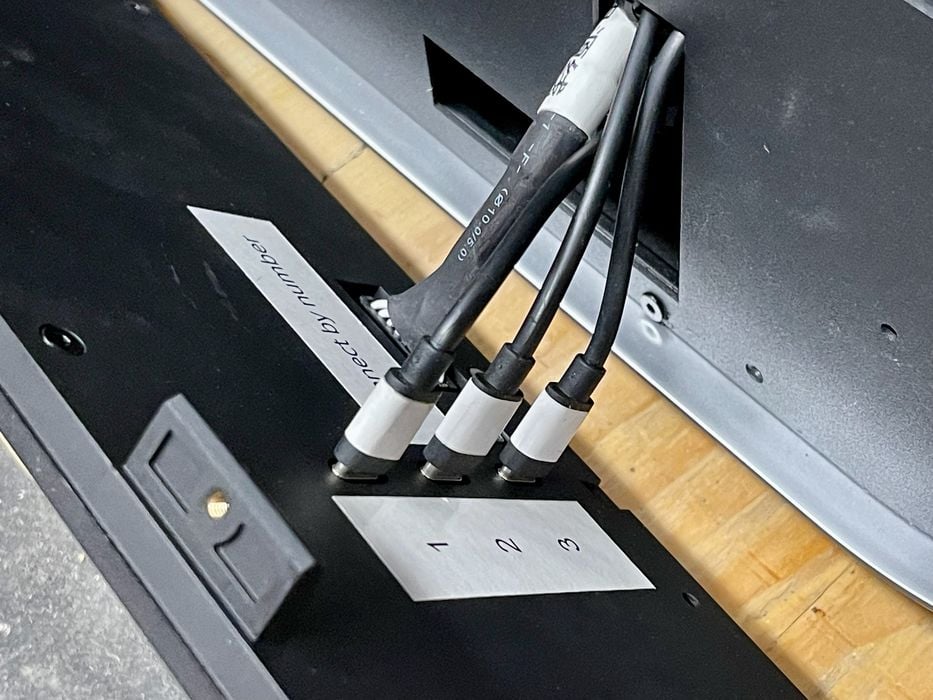
The front control panel must be attached, and it easily clips onto the machine’s frame. However, you must also plug in a series of cables before doing so.
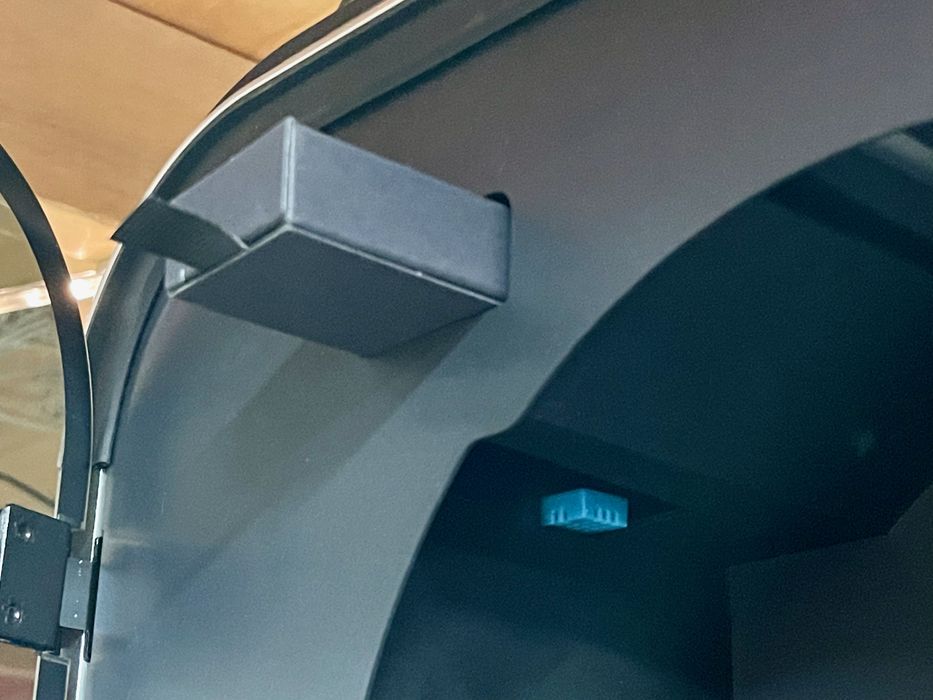
The machine has an internal spool mount at the top of the tall machine, which also acts as a filament dryer. For this to work best, you have to insert a block of desiccant. Over time this will have to be refreshed, but that’s easily done in an oven.
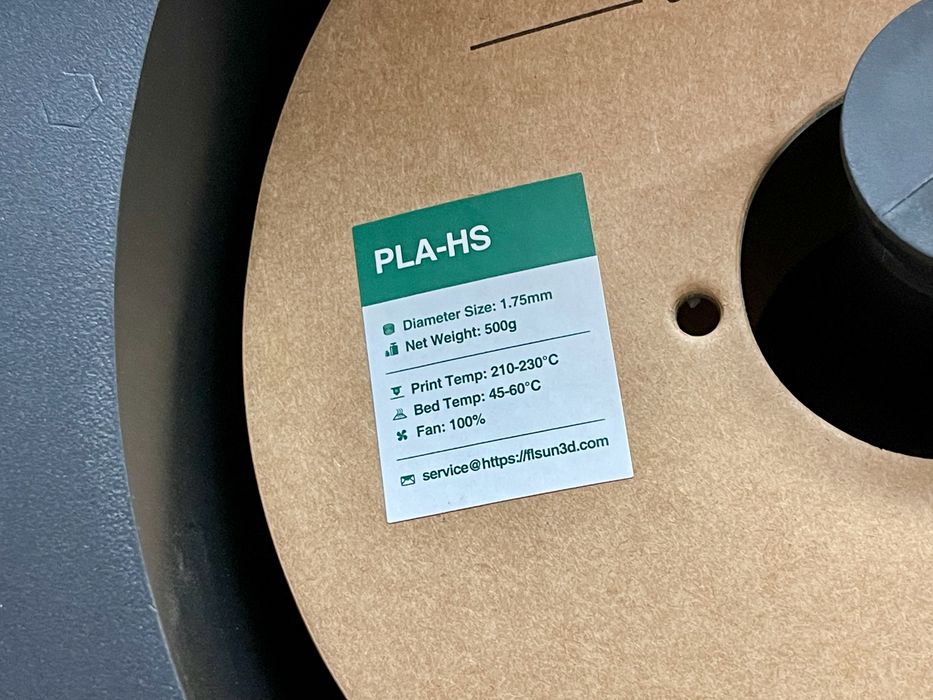
FLSUN supplies a 500g spool of high speed PLA with the S1, which is good to start. However, with the high speed of the machine you’ll very soon need more spools.

While setting up the machine we noticed this label on the back, and indeed the machine does include a small UPS for handling power failures. This allows the machine to gracefully pause if the power goes out, and then resume when power is restored.
Assembling the machine doesn’t really take very long, and it’s not hard to do. But you probably will need two people to lift it onto a work table.
This is part one of a three part series, please read parts two and three.
Via FLSUN S1