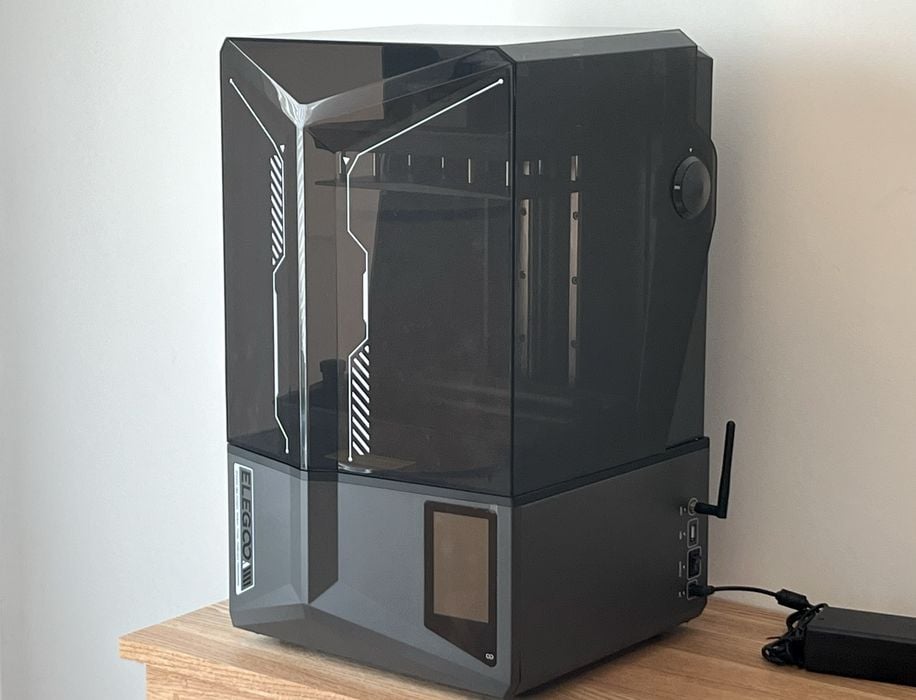
Our look at the Elegoo Saturn 4 Ultra resin 3D printer continues with a look at setup, calibration, software and operations.
This is part two of a three part series, please read parts one and three.
Elegoo Saturn 4 Ultra Setup and Calibration
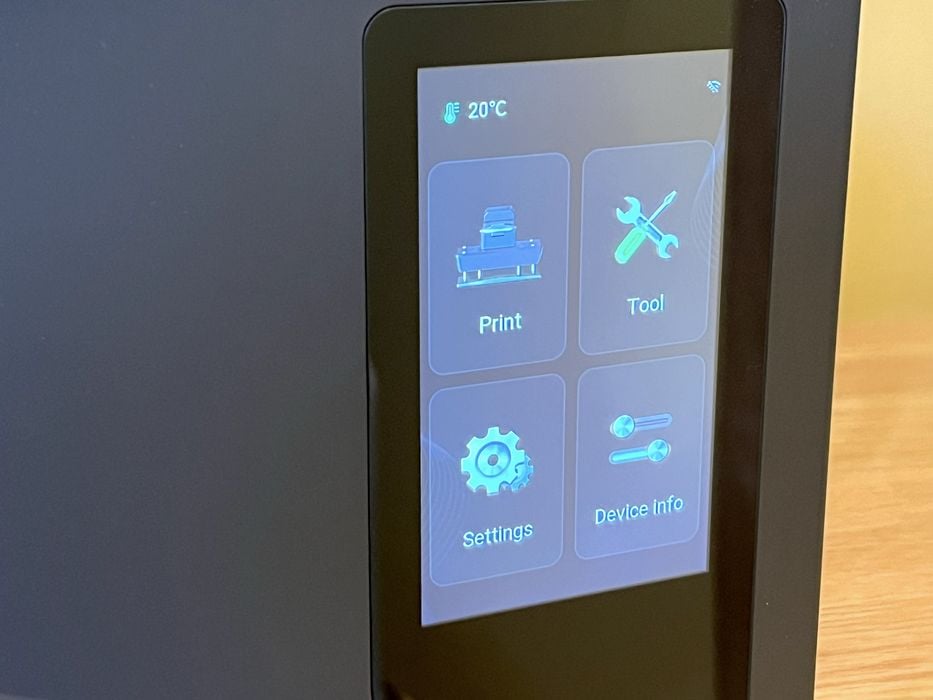
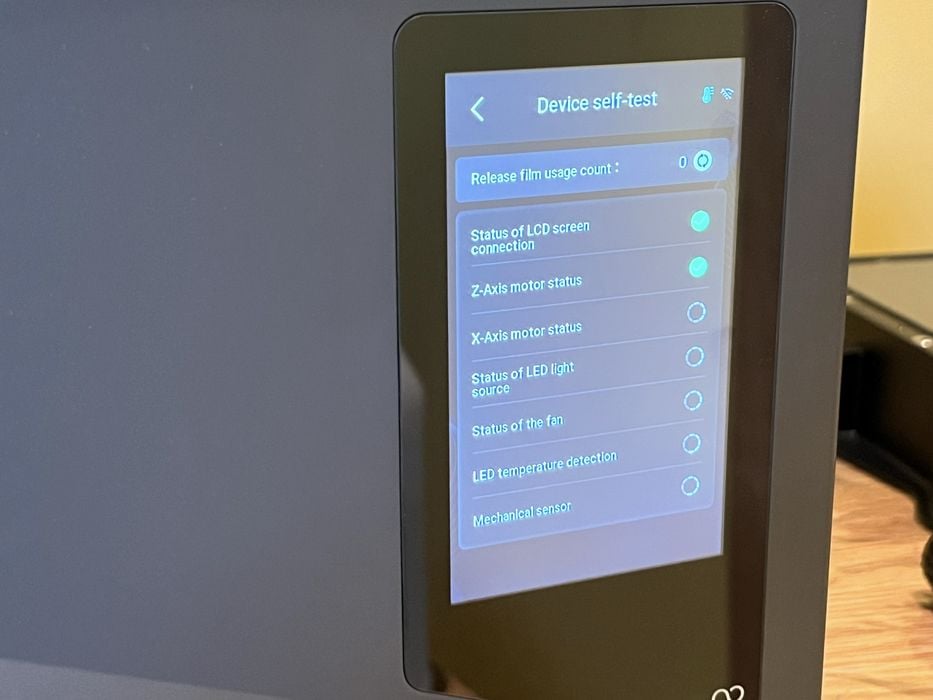
We moved the printer over to our work area and powered it up. After what seemed to be an overly generous amount of time of doing absolutely nothing (~20 seconds) the LCD screen suddenly lit up and the printer cycled through its device self-test, homed the Z axis to the top, and then did something unexpected – it tilted the tank up and down several times!
When startup was complete, we explored the menu system on the LCD, finding it configured quite logically organized with the first four menu selections being Print, Tool, Settings and Device Info. Opening any of these tabs revealed additional menu items, with even more items available if a user thought to swipe to the left.
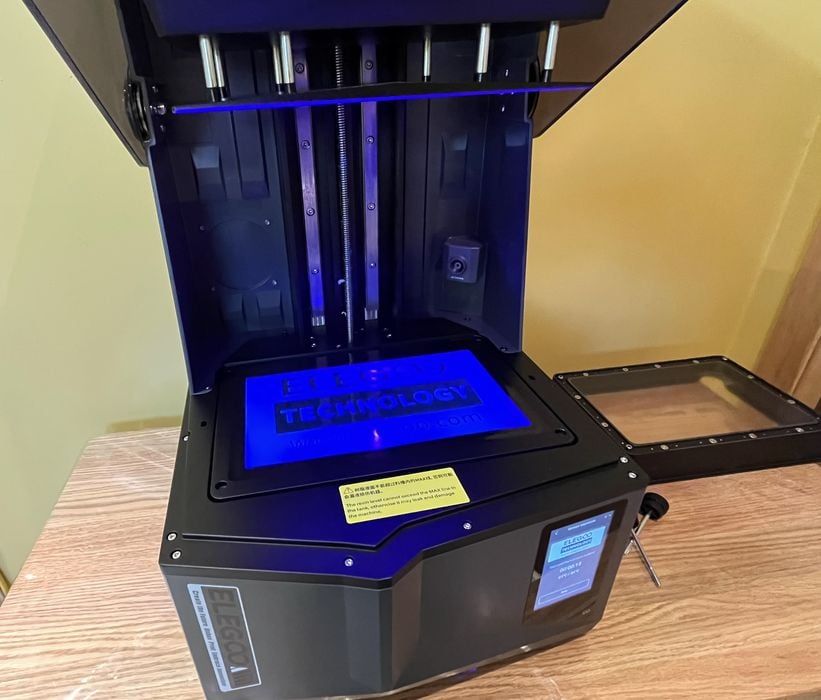
The Tools menu contained a Screen Exposure test, Device Self-test, Manual (raising of the z-axis), Tank cleaning, and Emergency Stop.
Under the Settings menu we found the WiFi setup to connect the printer to our network, the ability to change System Language, Update the firmware and various other service options. There was also a Print Mode that was already set to “high speed”.
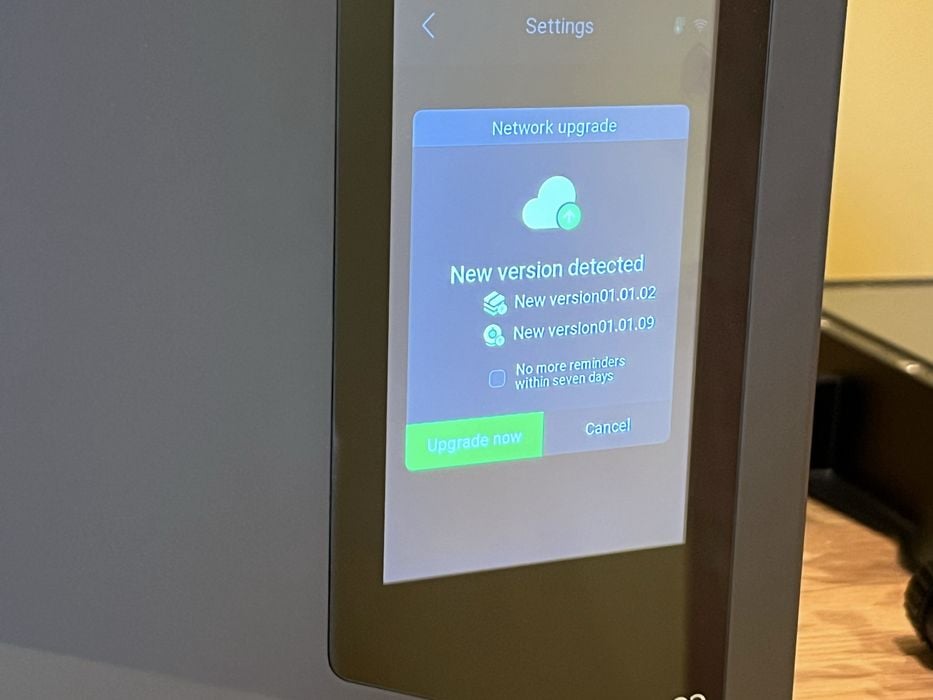
We entered our network credentials into the WiFi setup and easily connected to our network. The printer promptly alerted us to a potential firmware update, which we made sure to install.
We checked through all the front panel menus again to make sure we hadn’t missed anything, given the lack of instructions.
We noticed a Resin Calibration feature under Tools, where a multipart calibration print could be generated based on a model of the operator’s choice, using multiple exposure values entered manually on the LCD screen. It’s always worth scrolling through all the menu items a second time.
The Resin Calibration feature is similar to Anycubic’s RERF process, but more flexible because you can select your own calibration 3D model.
We copied the contents of the USB stick to our hard drive and then followed the remaining sparse instructions in the printed user manual.
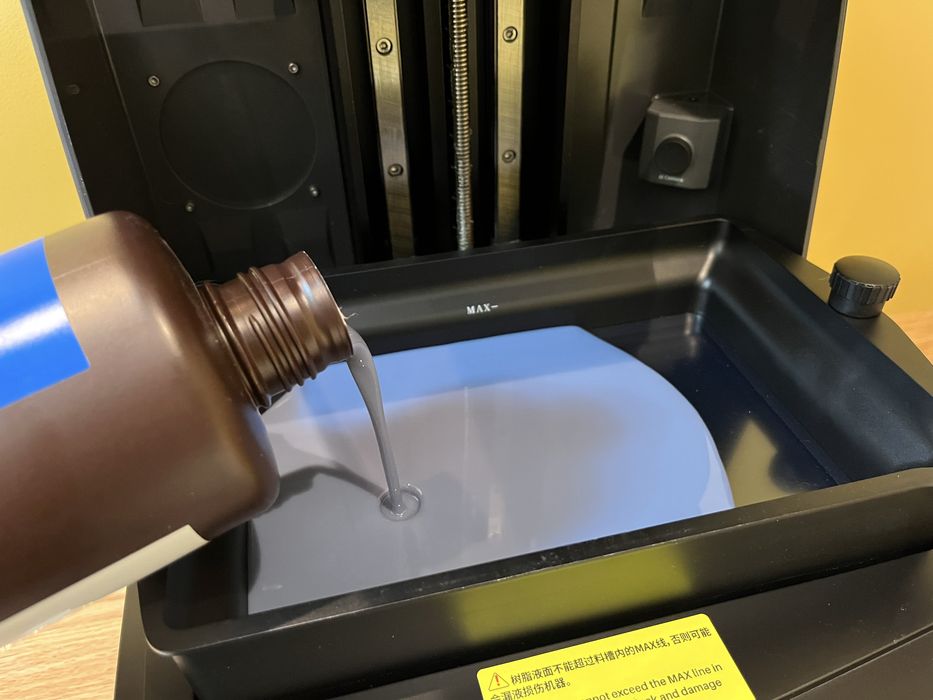
We added some resin to the printer, making sure that it was not less than 1/3 of the tank, but not exceeding the max line, closed the printer lid, inserted the USB stick, selected a pre-sliced file included on the memory stick and launched our first print, which turned out to be the classic Rook 3D model.
When we checked in later, we found nothing attached to the build platform! When we drained the tank we found a partially imaged Rook stuck to the release film.
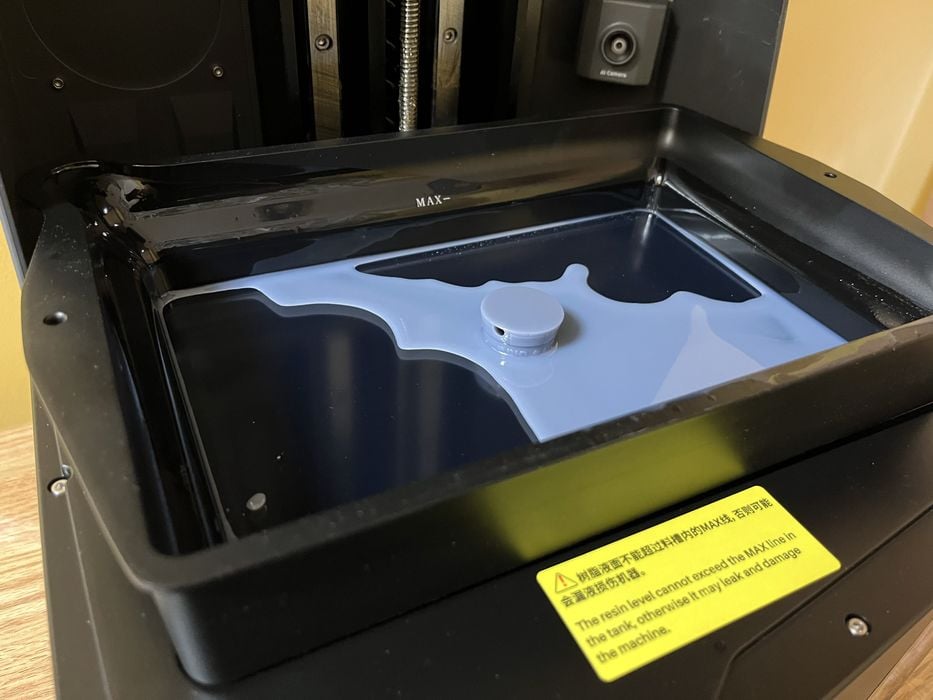
We weren’t terribly surprised that the print failed, as there had been no information supplied as to how the pre-sliced print was set up and which resins we should use to work best. This is a common issue with MSLA machines: how can pre-sliced GCODE know which resin is being used? The exposure settings are always wrong.
However, we were a bit perplexed that the AI camera had not paused our print when the build platform was so obviously empty for a large portion of the print time. This was most likely due to the lack of lighting available in our work area for the camera to operate properly. Apparently you should not operate the Saturn 4 Ultra in the dark.
Given that the build platform is advertised as self leveling, we went with the premise that the bottom layer exposure time must not be long enough, so we re-launched the print, accessed the mid-print menu options on the LCD, increased the bottom layer exposure to a hefty 50 seconds to guarantee success, and turned the Print Mode speed to low, as we were just using standard resin.
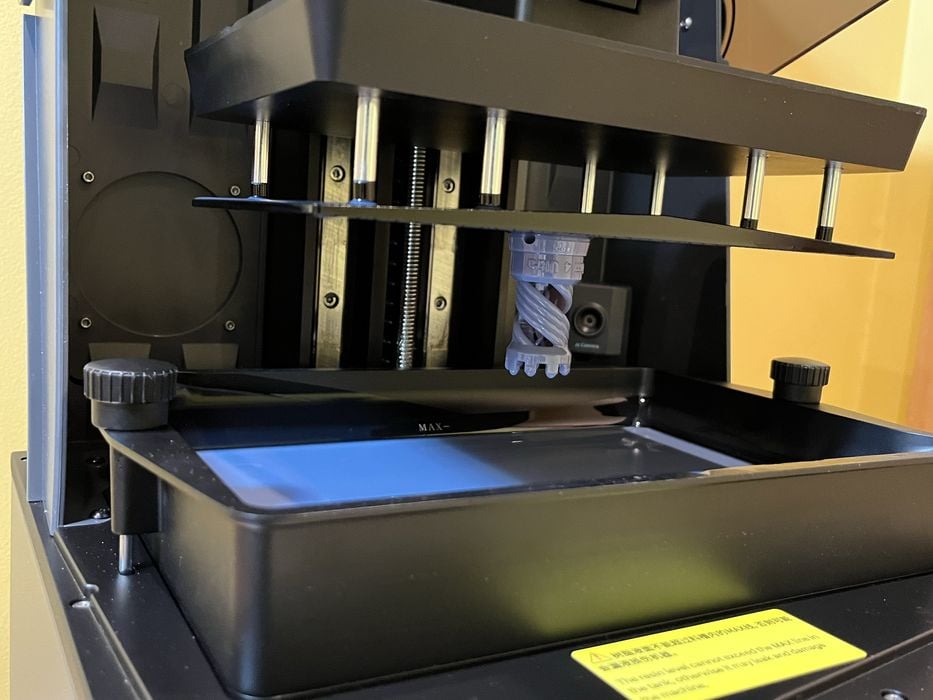
This time when we checked on the completed print, we found it fully intact and hanging from the build platform as expected.
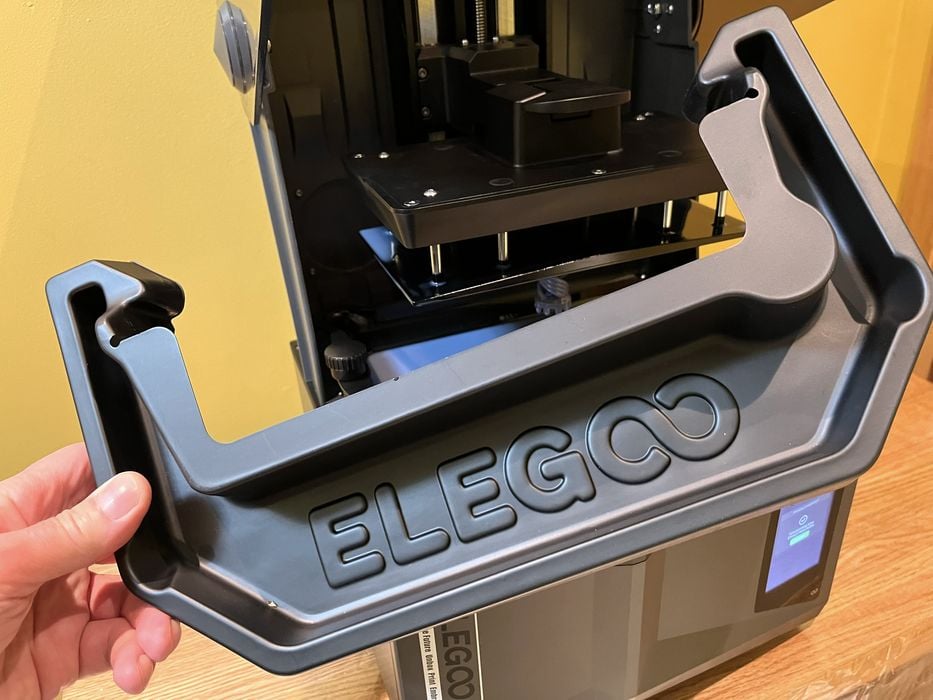
Before we removed the print, we turned our attention to the mysterious thin plastic tray that had shipped with the printer and found that it slid around the tank and fitted perfectly, acting as a “Bib” to prevent any drips from getting where they shouldn’t. A welcome addition indeed — but not described in the instructions.
Our typical process for removing a build platform involves sweeping any resin droplets off the top and bottom of the platform using a plastic spatula and directing them into the tank, but because the platform for the Saturn 4 Ultra had a spring loaded second level, the task of cleaning was made more difficult.
When we removed and transferred the platform over to our paper covered work area, some remaining resin droplets landed on the plastic bib, instantly validating its use.
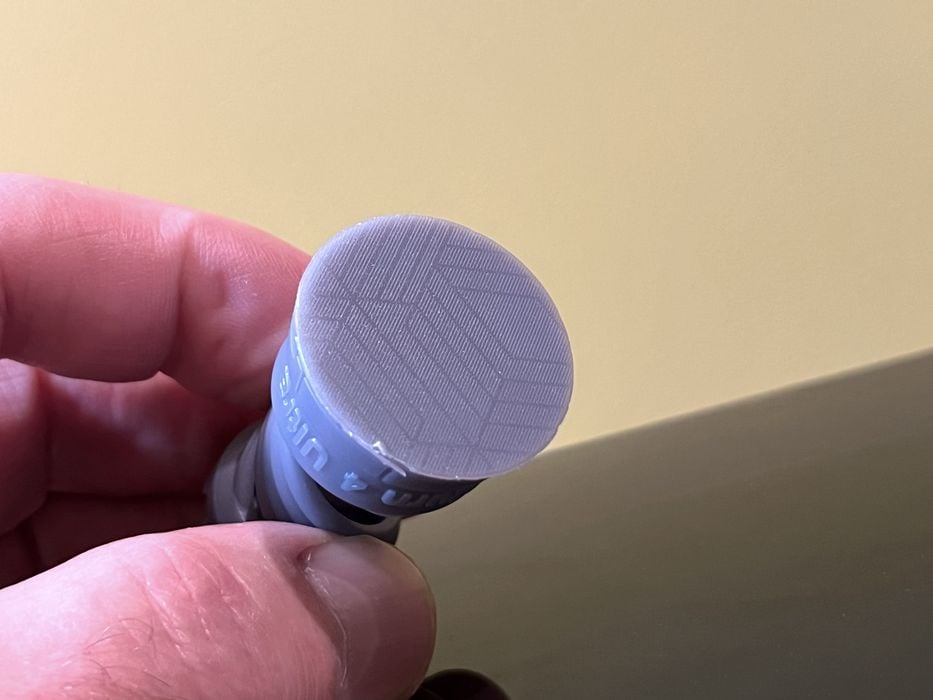
We used the metal spatula to pry off the model, and ran it through the wash & cure stations. We inspected the result and were quite impressed with the overall detail and quality of the surface finish. Our first-ish print was a success!
Now it was time to set up the slicing software on our workstation and slice our own 3D models.
Elegoo Saturn 4 Ultra Software
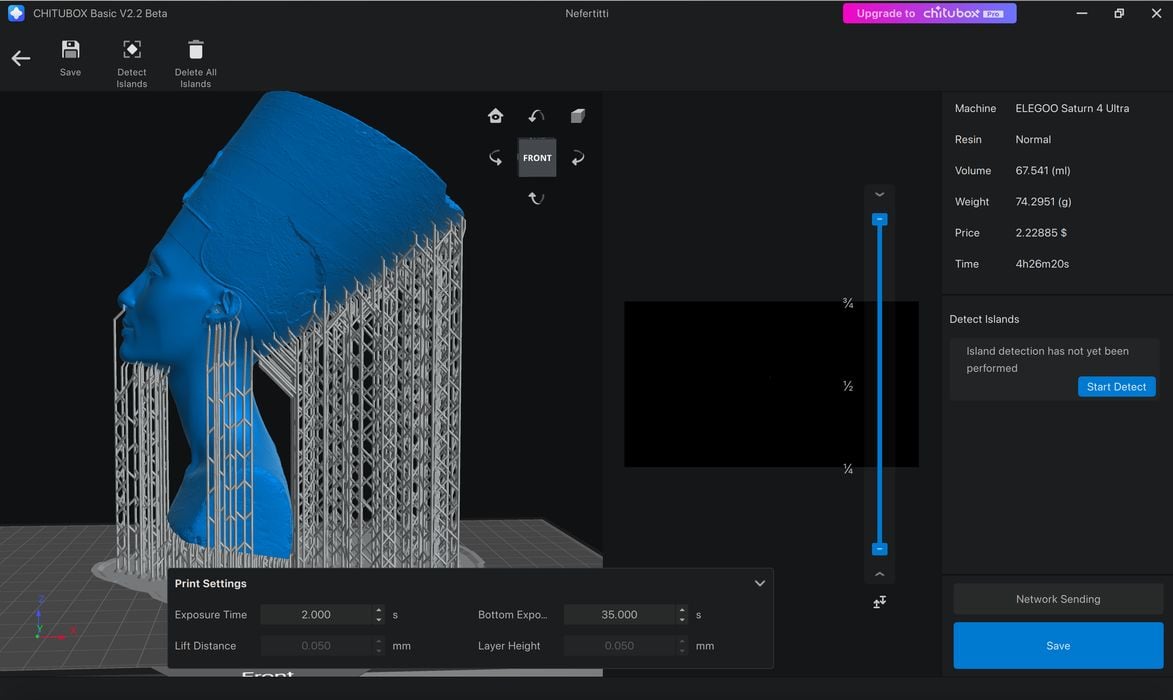
Elegoo uses the third-party software tool CHITUBOX to slice and generate GCODE for the Saturn 4 Ultra. Elegoo provides a version of CHITUBOX on the USB stick for convenience, and presumably it can be downloaded online.
In our test we installed CHITUBOX Basic V1.9.6 Beta19 onto our Mac, choosing the Saturn 4 Ultra from the list of newly supported printers.
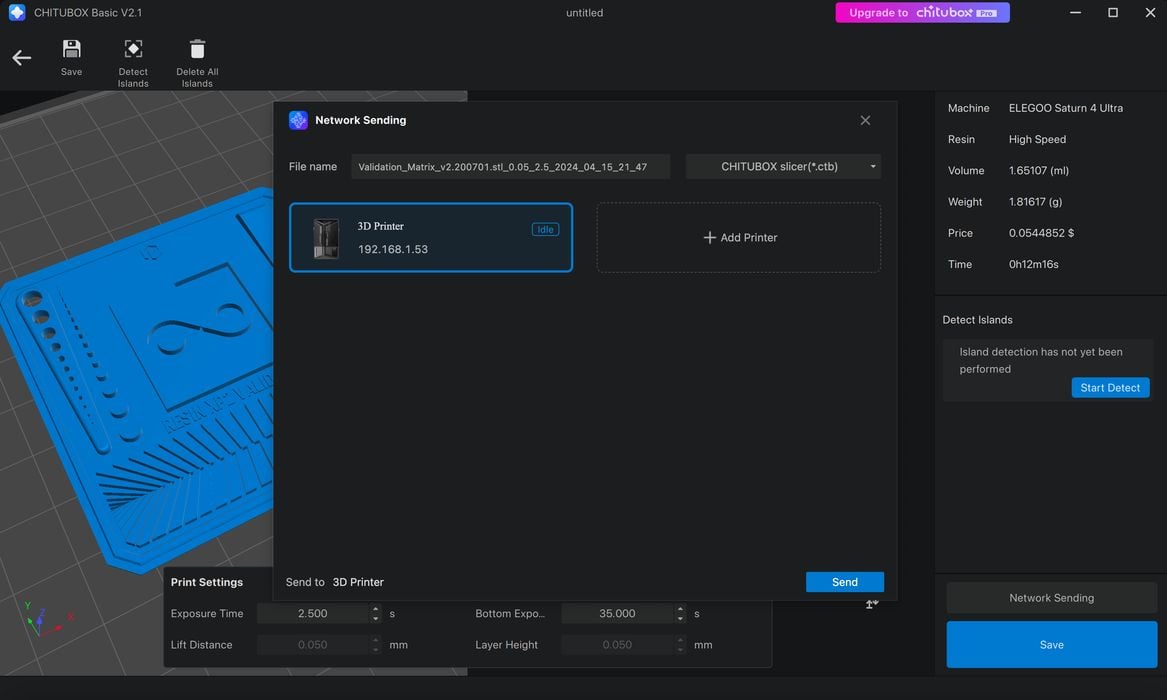
The install included a prompt to add ChituManager — a new addon to CHITUBOX — that allows the software to communicate with the 3D printer and launch jobs directly over the WiFi network, giving additional access to Device Files, Job History, and a live video feed from the onboard camera, including the option of doing a Time-lapse.
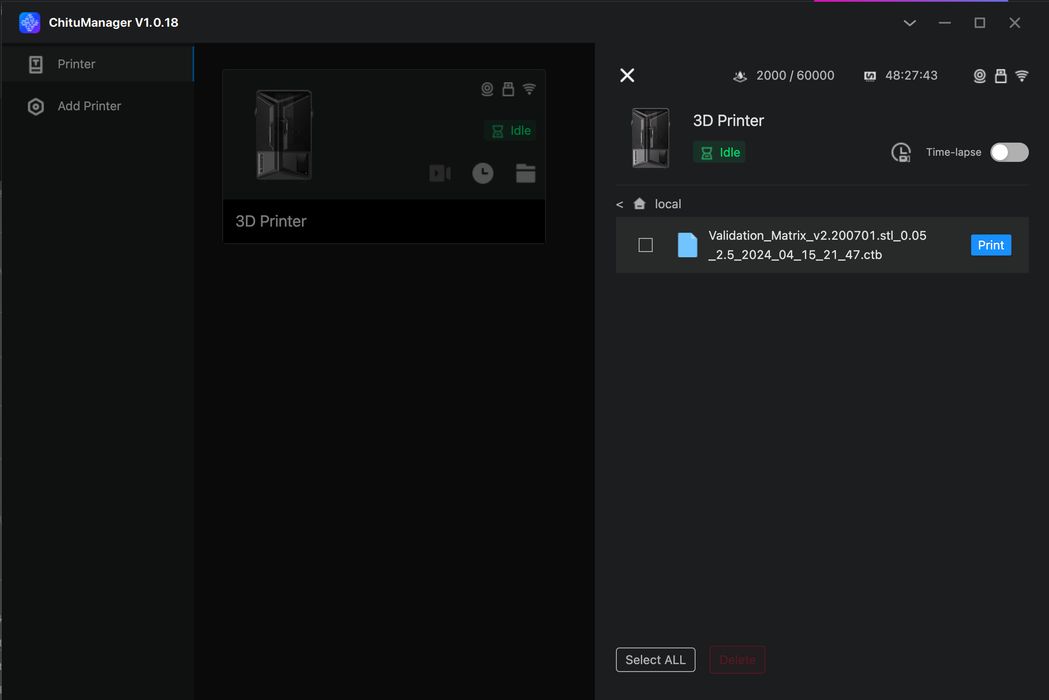
Just before we started to slice some prints, we became aware that CHITUBOX 2.1 Basic Beta had just been released, so we downloaded and installed that version. It is always best practice to be up to date when it comes to beta software.
Our first job for the software was to prepare the Validation Matrix 3D model to help us begin determining the correct settings for our resin.
We sliced the file in CHITUBOX using default settings for “Standard Resin” and got an estimated print time of 12m, but instead of saving the file to stick as we would normally do, we clicked on “Network Sending” to open ChituManager and send the sliced GCODE to the printer via WiFi.
We then switched to the “View Device Files” menu, where we saw Validation Matrix as a possible print to launch. We simply clicked “Print” and the Saturn 4 Ultra came to life.
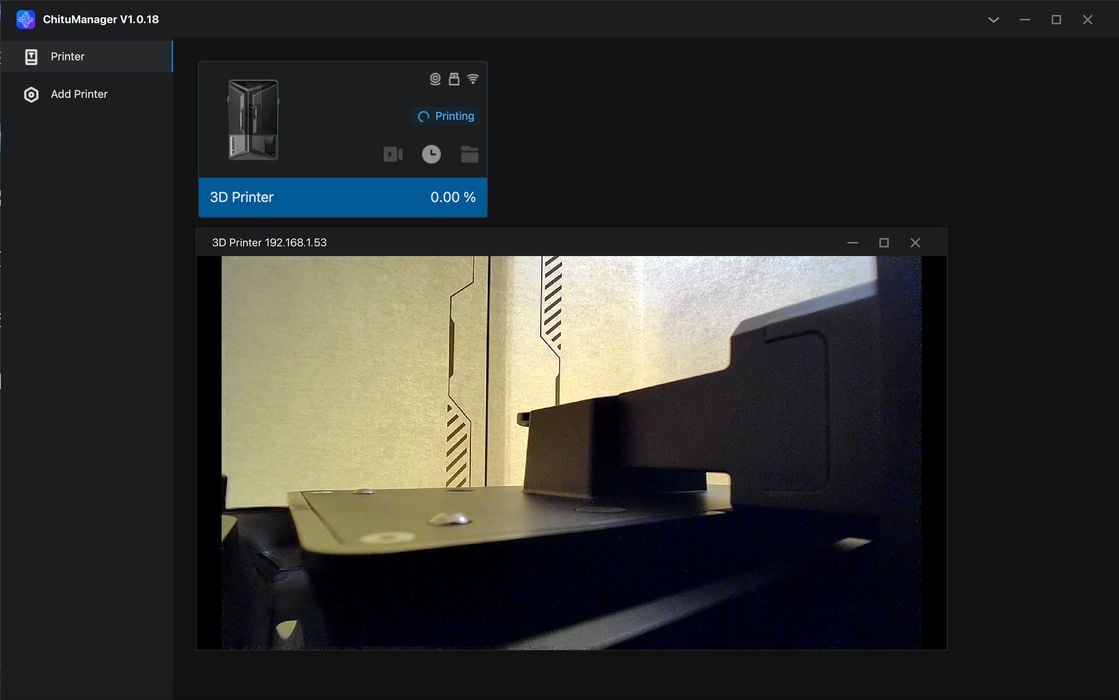
Clicking on Video Surveillance brought up the view from the AI camera, where we would be able to watch the live progress of the print. When we saw the ChituManager interface showing the print as being complete, we checked the Historical Record and saw that it had finished in just 9m and used 1.8g of resin.
When we tried to remove the print from the build platform, it was hard to separate and just crumbled.
We had forgotten about our very high bottom exposure setting from the Rook print! We resliced the print and cut our bottom exposure time in half and this time the print only took 7m to complete and we were able to easily remove it from the build platform without damage.
We ran it through our wash & cure and found that although it printed fairly well, it was a bit overexposed, so our settings would need a bit of tweaking yet.
Elegoo Saturn 4 Ultra Operations
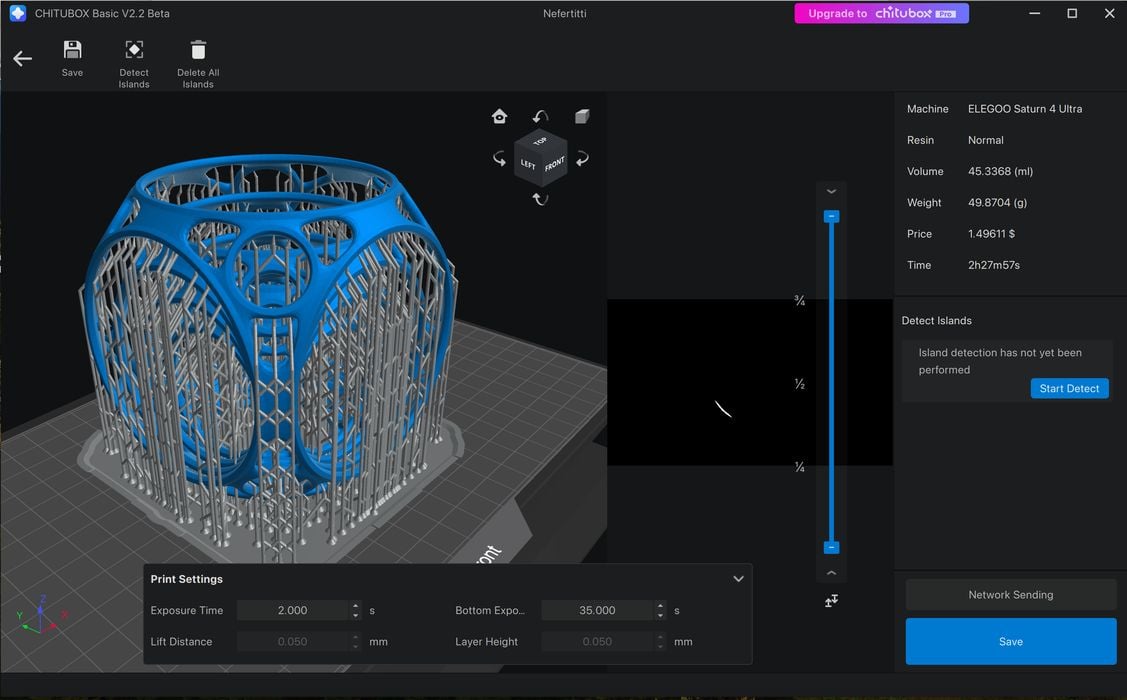
We decided to try using the Resin Calibration feature in the firmware to determine the ideal exposure setting for this particular resin. Resin must always be matched to the printer via the print settings.
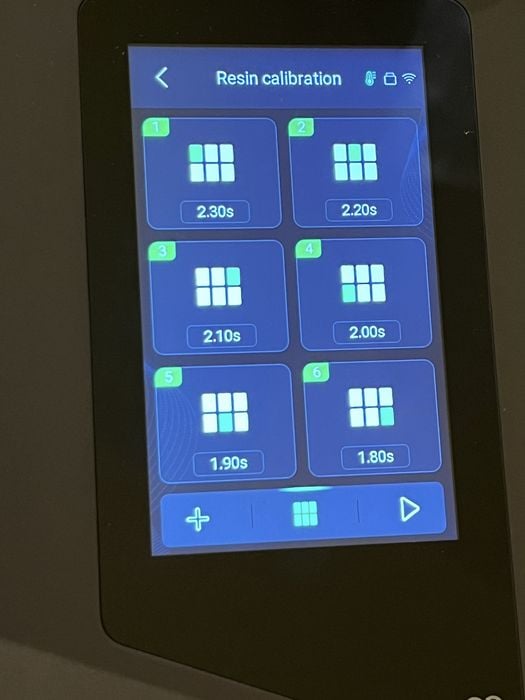
The calibration feature works by having the operator select a preferred model, choosing how many instances of the model to print up at one time, and finally choosing an exposure setting to use per model.
We decided to use Cones of Calibration 3D model as our preferred model, and experiment with six different exposure settings. We purposely chose a low setting of 1.8 seconds and a high of 2.3 seconds to hopefully see some failures and success in both sides of the calibration cones.
Unfortunately, our job didn’t go as expected. Only four out of the six objects were attached to the build platform when the job completed, with the two failures being on the right hand side.
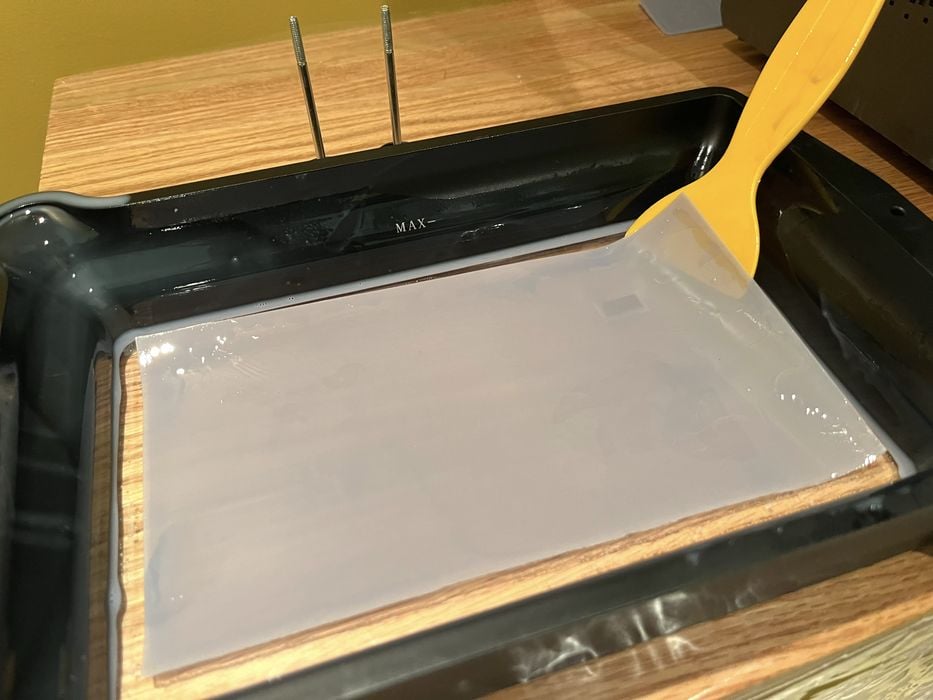
Given the possibility of debris in the tank, we decided to transfer the resin through a paint filter and back into the jug just to be safe.
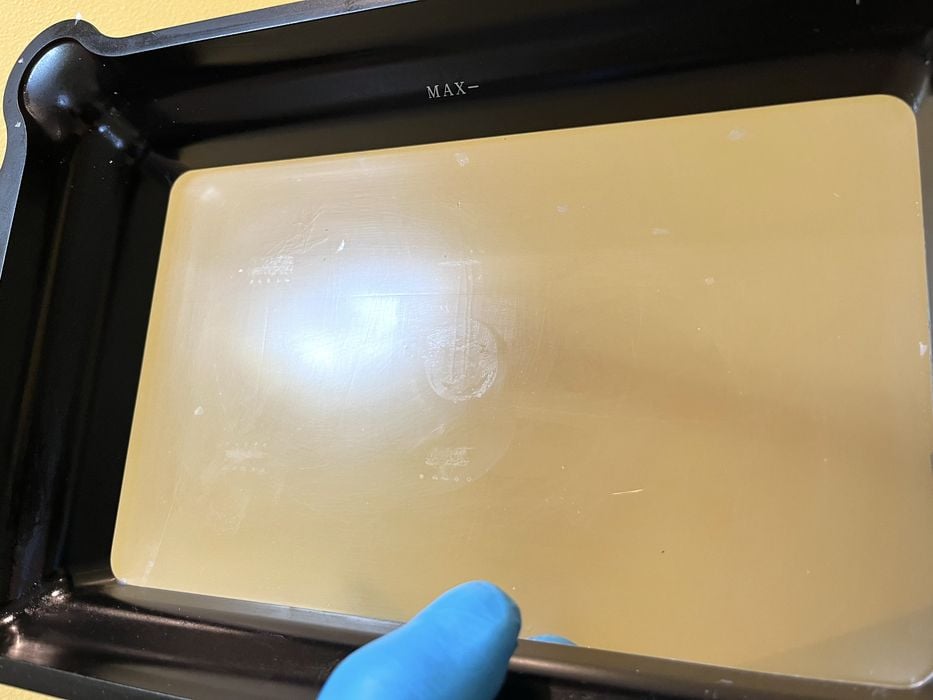
When we went to remove the tank, we had to apply a fair amount of upward force and found that there had been a mid-print PFA puncture that leaked resin between the top of the LCD glass and the PFA film. Apparently one of the two failures had been pressed into the film.
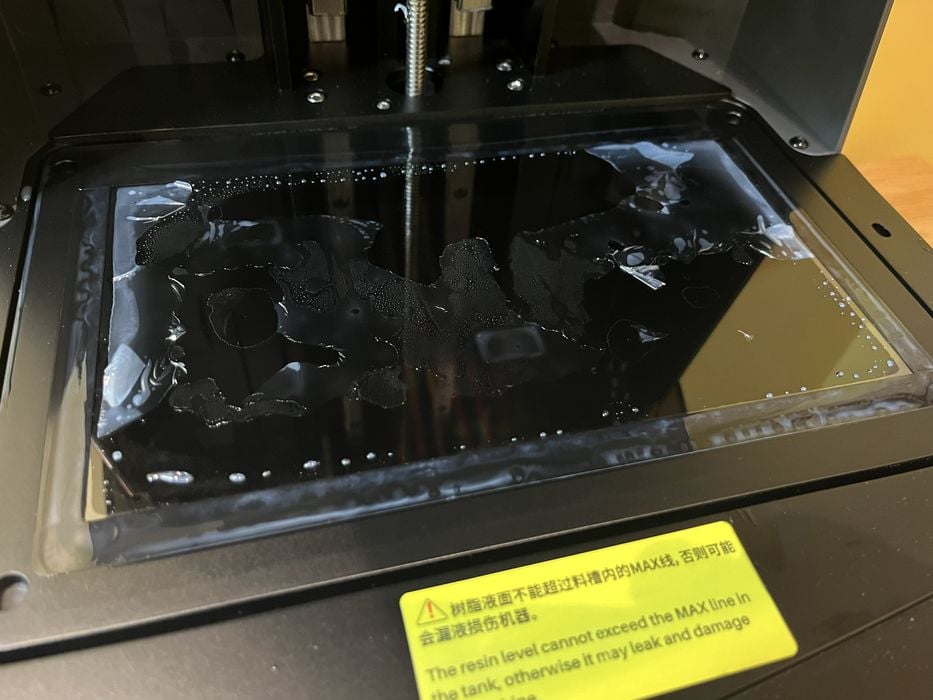
Since there is no spare PFA film included with the Saturn 4 Ultra, we cleaned everything up and contacted Elegoo support to make arrangements for repair parts.
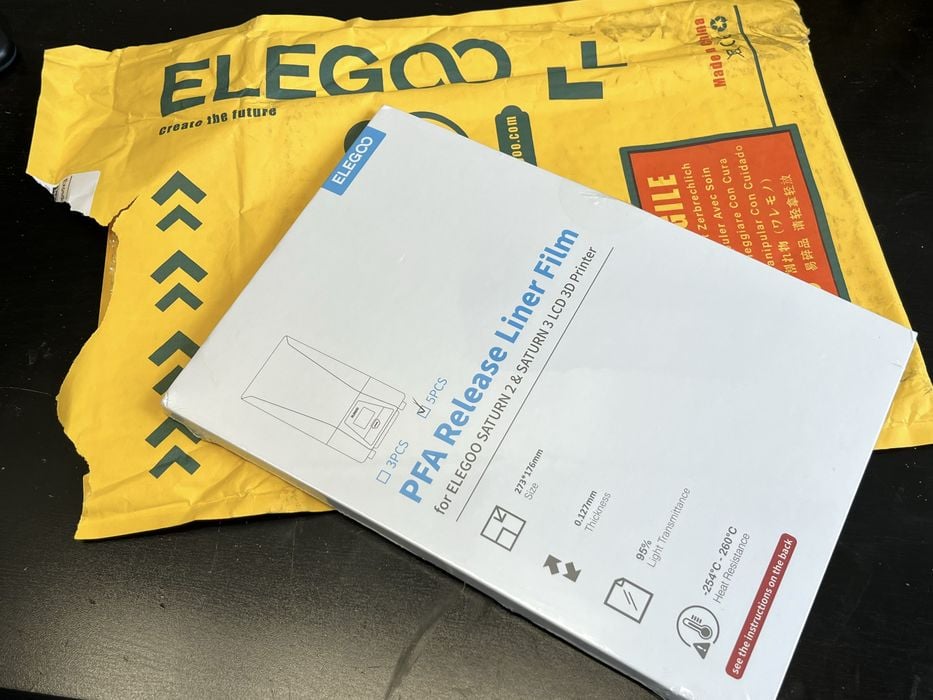
When the replacement PFA film arrived, we removed and replaced it following the procedure included on the back of the packaging. Changing the PFA takes a bit of time, as there are sixteen screws to detach the steel gasket from the resin tank and twenty eight screws to separate the two steel gaskets that sandwich the PFA film.
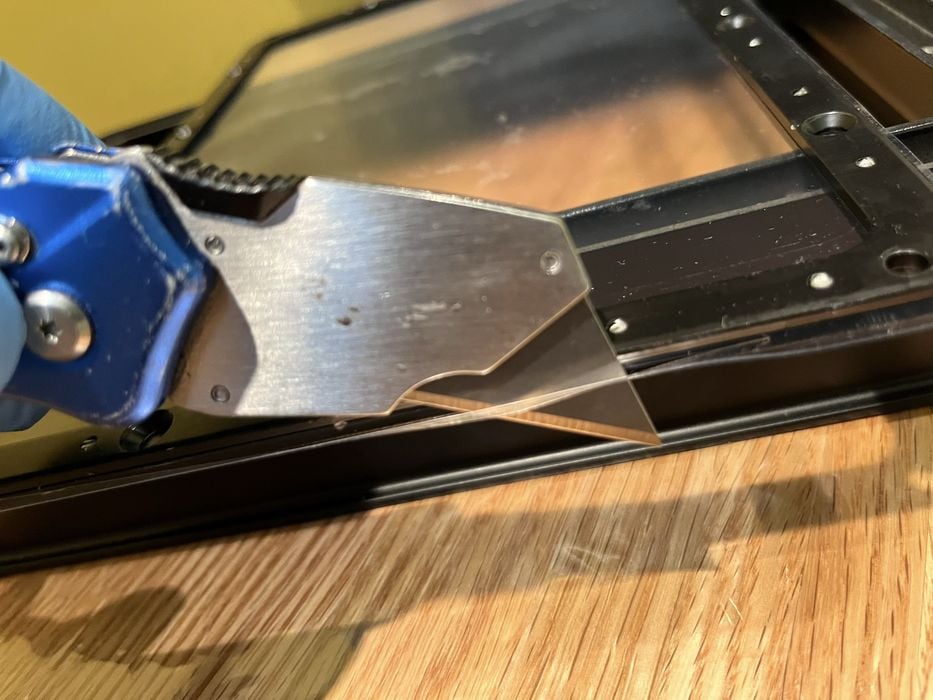
When we removed the punctured PFA film from between the gaskets and replaced it, we were sure to pay attention to the instructions that stated to make sure the film was not too tight at this step, because when we placed the reassembled gasket back onto the tank and tightened the sixteen screws, the PFA film became highly tensioned then.
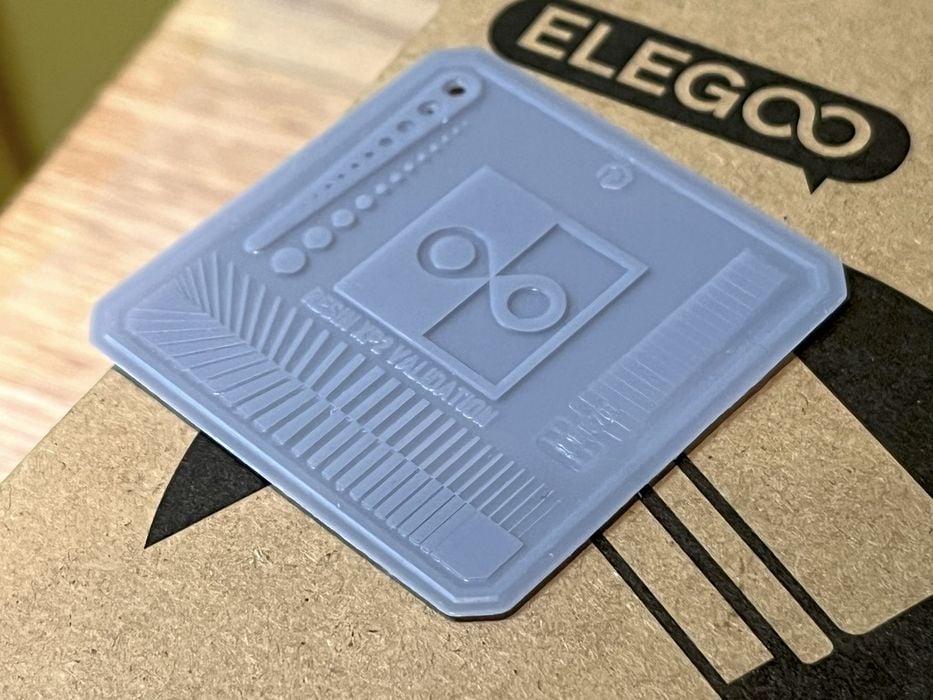
We reinstalled the repaired tank and poured in some Elegoo branded Standard Grey Resin that they had included with the shipment of PFA film. Since we had switched to a new resin, we had to re-do the calibration process and printed another Validation Matrix.
The finished print turned out quite good, so we decided to use the firmware’s Resin Calibration to confirm our settings. We went with the default settings, getting a low exposure of 1.9 seconds and a high of 2.4 seconds, with six models up.
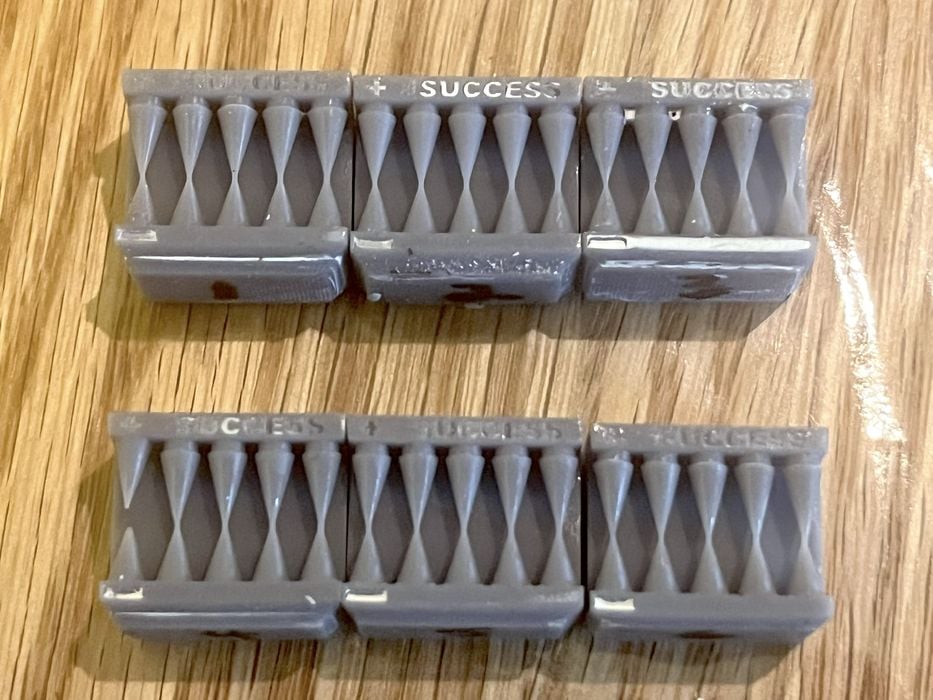
The print completed in 47m with all six models successfully attached to the build platform. All but one of the calibration prints was a success, but not in the order that we expected. We decided to redo the resin test, but this time with only four models up and a larger amount of exposure time between variations and chose 2.8, 2.5, 2.3 and 1.8.
The print took just over 49 minutes and the results surprised us again. This time only three out of the four models completed, with the 2.5 second model having detached from the build platform on the RHS, again.
Upon inspection, the 1.8 second version had a failure on the success side and the 2.3s version was completely successful. We decided to print a six up version of the cones using a singular exposure time of 2.0 seconds just to see what we would get, with the print completing in 45 minutes.
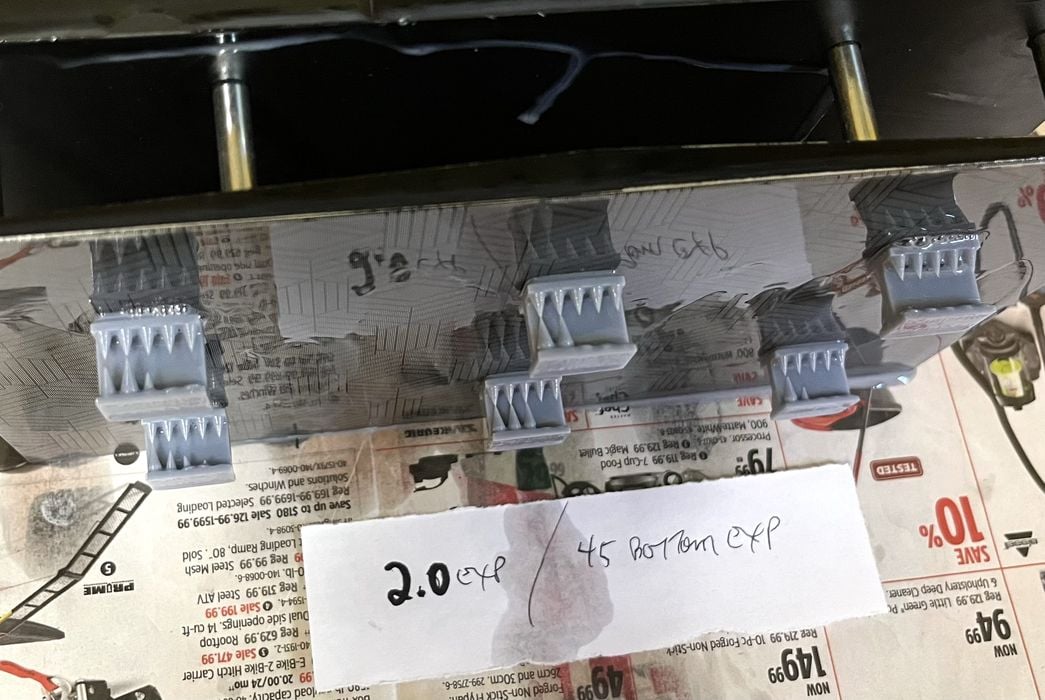
This is when we noticed something was definitely up. All six models were supposed to be identical, given an identical 2.0 s exposure, but they each had varying results. Some models were overexposed while others were not.
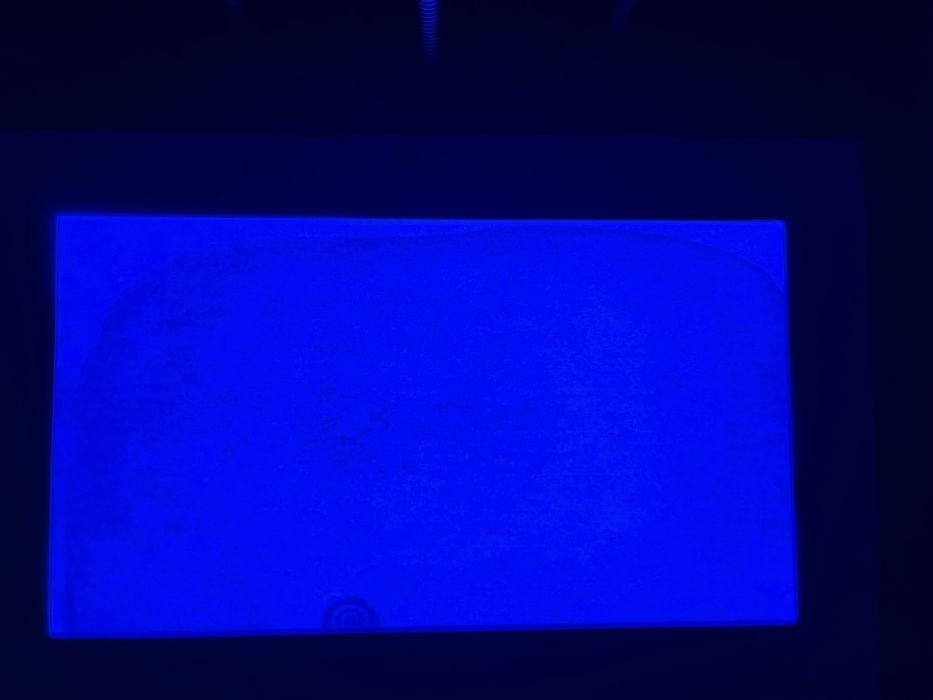
We decided to remove the tank and check the LCD using a Screen Exposure test and noticed that the LCDs exposure was uneven and blotchy. We contacted Elegoo tech support and were told that we had a damaged LCD screen and that they would send a replacement. It’s possible that the film puncture somehow led to LCD damage, but we can’t be sure.
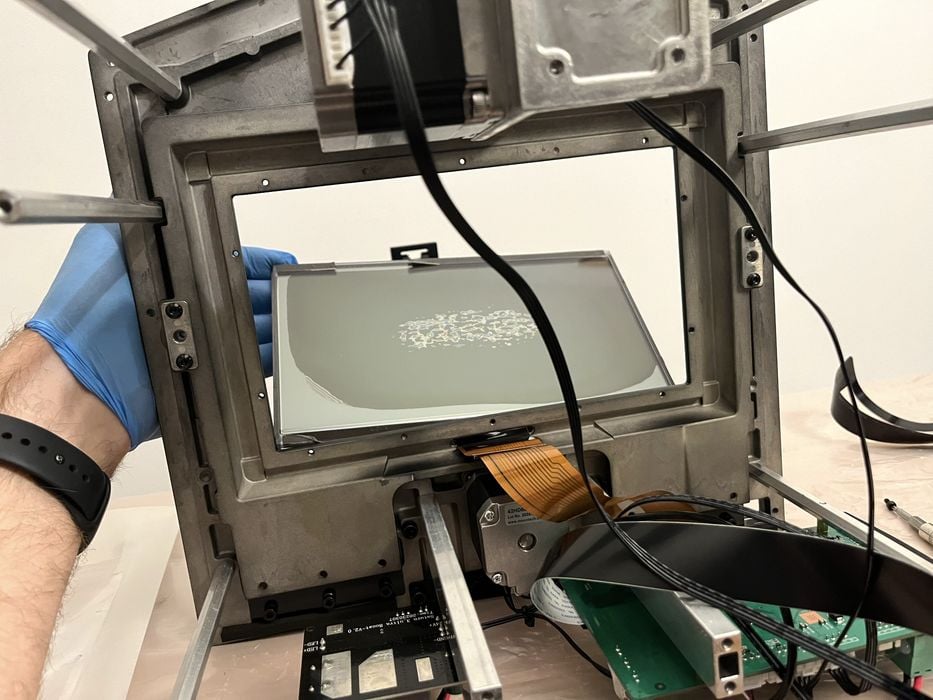
When the replacement LCD screen kit arrived, we installed it following the video tutorial link included on the packaging.
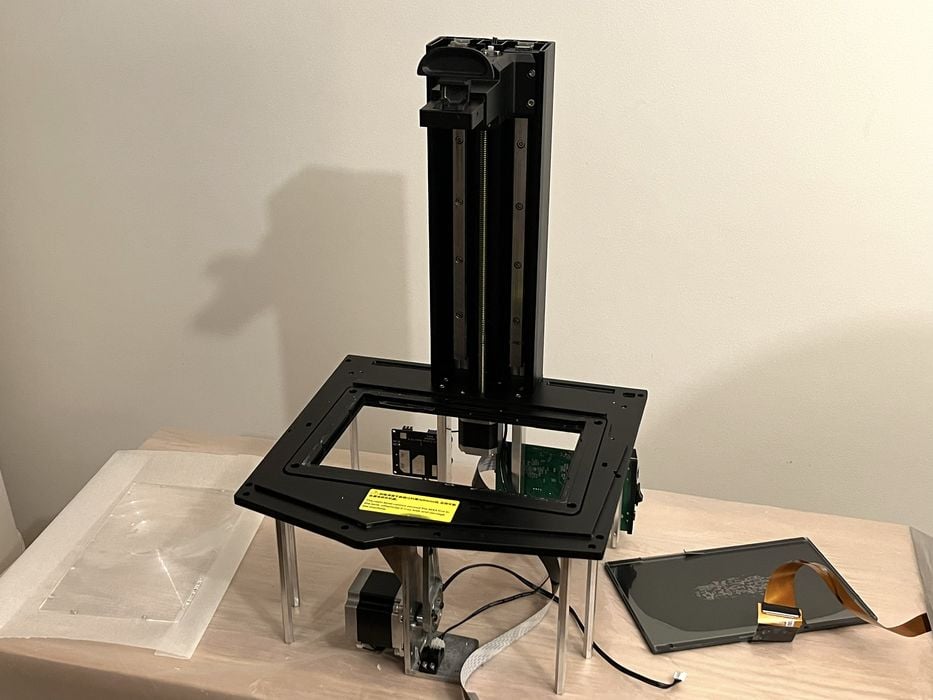
The procedure took approximately two hours and involved stripping the printer right down – removing front & rear panels, both side covers, entire bottom, and the fresnel, before even being able to press the old LCD screen out. Once done, we removed the old double-sided tape that had held the LCD in place and replaced it with strips from the kit, firmly seated the LCD in place, and applied some new protective strips along the seam between the LCD and the chassis. This replacement is pretty complex, and likely not doable by novice 3D printer operators without experience repairing machines.
Once the printer was reassembled, we placed a piece of white bond paper on the LCD to do a Screen Exposure test and were pleased to find the printer was displaying properly again.
Out of curiosity, before we installed the tank and got back to printing, we decided to keep that piece of bond paper on the LCD and lower the build platform until it touched the paper to see if our build platform was in proper alignment.
We didn’t expect to have to do much, as the design of the build platform employed spring loaded self leveling.
However, when the platform touched the paper, we noticed a rather large amount of space between the paper and the RHS of the build platform. This was the same side we had had all our failures on!
We determined that a small adjustment to the screws on the RHS would decrease the gap slightly, which we did to determine if it would make any difference with our prints moving forward.
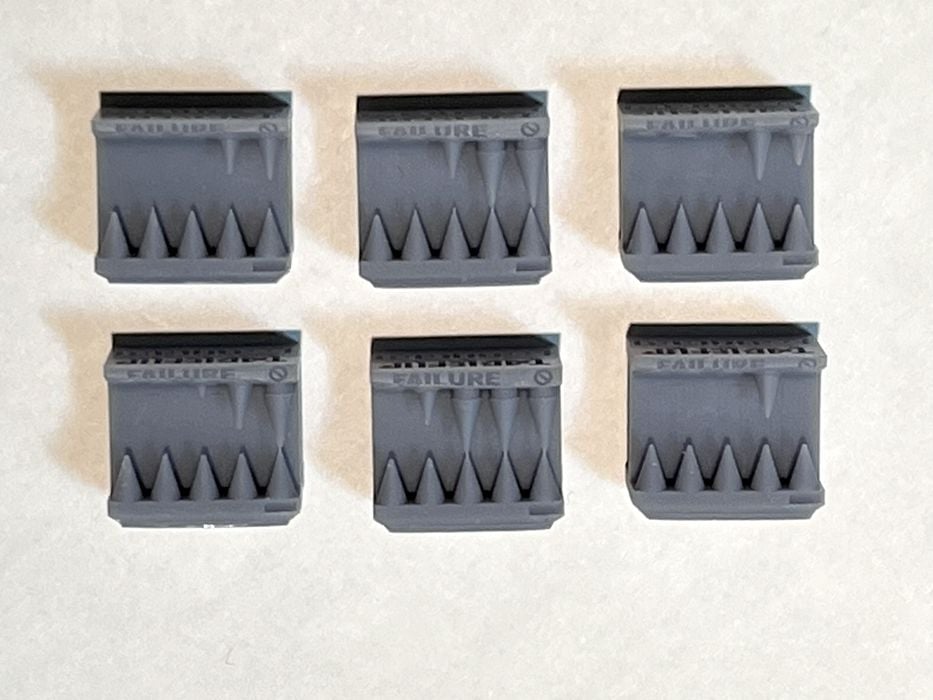
With the build platform gap potentially corrected, we lowered our bottom layer exposure back down to the factory time of 35 seconds and sent the 2.0s six up print of calibration cones to see if exposure was consistent across the platform. If it wasn’t, then trying to use the Resin Calibration feature would be a waste of time.
Results of the print still showed a somewhat inconsistent level of exposure across the platform, with the center being more exposed than the outer edges, making some of the models successful with no cones, touching on the failure side, and some models with cones touching.
Since the results of a single exposure time were not consistent, we decided to skip using the Resin Calibration feature altogether and move forward slicing the remainder of our prints using a 2.0 second exposure as that amount seemed to give the best results.
This is part two of a three part series, please read parts one and three.
Via Elegoo
