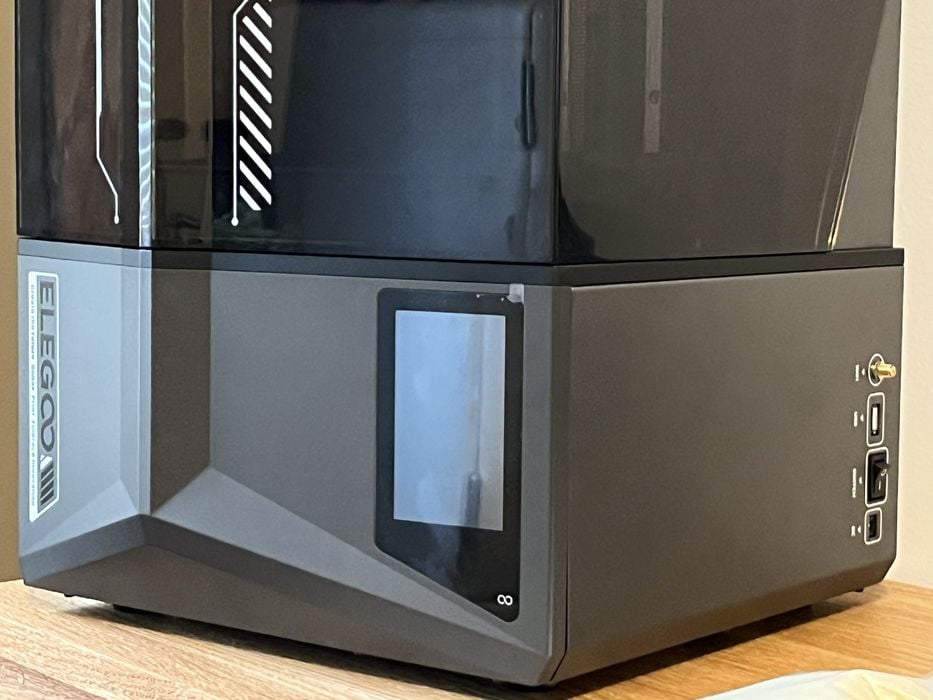
Elegoo provided us with their latest resin 3D printer, the Saturn 4 Ultra, and we gave it an extensive test.
This is part one of a three part series, please read parts two and three.
Elegoo Saturn 4 Ultra Background
Founded in 2015 in China’s Silicon Valley, Shenzhen, Elegoo has produced quite a number of both resin & FFF printers. Beginning with the launch of the Mars resin platform in 2018 and Neptune FFF platform in 2019, their current product lineup includes quite a variety of capable 3D printers.
They have since followed up with additional MSLA printer platforms – Saturn in 2020 and the Jupiter in 2021. The Saturn 4 Ultra is their latest release in the Saturn line, and boasts some very useful enhancements.
Elegoo Saturn 4 Ultra Specifications and Features
Elegoo’s website lists the Saturn 4 Ultra’s physical dimensions as 327 x 329 x 548 mm, with the printer weighing in at a hefty 14.5kg, all typical for a desktop MSLA device.
The machine is equipped with a 10” 12K Mono LCD screen boasting a resolution of 11520 x 5120 and an XY resolution of 0.019 x 0.024 mm. This LCD resolution is combined with a 405nm COB Light source + Fresnel collimating lens, achieving an ultra-low astigmatism coefficient of 0.5%, field uniformity of 92%, and a precise angle deviation control below 5° on the forming surface.
Elegoo has protected the delicate LCD with 9H hardness tempered glass, just to be safe in the event of a print failure.
The build volume of the machine is a decent 219 x 123 x 220 mm, with an advertised layer thickness range of 0.01 – 0.2mm and a Z-Axis accuracy of 0.02mm.
The laser etched build platform features built-in leveling shims & springs and is combined with an advanced mechanical sensor in the printer that provides automatic and precise leveling of the build platform.
This is paired with Elegoo’s new tilt release technology, enabling the model to be peeled off the PFA release film quickly by tilting the resin tank, achieving incredibly fast print speeds of up to 150mm/hr!
The smart mechanical sensor on the build plate can also detect when there is a resin shortage or debris in the resin tank.
A reasonably-sized 4” capacitive touch screen is used to control the printer.
Model slicing is done with the latest version of CHITUBOX, which finally supports network printing, allowing print jobs being sent to the printer via WiFi, which is very convenient. You can still transfer jobs to the printer offline via a USB stick.
To keep things running smoothly the printer performs a quick self-check before the start of each print to verify that all of its components are working properly. An AI Camera offers failure detection & real-time monitoring, as well as the ability to do time-lapse recordings.
Unlike most desktop MSLA 3D printers, the lid for the printer is permanently attached, and tilts to open.
A handy new detachable drip tray design prevents resin drips from landing on the delicate parts of the printer.
Finally, the printer offers power-loss resume printing for those unexpected interruptions.
As you can see, there are a lot of interesting features for us to explore in this device.
Elegoo Saturn 4 Ultra Unboxing and Assembly
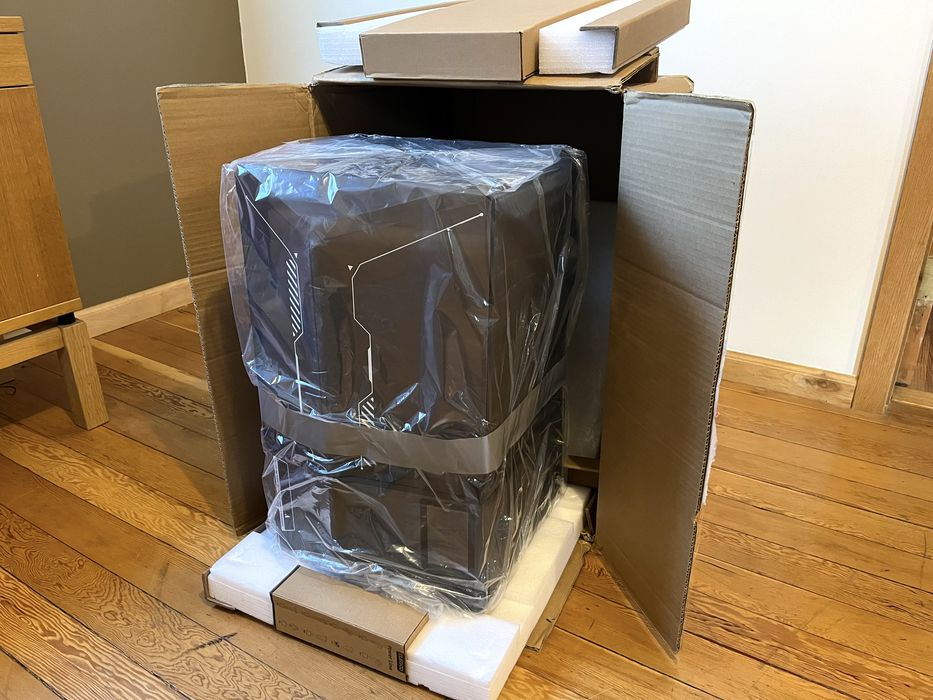
As we test quite a number of 3D printers, we always carefully inspect the packaging. Early 3D printers frequently had damage in shipping due to poor packaging design, but more recent machines rarely have such issues.
This printer arrived in a sturdy cardboard box, carefully packed in place using sturdy “air tube sheets” instead of the typical foam inserts used by most manufacturers.
The printer itself was tucked inside a large poly bag, making it quite easy to pull out in one go when we stood the box on its side.
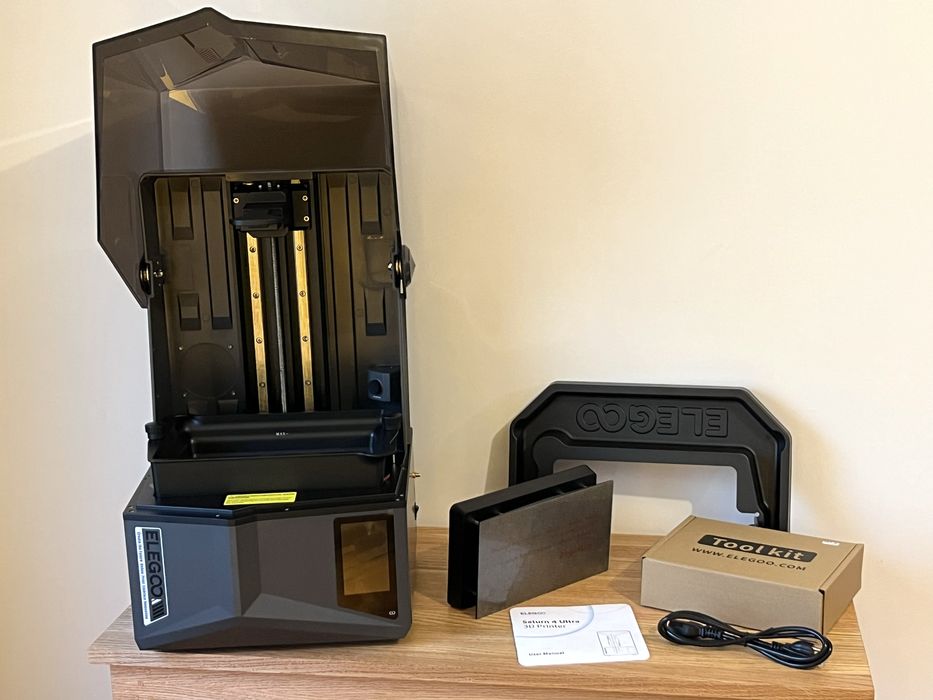
Also included was a small unlabeled box, a power cord, and a printed user manual. Inside the mysterious box, we found an equally mysterious thin walled form fitted tray.
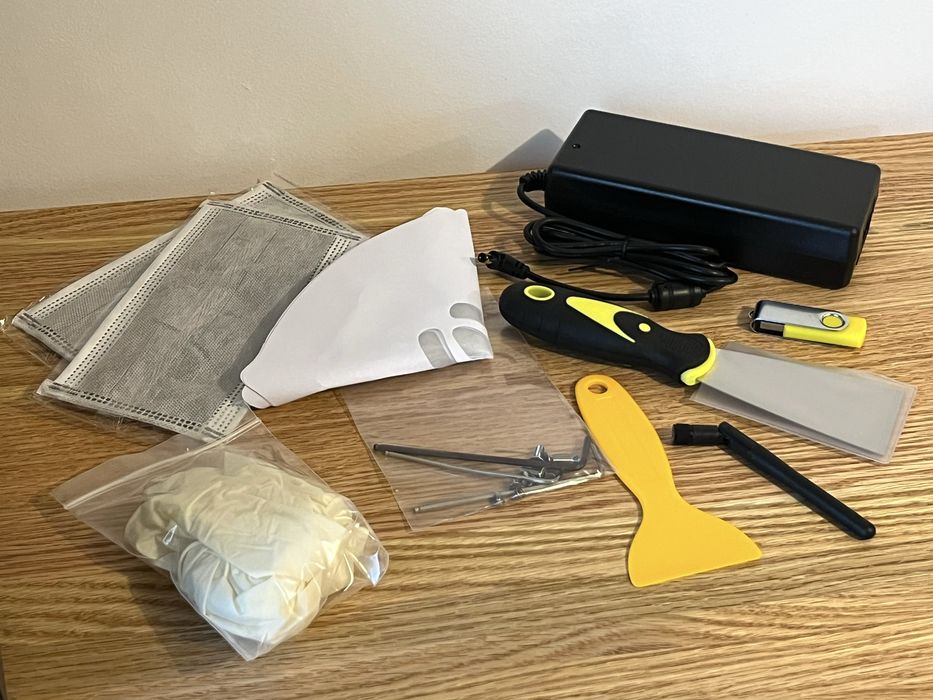
We rotated the Saturn 4 Ultra’s lid to the open position and pulled out the build platform and a box labeled “tool kit”, each nested inside form fitting foam packing.
The resin tank was already present, installed in place for shipping purposes. Inside the tool kit we found nitrile gloves & masks for our safety, paint filters for transferring resin, metal & plastic spatulas for removing prints, hex wrenches, some screws, a WiFi antenna, the power supply for the printer and a single USB stick.
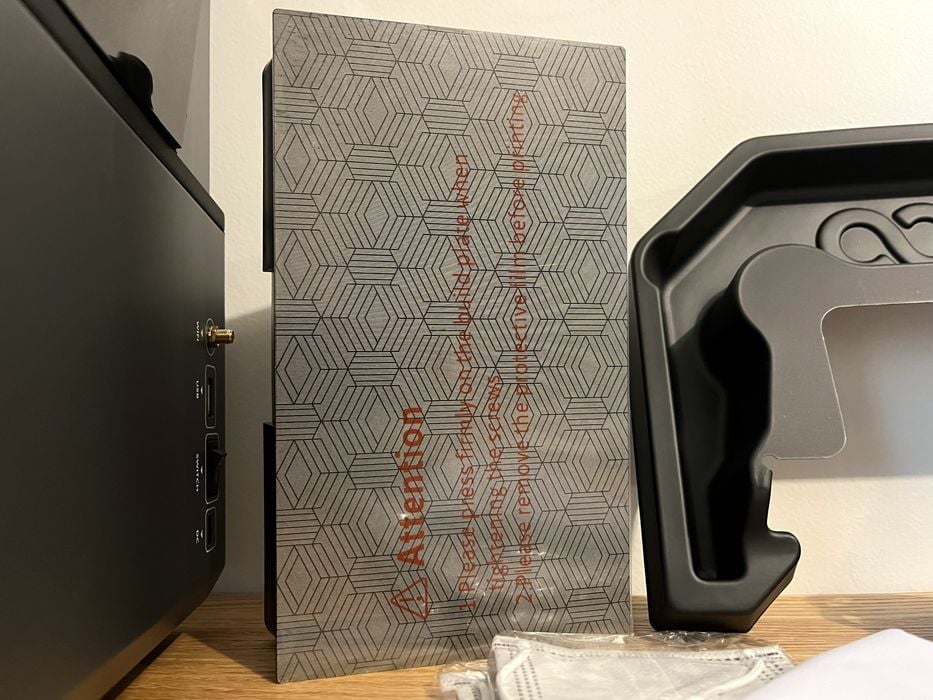
We quickly looked through the printed and digital user manuals to see if there were any instructions for setting up the printer and only found mention of installing the build platform. This is unusual, as most 3D printer manufacturers provide more detailed instructions, although often they are small and hard to read.

Given the simplicity of the printer’s build, Elegoo seems to have assumed that an operator would be able to prepare and set up the printer for use without additional instructions. There was no mention as to what the screws and hex wrenches were for, so they must be replacement parts.
We gave the printer a thorough inspection to determine what steps were needed to prepare it for printing.
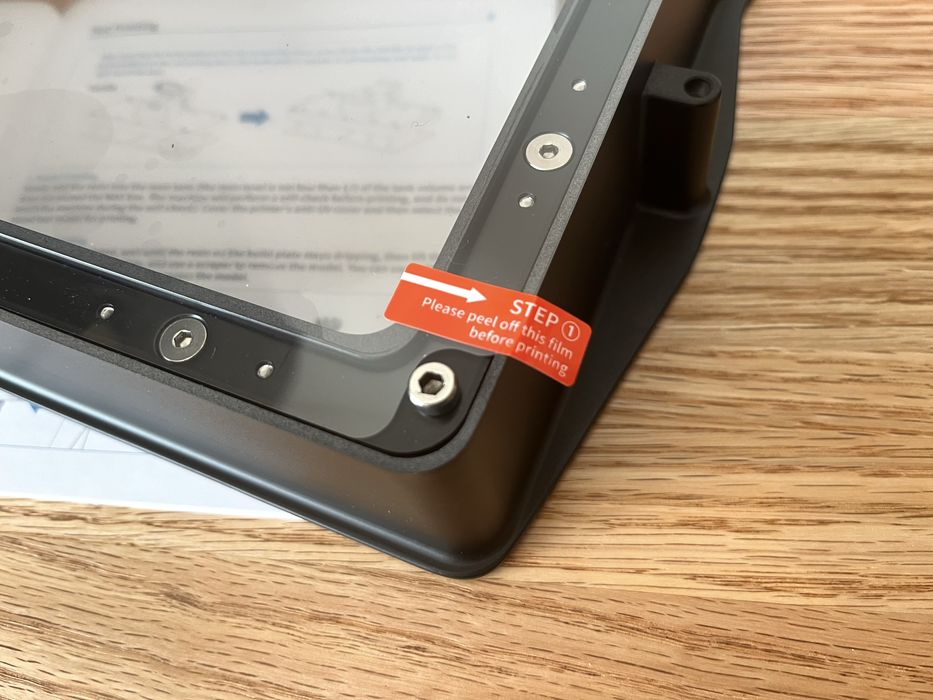
The resin tank was already installed in place, but we noticed a little red tab poking out alerting us that there were some protective films that needed to be removed.
After removing the tank we found a second film protecting the LCD. Interestingly, both films were labeled “step 1”, as if there should surely be assembly instructions somewhere.
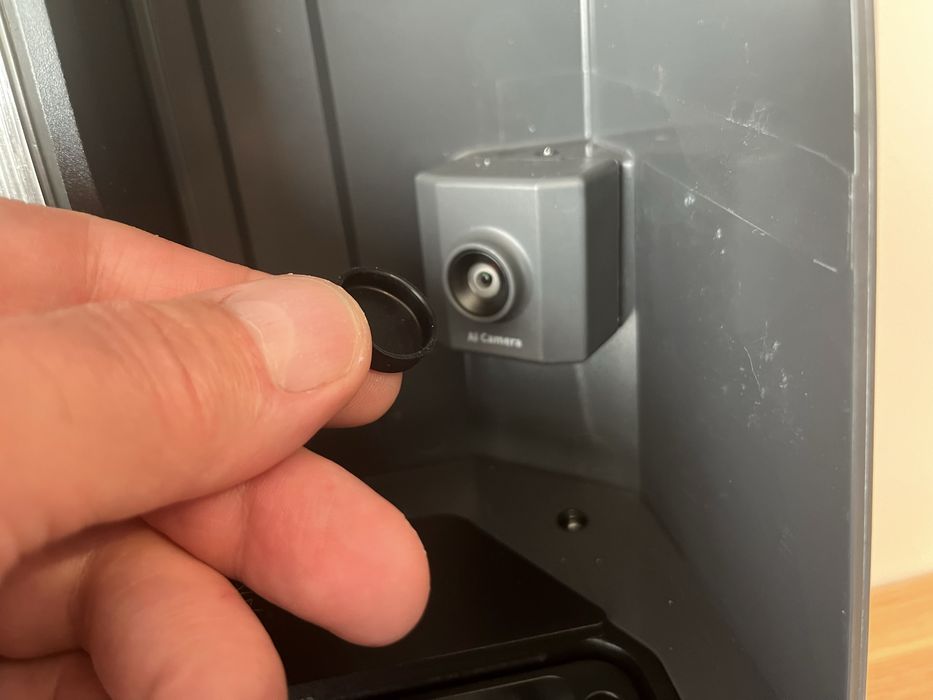
We removed a small rubber cap covering the AI camera, followed by the protective film from the laser etched build platform, which we then inserted into the z-axis connecting block and pressed down on the lever to secure it in place. We particularly liked this new latch set up, as it was easy to flip up & down and locked the build platform firmly in position with a satisfying clunk.
That all done, we set the tank back in place and tightened the two thumb screws, twisted on the Wi-Fi antenna and plugged in the DC power supply.
Normally, we would have to do some form of leveling of the build platform to the LCD surface, but the user manual for the printer clearly stated, “the build platform is capable of self leveling and ready to use right out of the box“.
While the steps required to prepare the machine were straightforward, we do have some concerns that novice 3D printer operators would not necessarily know to, for example, remove the protective sheets hidden under the tank.
At this point we were done with assembly, and ready to prepare the machine for action.
This is part one of a three part series, please read parts two and three.
Via Elegoo
