
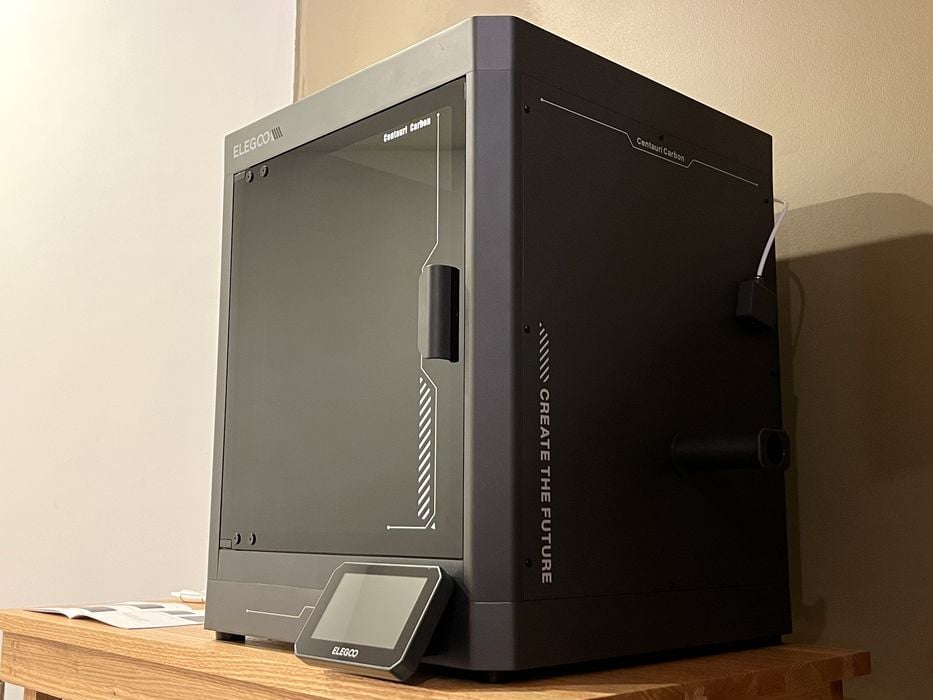
Our look at the Elegoo Centauri Carbon desktop 3D printer continues with setup, calibration, operations and software.
This is part two of a three-part series; please read parts one and three.
Elegoo Centauri Carbon Setup and Calibration
The lid for the printer fit perfectly into the recessed slot on the top of the printer, and there was a message printed onto the lid that said, “When printing low-temperature filaments such as PLA and flexible filaments, please remove the top cover.”
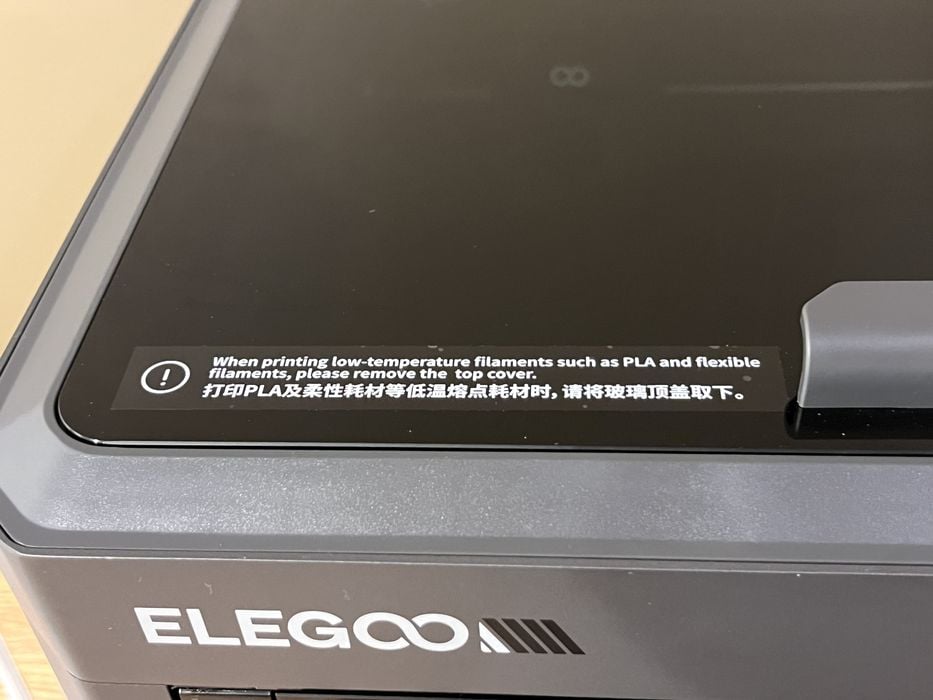
This is no doubt because the enclosure captures heat, and the softening temperature of PLA is pretty low. It might be possible to compromise the structure of a PLA print through overheating, so make sure the lid is off during PLA printing.
We noticed a little label poking out from underneath the spring steel build sheet sitting on the heat bead and investigated. The top side of the build sheet was labelled “A” and was a textured PEI coating with the word “Adhesion” followed by three stars. It was described as being good for all PLA/TPU/ABS/PETG/Carbon Fiber Filaments.
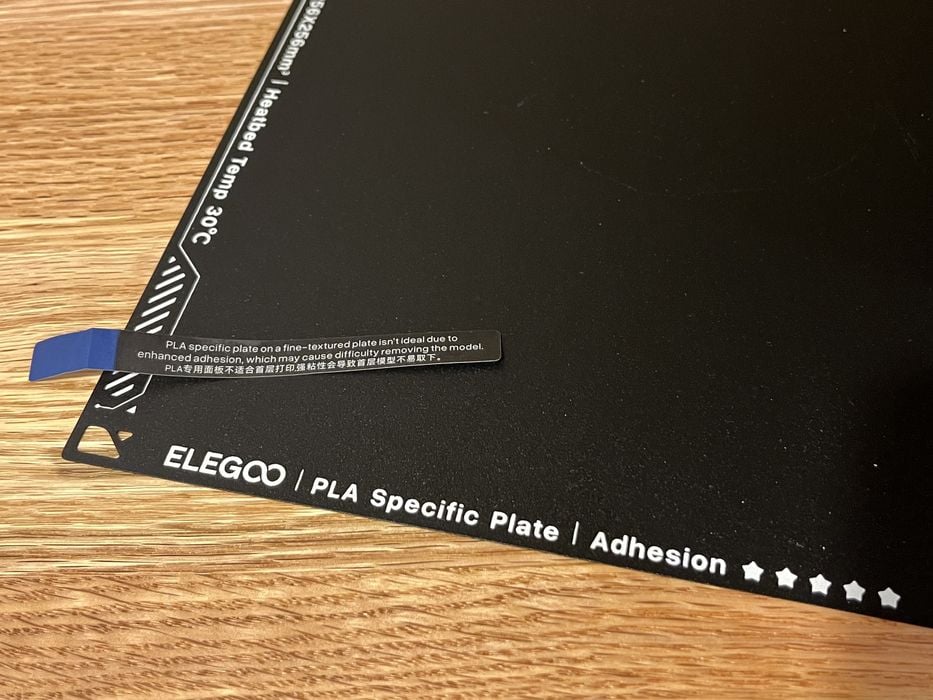
The flipside of the build plate was labelled “B” and was PLA filament specific, with the word “Adhesion” followed by five stars. This plate advertised itself as being optimized for PLA printing and that the heat bed temperature should only be 30°C when in use. This is the side that had that little sticker that we had noticed earlier. It read, “PLA specific plate on a fine textured plate isn’t ideal due to enhanced adhesion, which may cause difficulty removing the model”.
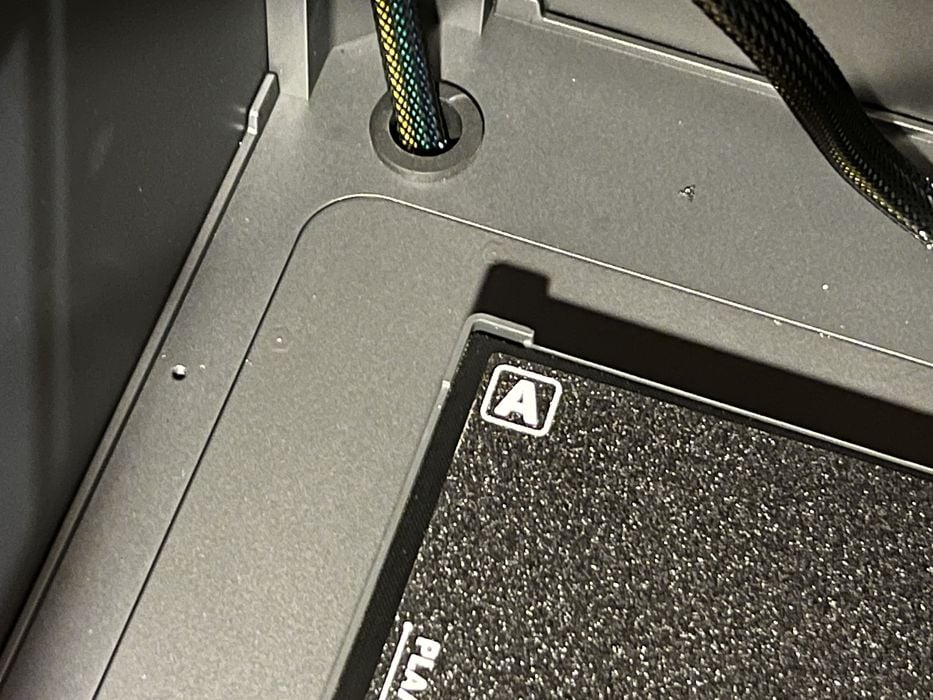
We decided to start our prints with the multi-purpose side “A” build plate and reinserted the plate back into the printer, noting the two handy reference corners on the heat bed that helped position the build plate into its correct location.
We peeked at the extruder assembly and noted a mechanical lever on the right-hand side, most likely the blade assembly that would cut the filament during changes. This would explain the lack of the typical pair of side cutters in the goodies box.
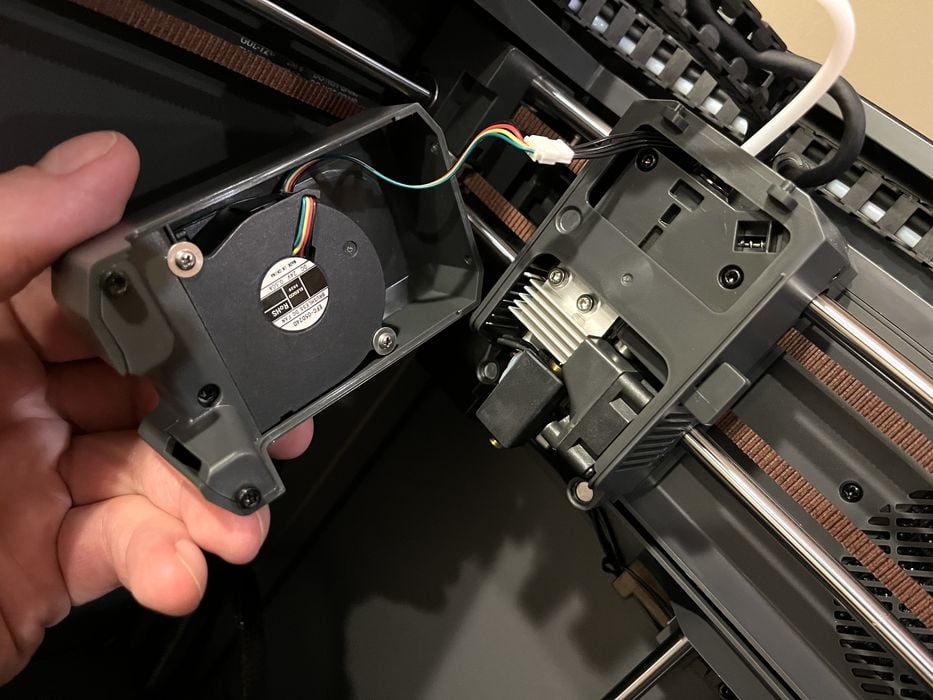
We also noticed that the cover for the extruder assembly itself was magnetically attached and therefore removable. We did so and got a good look at the hot end’s inner workings and parts cooling fan. This could make the job of clearing jams a bit easier than with some other 3D printers.
The physical part of the setup was now complete, so we plugged the power cord into the printer, double-checked that there wasn’t a hidden voltage selector switch to adjust, and powered on the printer.
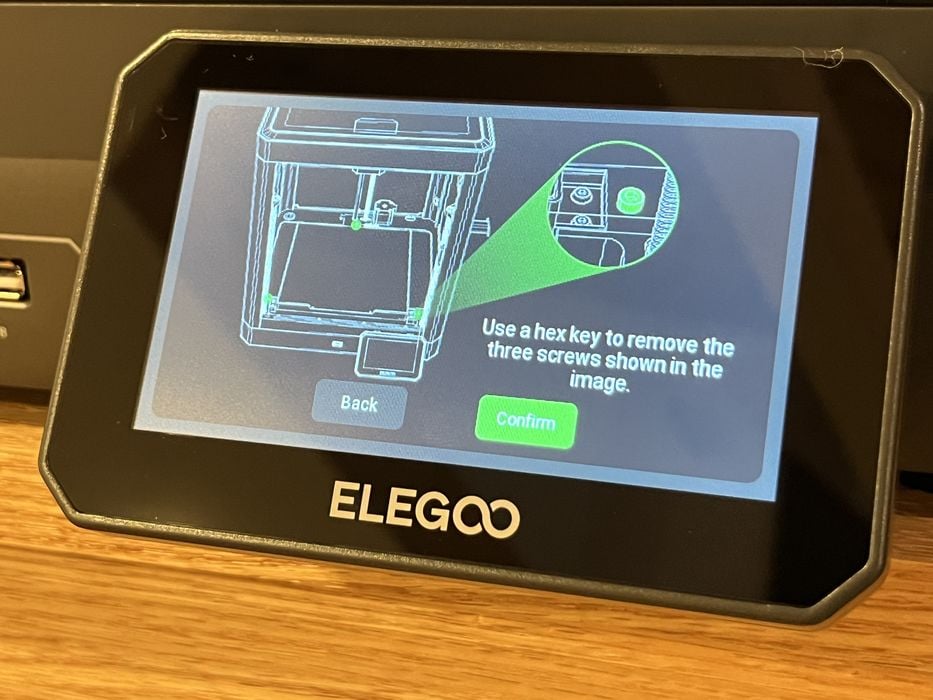
Elegoo has made setting up the Centauri Carbon a breeze by walking the operator through a series of clearly explained steps on the LCD screen. We first chose a preferred language, then got a message asking us to confirm that we had indeed removed the three screws holding down the Z-axis – a very important step that had been mentioned a few times in the quick start guide and user manual. Failure to do so would result in serious damage to the printer, so be sure to do this step.
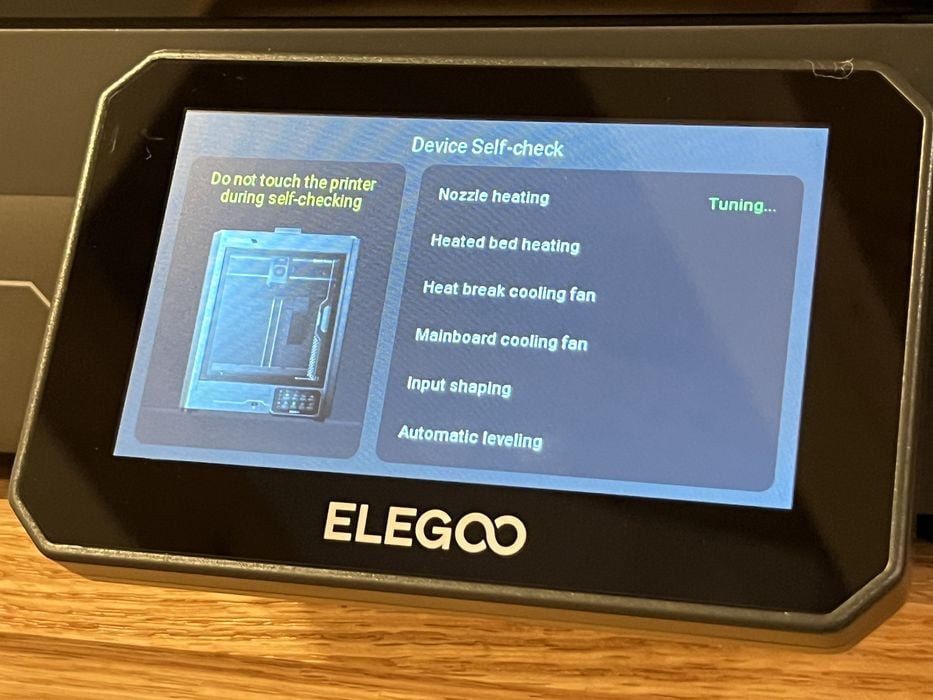
The LCD screen prompted us to confirm that the chamber was free of foreign objects before proceeding to the device self-check, letting us know that we needed to place the build plate with side “A” facing up.
With that done, the various setup processes ran for approximately 30 minutes and checked the following components – nozzle & bed heating, heat break, cooling fan, main board cooling fan, input shaping, and automatic bed leveling.
Elegoo Centauri Carbon Operations
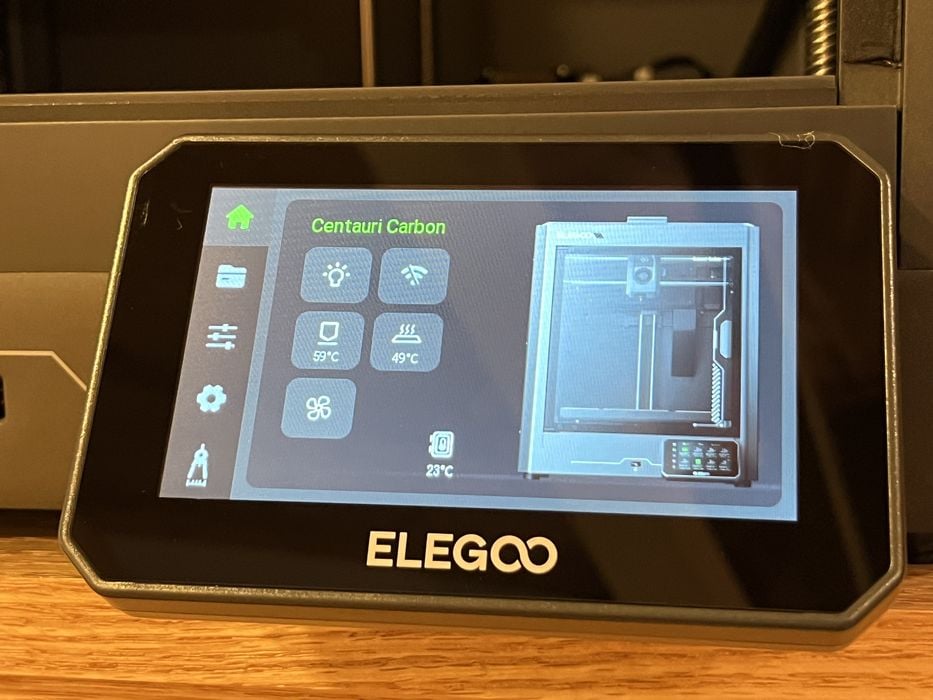
With the calibrations complete, we looked through the menu system on the LCD to get acquainted with the printer. The main screen offered up some handy pertinent information about the state of the printer, as well as a few shortcut keys to common menu items.
Good thought has been put into the grouping of the various items on each LCD menu. One menu showed the location of where to load print jobs, as well as the print history. Another contained controls for the printer itself where we could move any axis, turn fans off & on, and load or unload filaments.
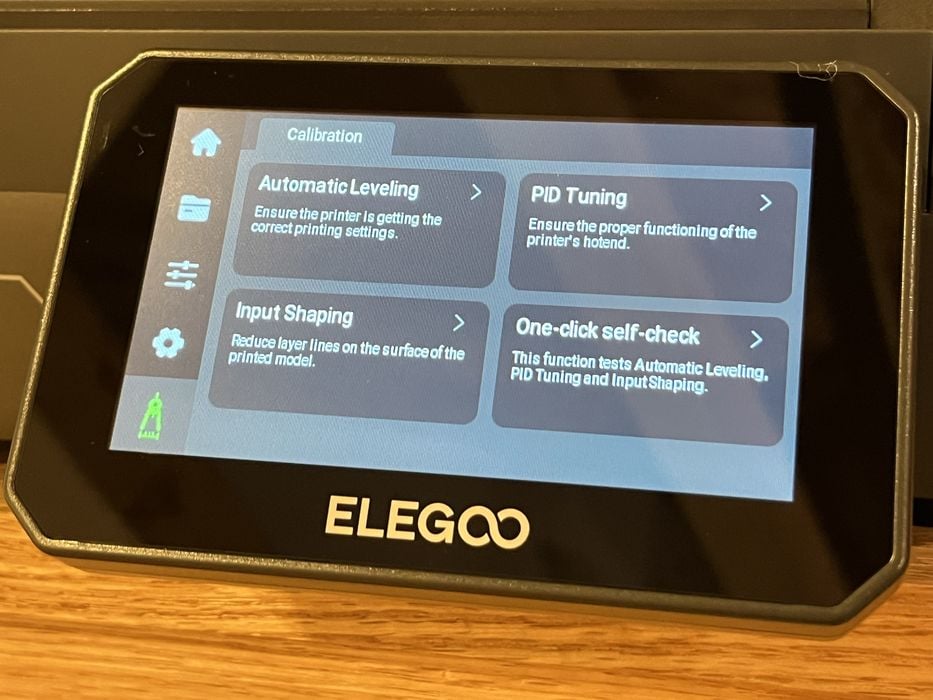
There was a separate menu that dealt with various info and settings for the printer, setting up the network, turning on a time-lapse, etc. A calibration menu dealt with items such as Automatic Leveling, Input Shaping, PID tuning, and a One-Click Self-Check.
This is a good sign, as the organization of menus is often poorly thought out by many 3D printer manufacturers, and it’s good to see that Elegoo spent some time on this aspect of the machine.
Our next task was to launch our first test print.

We opened the small sample coil of filament included with the printer and went about loading it into the printer. Elegoo has made the loading process very simple with a one-button press process in the extruder menu.

Once activated, the extruder assembly moves to the rear right corner of the enclosure, where the purge bin is located. The operator unclips the PTFE tube from the top of the extruder, passes the filament through the filament sensor, then the PTFE tubing and finally into the hole in the top of the extruder assembly, where it is grabbed by the extruder gears.
After a specific amount of extrusion, the extruder moves sideways and wipes the nozzle on a silicone pad, while the ejector kicks the waste material out a chute in the rear of the purge bin. A process similar to what we have seen before with other printers.
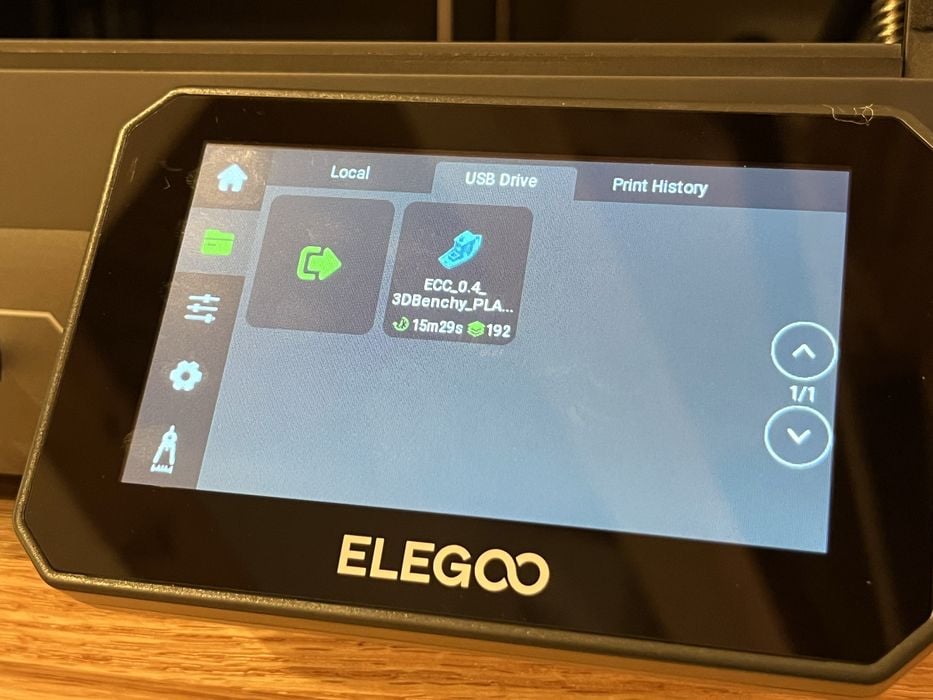
Manufacturers typically supply pre-sliced GCODE files for an easy first print that can feature their printer’s capabilities. We checked the supplied USB thumb drive and found a pre-sliced #3DBenchy that required just over 15 minutes to complete.
Before we launched the print, we copied the contents of the USB drive to our computer, so we could set up the slicer while our first print ran. This is a good best practice for operators, as you might lose the USB and the stock files in the future.
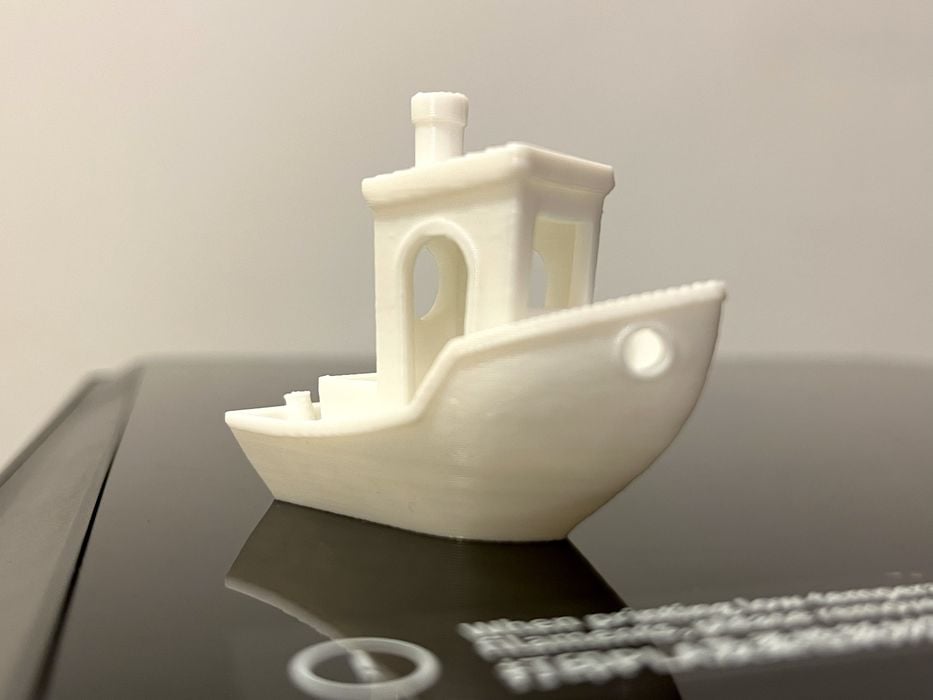
We plugged the drive back into the printer, launched the file, and left the printer alone to do its thing. As promised, the Benchy completed in the allotted time and looked great!
Elegoo Centauri Carbon Software
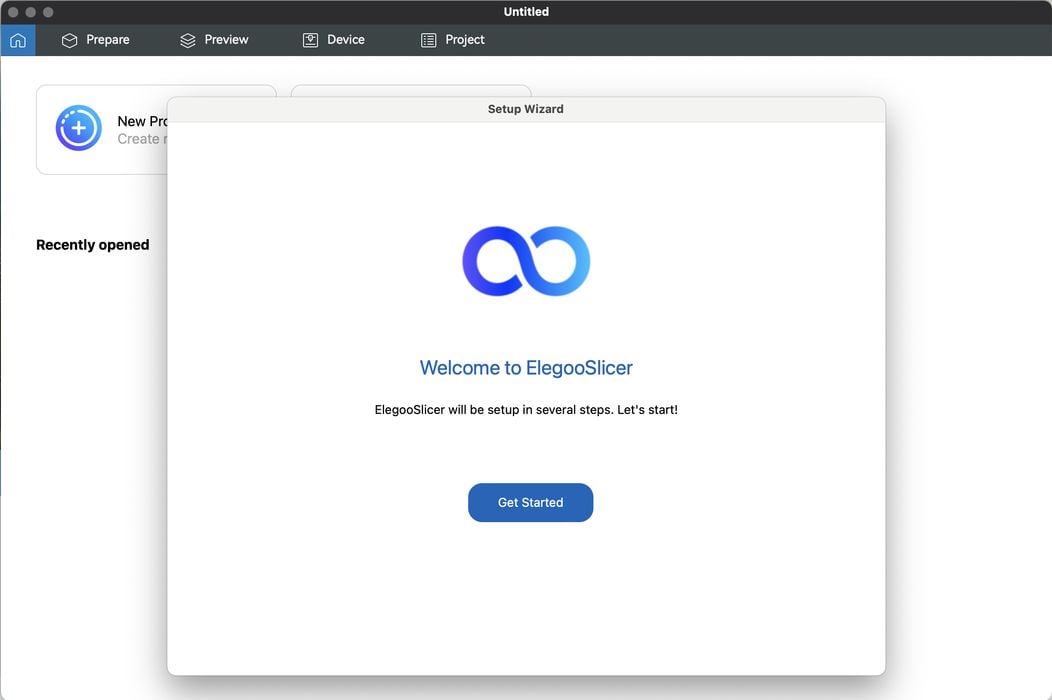
Now it was time for us to slice and print our own files. Setting up ElegooSlicer is quite easy, as it is basically a port of Orcaslicer, which has been around for a while and has become fairly popular among various 3D printer manufacturers.
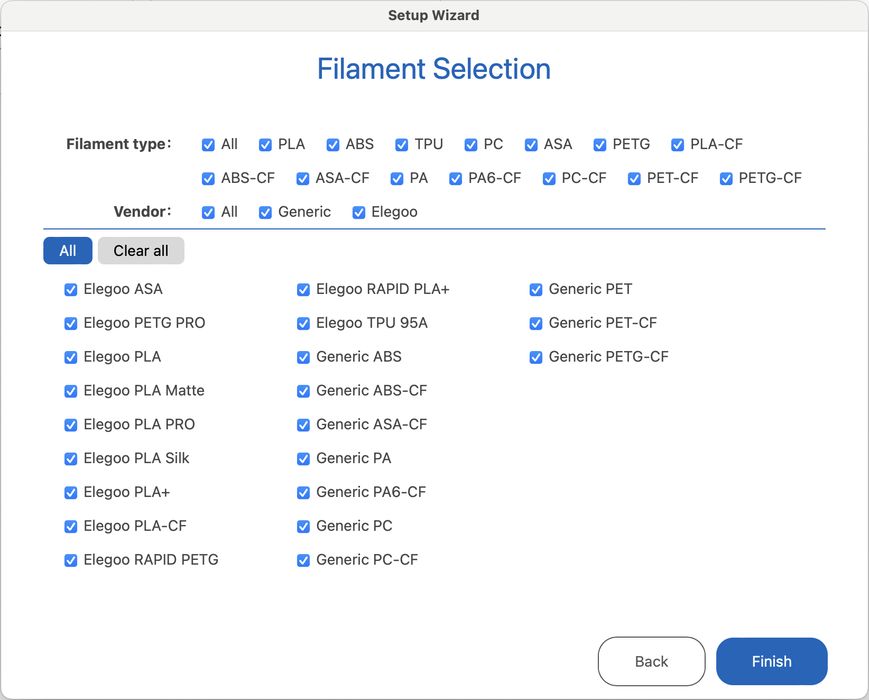
Once installed onto a computer and launched, all an operator needs to do is choose a printer make/model from the list, select filament types to be used, and then enter the IP address for the 3D printer to be able to upload prints and control the printer remotely. This requires that you have previously set up the printer on the WiFi network.
ElegooSlicer’s default “Printer Settings” cannot be overwritten, so a new profile name must be used in order to save any changes, such as adding the printer’s IP address. While doing so, we noticed that the default profile only supported a single choice for bed type and that “support multi bed types” needed to be enabled to allow the use of the two different sides of the Carbon Centauri’s build plate. We were sure to make that change too before hitting save.

With the software now configured to slice and print, we loaded in a #3DBenchy model. We chose PLA under “Filament” and then adjusted “Process” settings to be that of a “Benchy Speed Boat” – 0.24mm layer height, two walls, three top & bottom layers, and 10% infill. Once sliced, the job had an estimated print time of 27:22, quite a bit slower than the provided 15-minute print job.
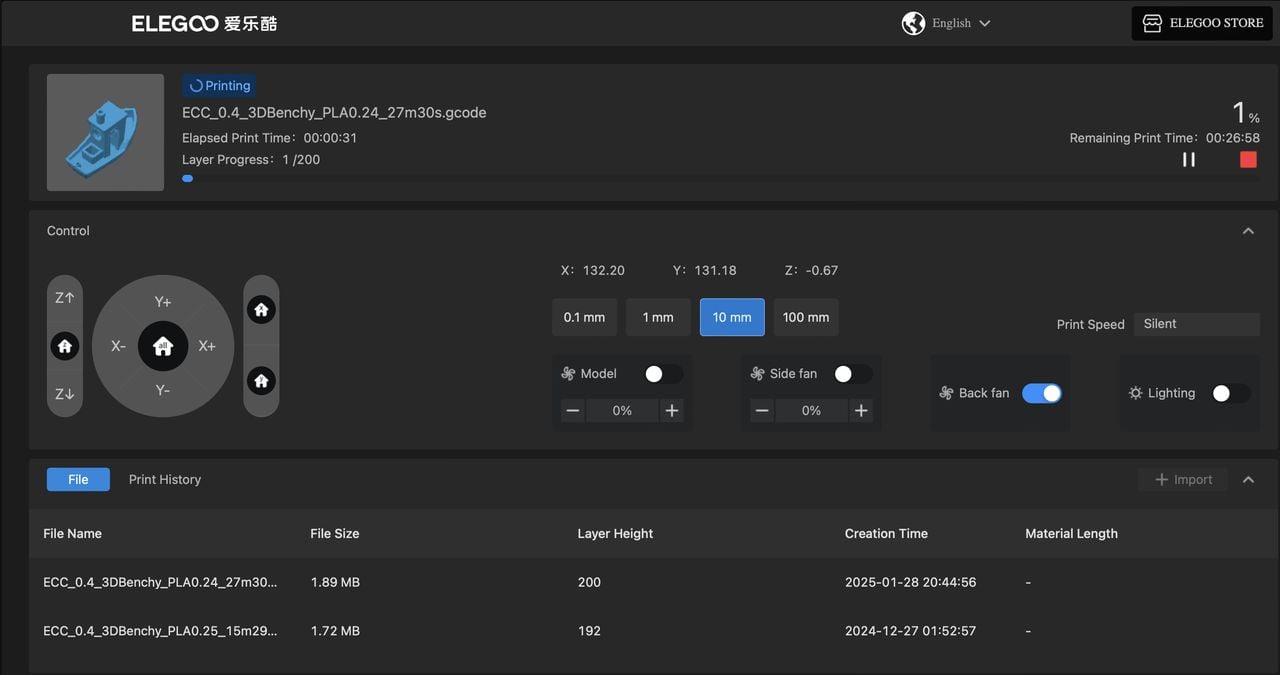
We clicked “Upload and Print” to send the GCODE to the printer and then switched over to the “Device” tab inside the slicer, flipped the Print Speed mode from Balanced to Silent, and then let the print run.
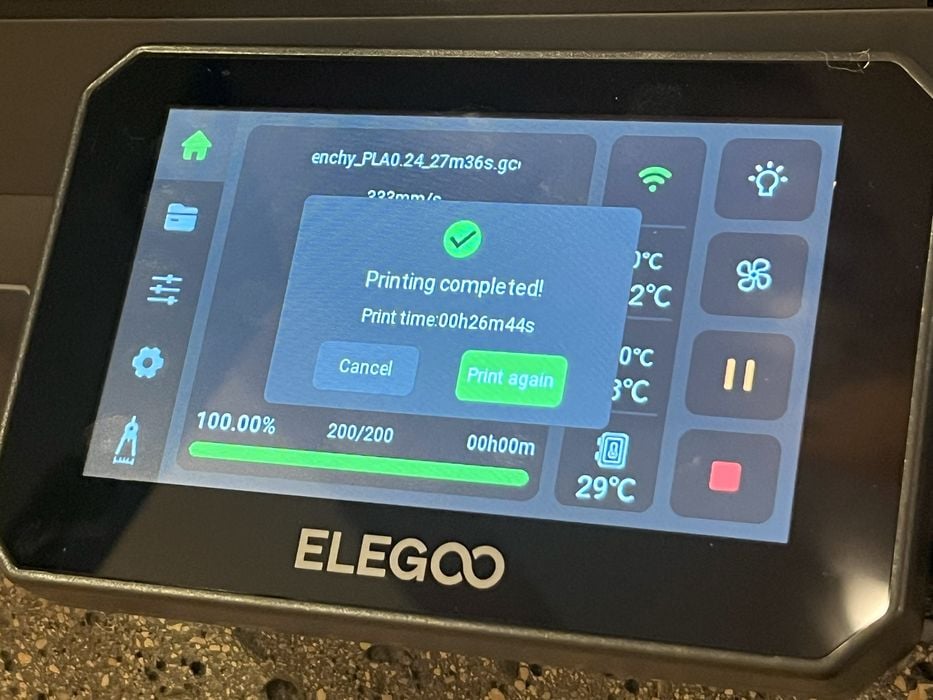
Our plan was to run the same print in the various modes – Silent, Balanced, Sport, and “Ludicrous” – and then compare results. We paired these test prints with a new spool of Elegoo Rapid PLA+, as it is capable of high-speed extrusion up to 600mm/s. Elapsed times for the various prints were: Silent 38:31, Balanced 26:44, Sport 24:38, and Ludicrous 23:46.
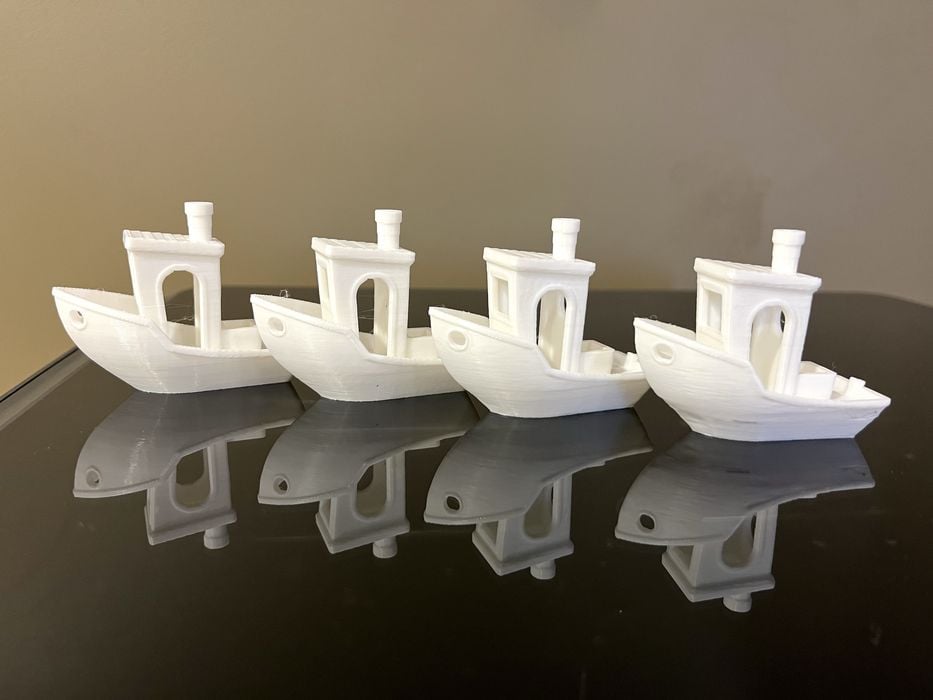
We were unable to recreate a 15-min #3DBenchy using any of the supplied slicer profiles, but all four of our test prints turned out quite good and were actually very similar in quality, with the exception of some minor defects in the hull of the speedy Ludicrous Benchy.
This is part two of a three-part series; please read parts one and three.
Via Elegoo